

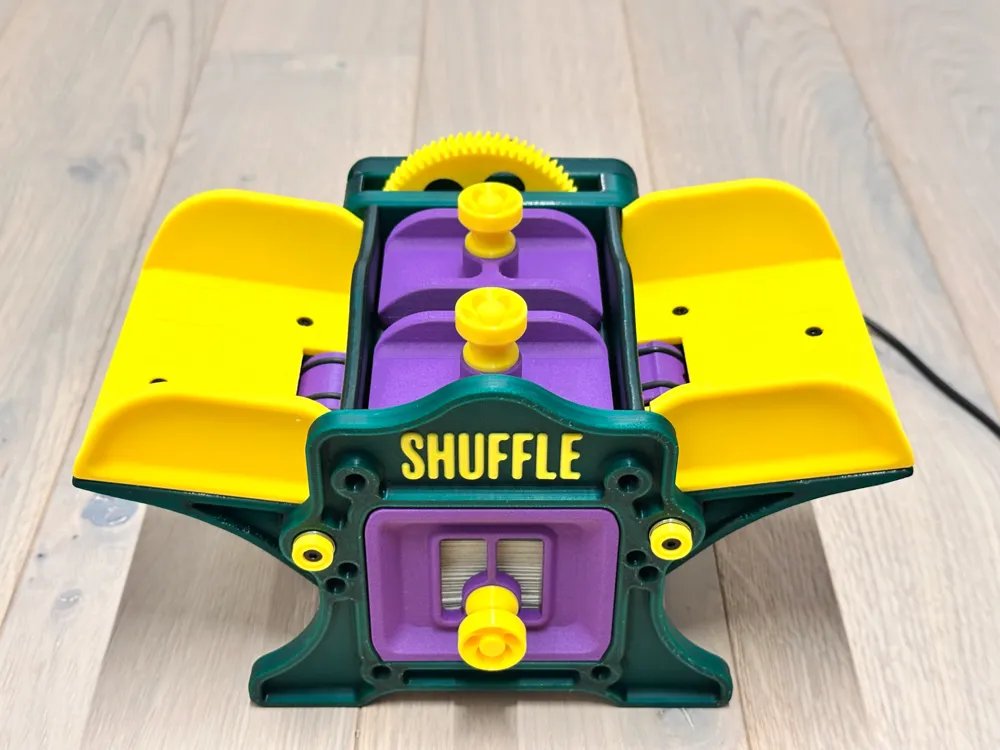
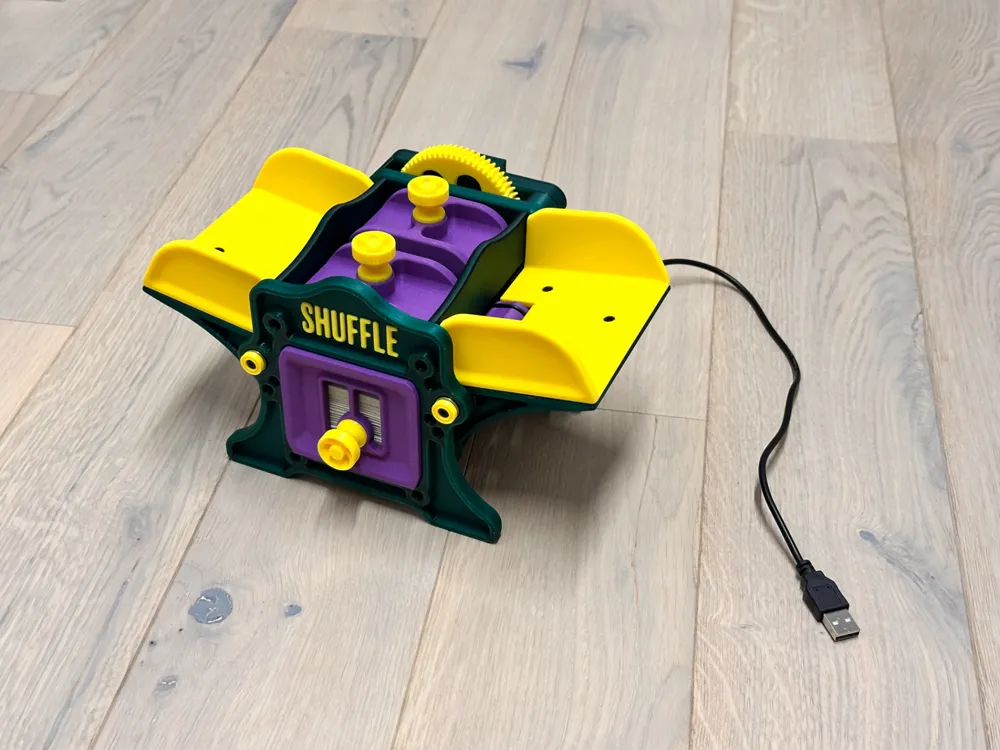
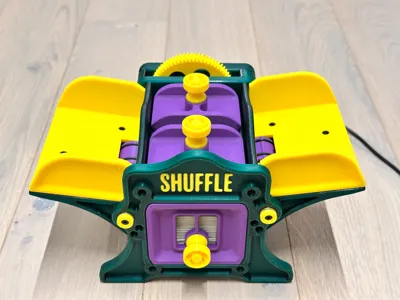
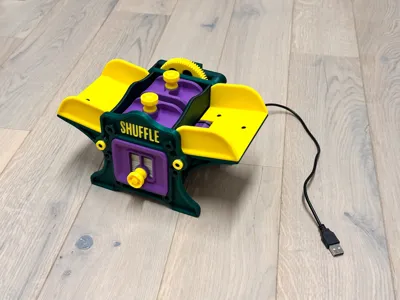
Card Shuffler MOTORIZED!

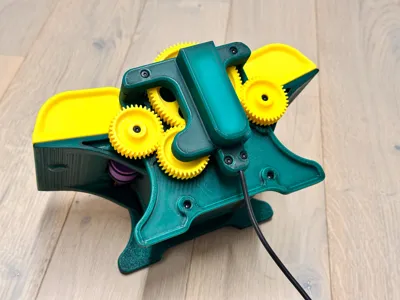
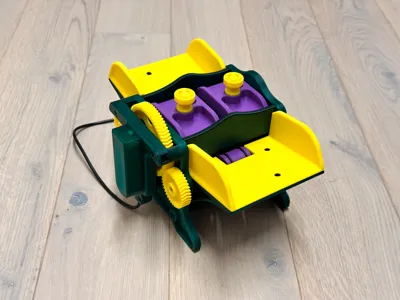
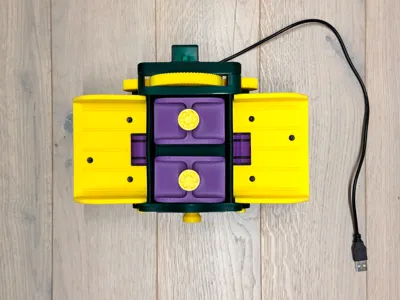
Print Profile(2)


Bill of Materials


Description
Engine Upgrade Kit
I have loved this fantastic Card Shuffler since day 1.
I only wanted it AUTOMATIC!
Why would you want to make it Automatic?
Making it automatic means giving a rotation speed that is always constant,
thus ensuring a number of jams close to zero.
(Tested only on the basic version)
...and because it's "cool"!
° - ° - ° - ° - ° - ° - ° - ° - ° - ° - ° - ° - ° - °
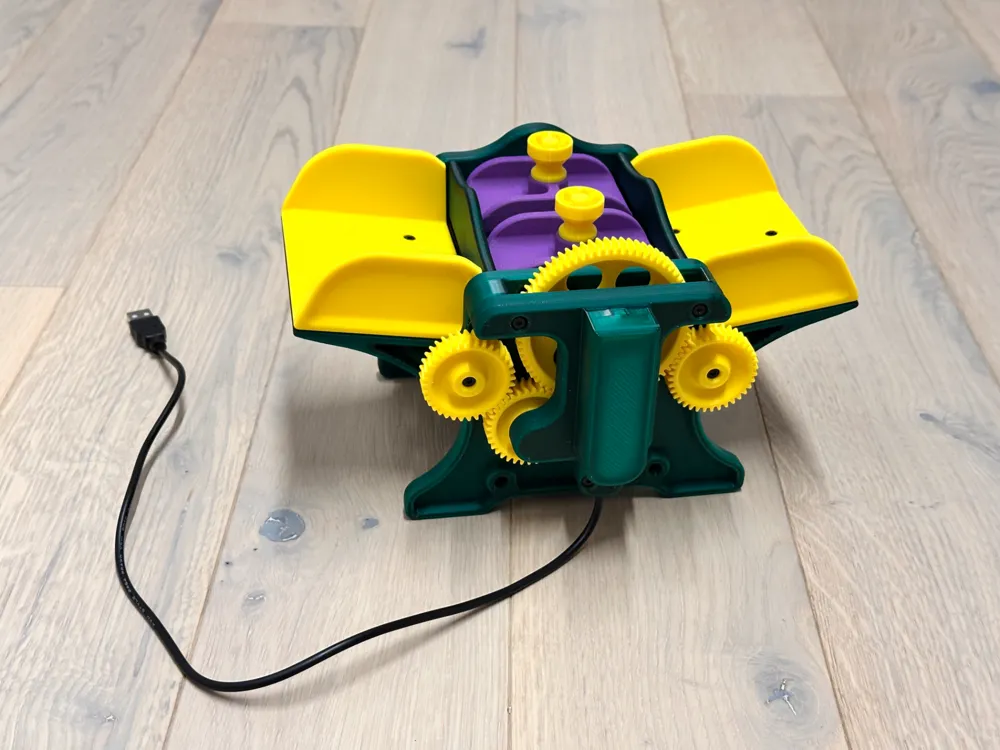
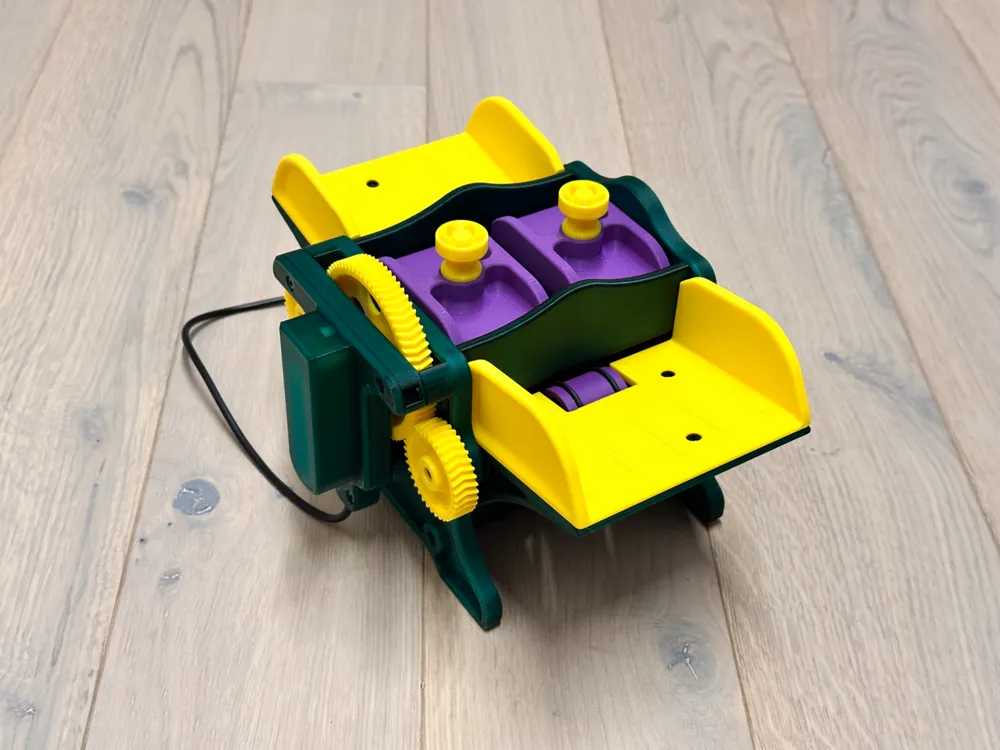
Card shuffler in operation:
° - ° - ° - ° - ° - ° - ° - ° - ° - ° - ° - ° - ° - °
I damaged some micro motors of the "Maker's Essential Kit A" before arriving at a tester version that worked properly.
Aesthetically it will not be up to the design of this shuffler (I tried my best), but all in all acceptable.
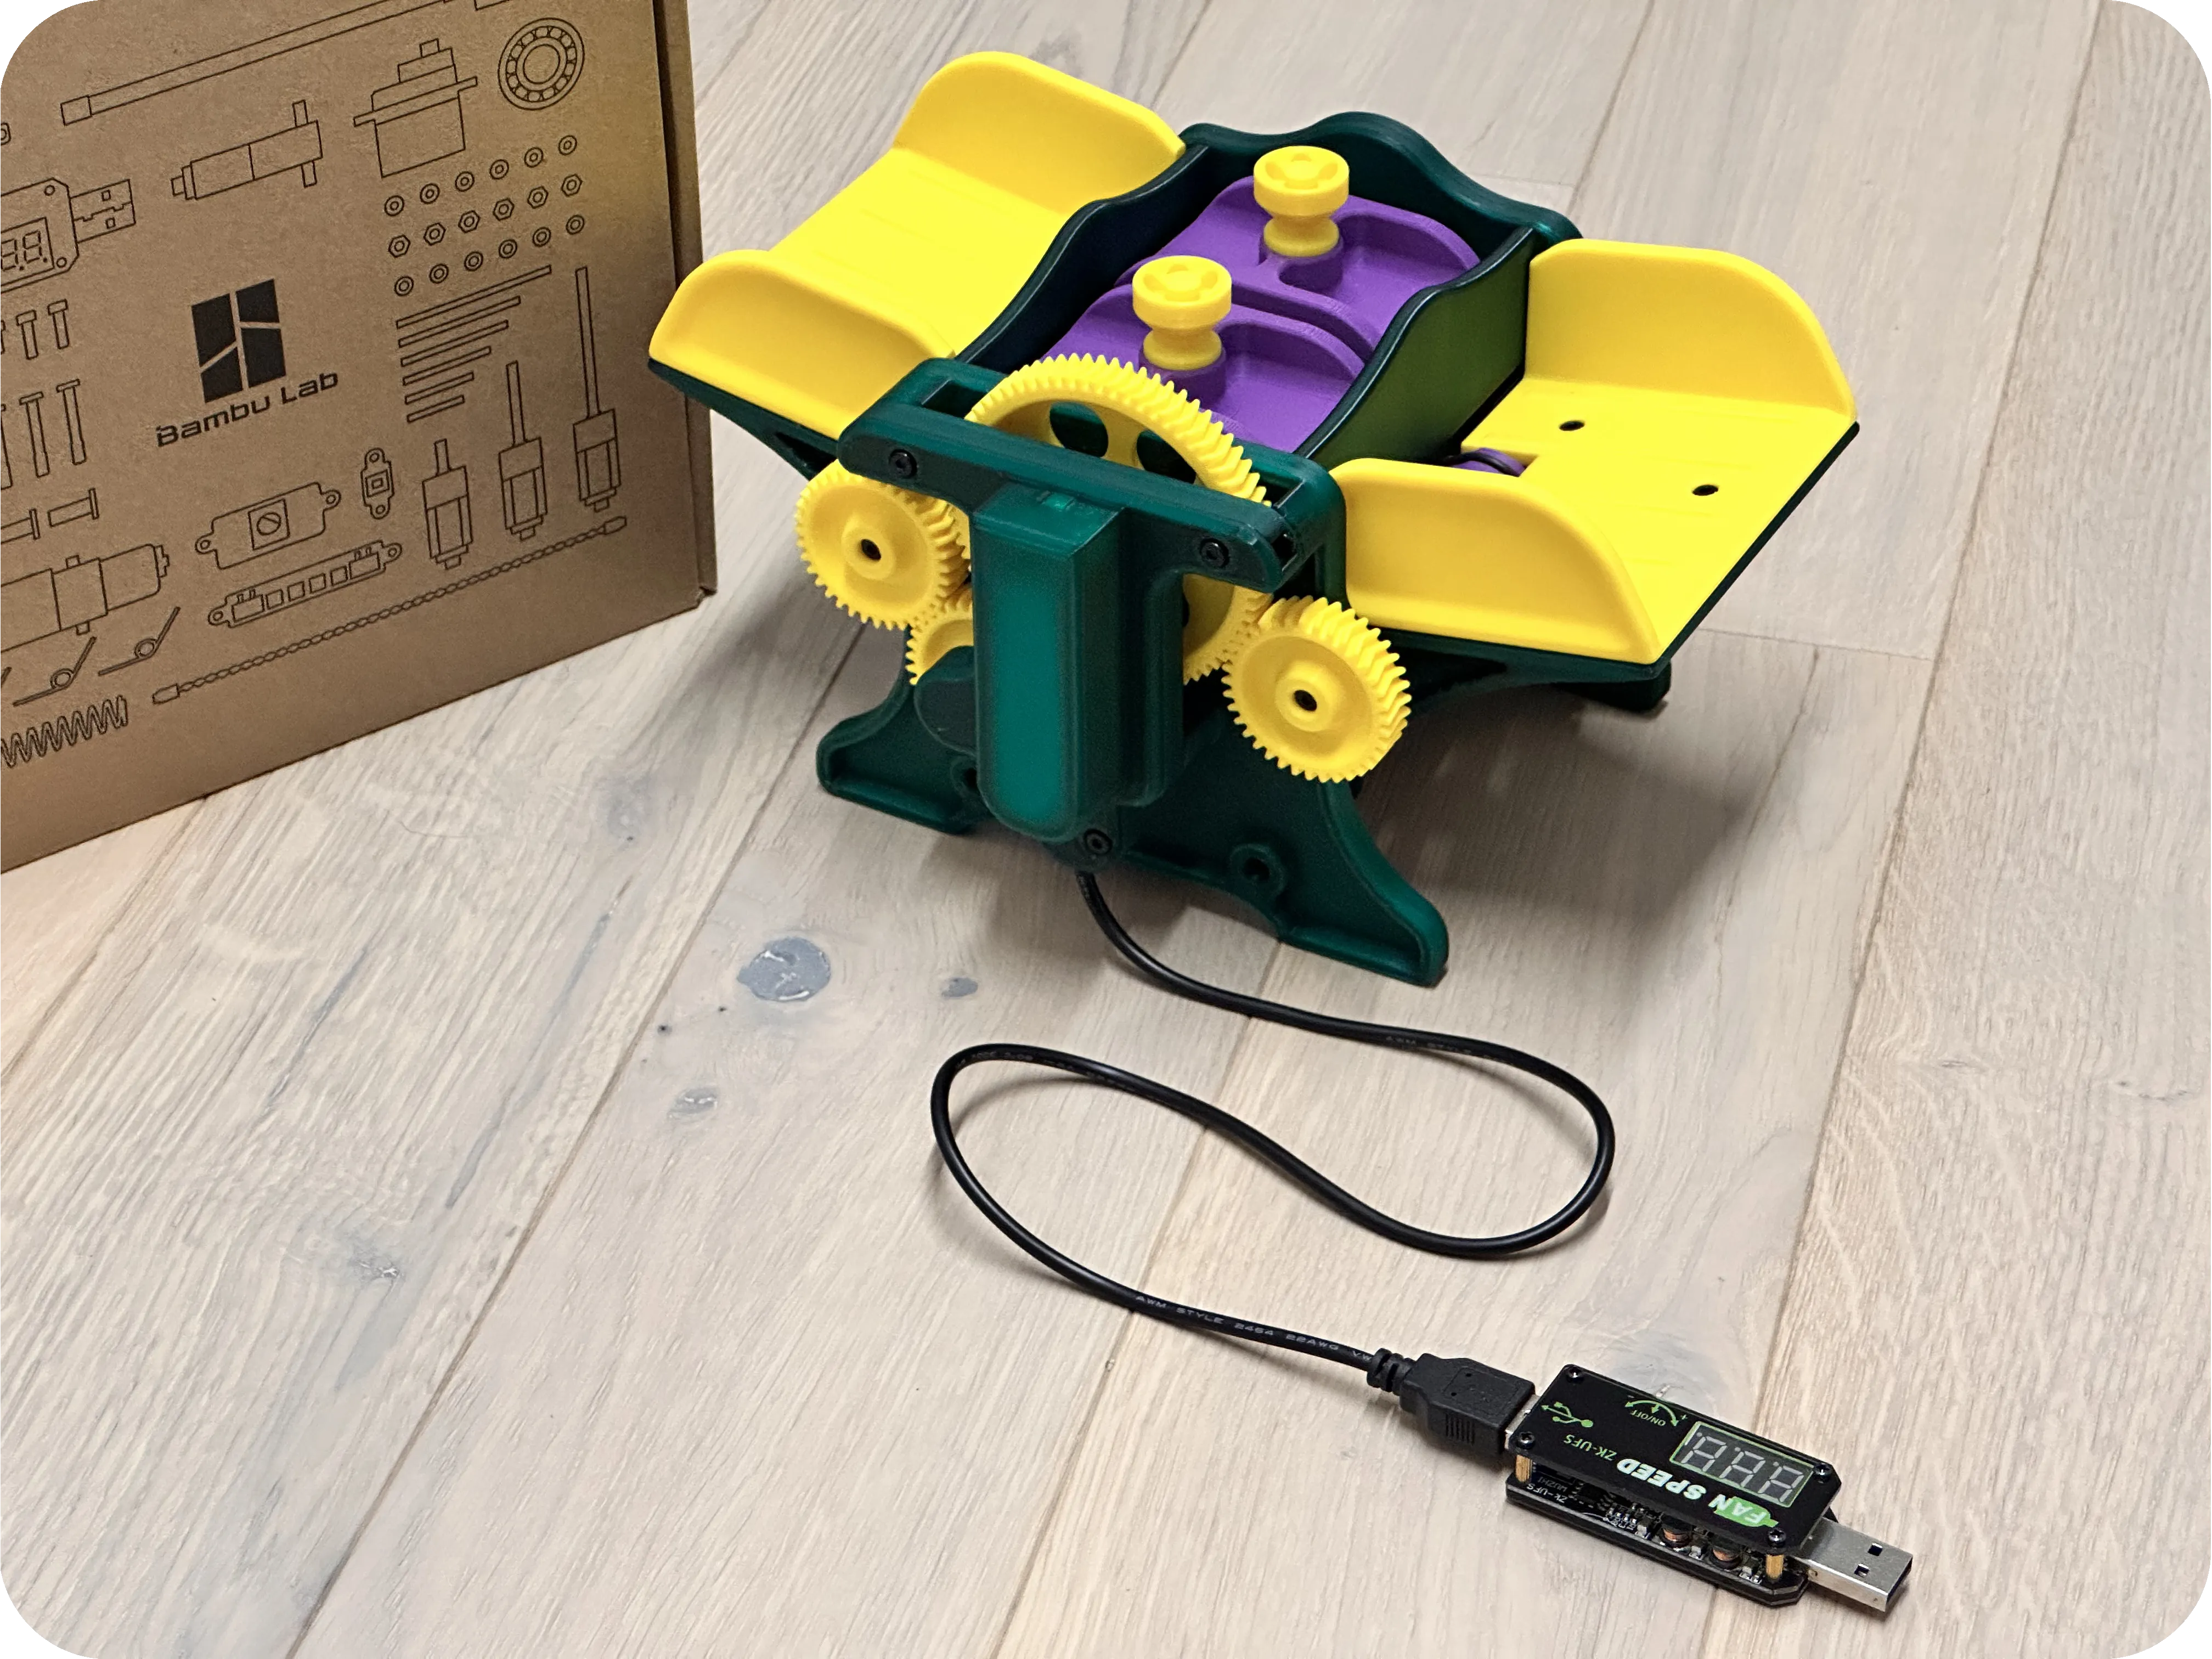
3D parts needed:
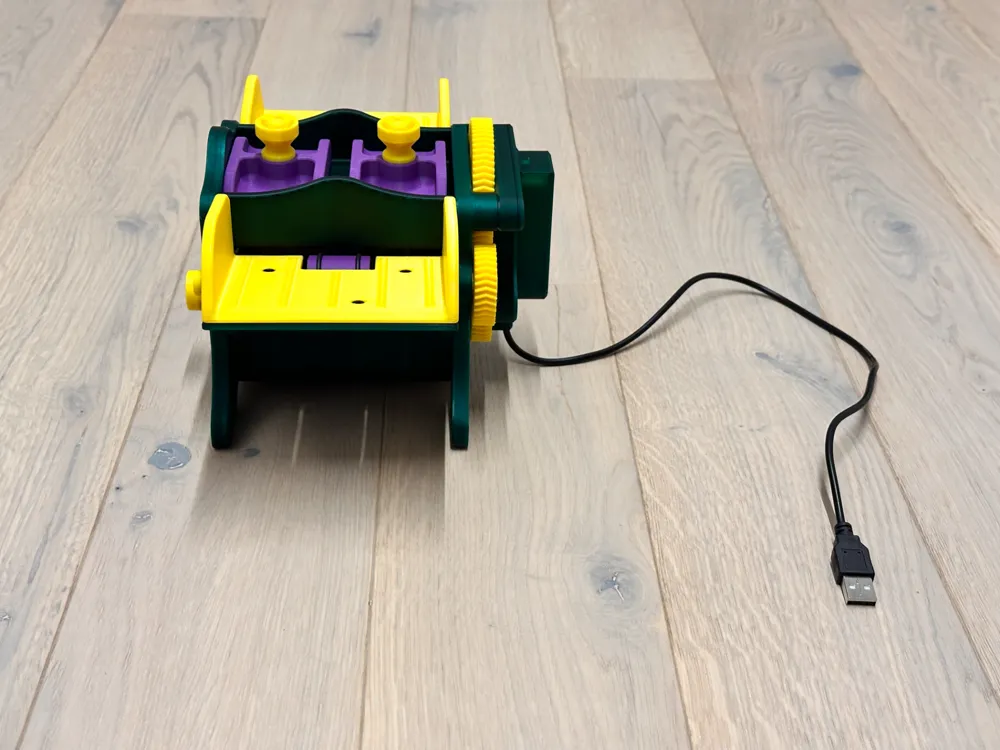
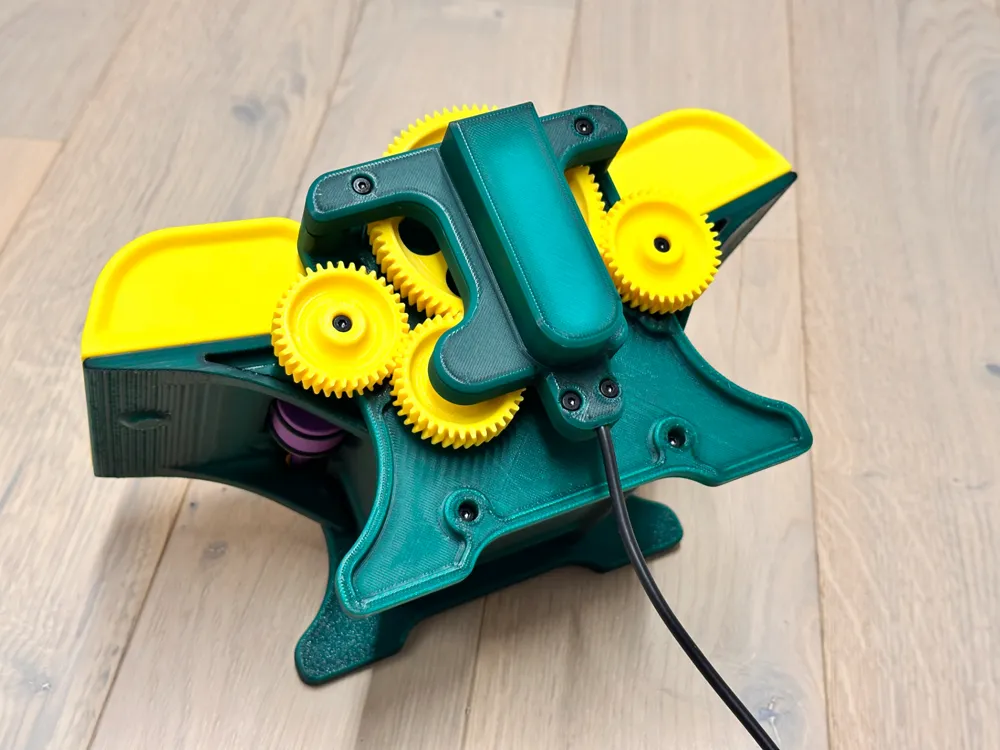
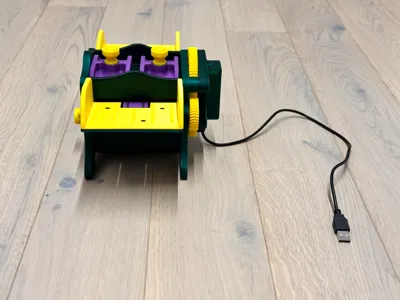
You only need to Print 3 new parts to accommodate the “TT Motor”
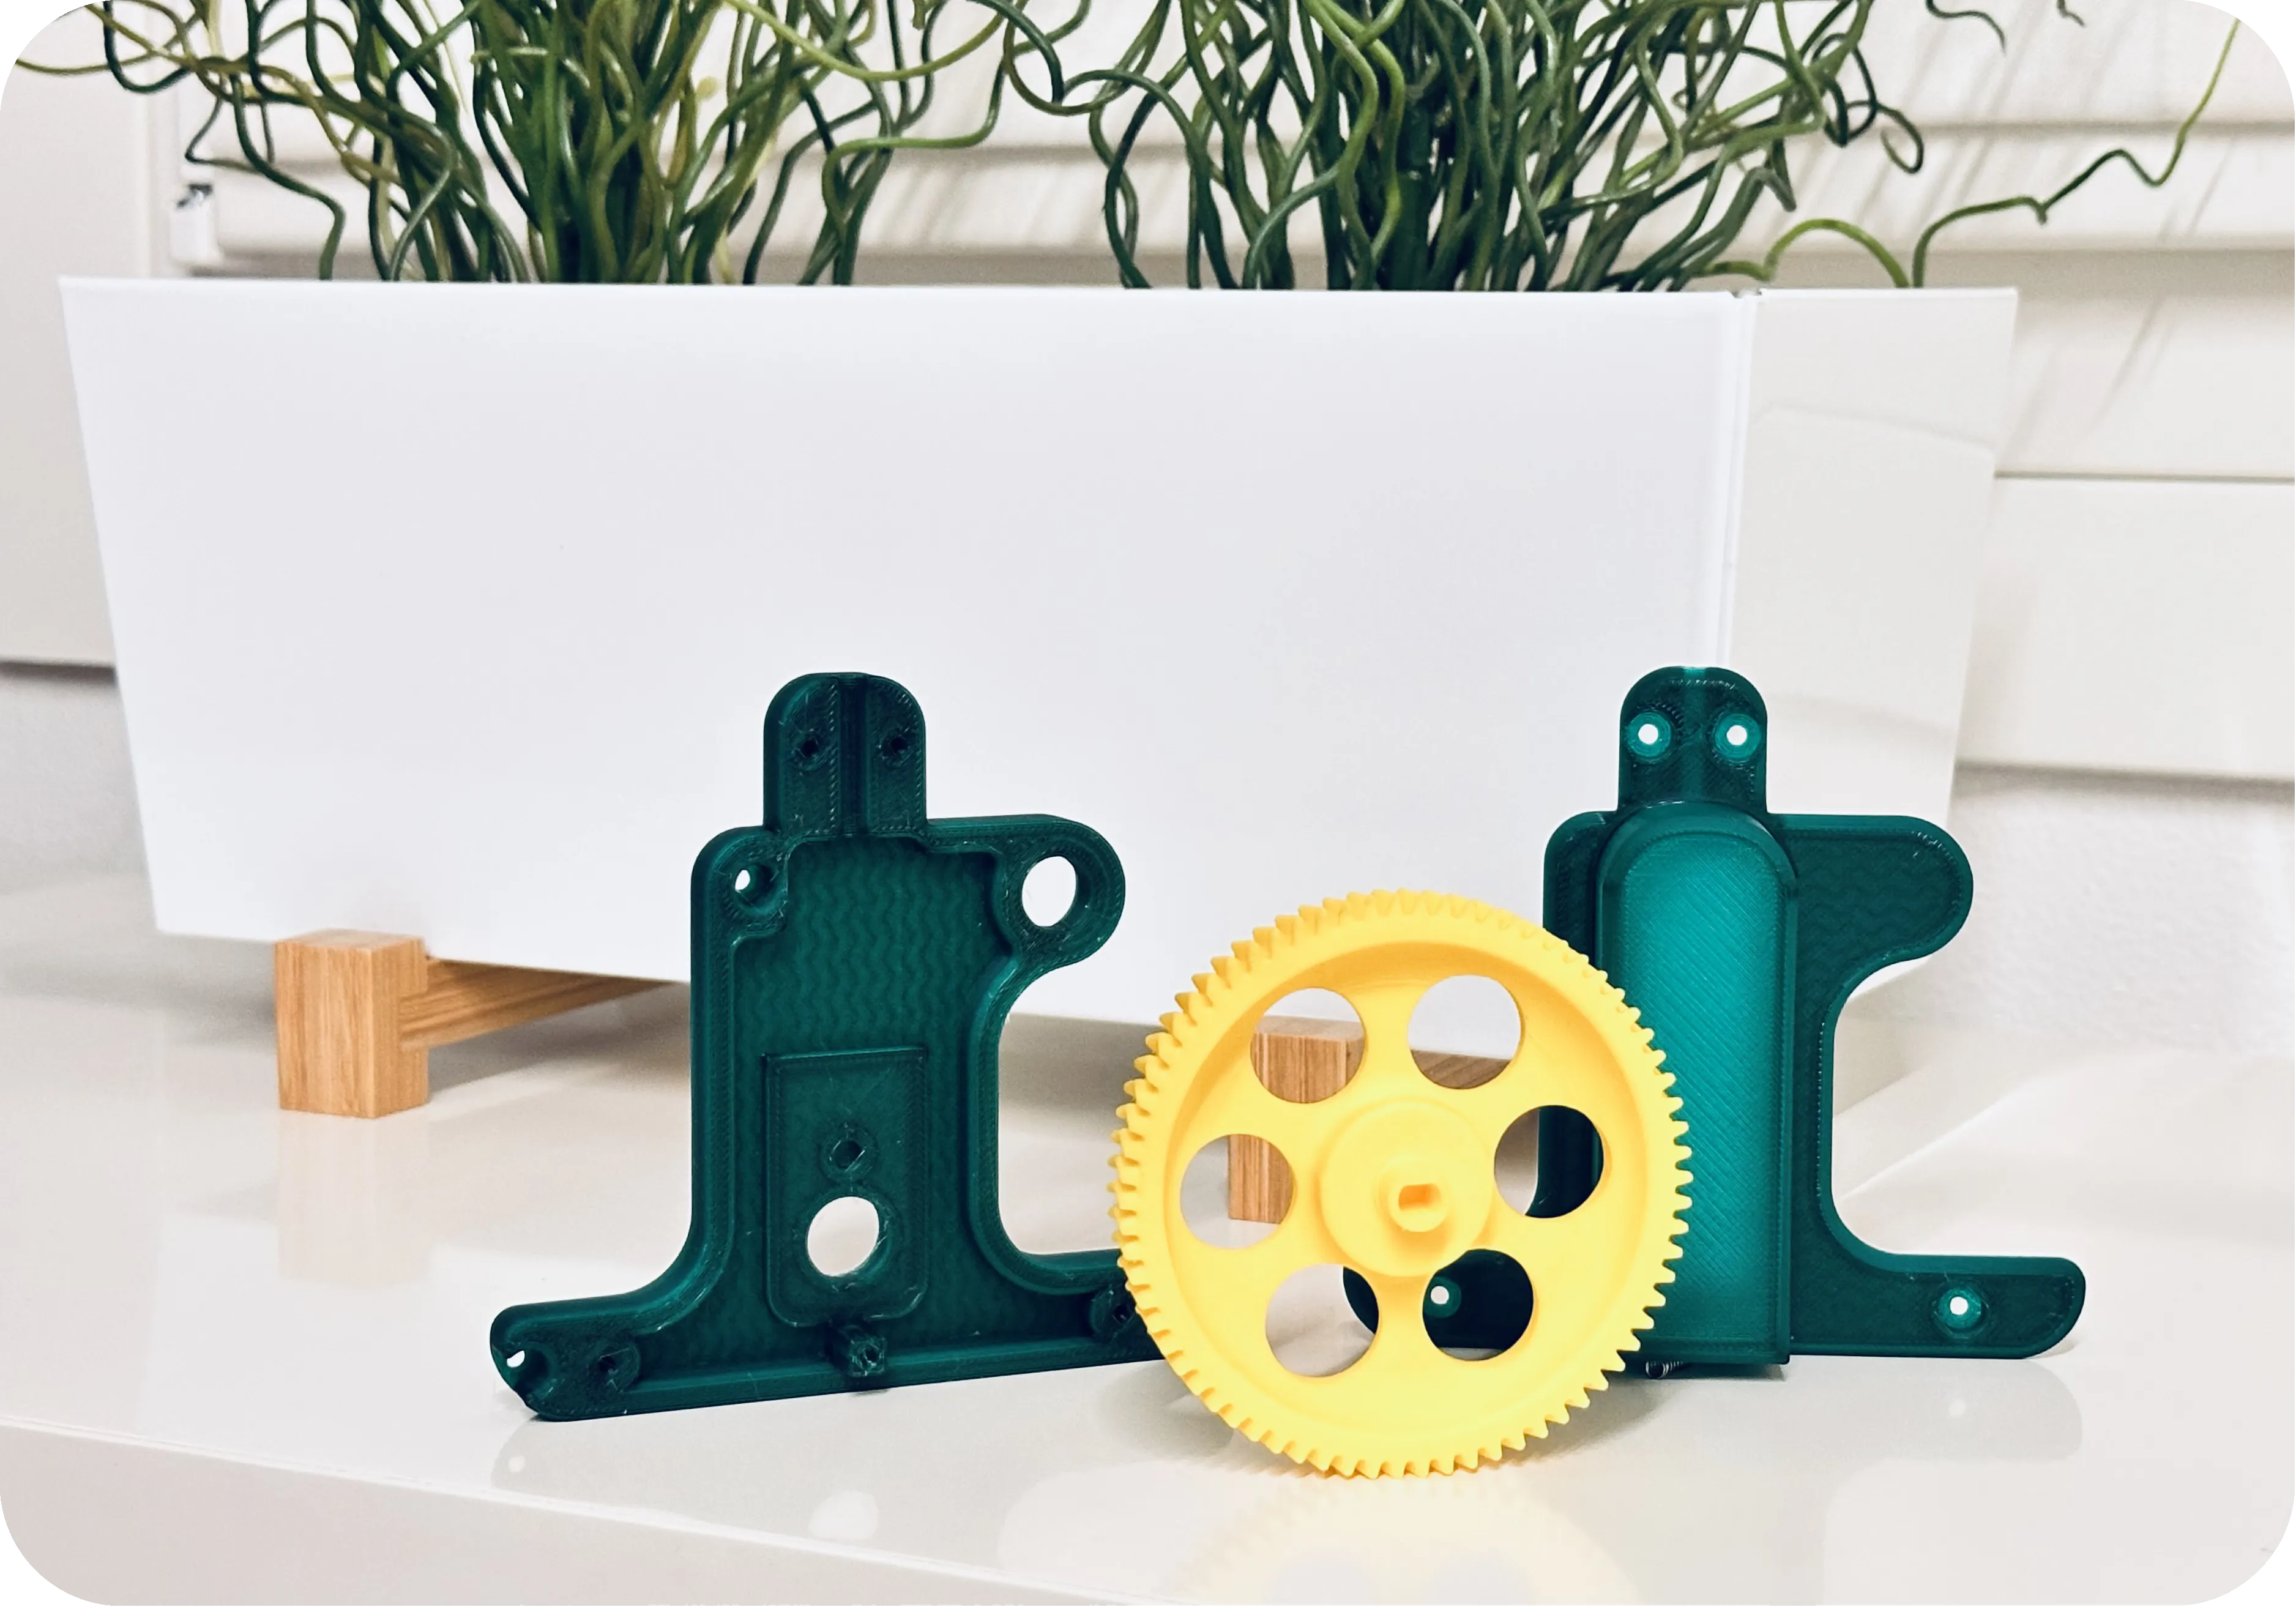
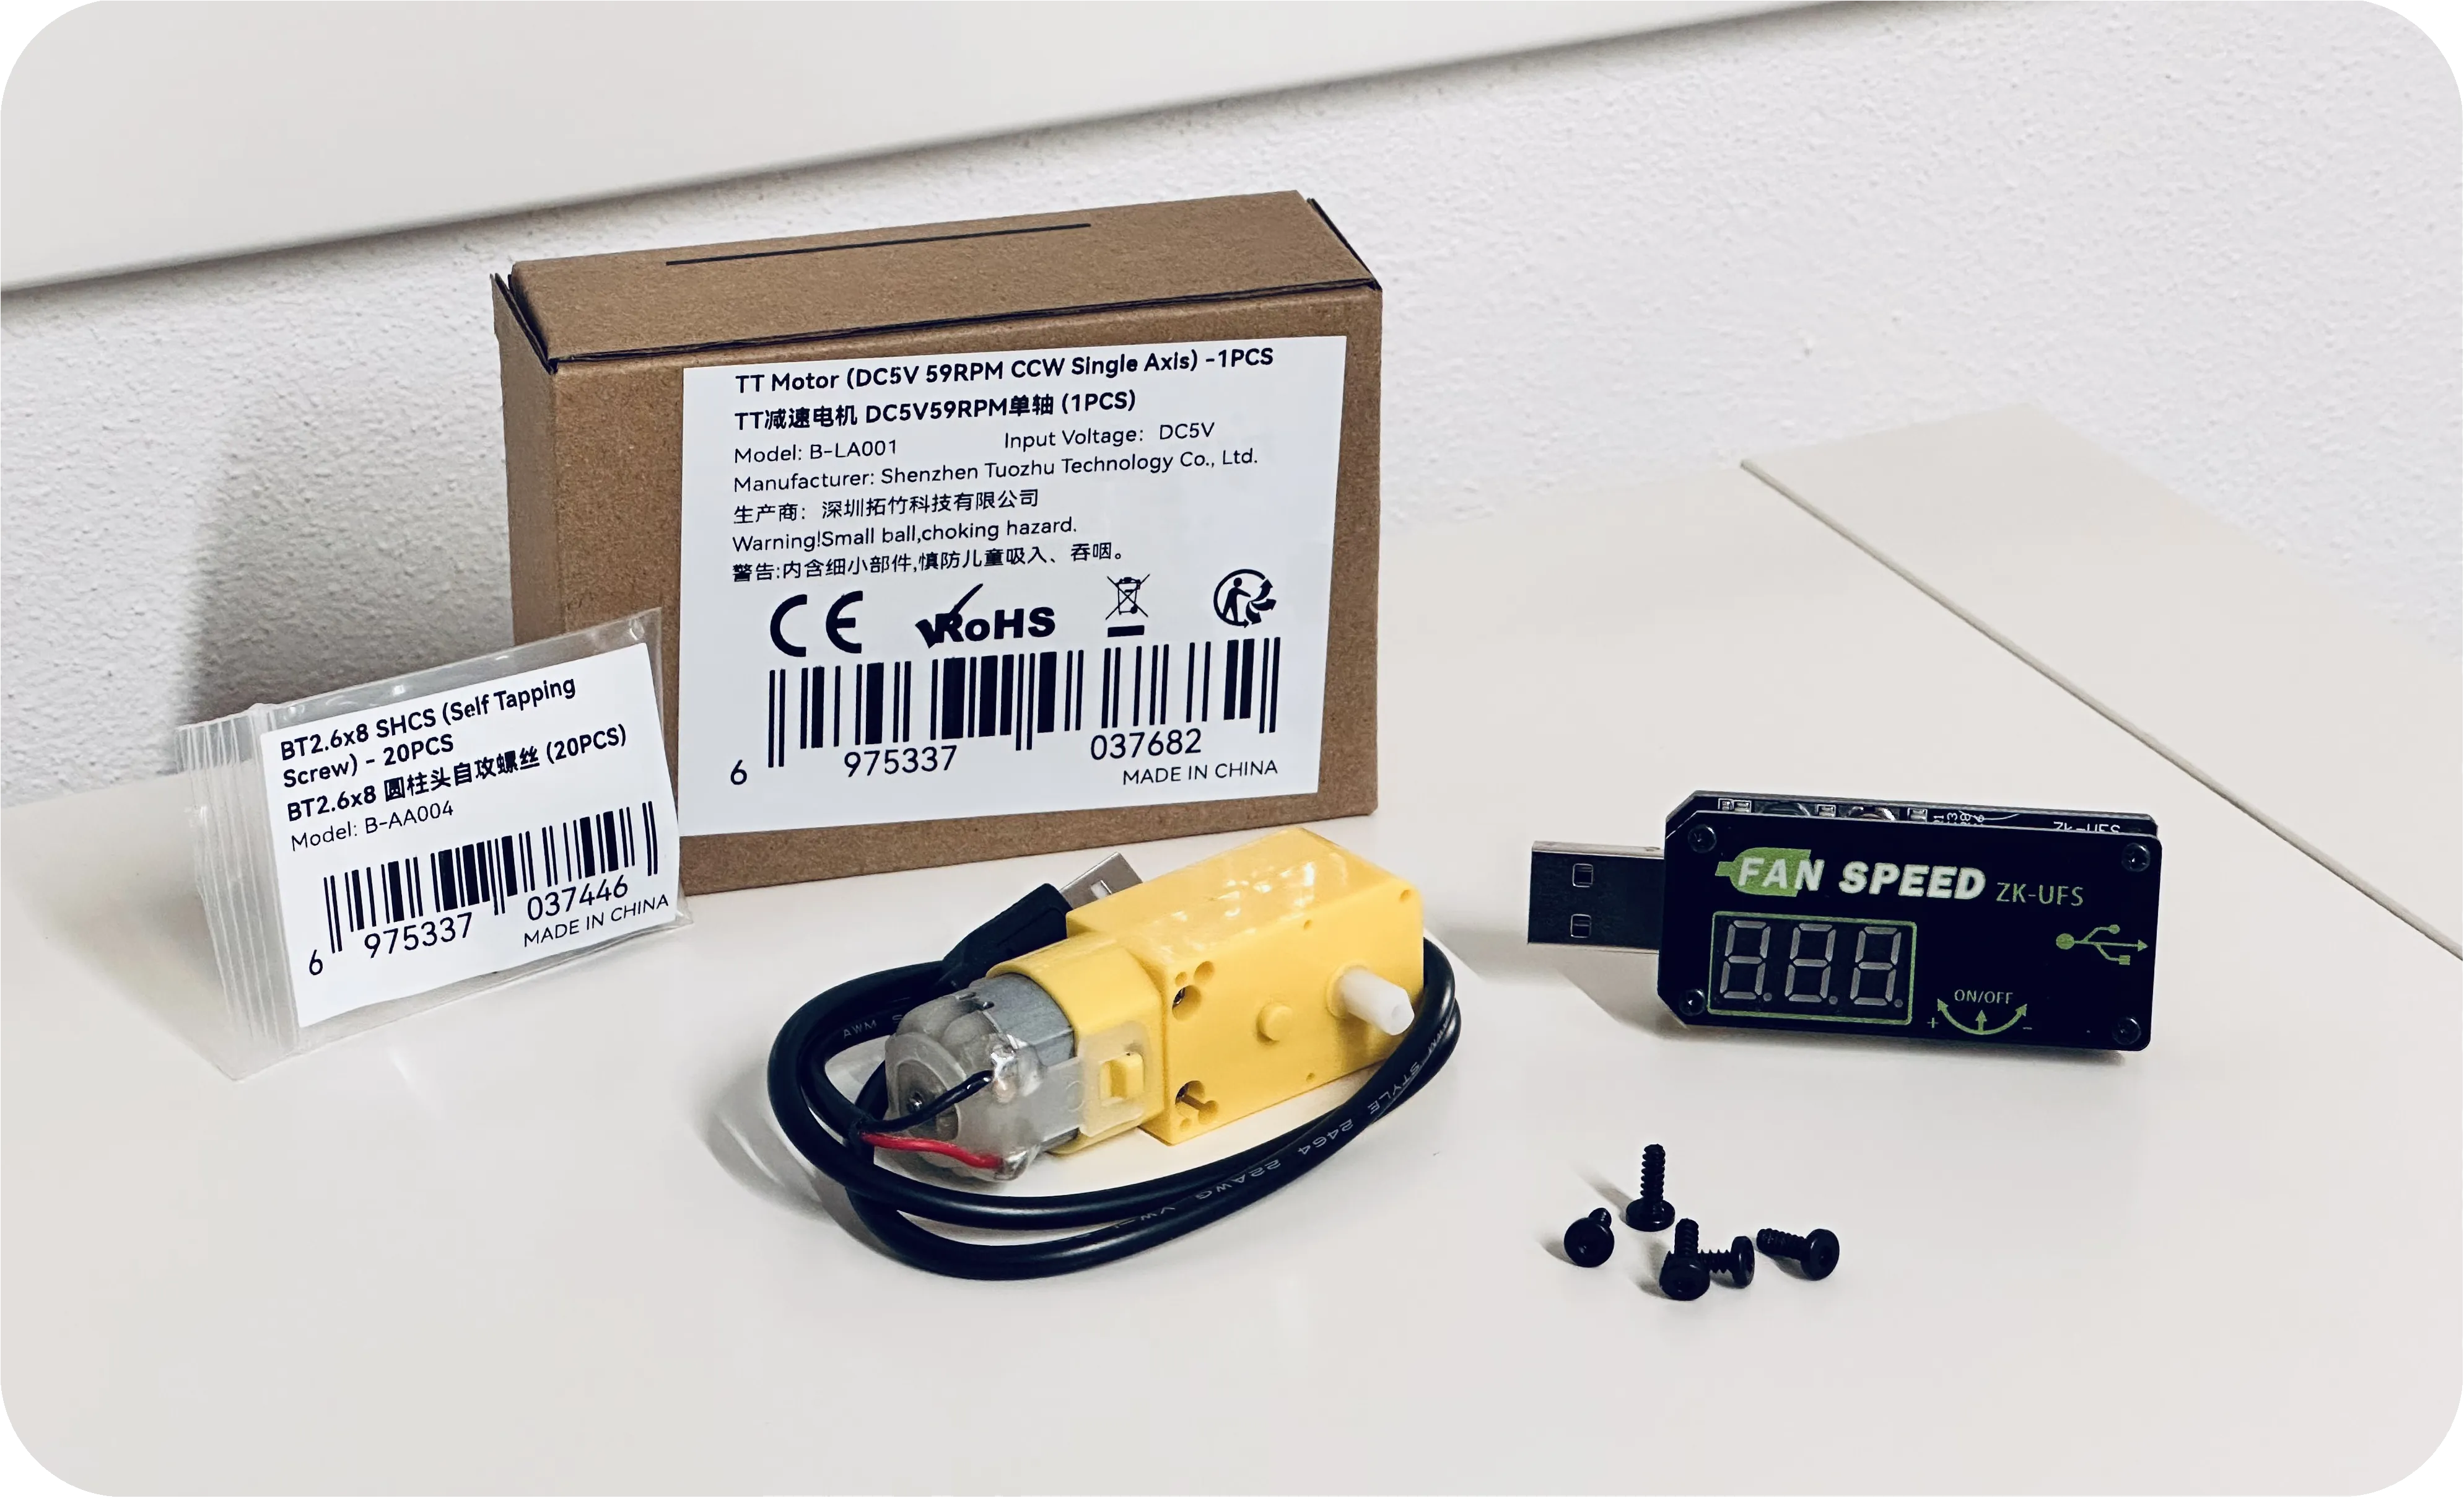
- Components list:
- 1x TT Motor LA001
- 1x Fan speed IA002
- 5x m2.5 screws AA004
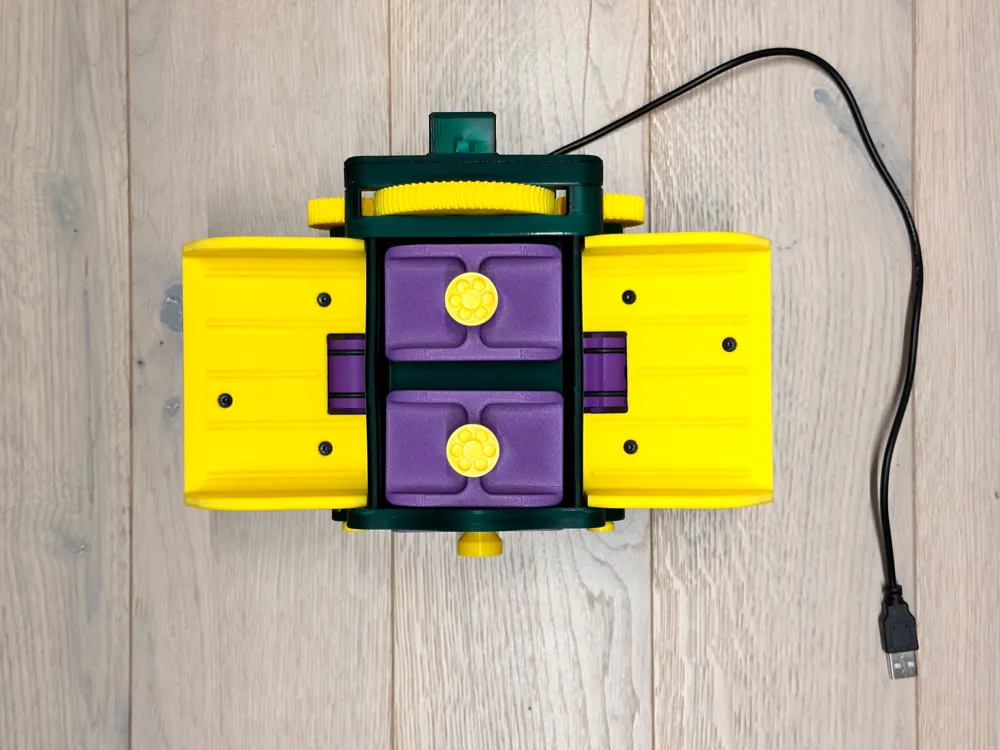
- 1x USB extension with On/Off button (optional/convenience) → Link: Aliexpress - Amazon
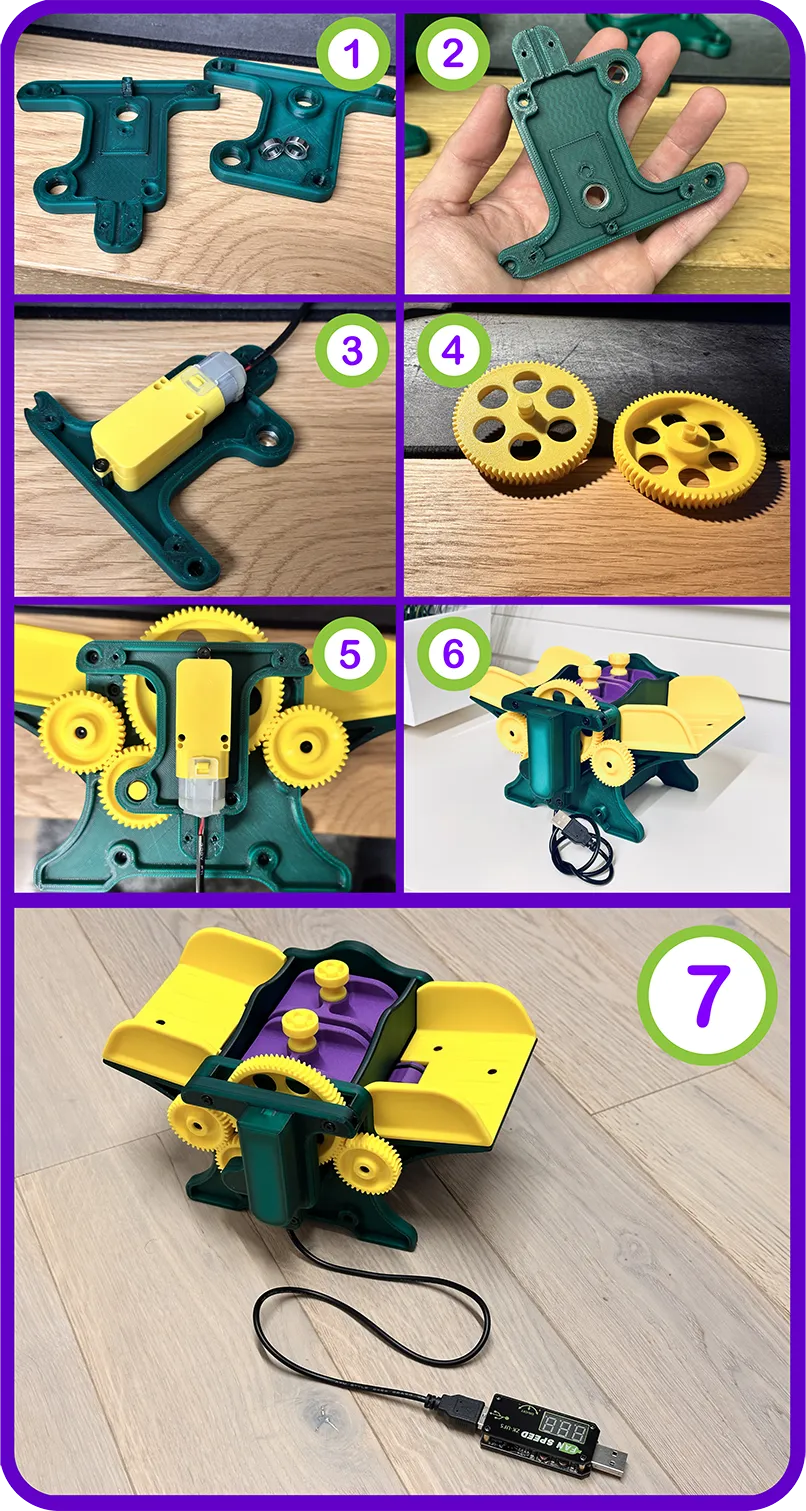
To upgrade:
1. Recover the 2 ball bearings from the previous print.
2. Reinsert them on the new 3D print.
3. Insert the motor into its housing and secure it with 1 screw on the upper side.
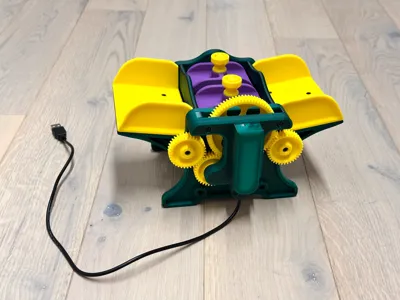
4. Recover the pin from the old gear wheel and insert it into the new wheel. Then insert the wheel as per the official instructions. (Pay attention to the 2 rollers, one opposite the other by 180°, as per the official instructions).
5. Close the motor compartment by matching the motor pin with the large gear wheel.
6. Secure the motor cover and its cable with 4 more screws.
7. Have fun and... play your game!
How to use:
Set the speed variator to maximum and power the USB.
Simple, functional.As a power source you can use a classic smartphone charger, a power bank or any USB socket (even a PC).
° - ° - ° - ° - ° - ° - ° - ° - ° - ° - ° - ° - ° - °
Here is the video test!
° - ° - ° - ° - ° - ° - ° - ° - ° - ° - ° - ° - ° - °
Shuffles a regular deck of cards "solo" in 21 seconds!
° - ° - ° - ° - ° - ° - ° - ° - ° - ° - ° - ° - ° - °
PS:
If you still have to print it and want to make it electric right away,
you won't need these parts from the original project:
- GearBracket
- DriveGear_Large
- CrankArm_Arm
- CrankArm_Knob
- CrankArm_KnobPeg
- (1x) ShaftCap
° - ° - ° - ° - ° - ° - ° - ° - ° - ° - ° - ° - ° - °
For those more knowledgeable in the field:
Yes, we are supercharging the 8v motor, but only for short periods of a few minutes.
This is necessary to have good speed and strength.
Without the voltage regulator, in fact, the cards often jam due to lack of torque/power, in addition to everything being terribly slow.
This remix is based on


License



Comment & Rating (254)