Search models, users, collections, and posts

Frankenstein Switch Light Switch Cover




Print Profile(5)

0.2mm layer, 2 walls, 15% infill
Designer
5.1 h
2 plates

0.2mm layer, 2 walls, 15% infill
Designer
7.7 h
5 plates

0.2mm layer, 2 walls, 15% infill

5.1 h
2 plates

Base remix - 0.2mm layer, 3 walls, 15% infill

1.7 h
1 plate
Click to see more
Open in Bambu Studio
Boost
2324
5915
530
210
5 k
2.7 k
Released
Description
March 2026 - Use Frankenstein Base Plate 2 Piece file for NO SUPPORT printing.
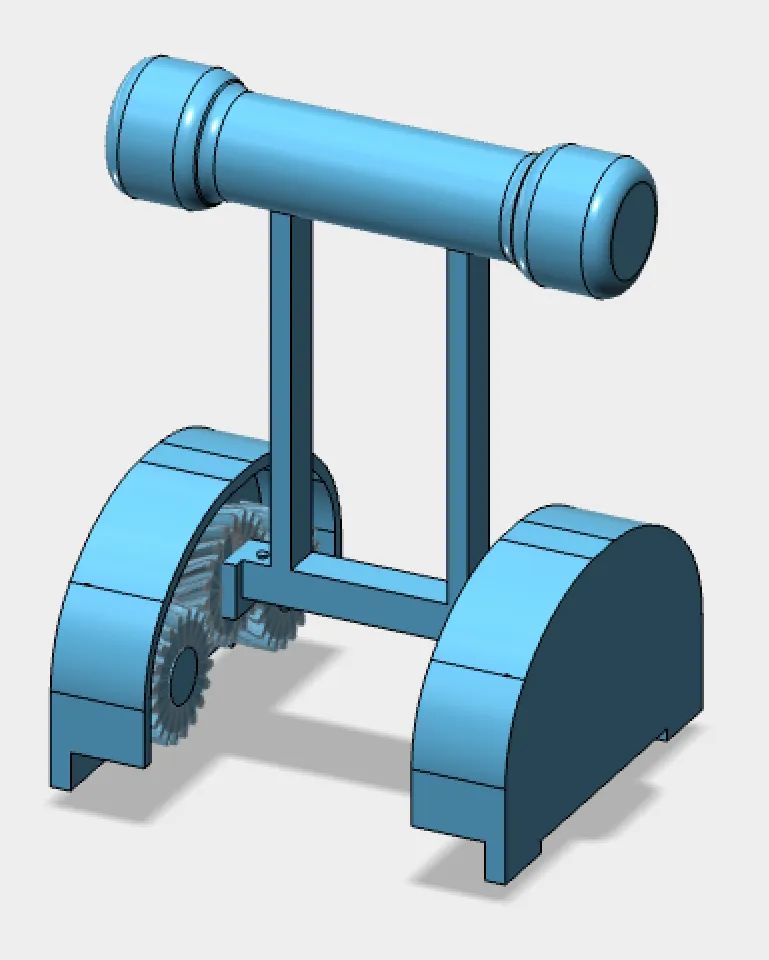
My take on a Frankenstein style light switch cover.
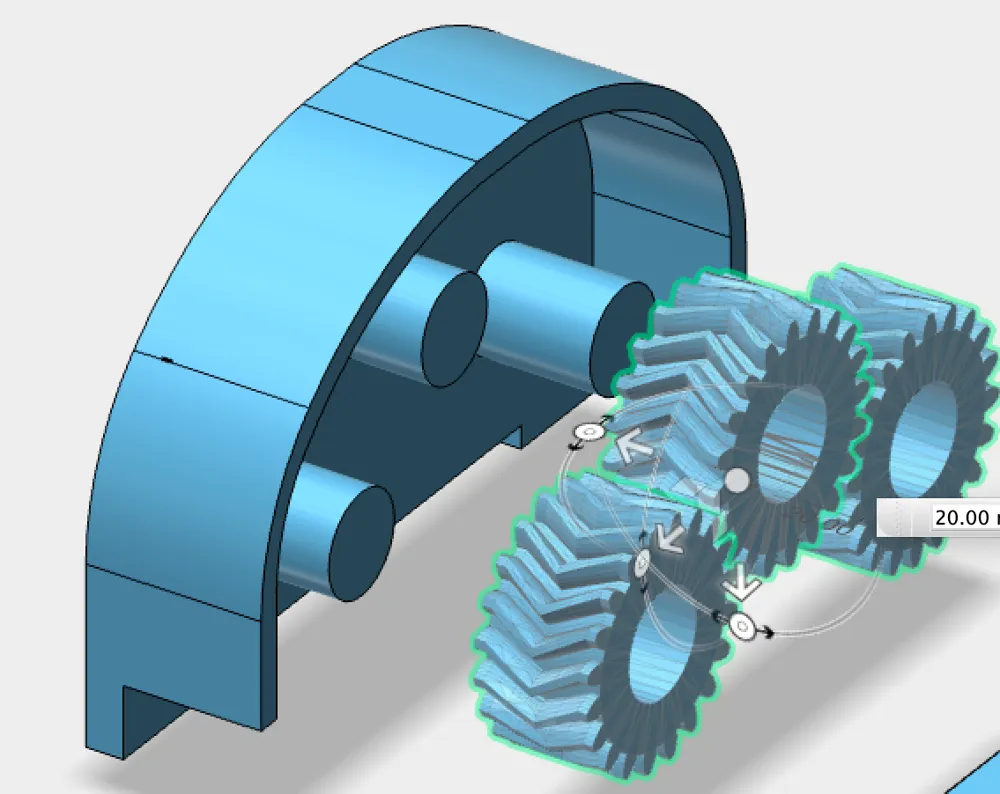
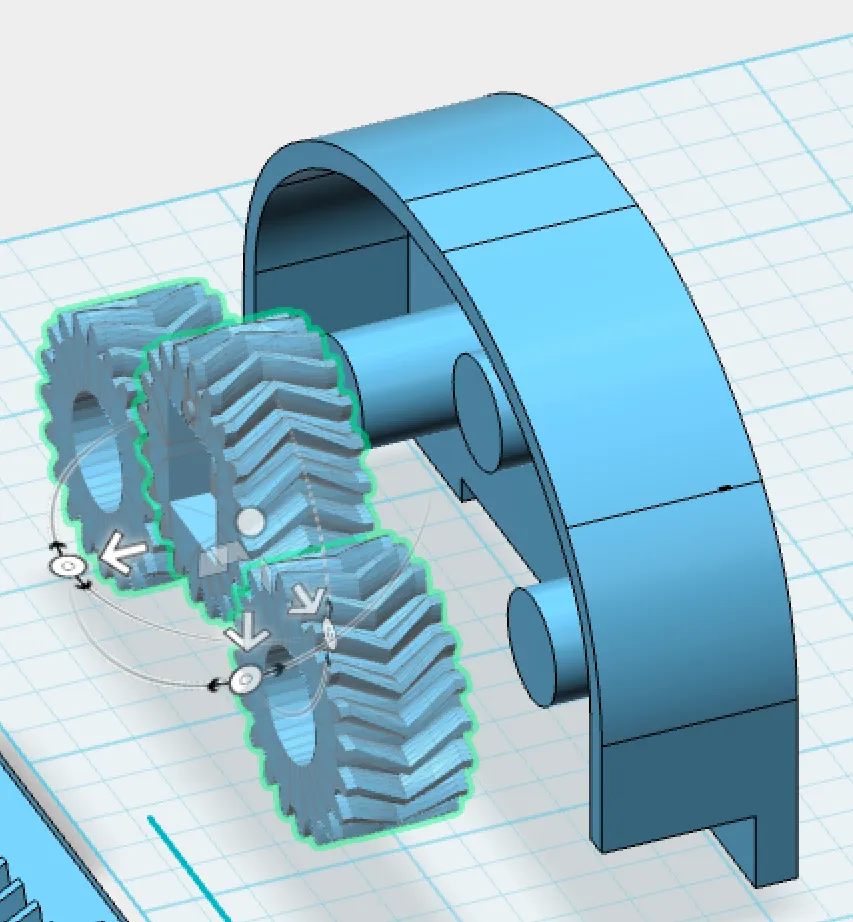
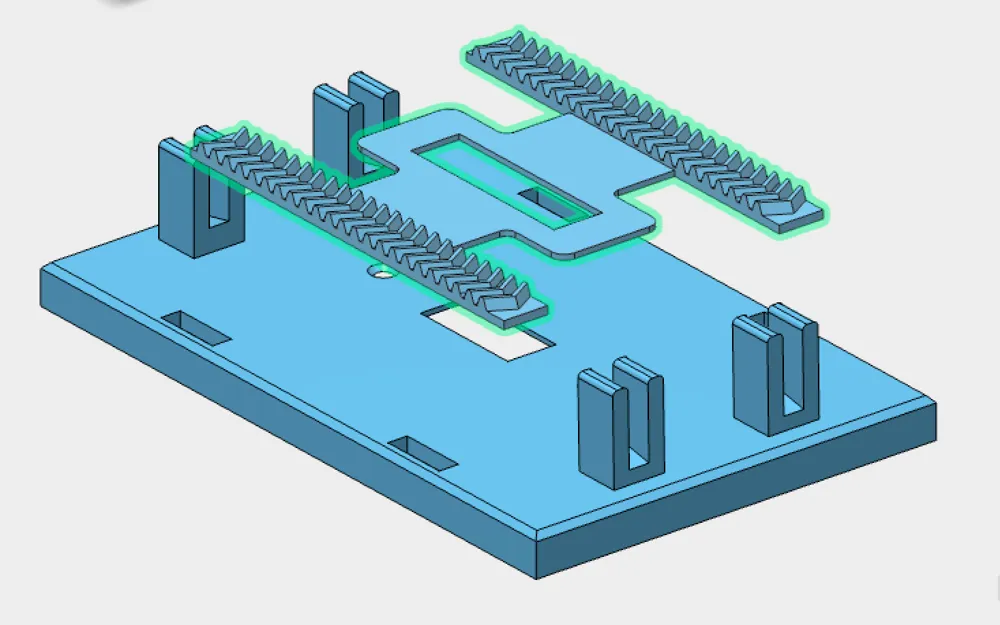
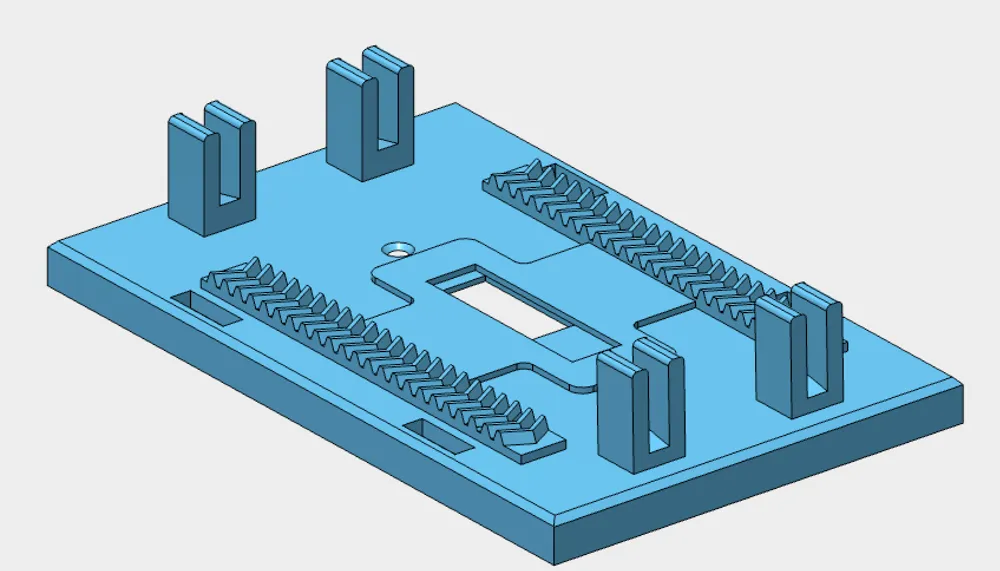
Utilizes a herringbone gear and rack system. Works great.
Printed on P1P
0.4mm nozzle at 0.2mm layer height
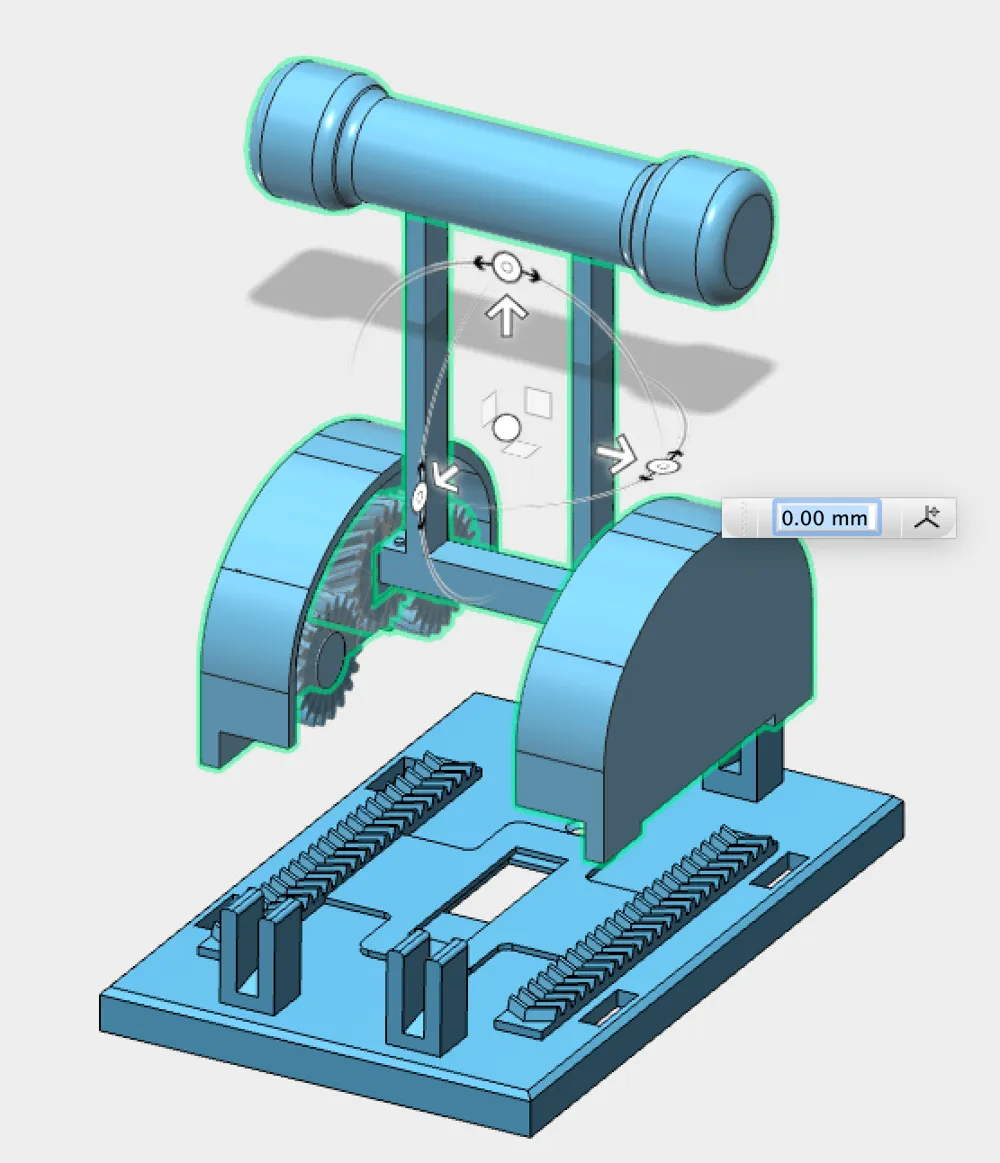
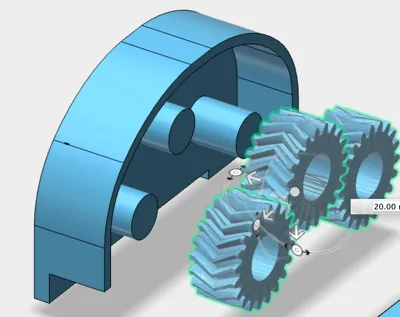
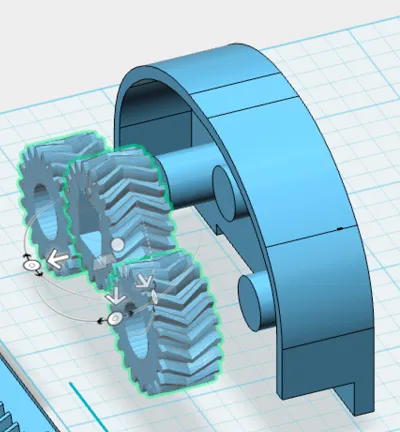
I added some assembly pictures.
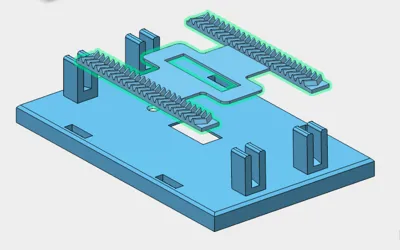
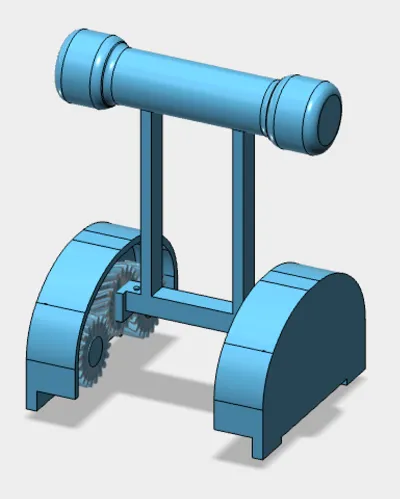
- Assemble both side gear plates first - make sure center gear has the square hole facing outward
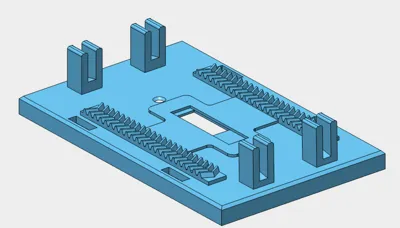
- Center the gear track plate on the base plate
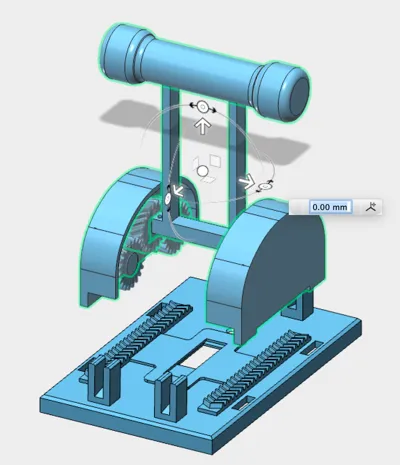
- Align handle assembly to both side gear plates
- MAKE SURE THE GEARS ARE FACING THE RIGHT WAY AND MESH WITH THE GEAR PLATE BEFORE LOWERING ONTO THE GEAR TRACK PLATE!
- Lower handle assembly and both gear plates down onto gear track - ensure gear plate is centered and handle is pointing straight up
- Ensure smooth operation PRIOR to gluing gear plates into place
Documentation (1)
Assembly Guide (1)
Frankenstein Switch Assembly.pdf



Comment & Rating (530)