Automatic feeder / feeder for poultry


Print Profile(6)


Description
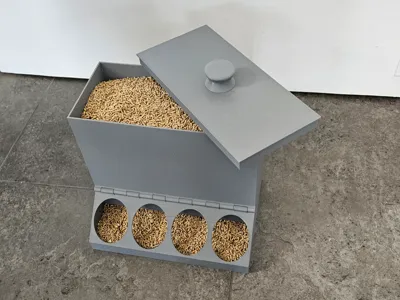
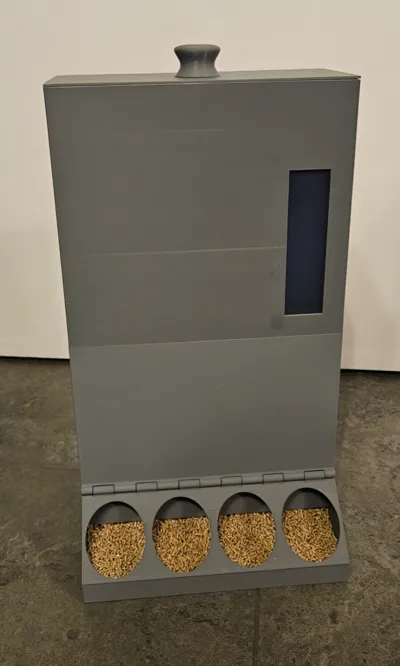
Feeder for poultry such as chickens, quails, and many more
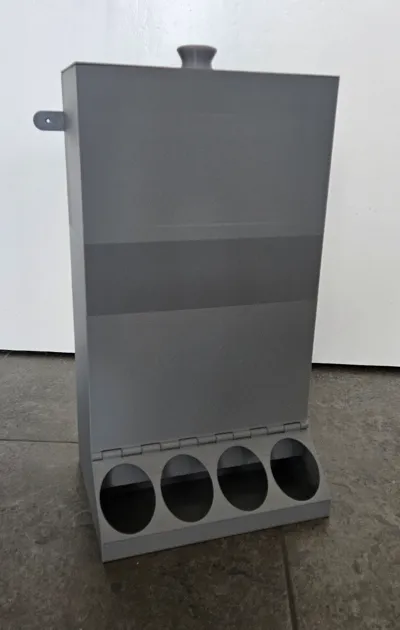
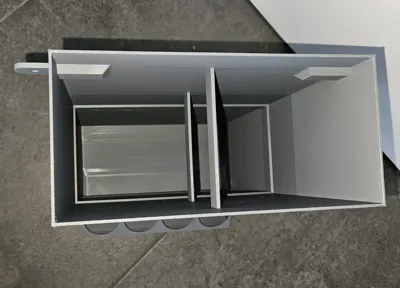
Variably constructed and infinitely expandable with the extension, allowing a very large supply to be added to the feeder
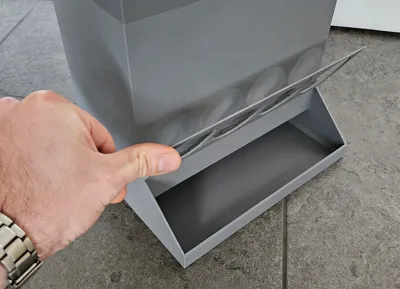
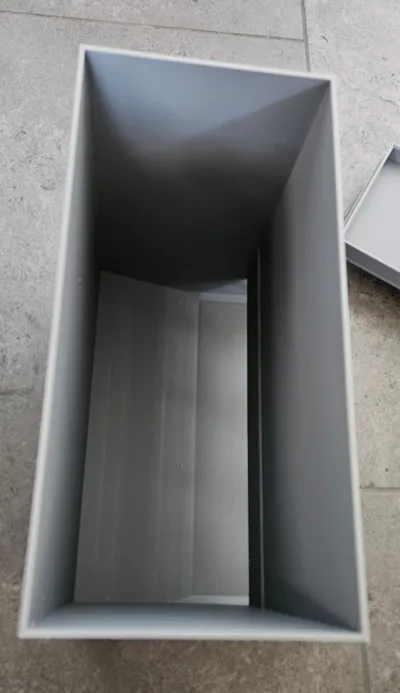
Slanted inside so that the feed is safely guided forward. The feed holes are foldable to facilitate cleaning (Print in Place hinge)
The feeder itself, as well as each extension, holds approximately 4.5 - 5 liters of feed
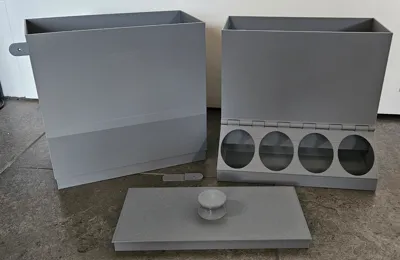
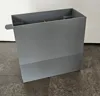
The lowest element, standing on the ground, is the feeder itself: Must be printed with support. After printing, remove the support first. Then carefully loosen the flap on the 2 sides and front with a cutter (Caution: Risk of injury from the cutter) Once the flap is free, the hinge can be made movable with very gentle, small movements (please touch near the hinge to avoid breaking off parts). It is quite easy to loosen and then functions perfectly
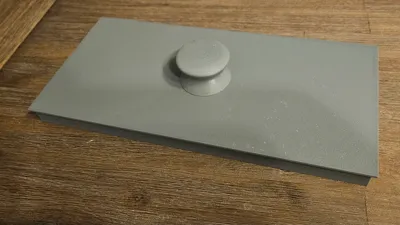
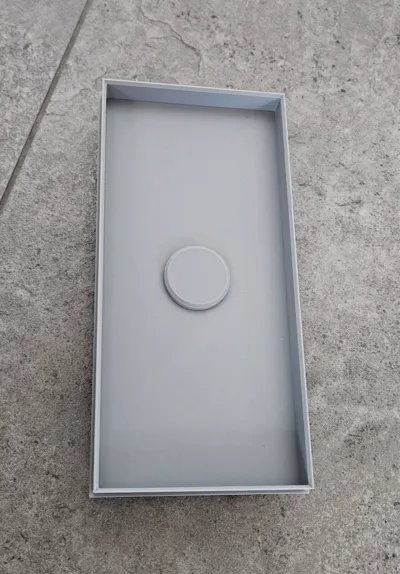
The lid forms the top closure. This must be glued, as the knob is rounded upwards for a good feel
Any number of extensions can be placed between these two components. I have them in 4 variants:
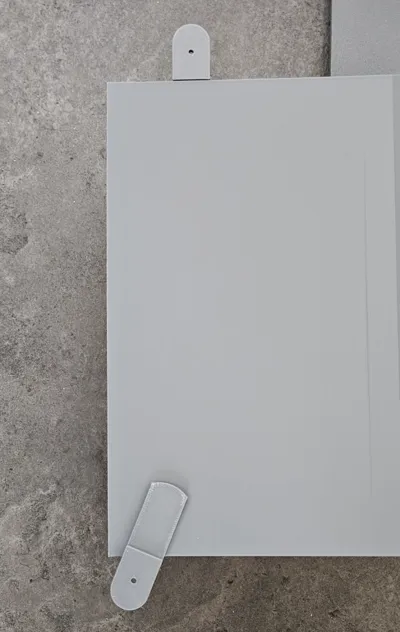
- with a bracket for screwing them to the wall if the tower becomes too high (wall mounting)
- with a window to check the feed level (printing instructions for window see below)
- with both
- and without both ;-)
All must be printed with support and brim
Finally, the window made of transparent material
Anyone who has dealt with this before knows that transparent printing is difficult. Therefore, I have created a separate print profile just for the window, which then needs to be glued into the extension. (Unfortunately, it must be a separate print profile, otherwise it is not parametrically representable/compatible with other objects)
I recommend using a smooth build plate (e.g., High Temp Plate) and disabling all fans (even with the included profile). The printing temperature should be as high as possible (here 240 degrees for PLA) and the filament should be absolutely dry
The top surface can be sanded at the end, always only in the printing direction and with a very fine grit (approx. 1,000 & 5,000 grit)
If you have it and want to, you can smooth this top surface (and later outer surface) with resin, which results in a small improvement (but please only on the outside, so that it does not come into contact with the feed later):
 Left side normal, right with resin
For those who are not so keen on experimenting: alternatively you can cut a 2mm Plexiglas to 140x45mm ;-)
If you want to set the printing parameters yourself, it is important for window printing: 100% infill, print only in one direction (not cross-hatched per layer), slowly at 20mm/s, with slight over-extrusion, completely without fans (part fan is deactivated in the 3mf file, others may need to be manually switched off at print start), layer height of 0.1mm
and now: Happy printing
I have also created a Version 2 with a horizontal feed opening. This results, at least for me, in less feed being thrown out by the animals. You can find it here
License
You shall not share, sub-license, sell, rent, host, transfer, or distribute in any way the digital or 3D printed versions of this object, nor any other derivative work of this object in its digital or physical format (including - but not limited to - remixes of this object, and hosting on other digital platforms). The objects may not be used without permission in any way whatsoever in which you charge money, or collect fees.
Comment & Rating (49)