Lily 58 Typeractive Keyboard Case MX Low Profile


Print Profile(3)


Description
Lily 58 Typeractive Keyboard Case - MX Spacing Low Profile
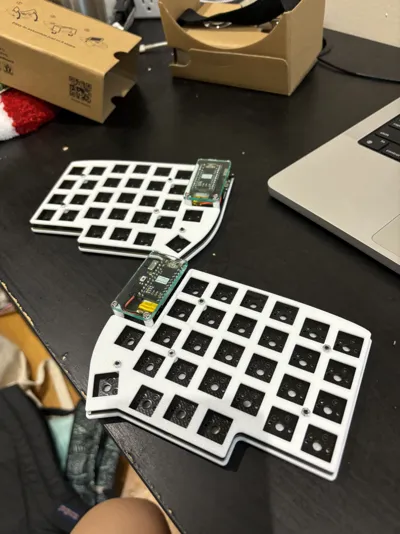
The reason I designed this was because the Typeractive Lily58 PCBs have slightly different spacing from the normal open source Lily58's, and hence a lot of the Lily58 cases out there wouldn't work with the Typeractive PCB. I like low, minimalist cases, and using this case, the distance from the PCB board to the table is only 4 mm. The total distance from the top of the plate to the table is 11mm.
I also wanted space to stuff poron foam between the plate and PCB for a dampening effect, which is why the plate is held up with spacers and there's intentionally a gap left between the plate and PCB.
If you're printing on the A1 mini - don't forget to flip the model when printing for left and right. Right click to select “Clone”, and then right click on the cloned model to select “Mirror.” Mirroring along the X or Y axis both work.
For other Bambu printers with a bigger print bed, you can fit both left and right cases in the same print.
What You Need
Printed Parts
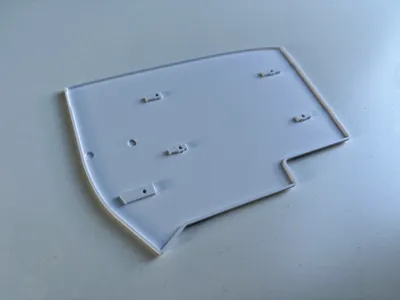
- Printed plate for the left and right side with Typeractive spacing.
- Printed case for the left and right side with Typeractive spacing.
I printed everything in PLA with a 0.4mm nozzle at 0.2mm layer height.
Bought Parts
You need a set of MX spaced Lily58 PCBs from Typeractive. And switches, keycaps, batteries, microcontrollers etc., the full list can be found at the Lily58 github repo - just remember that the PCB needs to be from Typeractive, and the plate and case 3D printed from here.
For the display cover, I laser cut two pieces of acrylic.
You also need:
- 10 x M2x10 screws and nuts (these go from the bottom of the case upwards and connect the bottom case, PCB board, 2Mx3.5 spacers, and the switch plate)
- 8 x M2x4 or 2Mx5 screws and nuts (these are for connecting the display covers to the PCB)
- 10 x M2x3.5 spacers - (for spacing between the PCB and the plate. You can 3d print these and tap the threads with a M2 tap or just screw really hard, checkout my model here)
- 4 x M2x10 standoffs - (for spacing to hold up the display covers. You can also 3d print these, same as above, here's my model)
License
You shall not share, sub-license, sell, rent, host, transfer, or distribute in any way the digital or 3D printed versions of this object, nor any other derivative work of this object in its digital or physical format (including - but not limited to - remixes of this object, and hosting on other digital platforms). The objects may not be used without permission in any way whatsoever in which you charge money, or collect fees.
Comment & Rating (4)