self back trigger point massage


Print Profile(4)


Description
Thanks for reaching out!
Here we have a rule not to use a single Ai image. This means every image you see in posts or descriptions are real photos.
Another rule is not to upload designs that are not tested by us first. So what you see is what you will print indeed.
Hope you like our work and maybe support us. Remember that you can support us for free just by like, follow, share and boost our work.
Boost Me (for free)
drop your spare boost if you liked this model
a self back trigger point massage tool .
you can print it in a single print if bed is at least 255x255mm..
i ended in this design after a lot of trial and errors.
I put it up of my shoulder and find the spot of pain. then i gently push it . make some up and downs in the spot. the relief is what you guide through the process!
very robust design with one joint.
no other materials needed to assembly.
the final assembly is completely balanced and beautiful!
you can use it as physics decoration when you aren't using it.
maybe i will include a futuristic base for this in the future.
all the parts are designed to fit exactly the bed of the x1c. (255x255mm).

it works superb!
i manage to relief my back pain at last!
it only costs 245 grams and 6 and a half hours.
i included all 3 stls too.
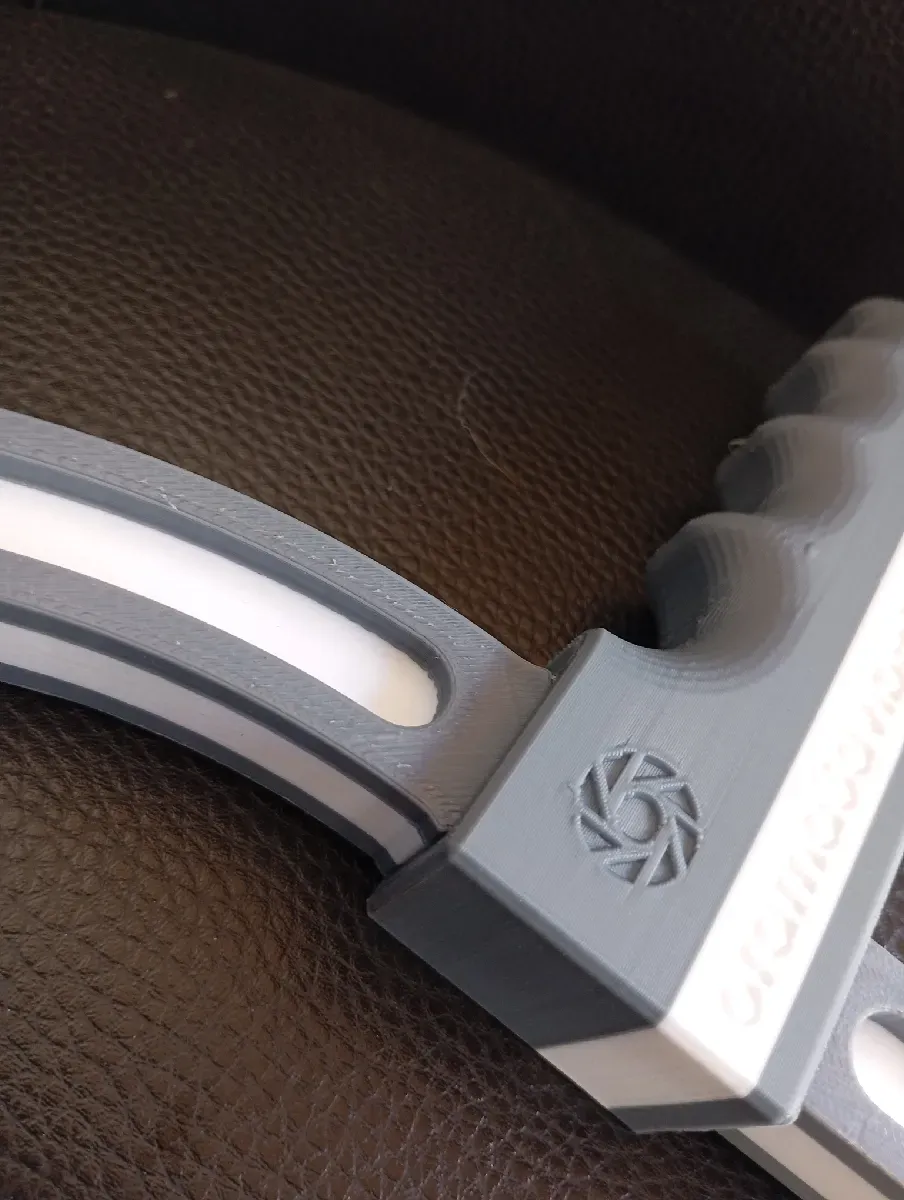
i preferred 2 colors for this beauty!
this is printed with petg.
this is printed with ams but you can print the dual color if you pause print at 5mm.One more pause at 15mm.
Assembly instructions:
- clean carefully all the brim.
insert the handle at the lower part first.

join upper and lower parts together.

the joint is stiff enough to be stronger . so you have to push it hard or to punch it.

slide the handle till the stop so to cover the joint.
- see photos for help.
- enjoy!
added them on my tools and gadgets collection here:
https://makerworld.com/en/collections/7706686-tools-and-gadgets
🙏 Please don't leave negative feedback if you don't doublecheck that you used your own well working filament profiles and be very sure that you build plate is well cleaned!
The designs we upload are well tested so you don't have to worry about them. we never upload a design without fully tested them first!
🙏 Feel free to Follow, Boost, Like & Share this work — your support means the world and helps us bring more designs.
ways you can support our work:
Membership
don't forget that if you are looking for a commercial license of my designs or simply you want to support our work hit join to subscribe here on makerworld or go to our page on patreon and subscribe there!
- Dont forget that you can support us for free just by following and sharing our facebook, instagram, patreon, youtube and makerworld accounts.
License
You shall not share, sub-license, sell, rent, host, transfer, or distribute in any way the digital or 3D printed versions of this object, nor any other derivative work of this object in its digital or physical format (including - but not limited to - remixes of this object, and hosting on other digital platforms). The objects may not be used without permission in any way whatsoever in which you charge money, or collect fees.
Comment & Rating (204)