Search models, users, collections, and posts
Microwave turntable coupling
IP Report


Print Profile(1)

0.2mm layer, 6 walls, 30% infill
Designer
34 min
1 plate
Open in Bambu Studio
Boost
38
60
9
2
193
100
Released
Description
Membership
You want to make money with it? become a member.
Join
Boost Me (for free)
You like it? give it a boost.
Boost Me (for free)
Helps prototyping
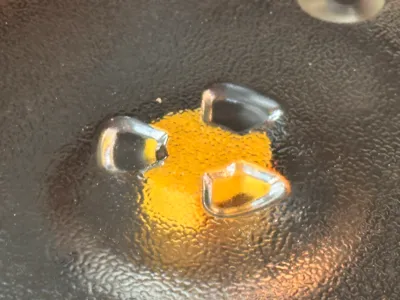
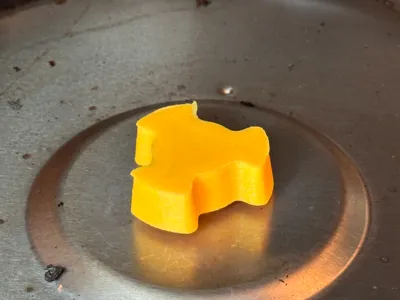
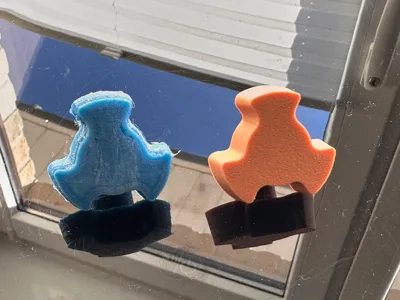
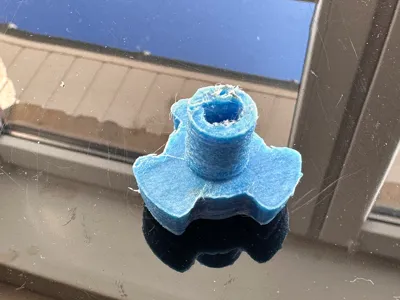
microwave turntable coupling provides a practical solution for repairing broken turntables in microwaves. Originally designed for LG microwaves, this model can also fit other appliances, provided the dimensions match.
Features:
- Precise Fit:
- The coupling is specifically designed to drive the turntable in microwaves reliably. Its universal shape makes it compatible with various microwave models.
- High Temperature Resistance:
- Since the coupling must withstand extreme temperatures, it’s important to use a material that is heat-resistant and won’t melt or deform under heat.
- Cost-Effective Alternative:
- If Nylon or similar high-temperature materials are unavailable, a trimmer line for a grass trimmer can be used as a printing material. It is cost-effective and works surprisingly well if properly dried beforehand.
Printing Specifications:
- Recommended Material: Nylon, PEEK, PC, or other heat-resistant filaments.
- Alternative: Grass trimmer line (must be dried before printing).
- Nozzle Size: 0.4 mm
- Layer Height: 0.2 mm for a good balance between detail and strength.
- Infill: 100% (recommended for maximum strength).
- Support: Not required, as the model is optimized for easy printing without supports.
Printing Instructions:
- Model Preparation:
- Load the 3D model of the microwave turntable coupling into your slicer software. Adjust the size if necessary to ensure a perfect fit for your microwave.
- Material Preparation:
- If using a trimmer line, ensure it is thoroughly dried before printing to avoid moisture issues that can negatively affect print quality.
- Print Settings:
- Choose a printing temperature appropriate for the material. For Nylon, the optimal temperature ranges between 250°C and 270°C.
- Printing:
- Start the print and monitor the first few layers to ensure proper adhesion to the print bed.
Post-Processing:
- After printing, remove any excess material using fine sandpaper. This is particularly important to ensure the coupling fits perfectly with the turntable mechanism.
Installation:
- Insert the coupling into the microwave and test the turntable to ensure smooth operation. If the fit is too tight, you can make slight adjustments by removing excess material.
Conclusion:
This 3D print offers a cost-effective and flexible way to replace a broken microwave turntable coupling. With the right material selection and preparation, the printed coupling can be durable and heat-resistant. Even using an alternative material like grass trimmer line, you can achieve a functional and stable solution.
License
If you want to use this model commercially, please join my membership.
Join Now
This user content is licensed under a
Creative Commons Public Domain
Comment & Rating (9)