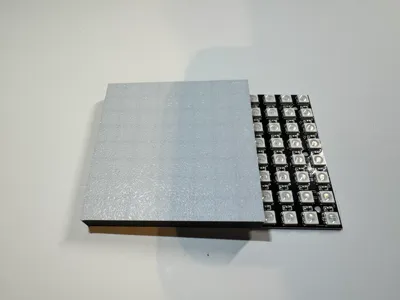
8X8 WLED Matrix


Print Profile(4)


Description
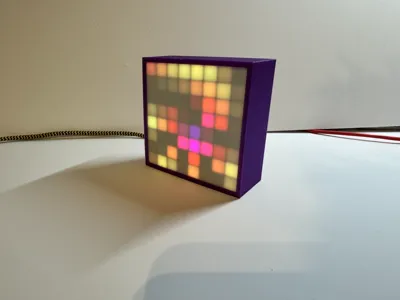
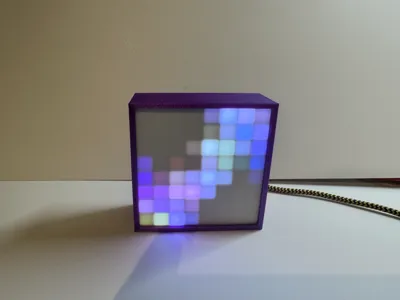
A smaller version of a 32x32 matrix I created last year.
The electronics require minimal soldering and NO programming skills. Everything can be done through the website.
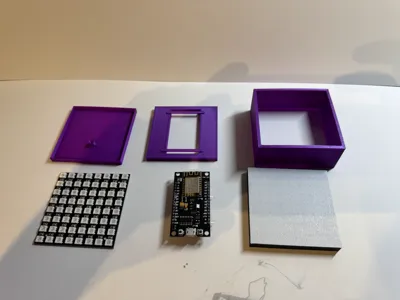
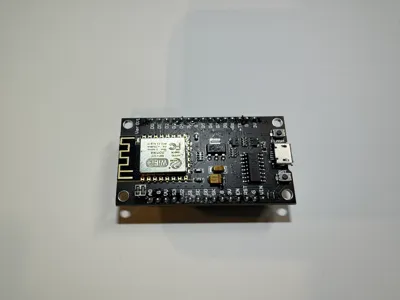
This uses WLED to run the matrix. The matrix can either be controlled using a ESP8266 or an ESP32.
The parts I used can be found on both Amazon and AliExpress but I ordered them from AliExpress.
This is designed specifically for:
ESP8266 ESP8266 - AliExpress
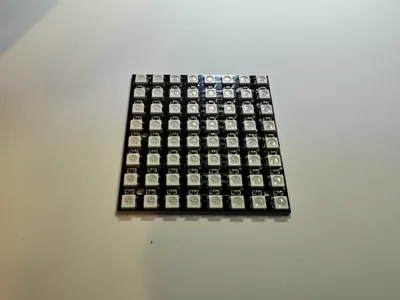
8X8 Matrix WS2812 LED 5050 RGB 8x8 LED Matrix - AliExpress
You will also require a USB Cable.
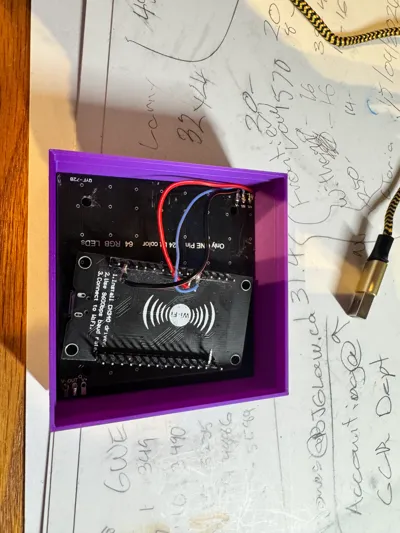
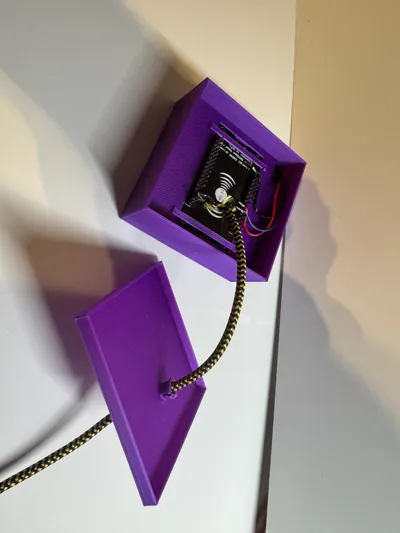
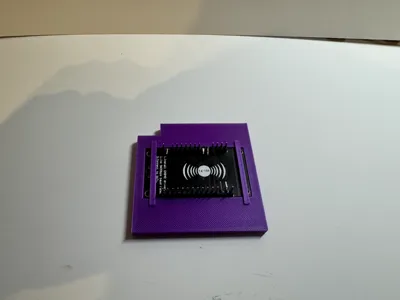
The print consists of 4 parts. The case surround, diffuser, mid-plate and back. The mid plate is the only part that will need to be glued into place as long as your tolerances are good. The mid-plate holds both the Matrix and the ESP board in place.
I have adjusted the print speed so that the flow is consistent throughout the print, this way you shouldn’t get any banding.
This was printed in PLA with PETG as a support interface. If you don’t use a different filament as an interface for your supports they will stick. Make sure to adjust your support settings for the type of support you use.
The diffuser should be printed with white on the bottom and a black grid to give the LEDS the best definition and contrast.
I soldered the USB cable to the board inputs to keep things cleaner but the file can be easily modified to pass a standard USB cable through the back and plug into the board.
There is a small nub on the inside of the back cover that the cable goes through. I used hot glue here, make sure the glue goes through the slits of the nub to get a good hold on the USB cable.
****I changed the size of the nub on the backplate because it kept breaking off when removing supports I've uploaded the new STL and print profile****
Boost Me (for free)
License
You shall not share, sub-license, sell, rent, host, transfer, or distribute in any way the digital or 3D printed versions of this object, nor any other derivative work of this object in its digital or physical format (including - but not limited to - remixes of this object, and hosting on other digital platforms). The objects may not be used without permission in any way whatsoever in which you charge money, or collect fees.
Comment & Rating (74)