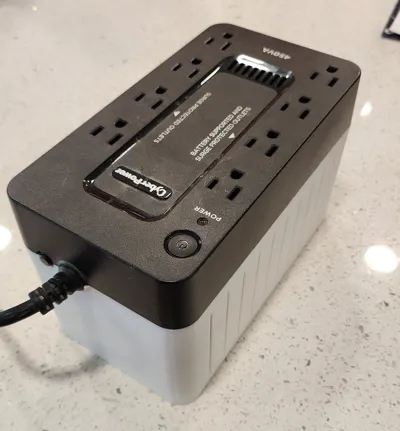
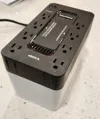
Cyberpower 450VA Battery Upgrade


Print Profile(1)
Bill of Materials
- Screws x 4: Reuse from UPS
Description
Cyberpower SE450G1 Upgrade Kit
Allows for upgrade from the expensive CPS3.6 2.9AH SLA batteries to more standard, cheaper, larger 7AH batteries.
I chose to upgrade to a lifepo4 variant due to price and weight.
Slight bend needed to the circuit breaker tabs to provide clearance for the battery size.
Confirm new battery size is:
5.94(L)*2. 56(W)*3. 7(H)
Upgrade at your own risk. Choosing a lifepo4 battery may limit your max power capacity from the UPS.
Not confirmed compatible with other 450VA variants, such as SE450B, EC450G
To assemble:
- Turn the UPS so the outlets are facing down
- Remove the battery (you no longer need the screw for the battery cover)
- Remove the remaining 4 screws
- Remove the bottom cover
- Carefully bend the circuit breaker tabs towards the inside of the UPS
- Connect the new battery
- Turn over the UPS and place the battery loosely into the new bottom cover
- Carefully align the battery into the battery holder detent
- Align the bottom cover to the screw holes, ensuring no wires are being pinched
- Tightly hold the assembly together with your hands or tape
- Carefully reinstall the 4 screws from step 3, do not over tighten as you may crack the print
- It may require some persuasion to align in place
Ensure the cord and circuit breaker are properly in place
Print from heat resistant material as it does occasionally get warm. I did PETG, ABS or ASA would likely be preferred.
Print with brim to avoid warping on this 6-8hr print
Comment & Rating (0)