


Print Profile(1)

Bill of Materials
Description
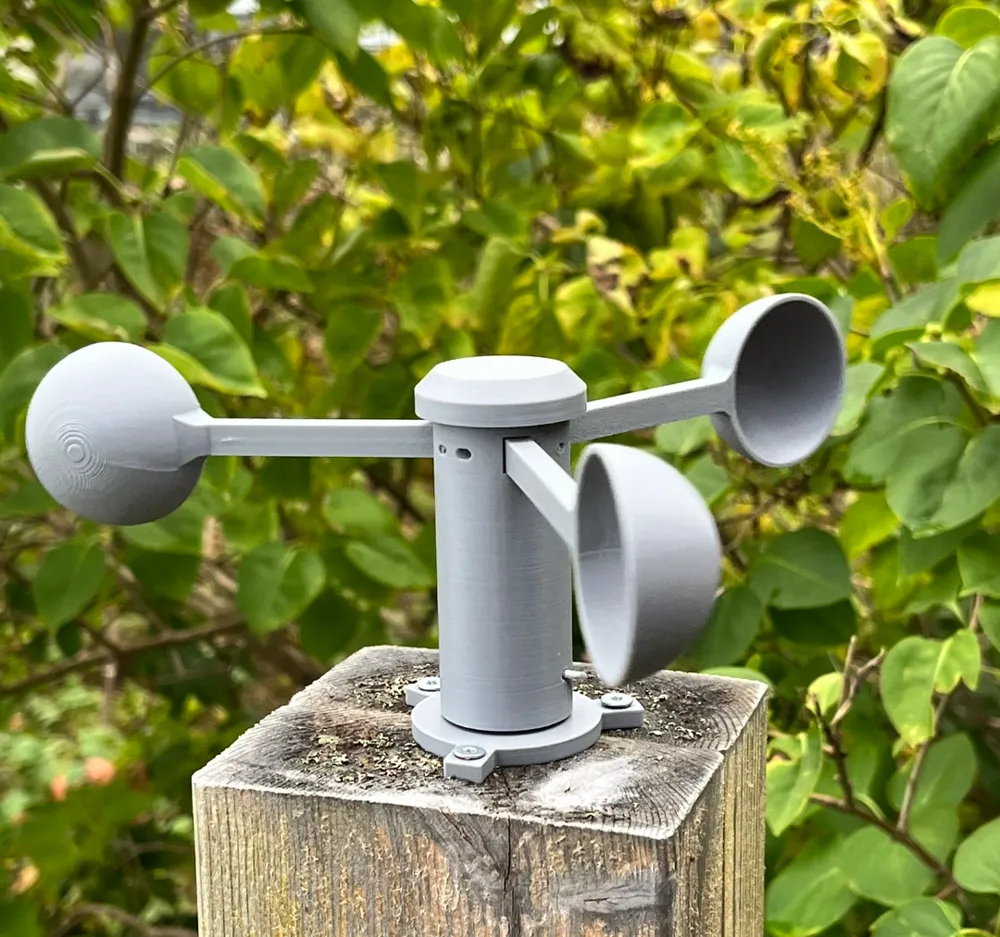
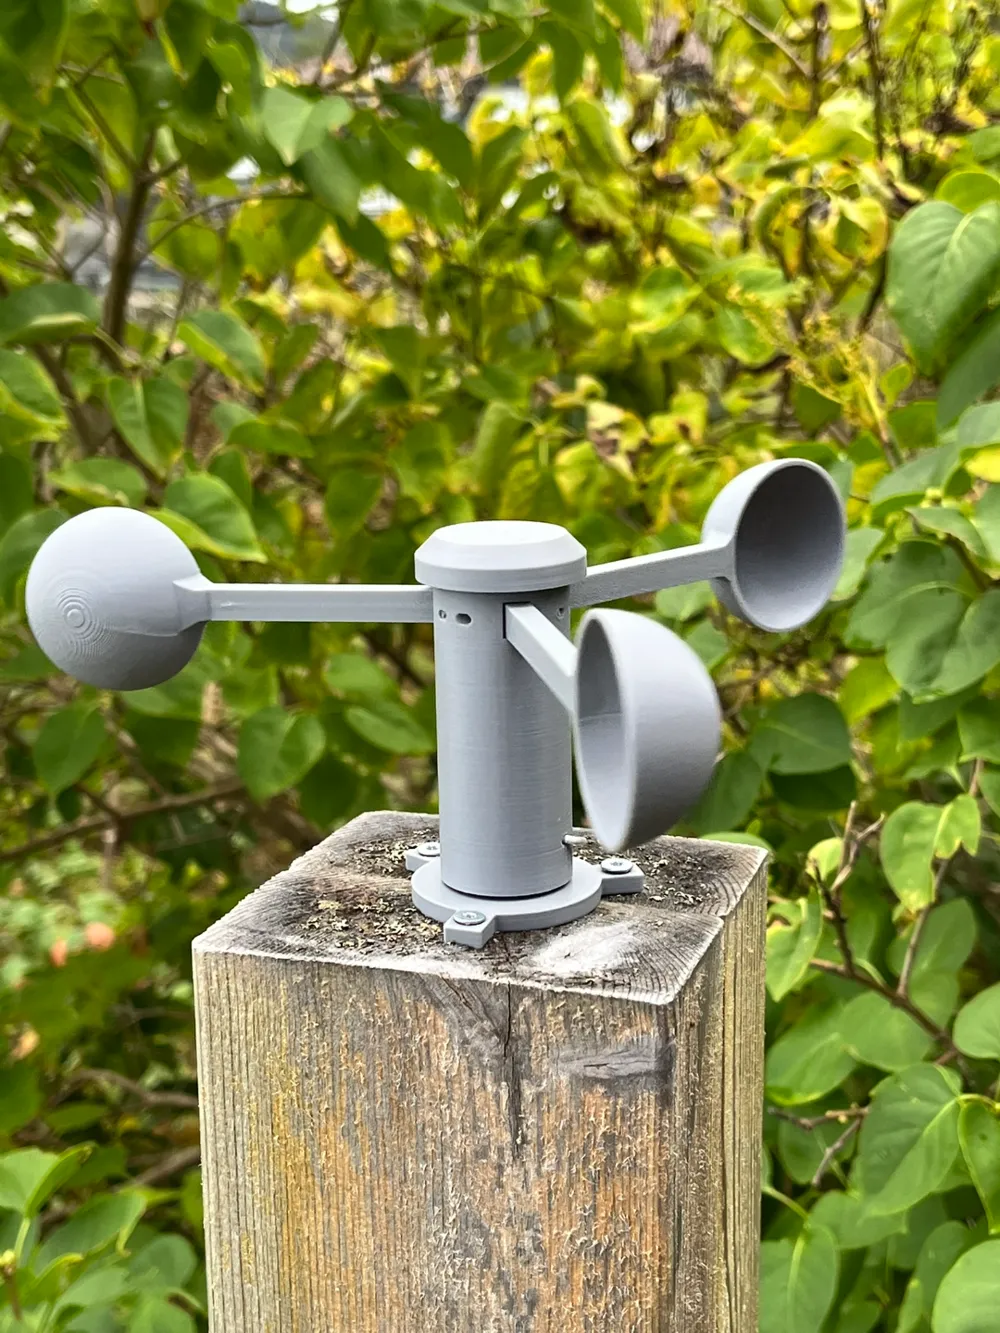
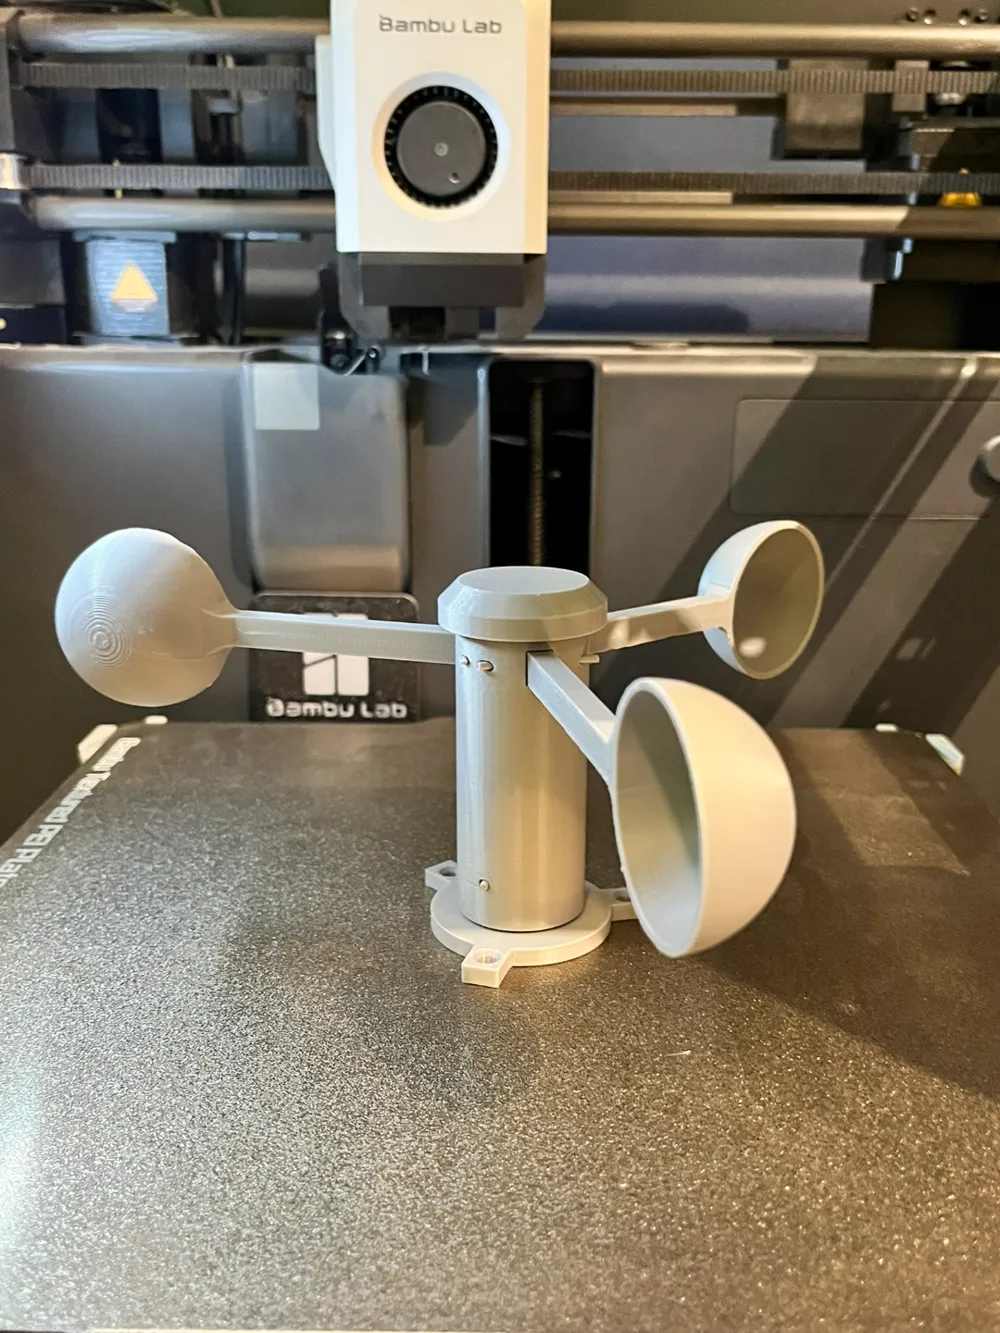
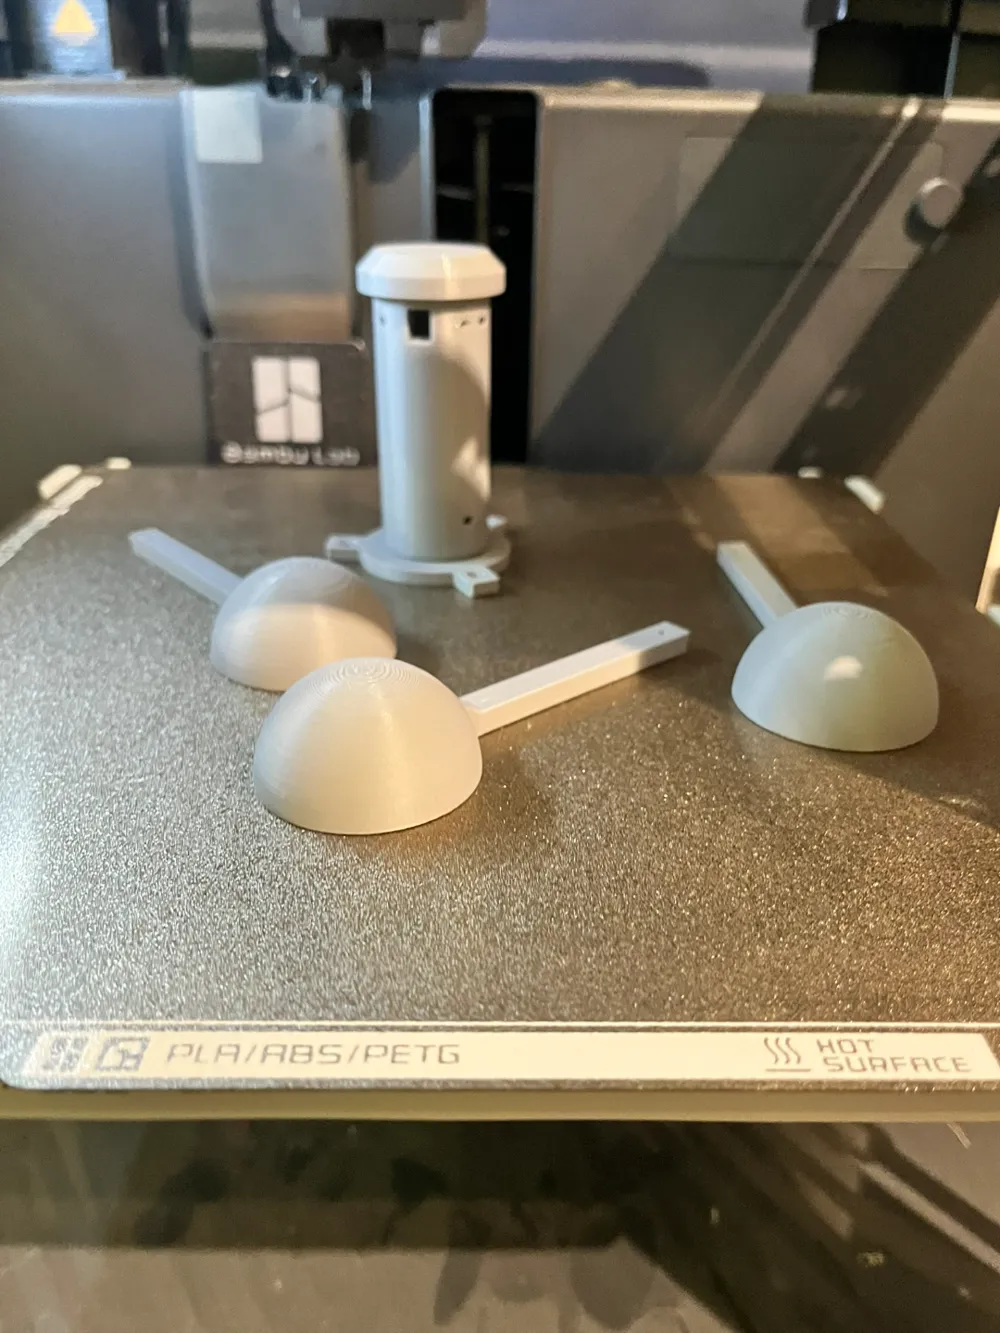
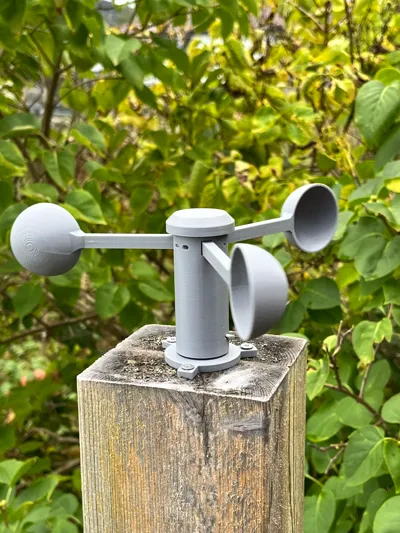
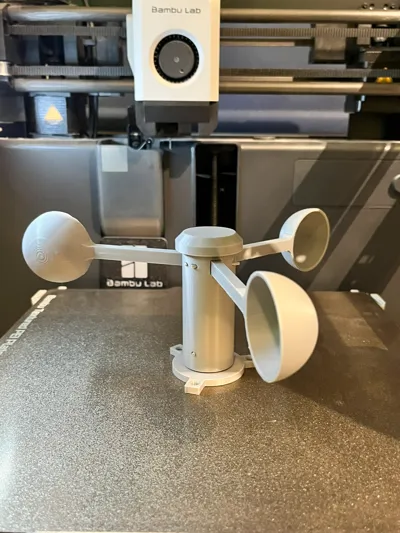
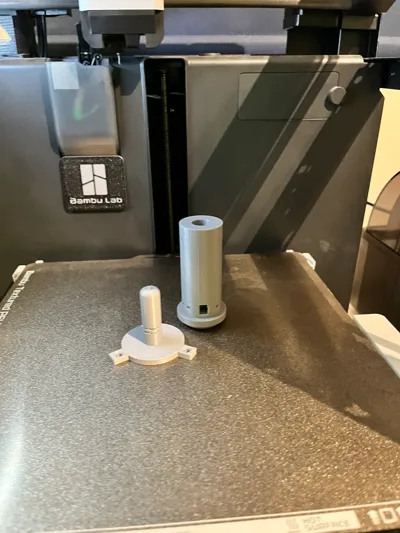
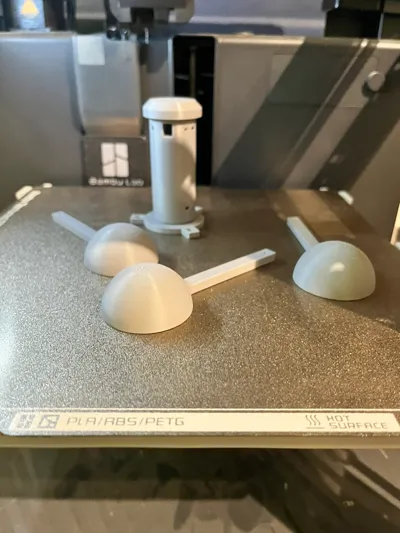
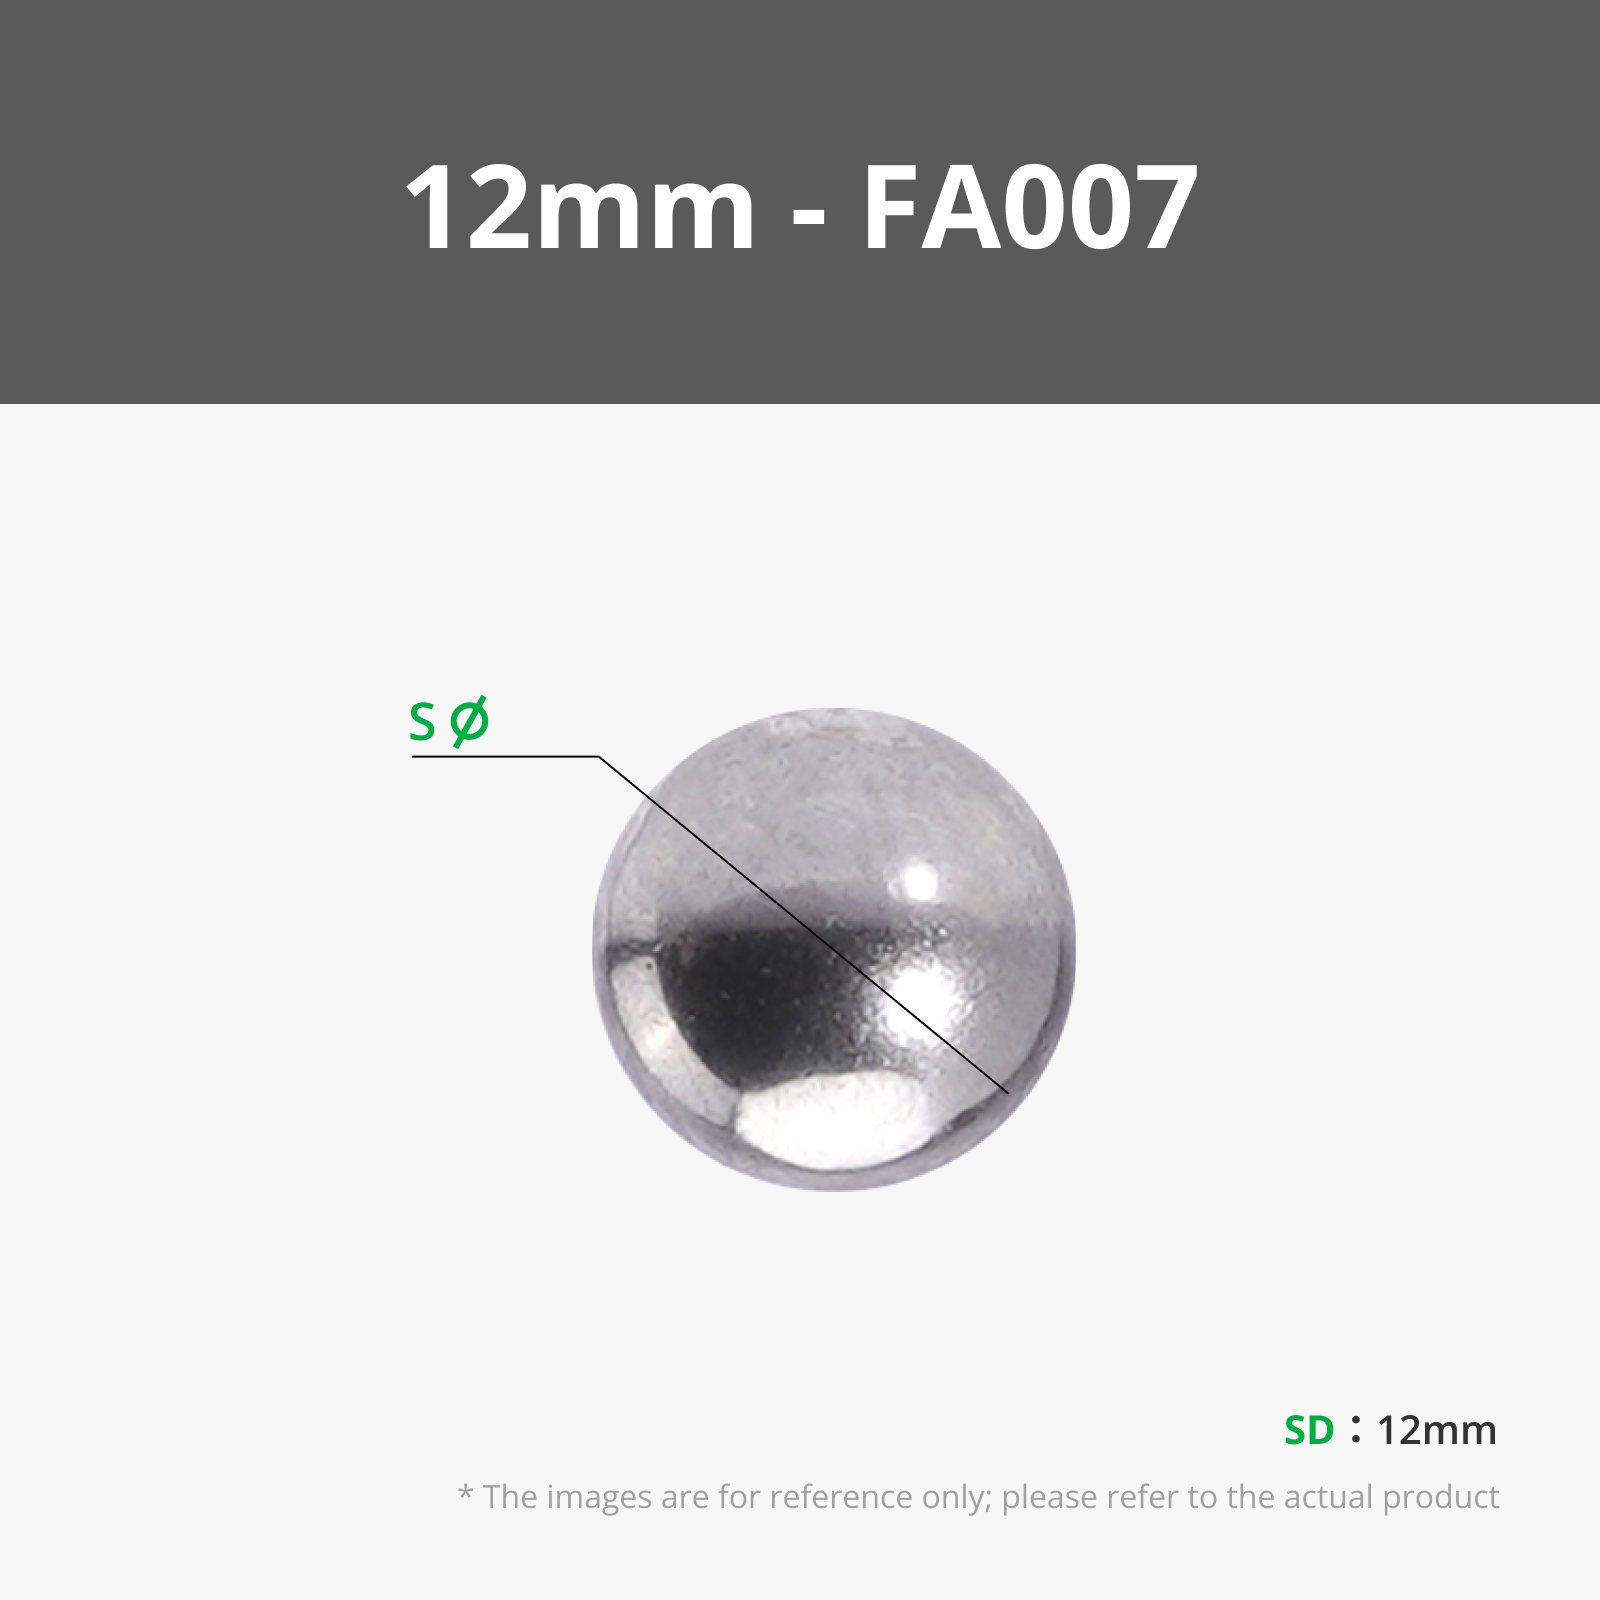
A simple, easy-to-assemble 3D-printed anemometer. All you need is a 12mm steel ball (a plastic ball may work, but it hasn’t been tested) and an 8cm piece of filament.
Assembly Instructions:
Step 1:
Insert the arms into the hub, then cut small pieces of filament and push them into the holes to lock the arms in place.
Step 2:
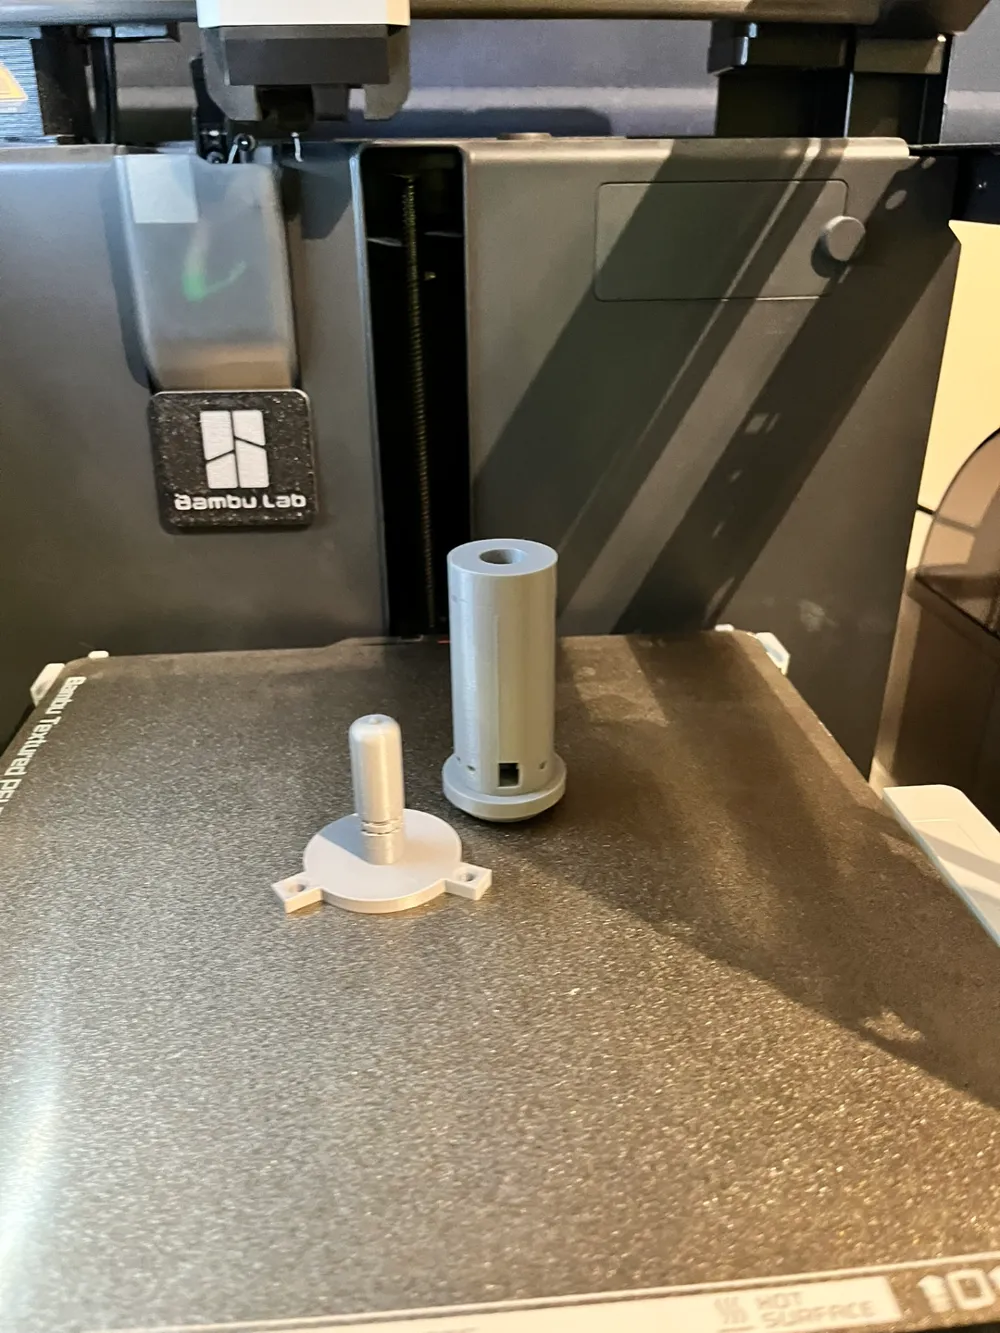
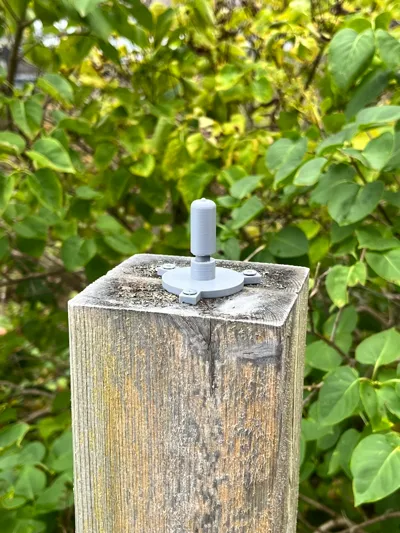
Secure the mount where you want to place the anemometer.
Step 3:
Place the ball into the hub, then fit the hub (with the ball inside) onto the mount.
Step 4:
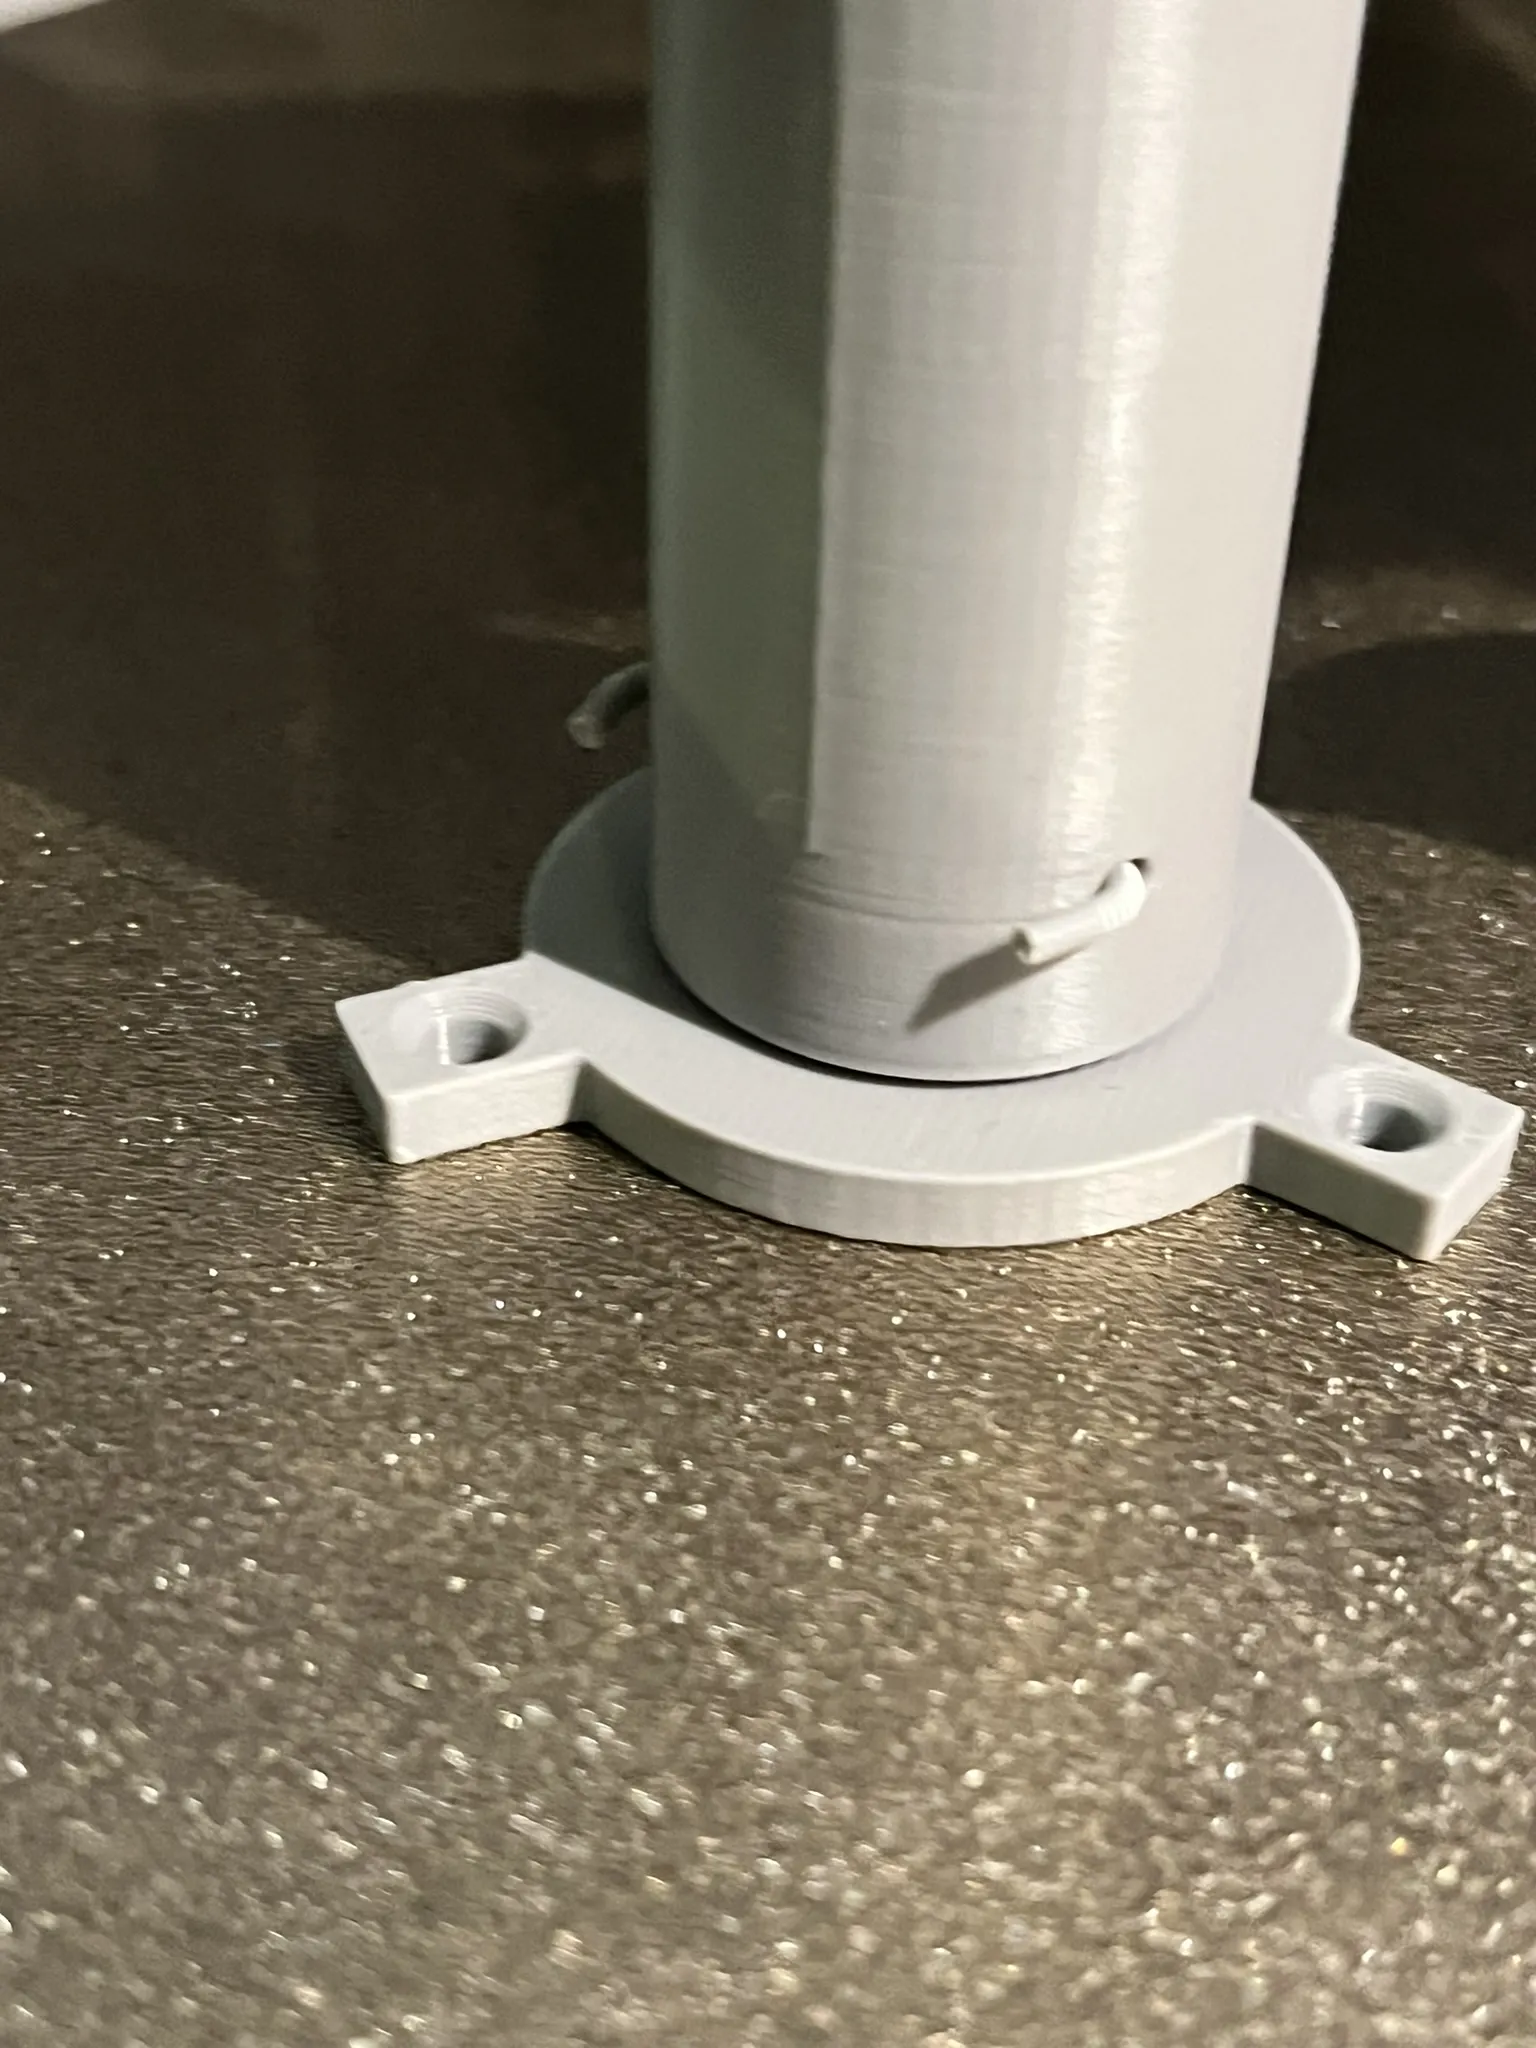
Insert a piece of filament through the hub to lock it onto the mount.
Tip:
If the locking filament piece keeps slipping out, make it slightly longer and bend the ends to hold it in place. Like this:
Boost Me (for free)
If you like this model, boost me!
License

You shall not share, sub-license, sell, rent, host, transfer, or distribute in any way the digital or 3D printed versions of this object, nor any other derivative work of this object in its digital or physical format (including - but not limited to - remixes of this object, and hosting on other digital platforms). The objects may not be used without permission in any way whatsoever in which you charge money, or collect fees.


Comment & Rating (16)