
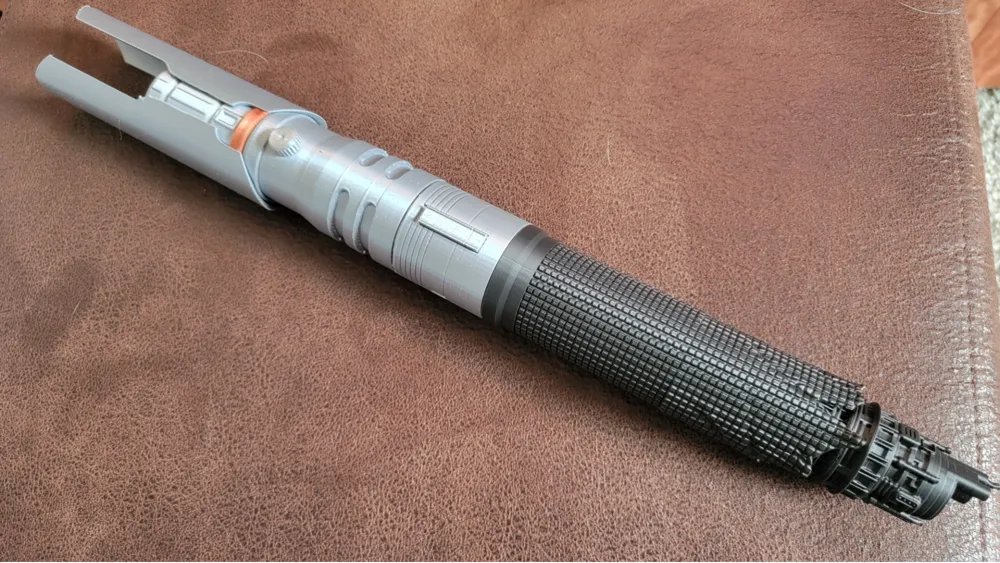
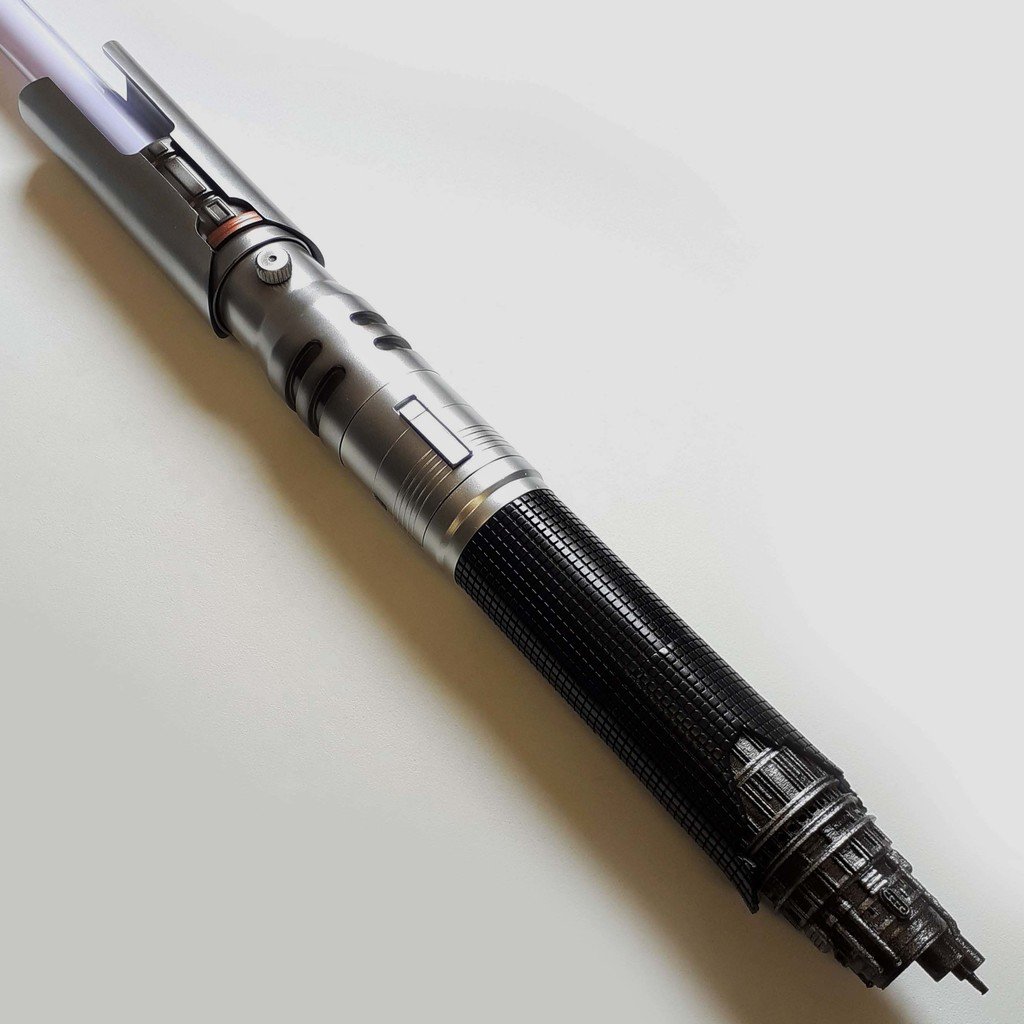
Cal Kestis Lightsaber for Savi's Workshop Chassis
Print Profile(2)


Description
Sourced from "Savi's Workshop Cal Kestis Lightsaber Parts" and includes "Savi's Workshop Dummy Chassis" by TightTieFighterFight on Thingiverse:
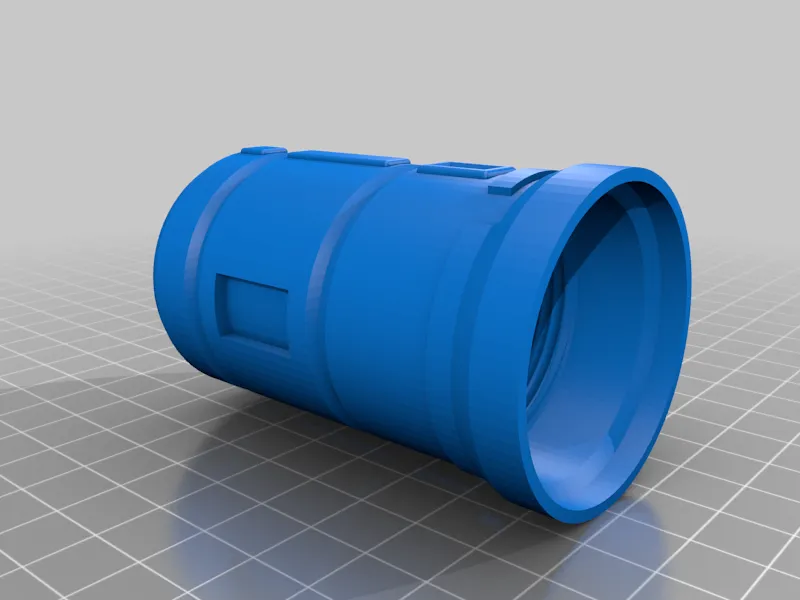
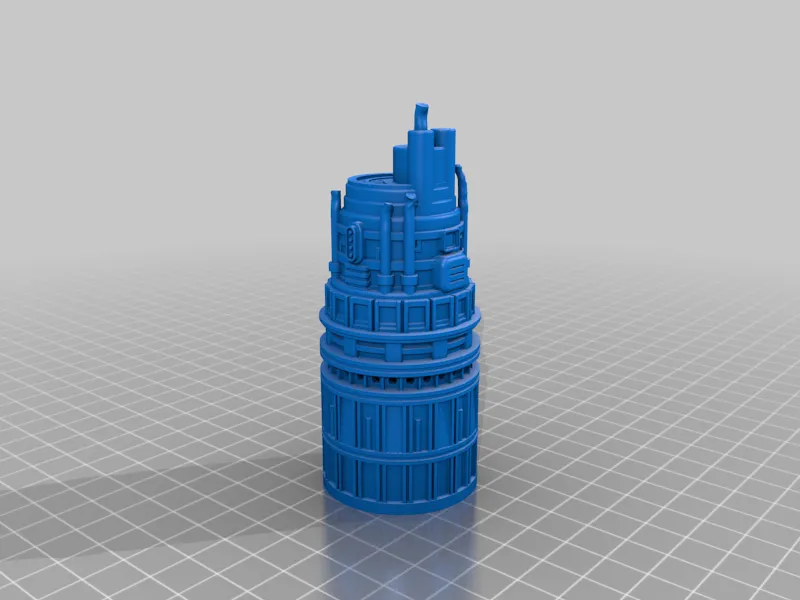
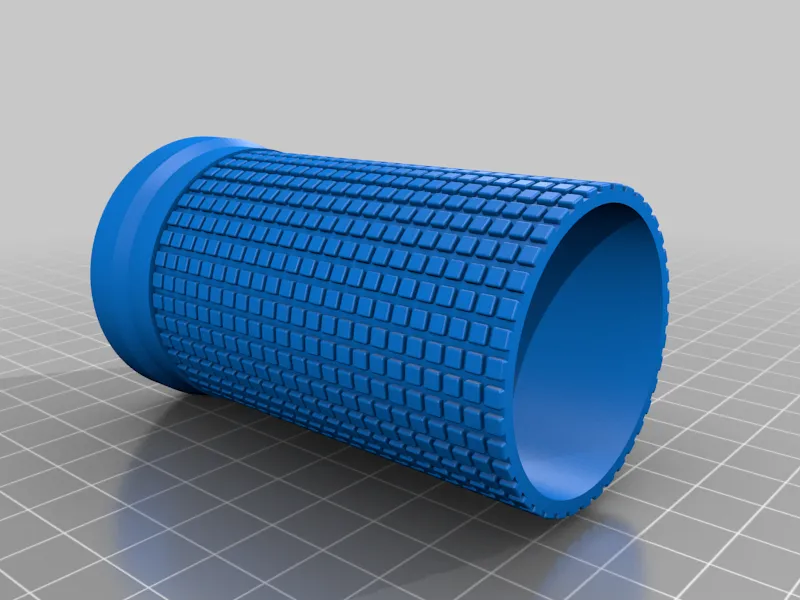
Plates have been sorted based on color, if you choose to use different filaments. Based on experience with printing, it's recommended that you print objects with threading on their own, as there may be issues when the printhead travels between parts:
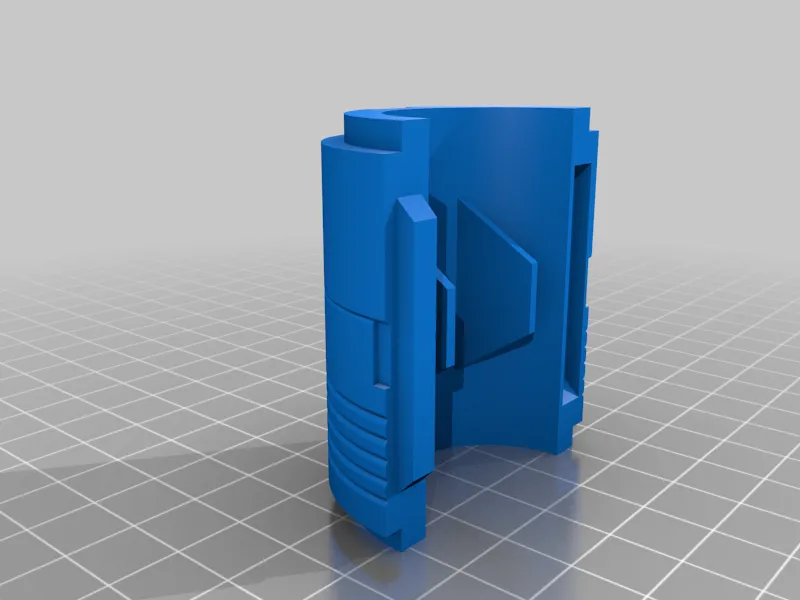
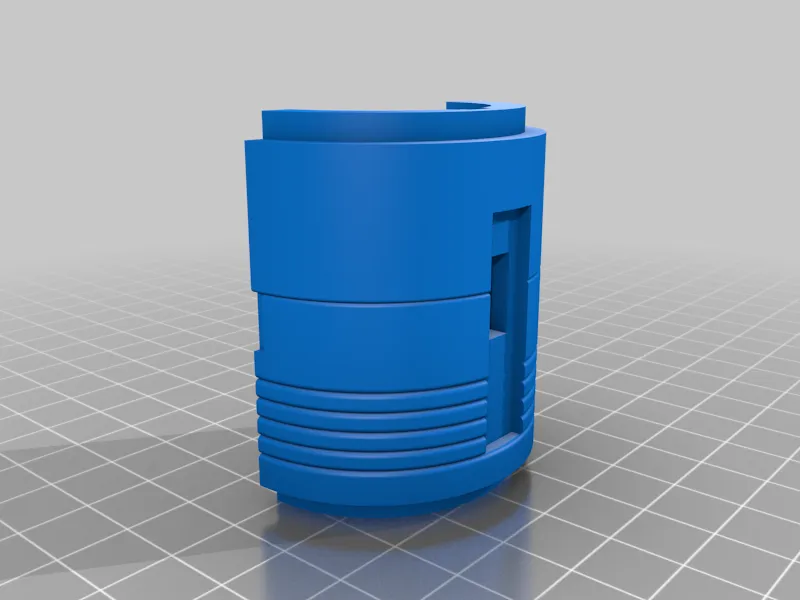
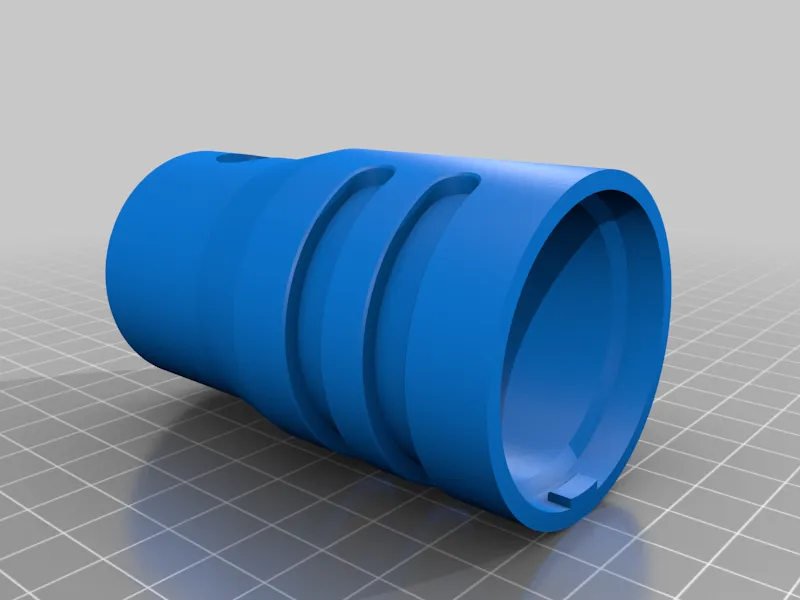
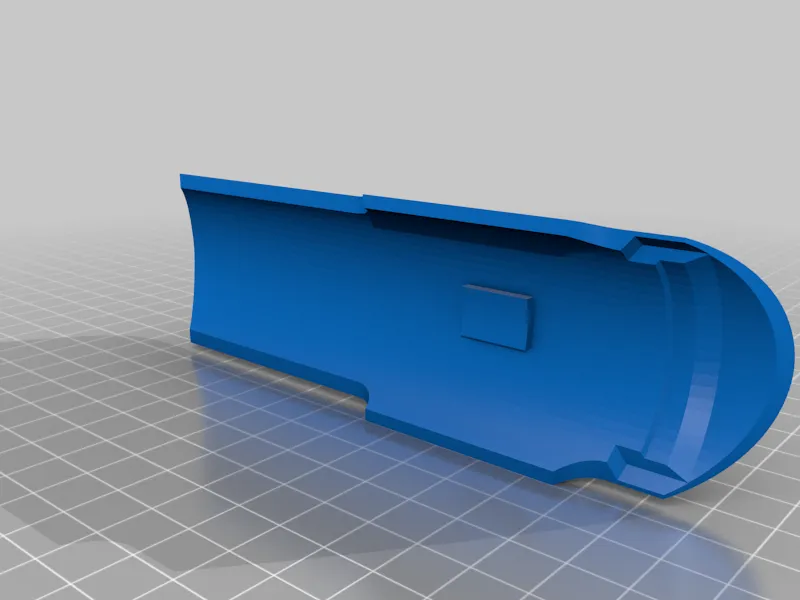
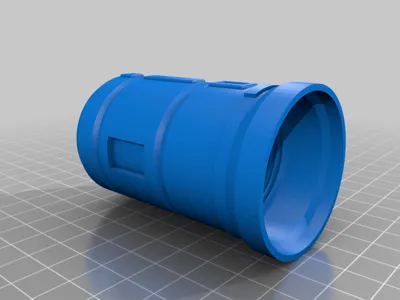
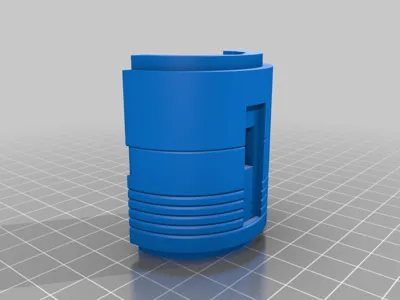
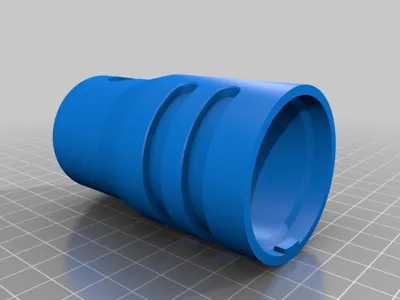
- emitter.stl
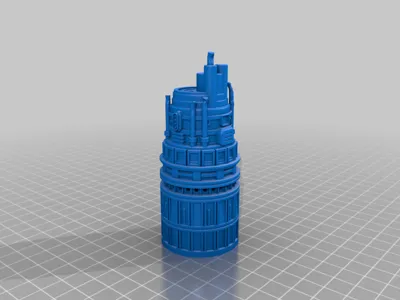
- pommel.stl
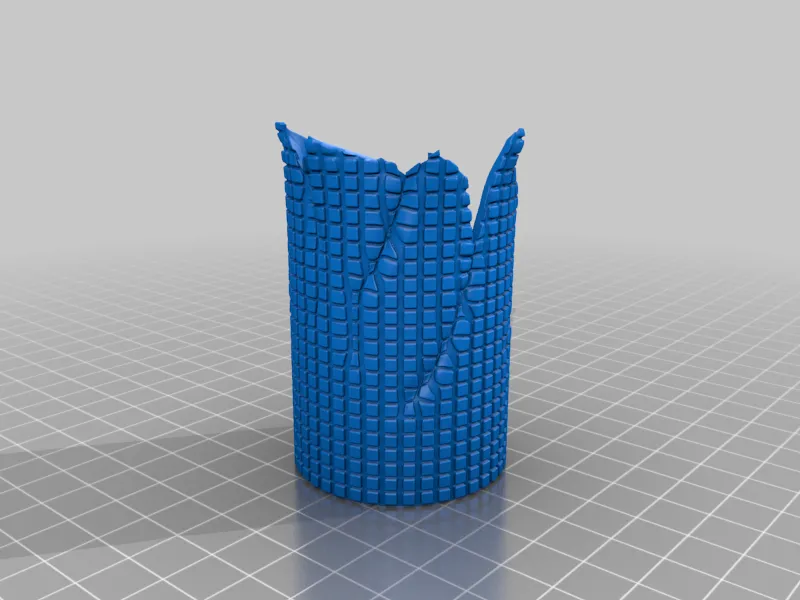
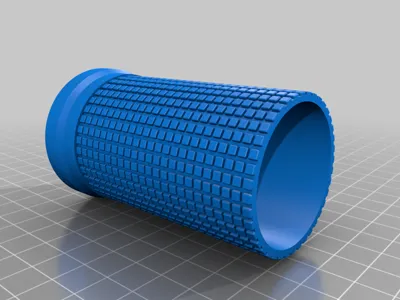
- pommel_repaired_grip.stl
The same applies for the following parts, but these are not necessary for a single saber. They are used to join two Savi sabers together, pommel-side. They are included in the project because they were in the original creator's project profile (please make sure to check out their other works in the links provided!).
- coupler-soundholes.stl
- coupler-accurate.stl
You will need a magnet for the switch, which should be 3x2mm.
Custom support, layer height and brim options provided in the 3mf file. These are tested to print successfully.

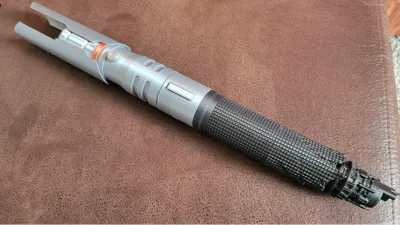
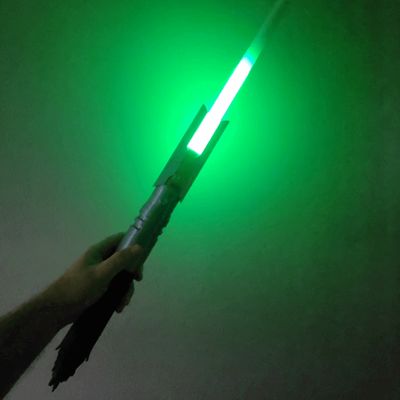
Note: Picture of the assembled model without the blade shows the switch parts upside down (due to user error when assembling the dummy chassis).
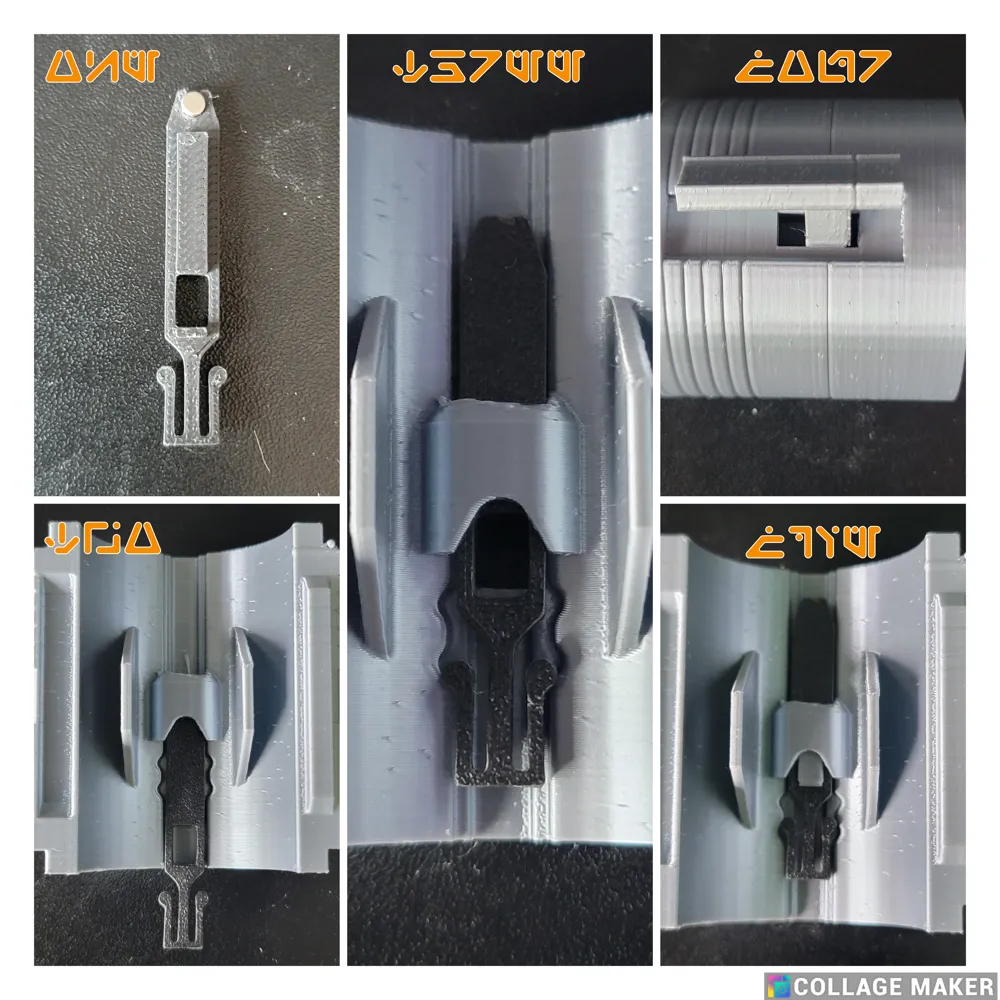
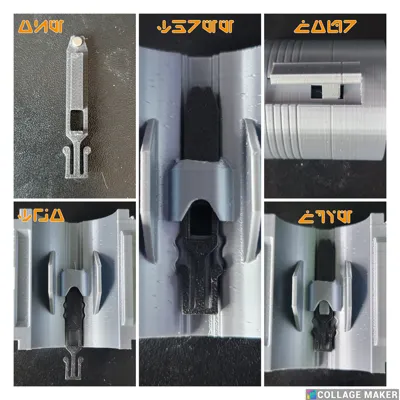
To assemble the switch properly, once all the parts are printed:
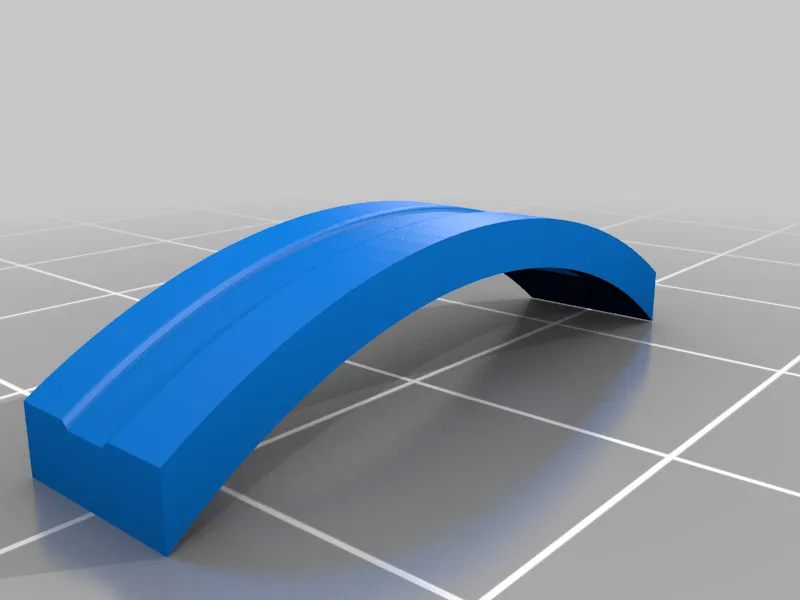
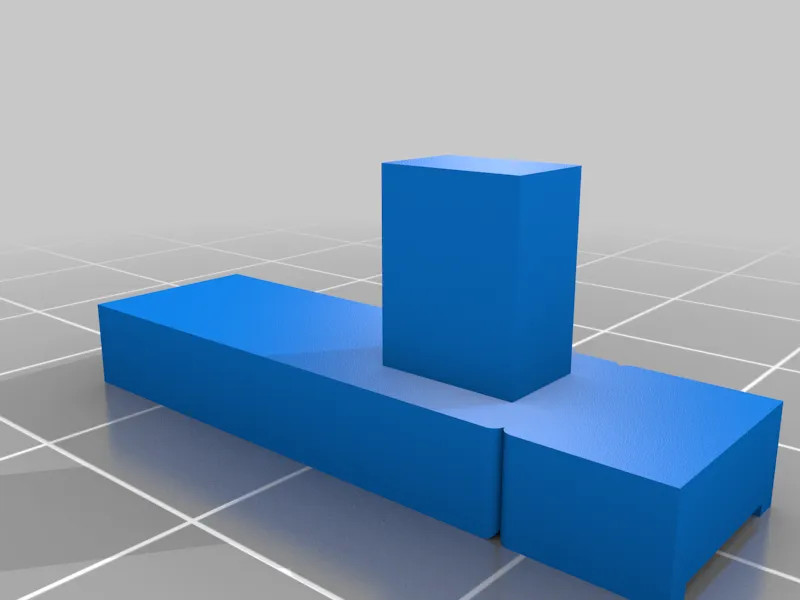
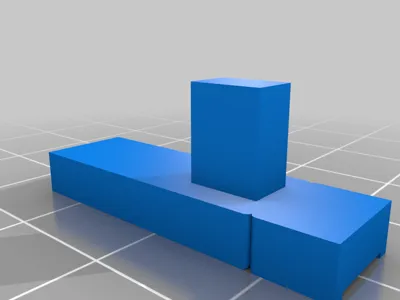
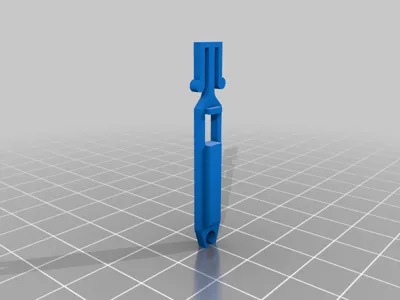
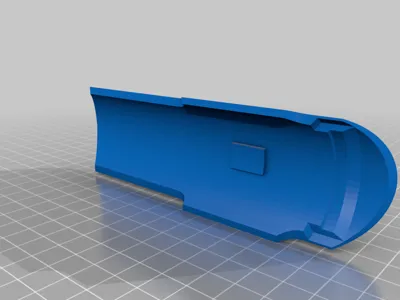
- The magnet is inserted into plate.stl
- Plate.stl is slid into the groove of switch-front.stl as shown
- Line the hole in plate.stl with the hole switch-front.stl
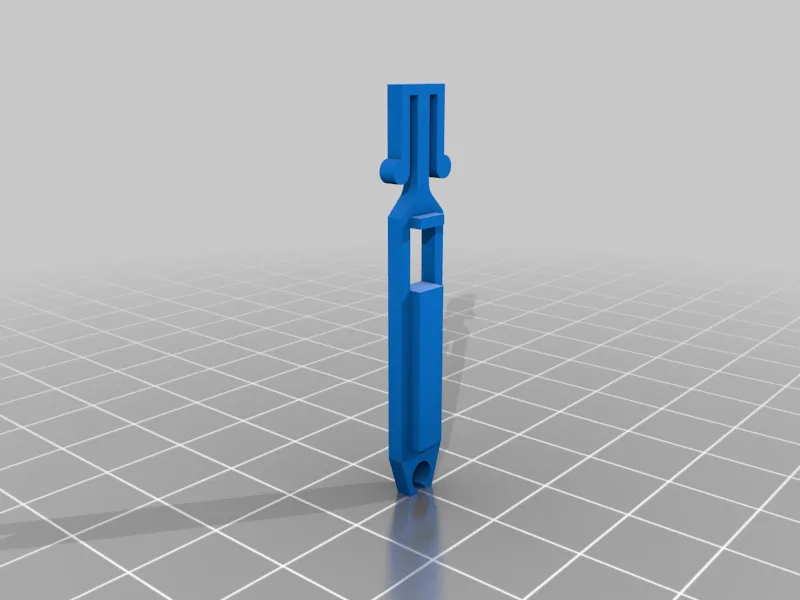
- Orient peg.stl with switch-front.stl as shown
- Press peg.stl through switch-front.stl and plate.stl
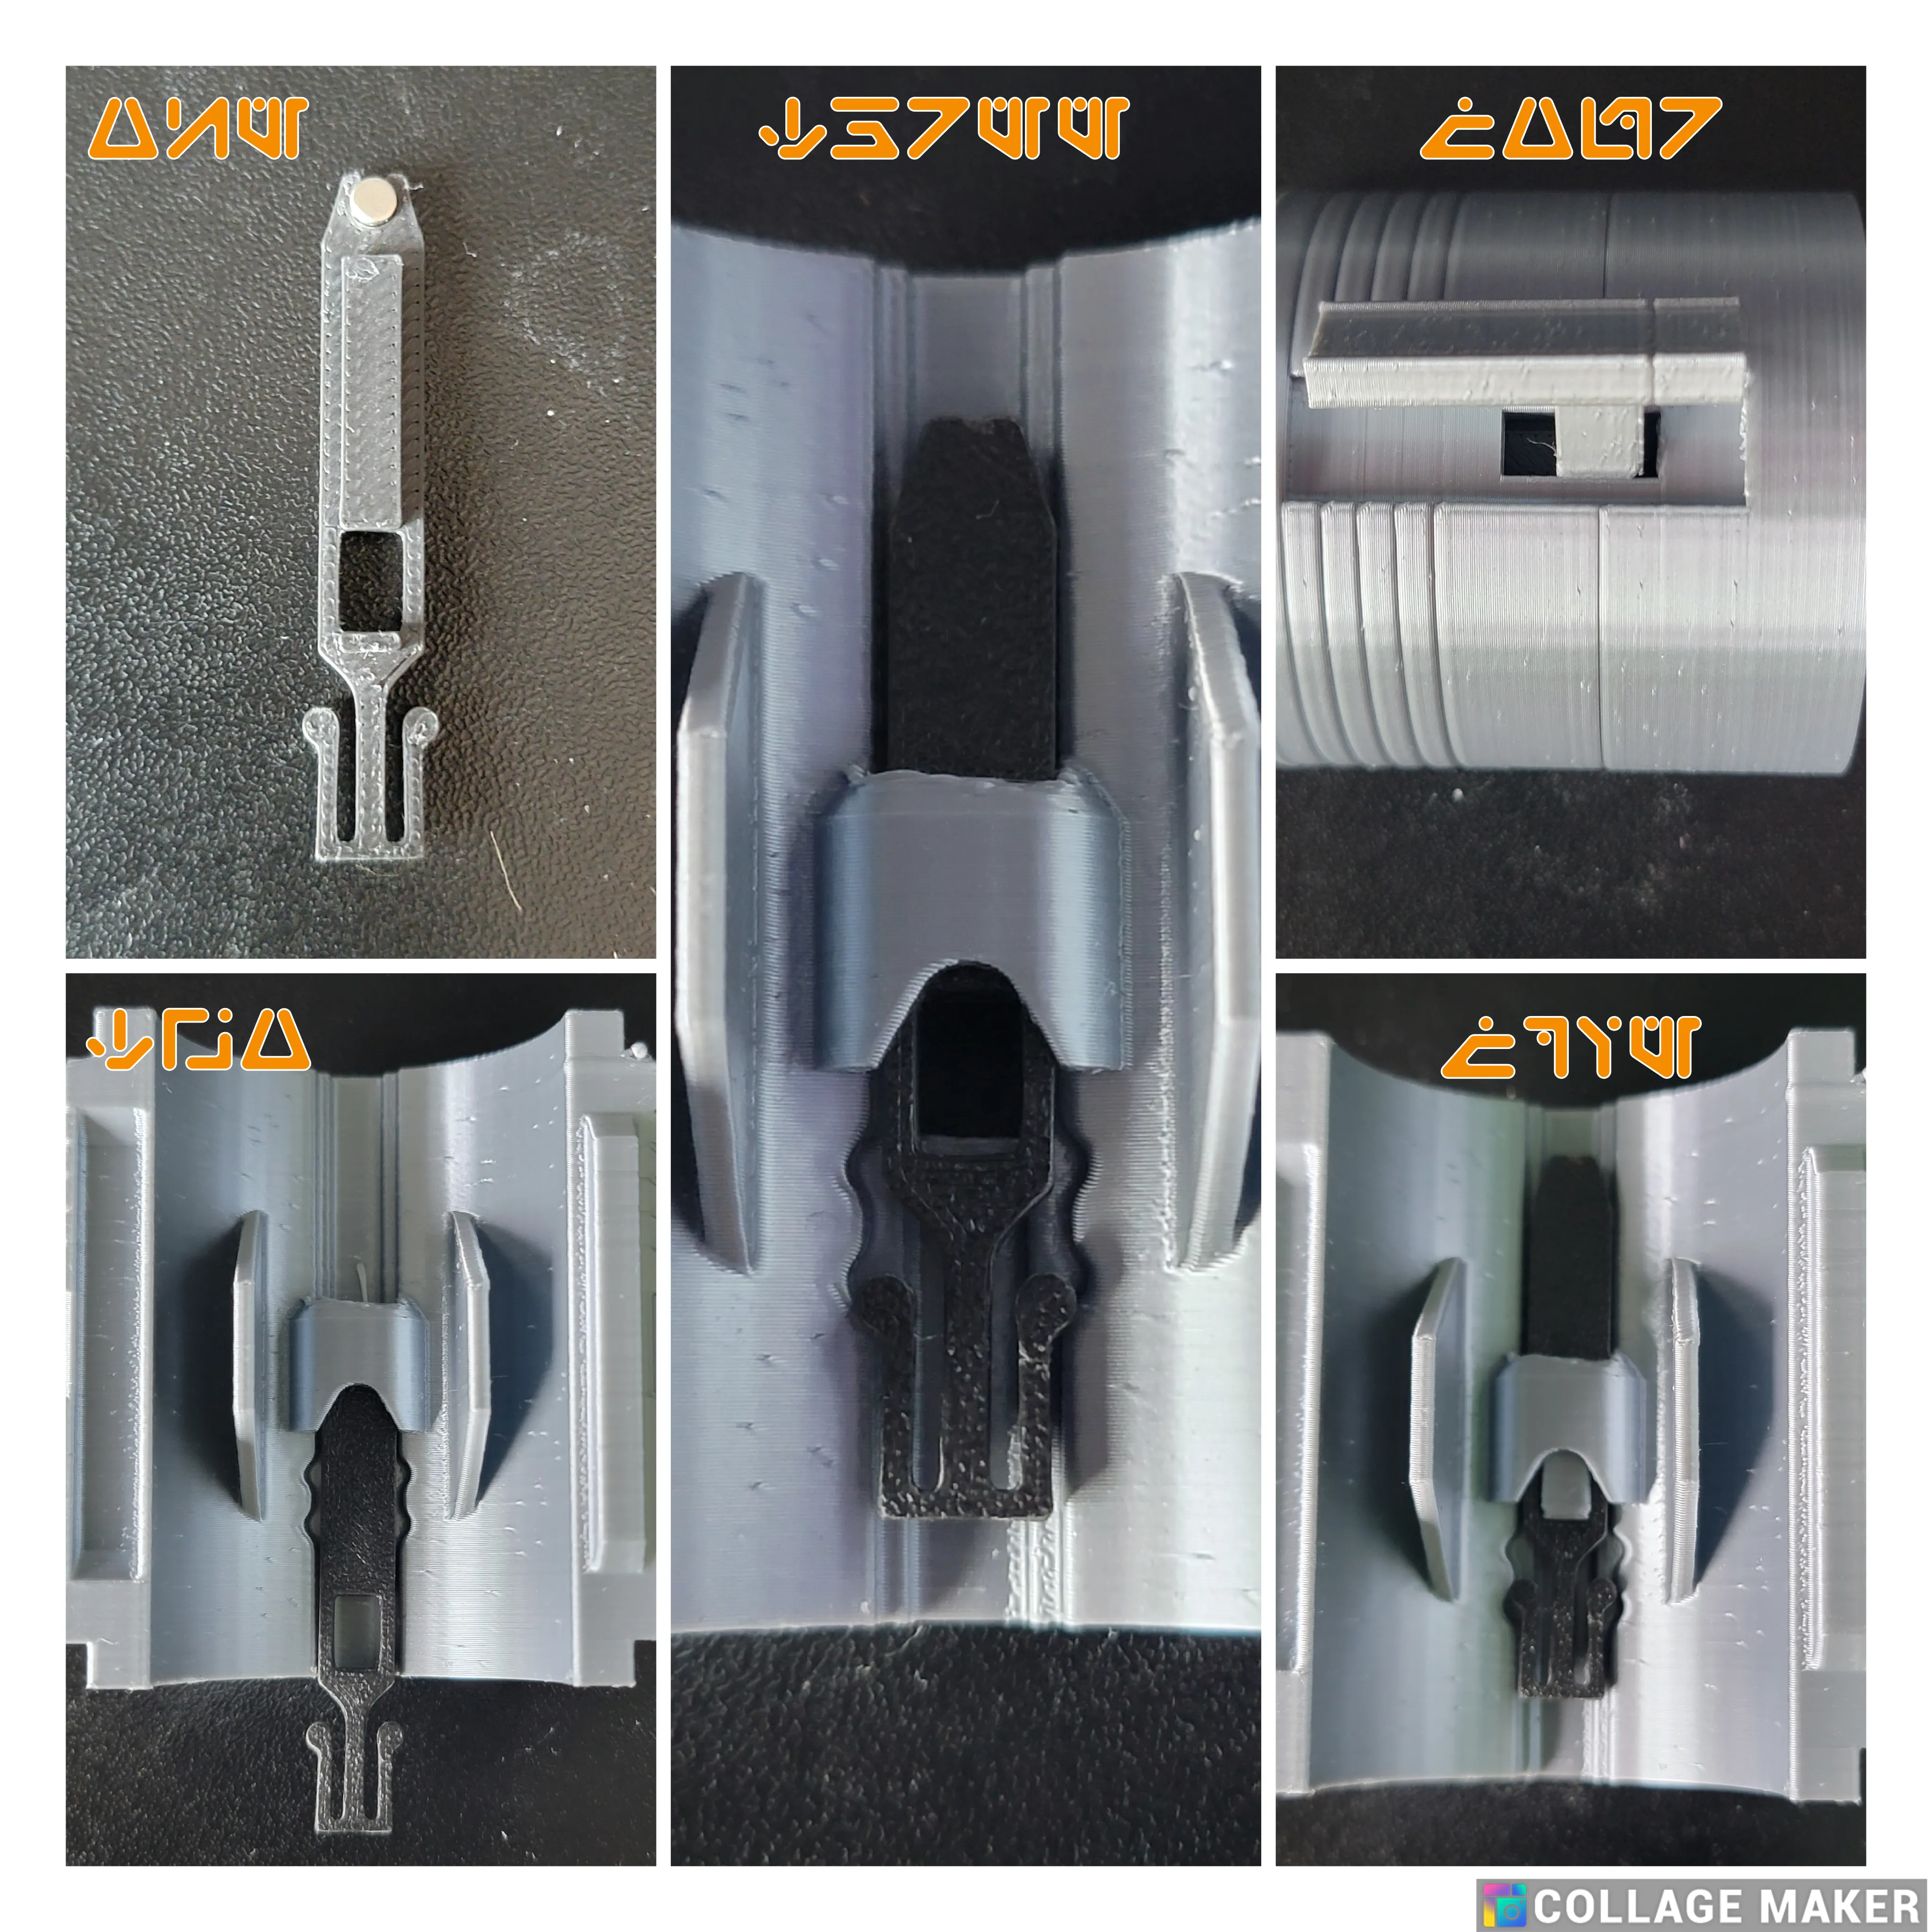
That will set the switch up so that the Savi's chassis recognizes the on-off switch and powers the blade correctly.
If you don't have a Savi's chassis from Galaxy's Edge, or want to display this separately, I recommend The_Platinum_Knight's chassis on Thingiverse.
This remix is based on
License



Comment & Rating (26)