Mac Pro (A1289) PC conversion


Print Profile(1)

Description
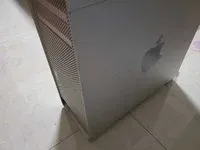
This is another Mac Pro to PC conversion. But the outside looks basicly the same as the stock Mac Pro and i made all of the ports work.
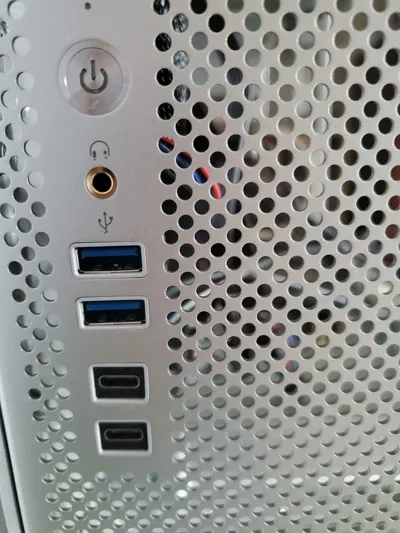
Ports
The original io won't be needed.
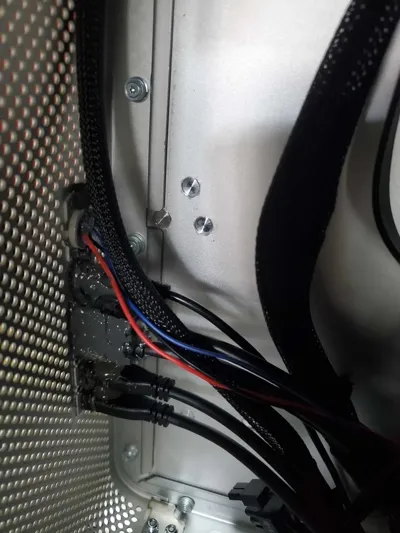
Glue extension cables to the empty holes. Note that the front io holes are smaller than the back io holes.
The plastic piece on the case surrounding the ports doens't need to be removed.
After you've made sure the extensions fit, glue them down temporarily with hot glue and glue them completely down with something like JBWeld. Glue the extensions down one-by-one. You might consider adding some more glue between the cables to make the ports extra stable.
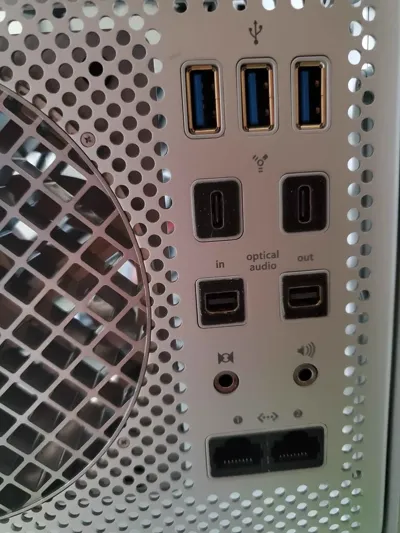
Ethernet:
Get two ethernet extensions ablot 20cm long, if your motherboard doesn't have two ethernet ports, just gea a usb to ethernet adapter. To fit the ethernet ports in the Mac Pro case, you need to take the metal case around the rj45 connector off, sand the edges flat, glue the two ports together, then sand away matirial bit-by-bit untill they fit perfectly.
USB:
Front:Normal 50cm USB 3.0 or 2.0 Front panel cables work fine. Make sure the lips of the usb port are flat. Also make sure you don't let any glue get into the usb connector.
Back:Normal 50cm USB entension cables work. Your extension cables might have plastic sleeving protecting the ports. You need to cut a section of the sleeving away to make the ports fit in the holes. After you've cut away the sleeving, there shoud be another layer of matal protecting the usb port it self. You don't need to remove this, it actually
fits perfectly in the back usb holes.
Audio:
Use any extension about 30cm long. Make sure the socket protrude out a little bit. You mithe need to cut away the plastic piese surrounding the audio port oin the front of the case if you don't want to reuse the original front panel audio connector.
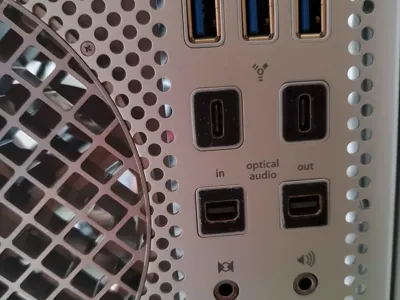
USB-C:
I decided to replace the firewire ports with USB-C ports. Use the STLs to adapt the USB-C extension cable. Remember the front io holes are smaller. The extensions shoud be at least 30cm long for the front and 50cm for the back. Most motherboards don't have 4 USB-C ports. USB-A to USB-C converters are nice. Just make sure there is a chip inside the converter to make sure high speed no matter which direction the connector is plugged in. If your GPU has a USB-C port on it that supports video output, get a cable that supports it as well.
MiniDP:
I replaced the optical audio ports with Mini DisplayPort. Use the STLs to adapt. At least 50cm long.
Power Button&LED: pinout :left Led+ mid GND right Button cable about 30cm for my motherboard.
Other weird connectors you want to include:
Make custom PCIe plates.
Power plug:
See in "Case Modifications" section.
Case Modifications
Wifi antenna :
The original wifi antenna's connectors are not compatible with modern wifi cards. So buy some off the shelf antennas, then cut and solder the wires to the original ones. You need to take off the bottom blastic nameplats to access the antennas.
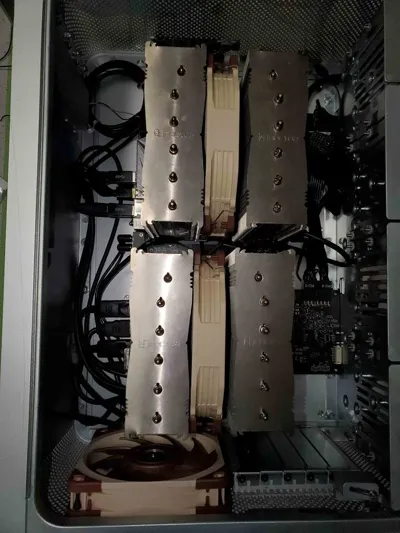
Standoffs and board mounting:
Break off all of the original standoffs. Screw some new standoffs onto the motherboard and GPU pcb. Place those components where you want them to be in the case and glue the standoffs down. Remove the boards once the glue dries and add more glue to make sure the standoffs are glued on securely. You really do not want the boards to fall off under the weight of the coolers.
Power supply:
Take the original power supply board out and put the ATX power supply board in. Its the same procedure as mounting motherboard. Replace the ATX PSU's power plug with the white one in the Mac Pro PSU. Solder that onto the EMI circuit. Don't mix live and neutral.
Rear exaust fan:
Take the grill off. Line the fan up. Mount the fan with original/similar rubber mounts. Put it back together.
Power supply fan:
Those rubber vibration dampening fan mounts are super annoying. Just rip the original ones off and buy new, longer ones that are much easier to mount. Screws are fine too, since the power supply fan won't be spinning very fast at all.
Cables
Cable management:
If you have a modular power supply, then definitely consider custom cables.
If you have a non-motular power supply, then consider cutting off the cables you don't need. There is zero space for excess cables in this case.
Optical drive cables:
The original optical drive power cable is not capatible with any ATX power supply. So solder on a sata power connector or make modular power supply cables. The sata cables are fully functinal, those doesn't need to be modified.
Power supply fan cable:
Make an extension wire yourself. It is very simple. Just make sure the polarity is correct.
Comment & Rating (0)