
Ring Gears Illusion

Print Profile(4)


Bill of Materials

- Batteriescase AAA for 2 x 1: wires lenght 50mm
- M3x12 crew x 2: round head
- M3 nut x 2:
- ST 2.9x9.5 x 10: sunk head
Description
Membership
The Keycaps fidgets/keychain are now on for commercial licence!




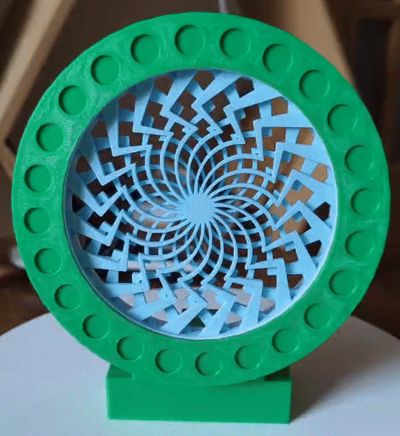
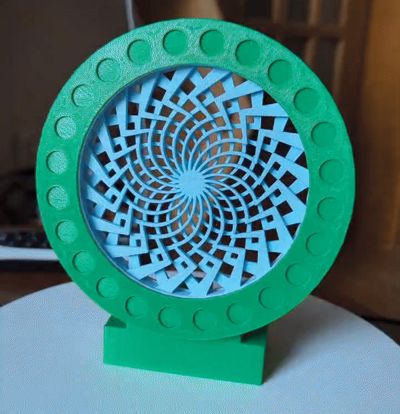
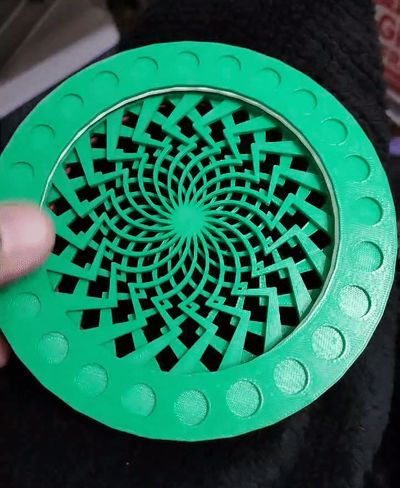

The ring gears illusion is a puzzle that reveals a optical illusion when it is done.
You have to figure how to connect the 8 inner gears with the outer ring and the 2 discs in order to create the optical illusion.
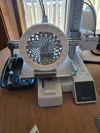
There are 2 versions, the “fidget” version and the other one with a base that needs motor and batteries.
It has 4 plates, 2 of them for the base (with and without motor), one for the internal parts and one for external parts.
The parts for this are as follows:
- base
- top (connect it to base with 4 screws, ST 2.9x9.5)
- 8 small gears
- 2 central discs
- exterior ring
- top cover
for the base with motor there are a few more
- base stand (connect it to base stand with 2 screws, M3x12)
- AAA battery case for 2 batteries (connect it to base stand with 2 screws, ST 2.9x9.5)
- 2x AAAbatteries
- micromotor N20 reduction gear 150rpm (without the pcb with connector, just the motor)
- switch
- cover (connect it to base stand with 2 screws, ST 2.9x9.5)
For printing i used the PLA MATTE for the small gears and the certer parts.
All other parts are made from ABS.
Already done the printing profiles for both PLA MATTE and ABS.
To connect the circuit for the motor base stand it is simple:
- battery red wire goes to the “+” of the motor (or red),
- battery black wire goes to one pin of the switch
- the other pin of the switch connects to the "-" of the motor (or black)
If you want a slower speed it is easy , just use a single AAA case with a single battery.
Boost Me (for free)
Thank you for supporting me! It will help me going on!
Thank you for your interest!
License

You shall not share, sub-license, sell, rent, host, transfer, or distribute in any way the digital or 3D printed versions of this object, nor any other derivative work of this object in its digital or physical format (including - but not limited to - remixes of this object, and hosting on other digital platforms). The objects may not be used without permission in any way whatsoever in which you charge money, or collect fees.


Comment & Rating (171)