







Print Profile(4)


Bill of Materials

Description
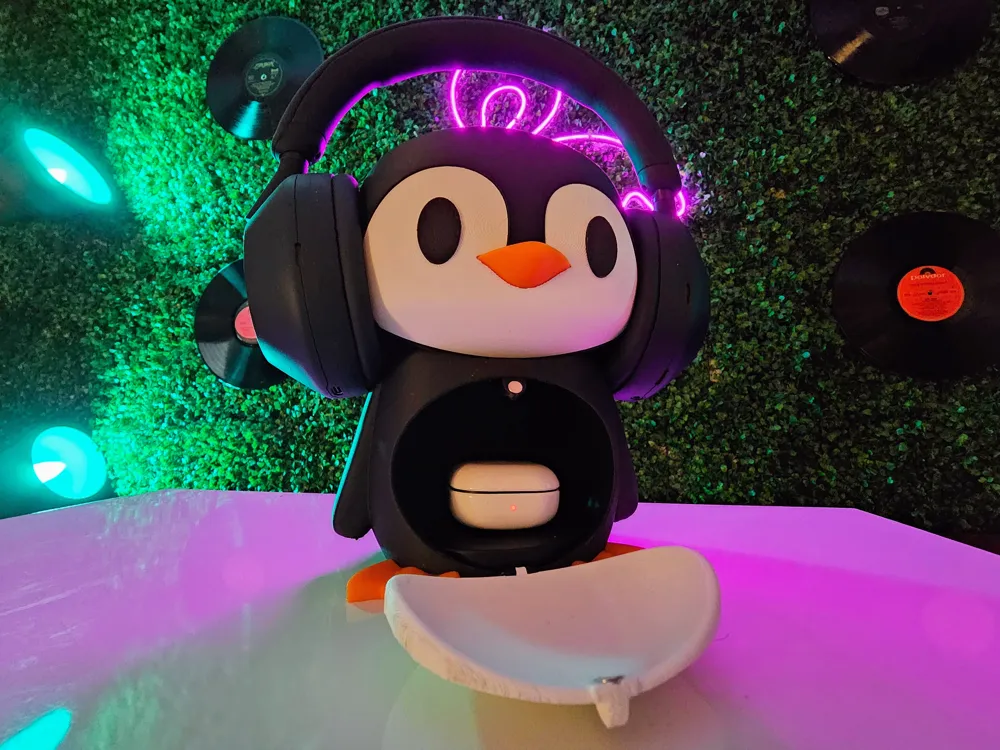
Meet your new favorite desk buddy – the Penguin Headphone Stand! This charming penguin is not just a cute addition to your workspace, but a versatile and practical accessory holder.
Key Features:
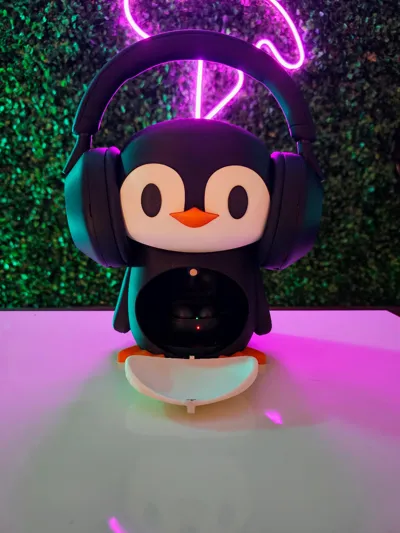
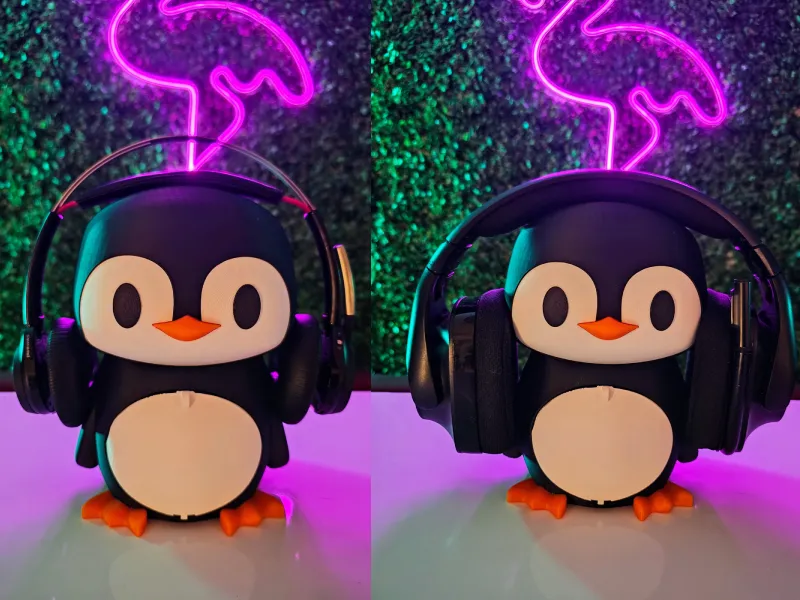
- Stylish Headphone Holder: Whether your headphones rest on its head or body, the Penguin Headphone Stand keeps them secure and easily accessible.
- Storage Compartment: The penguin’s belly opens up to reveal a compartment for storing headphone accessories or wireless headphones in their charging case.
Wireless Charging Capability: The compartment is designed to fit a wireless charger with a diameter up to 91 mm (like the IKEA LIVBOJ), making it convenient to power up your compatible wireless earphones.
Boost Me (for free)
Help me continue creating fun and practical models by boosting me – thank you!
It depends on the headphone model whether they fit on the head:
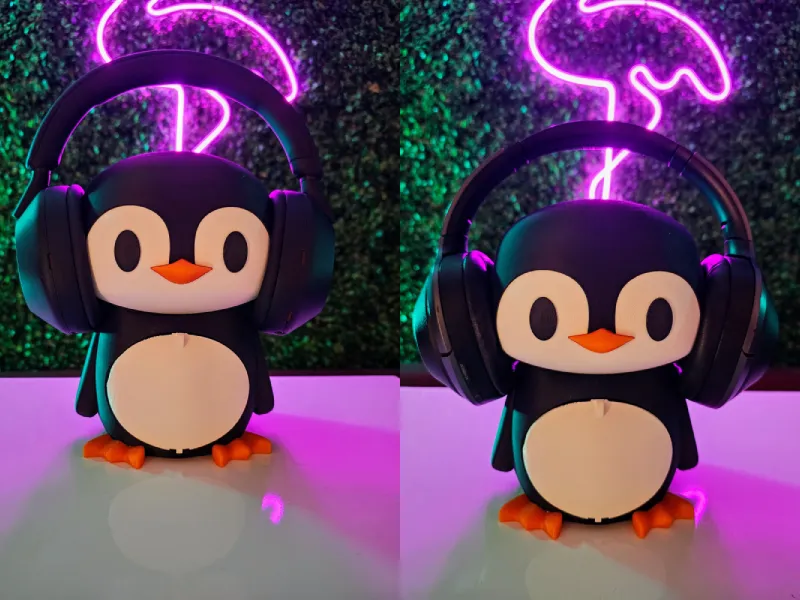
Or have to rest on the body:
Parts and tools needed:
- 2x 6 mm x 2 mm round magnet
- Glue
- Scalpel, utility knife or something similar
Assembly instructions:
Step 1: Insert the beak into the head. No glue is needed, everything is clamped in place with step 2.

Step 2: Guide the face towards the head while threading in the beak. Press the face into the head. This will require some force as it is a friction fit, no glue is necessary.

Step 3: Press the eyes into place with a little force. The higher side of the eyes should point inwards. No glue is necessary here either.

Step 4: Apply small drops of glue to the areas intended for the magnets in the door and the belly opening. The magnets must then be pressed in by hand, making sure that the poles of the magnets attract each other.

Step 5: Take a piece of the filament you used for the body, it should be at least 22 mm long so that you can grip it easily. Insert it into the hinge from the left. Now align the hinge part of the door and push the piece of filament all the way through. This might be a bit fiddly, a pair of pliers can help to push the piece of filament through better. Now cut off the excess filament with your scalpel. No glue needed.

Step 6: Add some glue to the body above the feet and then press the feet into place coming from a 45 degree angle.

Step 7 (optional): Insert the wireless charger and plug it in.

License

You shall not share, sub-license, sell, rent, host, transfer, or distribute in any way the digital or 3D printed versions of this object, nor any other derivative work of this object in its digital or physical format (including - but not limited to - remixes of this object, and hosting on other digital platforms). The objects may not be used without permission in any way whatsoever in which you charge money, or collect fees.


Comment & Rating (712)