Rolex Wall Clock (011 kit)


Print Profile(3)


Bill of Materials


Description
Membership
If you would like to sell prints of this model, subscribe to my commercial plan for only $3 a month
Boost Me (for free)
If you like what you see please boost me
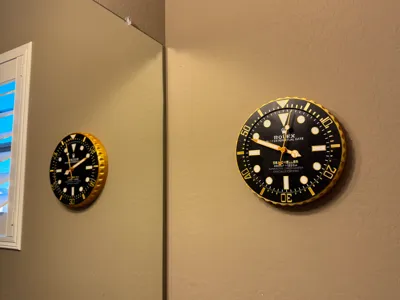
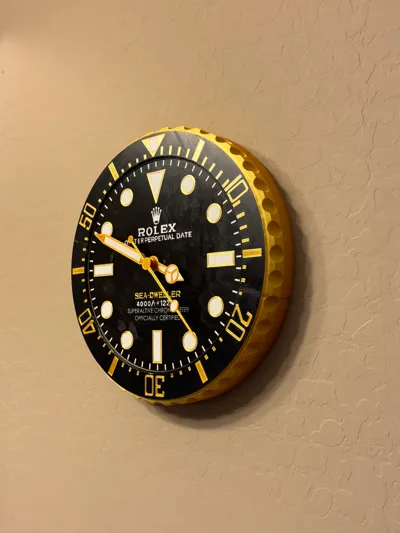
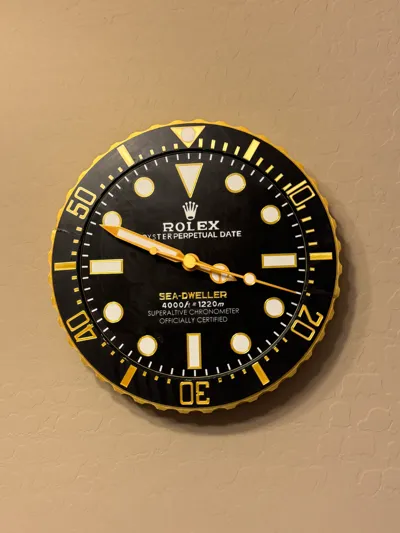
Hello all! I am super proud of this model, I wanted a good Rolex clock to hang on my wall and I couldn't find one so I designed one myself. I hope you like it!
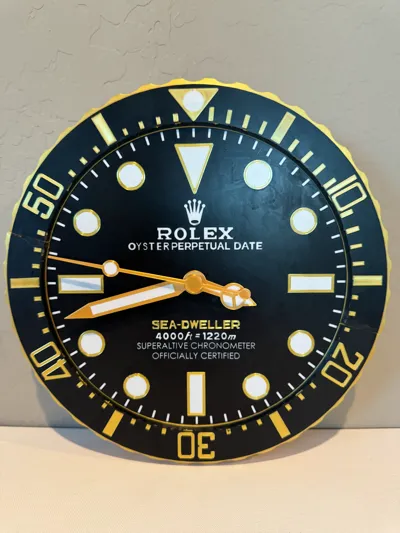
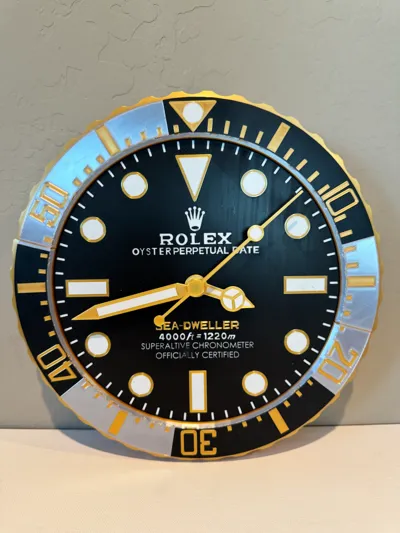
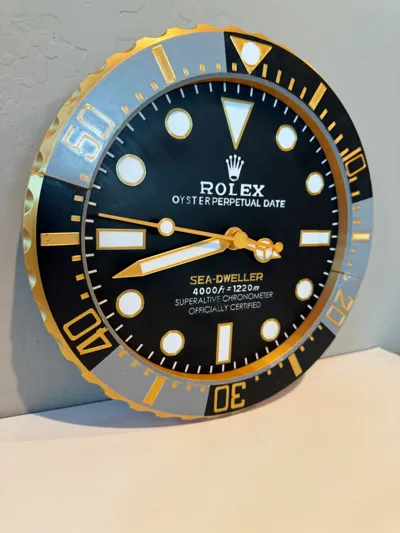
You can decide to print it in silver/black or just in black, either way it should look cool. I would suggest printing my print profile rather than the raw CAD files because it's hard to paint.
NOTE: The clock face is supposed to be a tight fit to the outer ring. This is meant so it can be pushed in and out for your preference.
Settings:
Initial layer height 0.1mm
Initial layer width 0.3mm
Supports auto
Brim auto
The smaller layer height is because the two bodies can be different colors, not sure for other slicers but if you use bambu studio and want to use multi color, make the initial layer height 0.1 and width 0.3.
How to assemble:
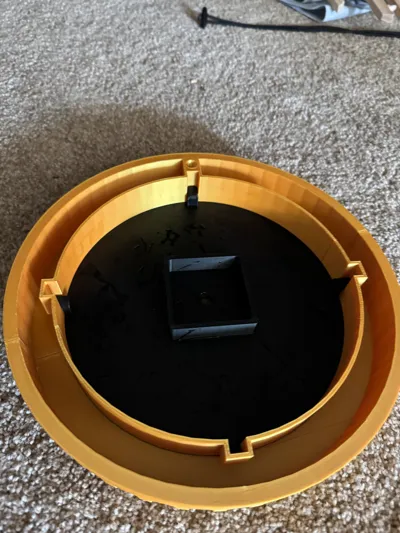
First place the two halves together and glue them at the seams. Make sure there is pressure at both sides to ensure there is no gap.
Note: It is way easier to do this step first.

Then put the clock face into the clock outer circle. This is designed to be an interference fit (tight fit) so you can push the clock face as far in as you want to achieve the depth effect you want like shown in the images.
Next insert the clock components kit into the back of the face and put on the hands in the order of hour hand, minute hand and then second hand. In order to assemble the second hand, cut off the two ends of the second hand given in the clock components kit and glue it to the back of your new printed second hand as shown in the images below:


Finally after assembling the hands on the face of the clock, be sure that none of the hands are touching each other or the clock face, put the battery in the clock kit and enjoy your new Rolex!!

License
You shall not share, sub-license, sell, rent, host, transfer, or distribute in any way the digital or 3D printed versions of this object, nor any other derivative work of this object in its digital or physical format (including - but not limited to - remixes of this object, and hosting on other digital platforms). The objects may not be used without permission in any way whatsoever in which you charge money, or collect fees.
Comment & Rating (141)