
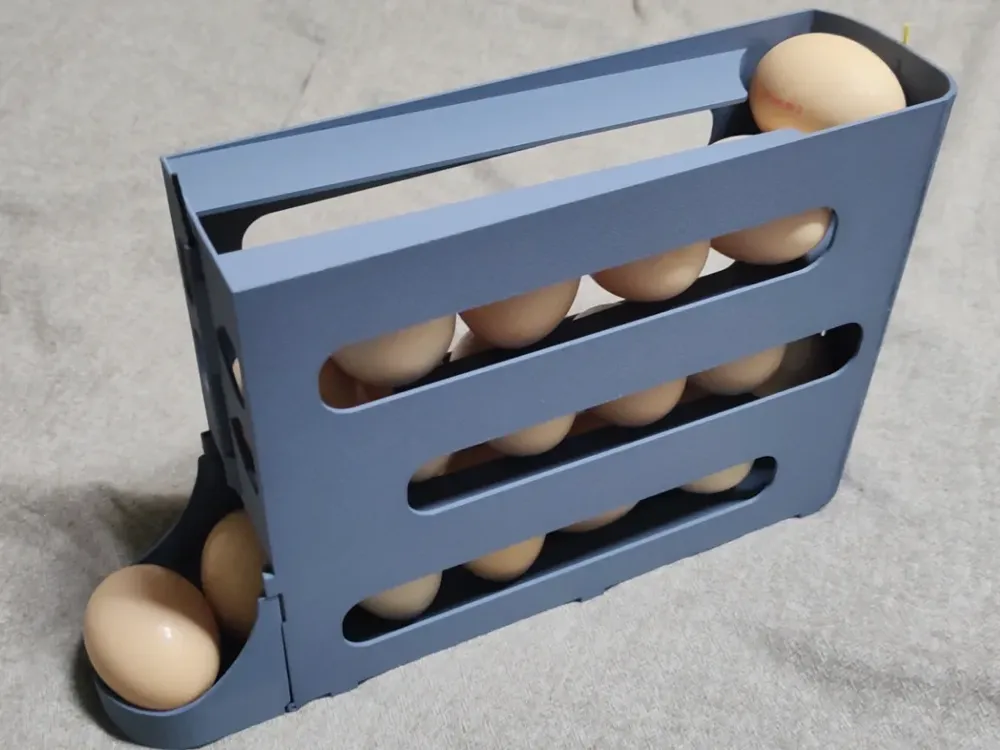
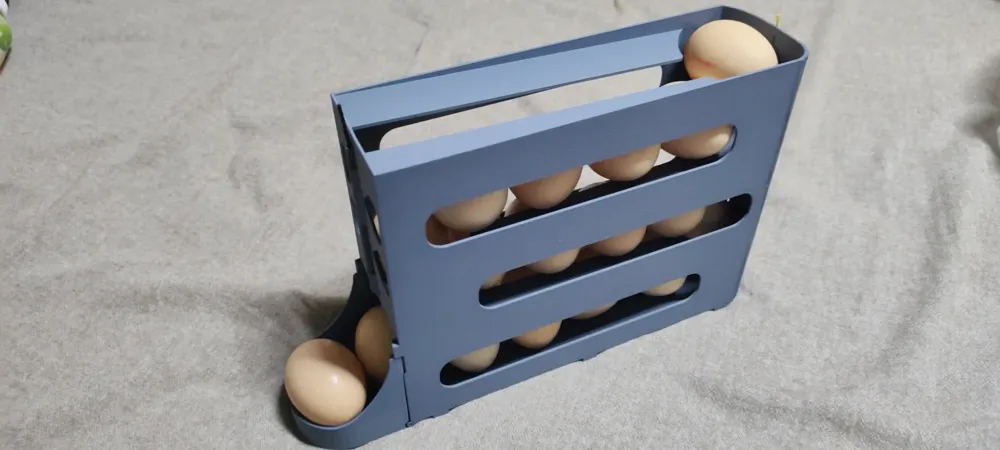
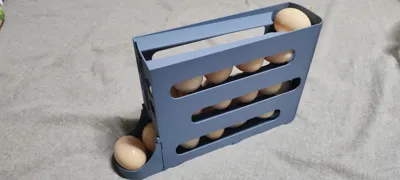
Egg Storage and Dispenser P/X1 (no supports/hardware/adhesive)
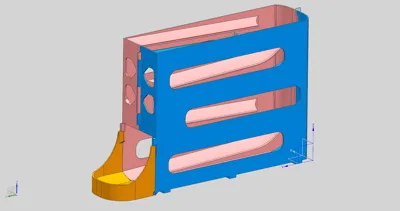
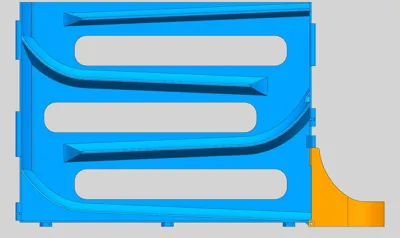
Print Profile(4)
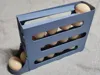
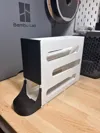



Description
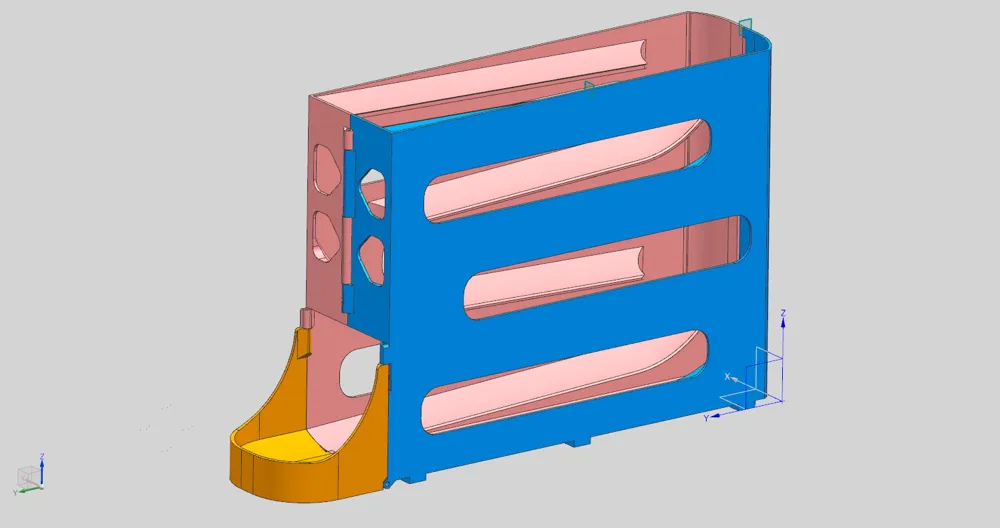
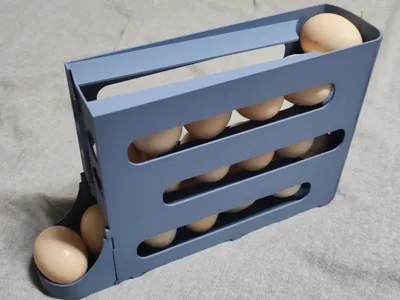
!!! This model is only recommended for use when space is limited !!! This model can hold up to 22 eggs simultaneously (only 17 supported if the top shelf has no space when placed in the refrigerator) If too many eggs are present, it may cause eggs to jam, and the entire model needs to be manually shaken to relieve the jam
A1 mini users please visit the homepage for a version specifically optimized for the A1 mini
30cm long, 7cm wide, 18.5cm high
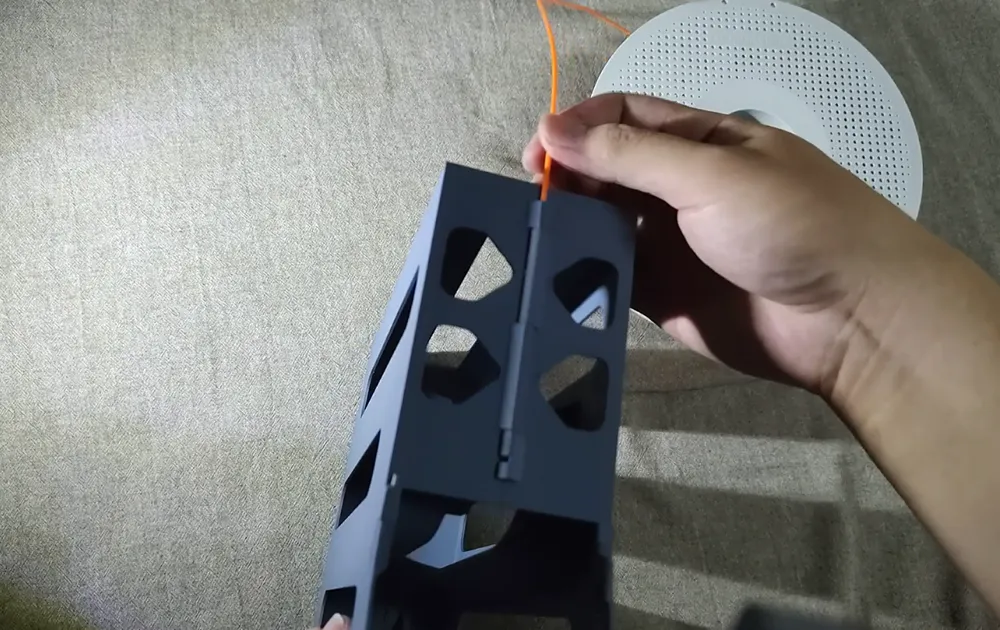
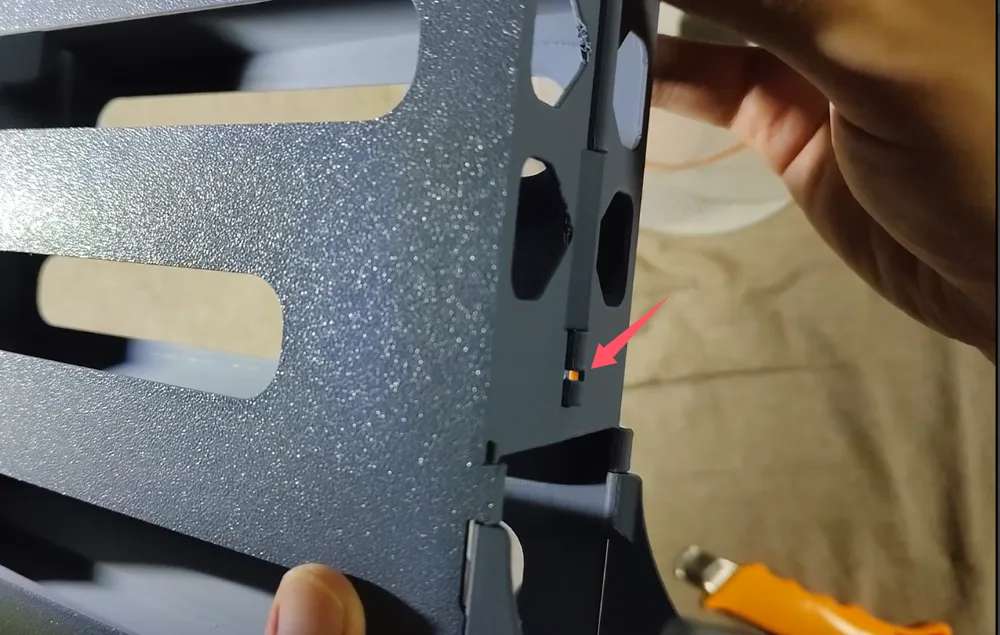
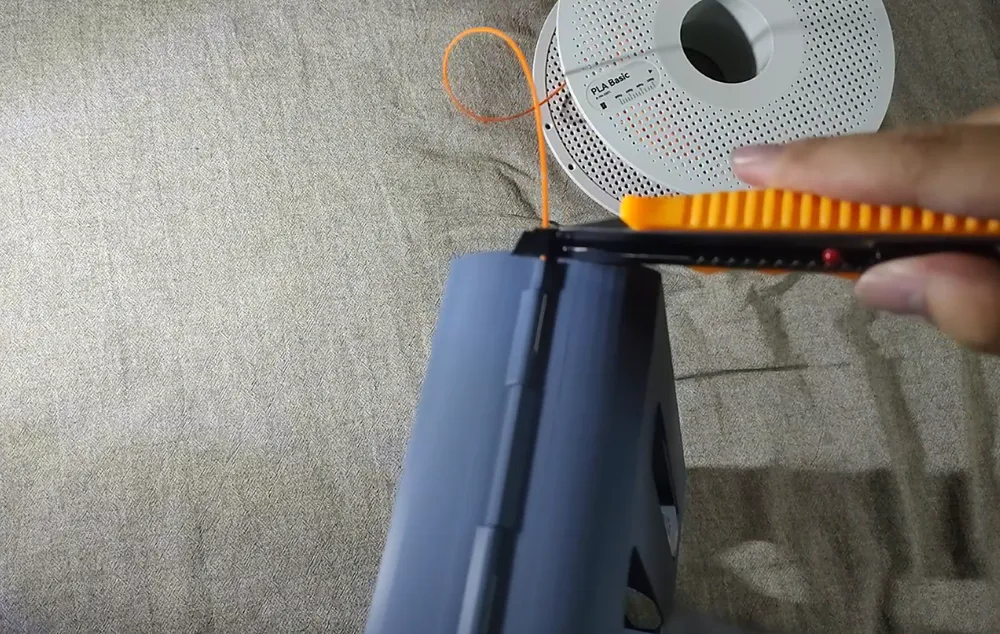
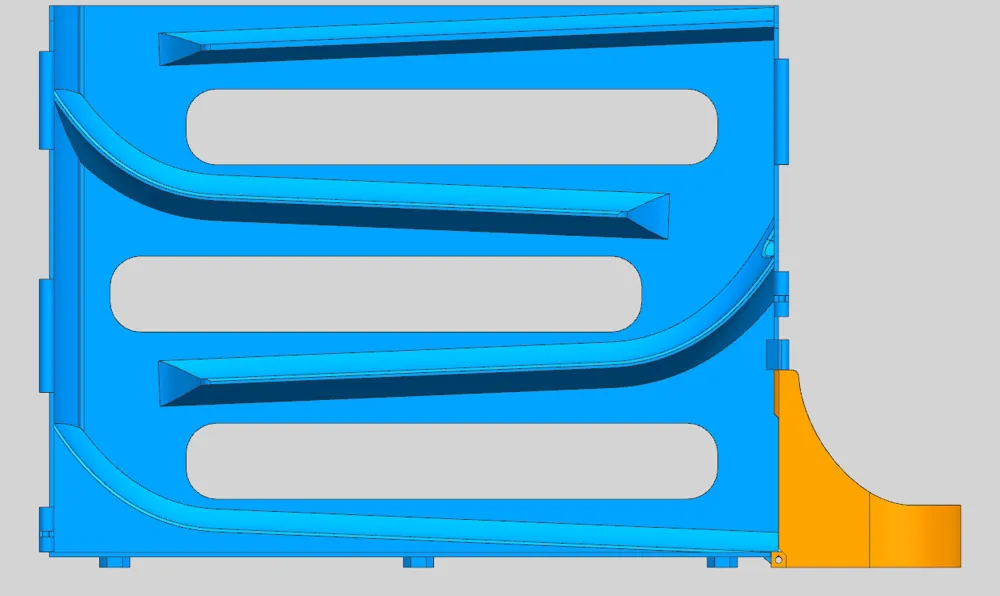
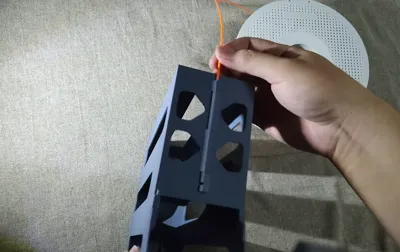
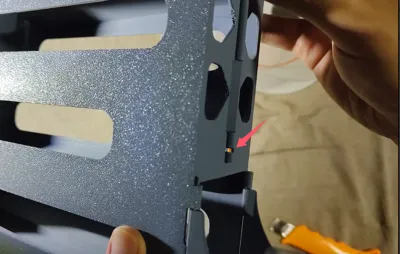
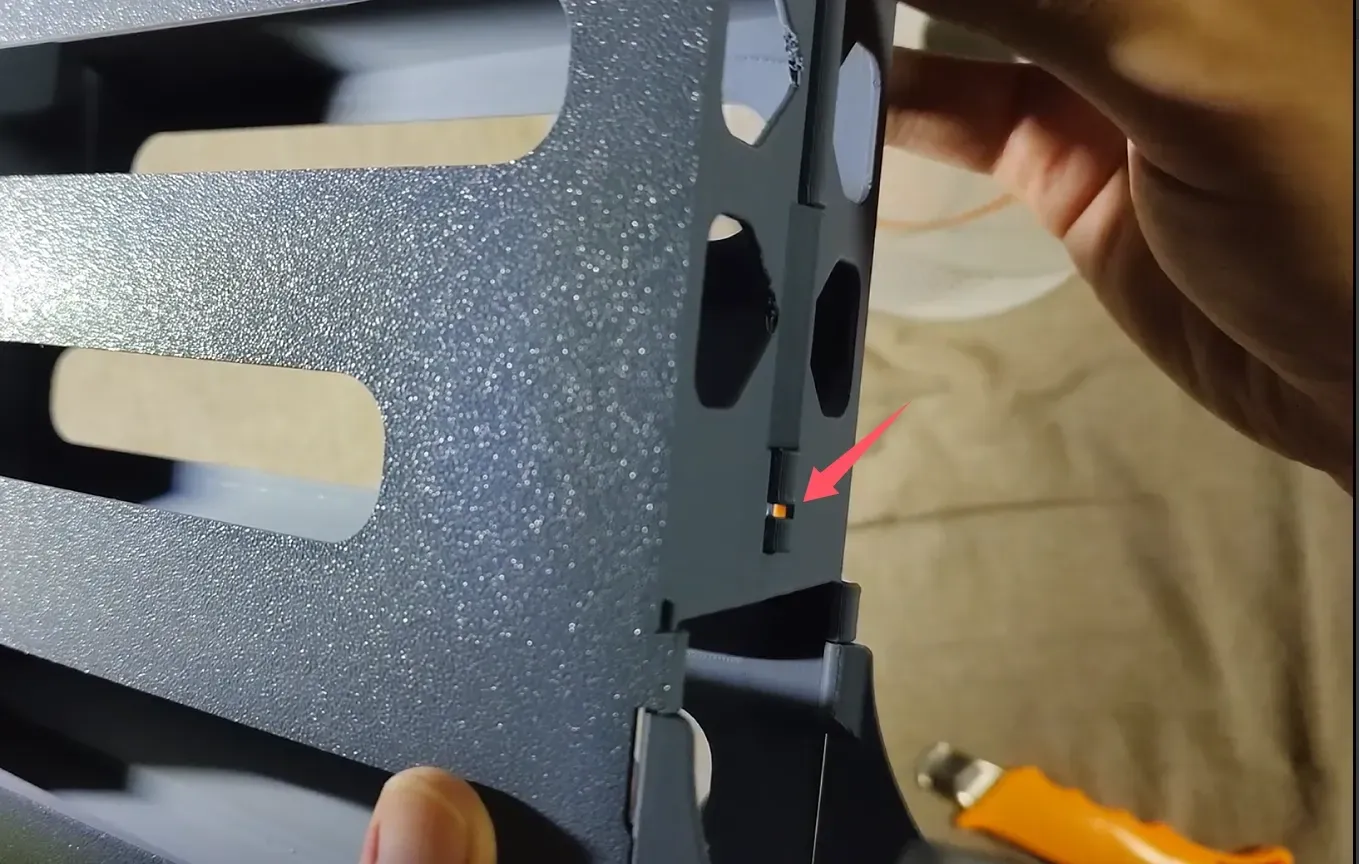
Simply insert 1.75mm filament into the 5 channels between the model parts to secure it no supports, no hardware, no adhesive needed Use the opening below to check if the filament is fully inserted
1. Insert the filament into the hole
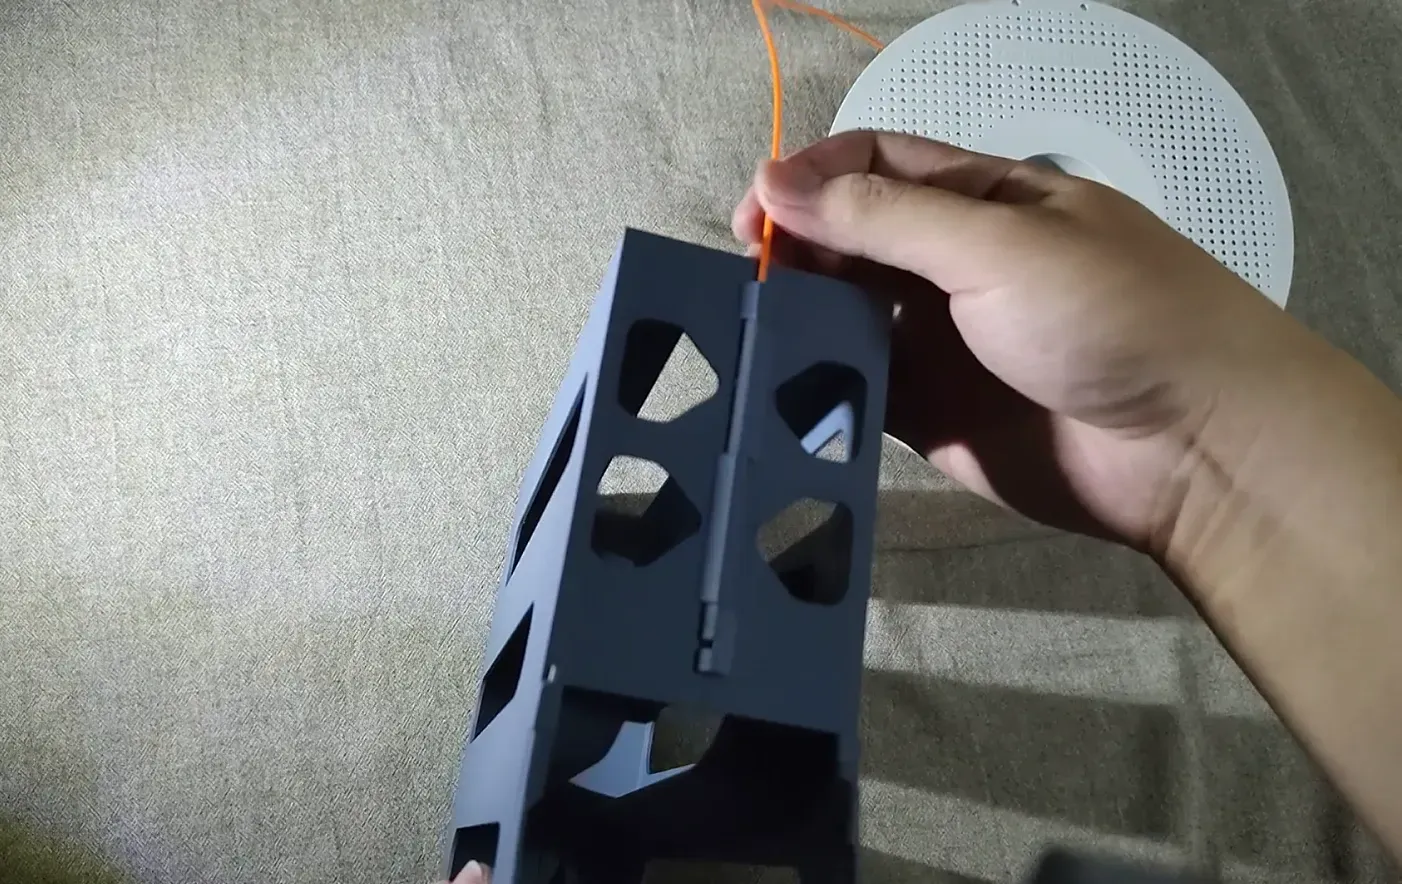
2. Use the opening below to confirm if the filament is fully inserted
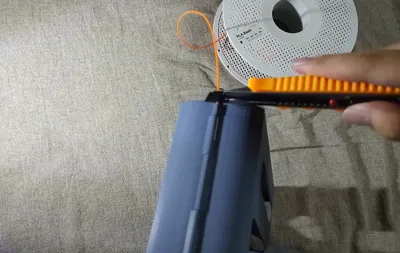
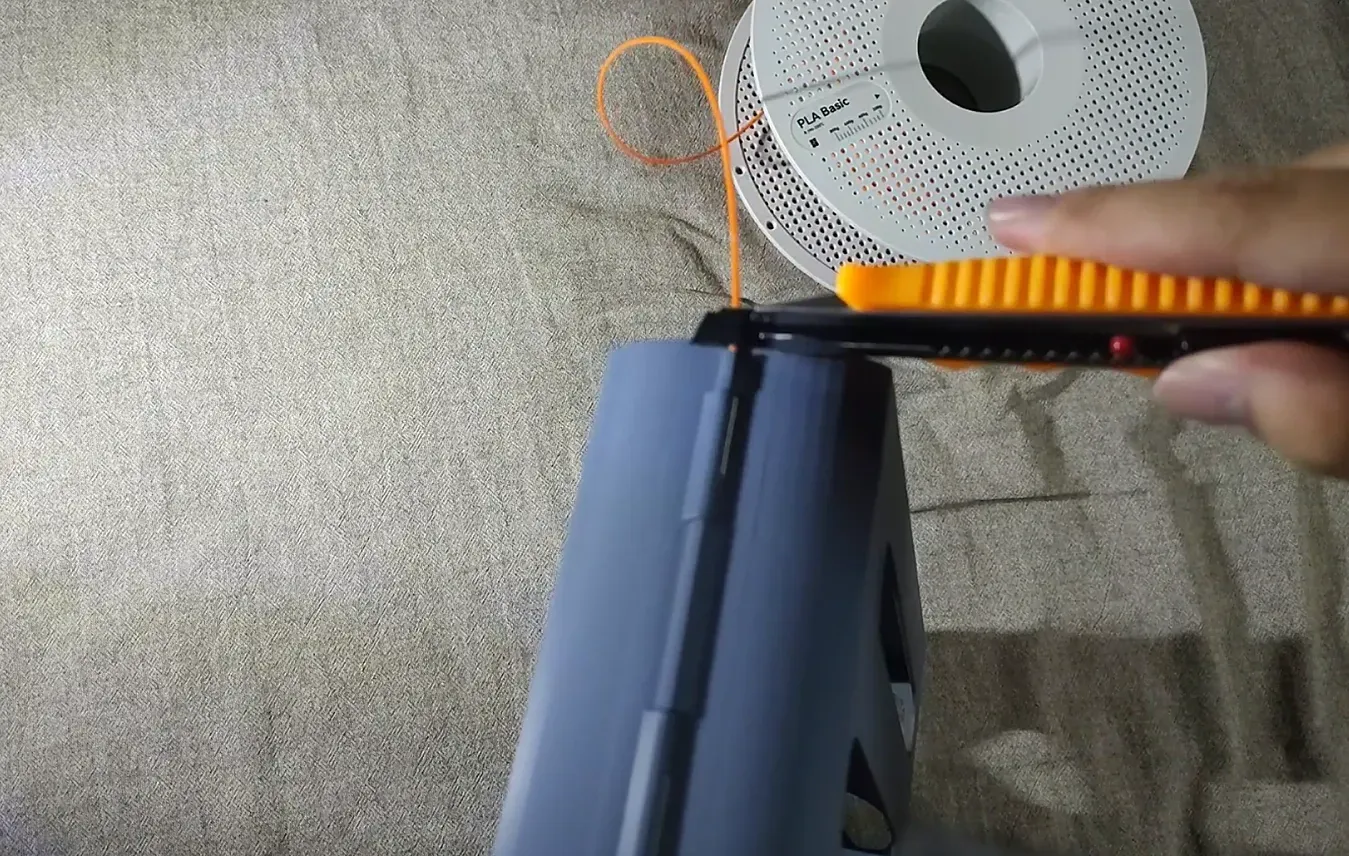
3. Score with a utility knife then snap off
(Note: The bottom horizontal channel is designed with a 2.2mm diameter, theoretically sufficient to account for filament shrinkage and elephant's foot effect during printing However, a small number of users have reported difficulty inserting the filament A chamfer has now been added to the right side when facing the model to further prevent the elephant's foot effect If you cannot insert the filament from the left, try inserting it from the right If it still cannot be inserted, you can try using a tool to further widen the outside of the channel before trying again)
Boost Me (for free)
If it's useful, give me a boost, please
License



Comment & Rating (1264)