Slim Case for the Pixel 9 Pro XL - HueForge Insert


Print Profile(1)

Description
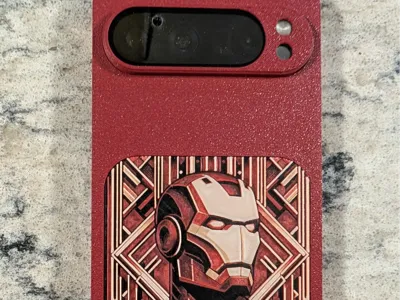
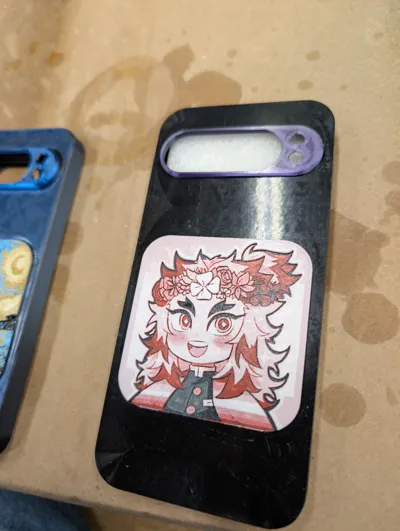
I thought it would be fun to put some hueforge prints in a phone case. I started with art deco iron man and moved on to starry night. Then came a chibi rengoku for my daughter. It's pretty easy to take any existing print and resize it (70mm) before intersecting it with the insert STL and adding the base. Just like full-sized hueforge prints, they work with 0.4mm nozzles but look better with 0.2mm. I had some trouble with making the inserts completely within Bambu Studio (complaints of floating regions, boolean operations complaining of no intersecting regions, crashing). So the inserts I'm uploading and the tutorial below are made with Microsoft 3d Builder.
Open the STL for the hueforge print and resize the smaller of length/width to 70mm, making sure to turn off the “lock aspect ratio” because you want to end up with a file that is the same height (z dimension).

If you have a square hueforge file, it's easy (make x and y 70mm) but if not you can either make the larger dimension smaller by the same percentage to keep the same x:y ratio OR you can skew it a bit like I did in the starry night file (making y 70mm tall means a 44.2% scale - the same reduction on the x axis is 88.5mm but skewed it a bit and made it 80mm).

You then import the "Insert positive for intersecting - square.stl" file and line it up where you want (centered usually).

Select both files, go to edit, and select “intersect.” Afterwards, the base “lip” won't be complete:

So you import the “Insert base - square.stl” file:

Select both files and go to edit → “merge”

Save the file and it's ready to print.


Comment & Rating (2)