
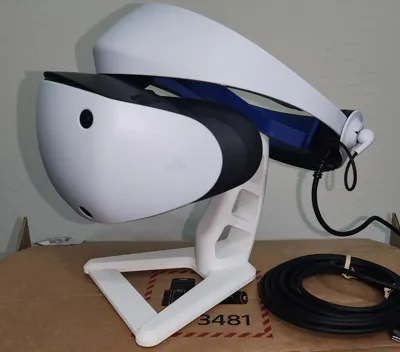
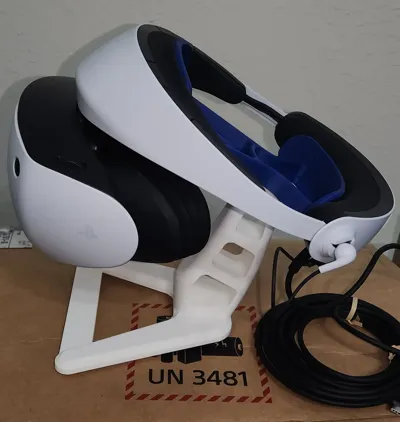
PlayStation PS5 VR2 (PSVR2) Headset Stand
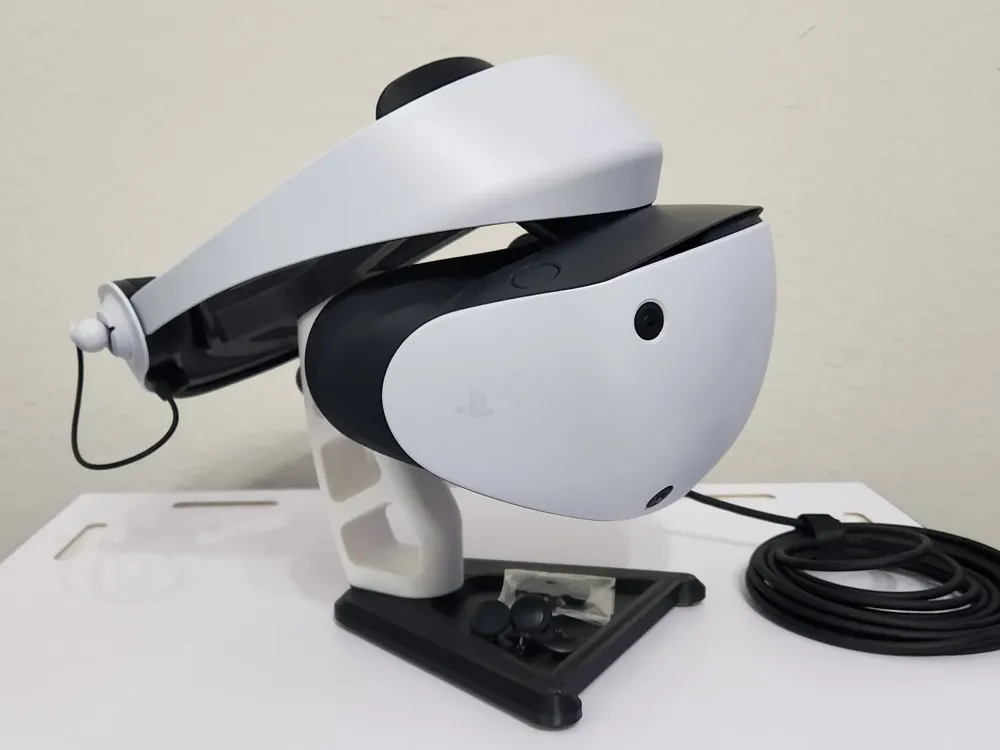
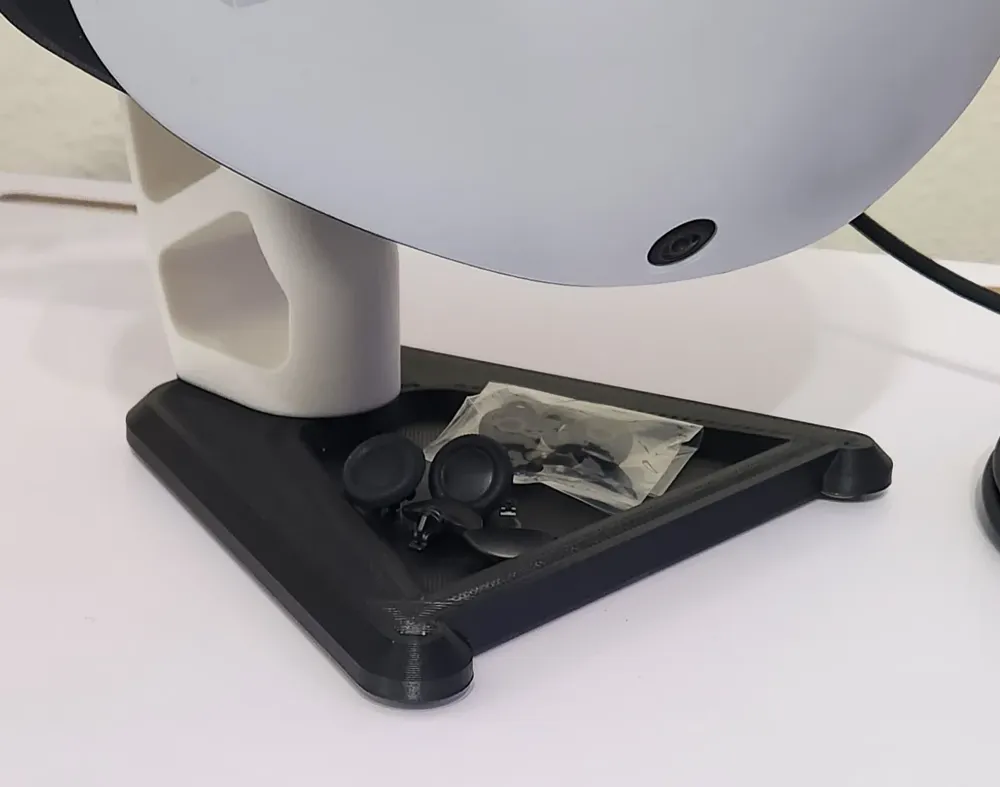
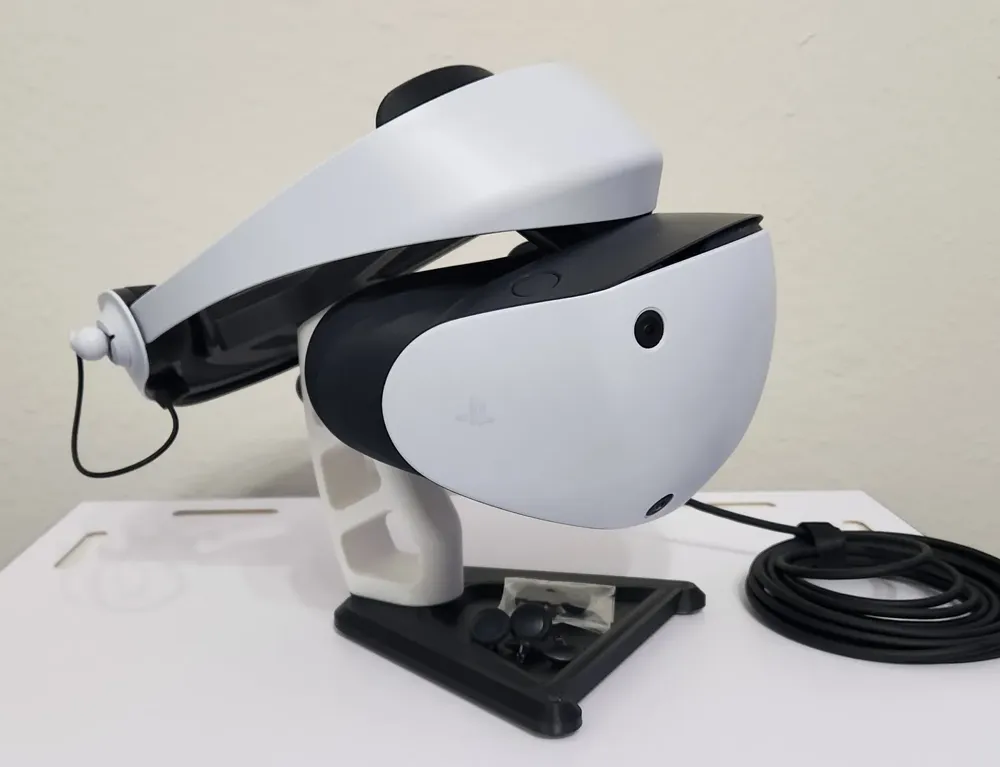
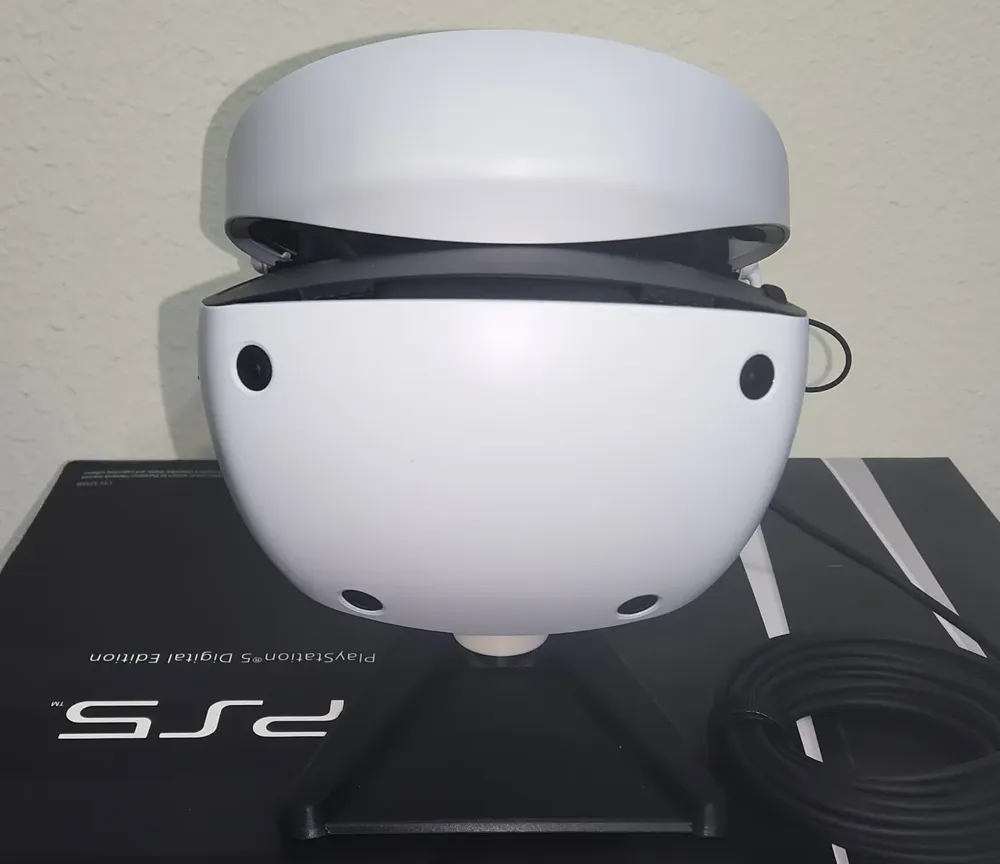
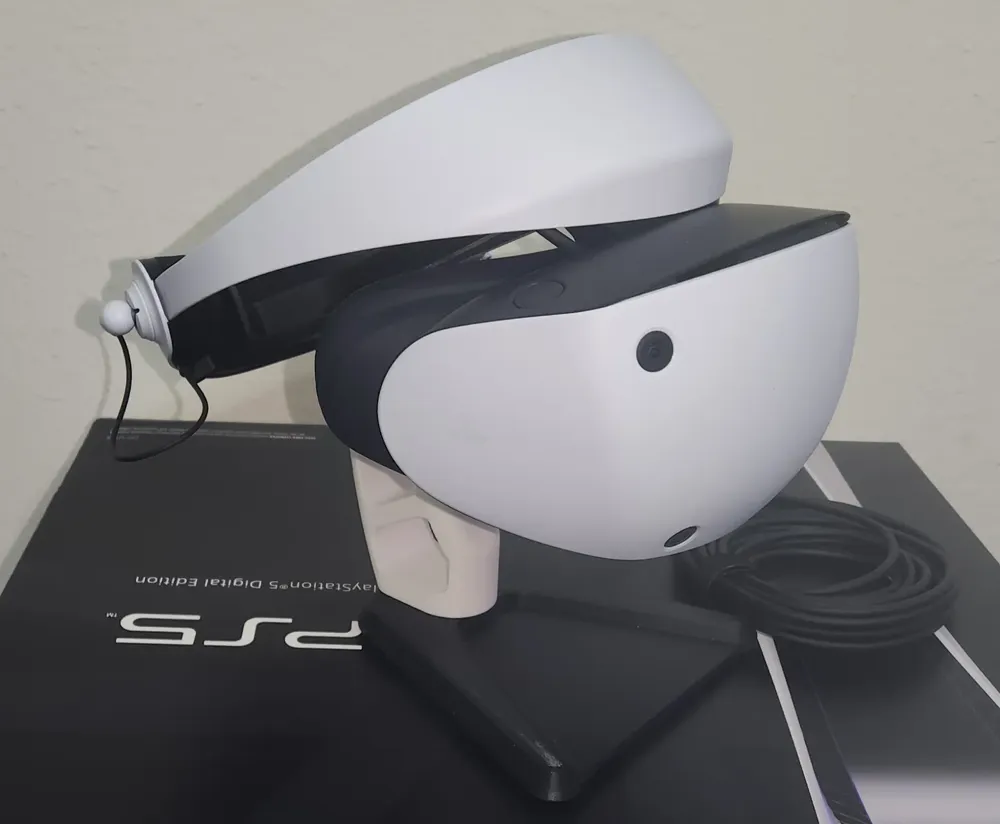
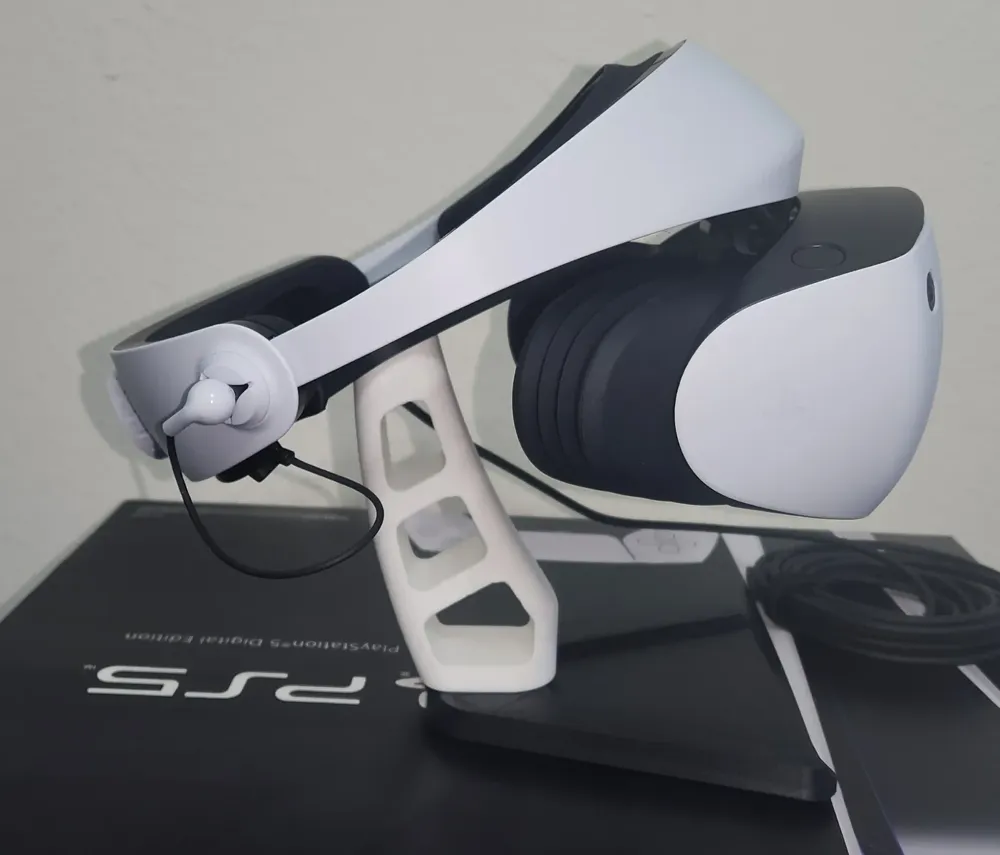
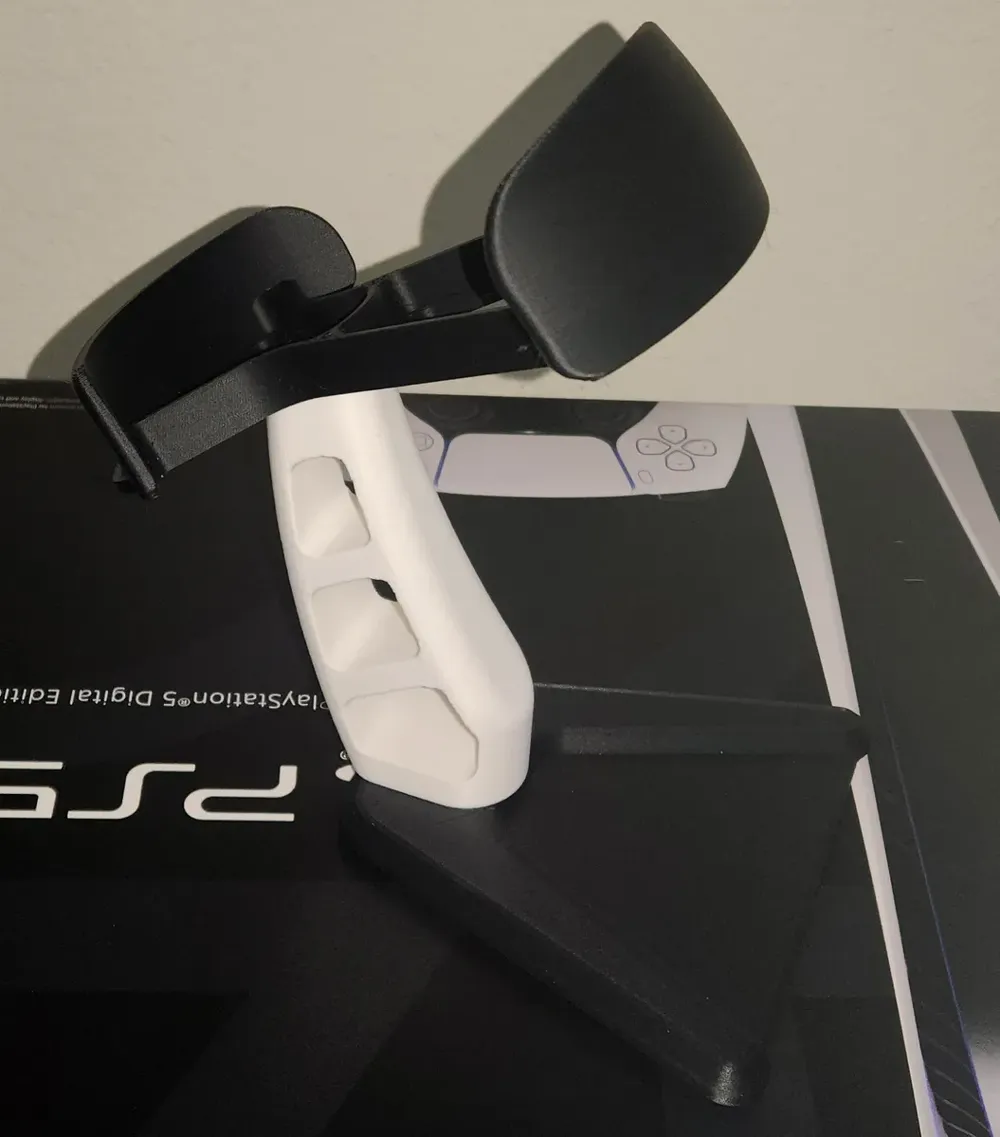
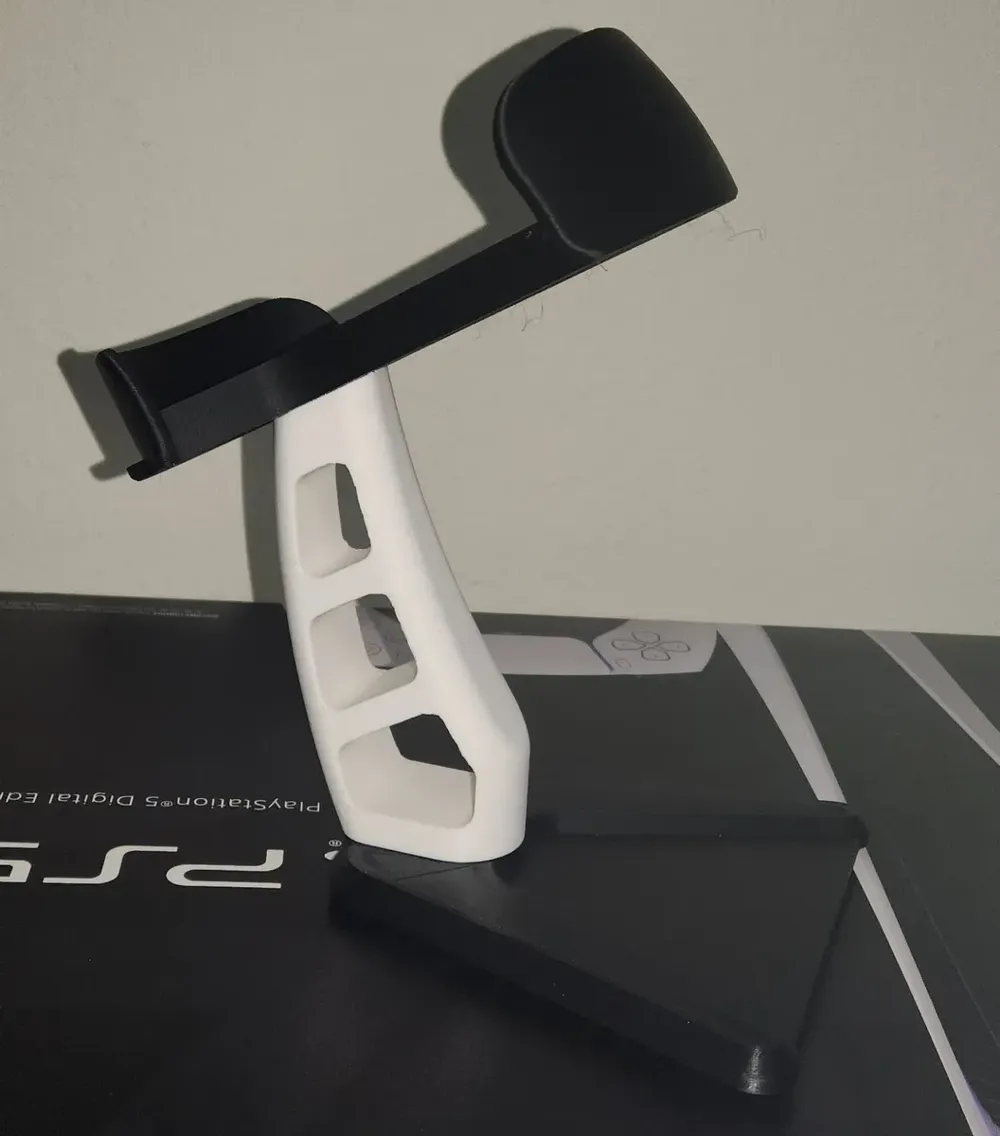
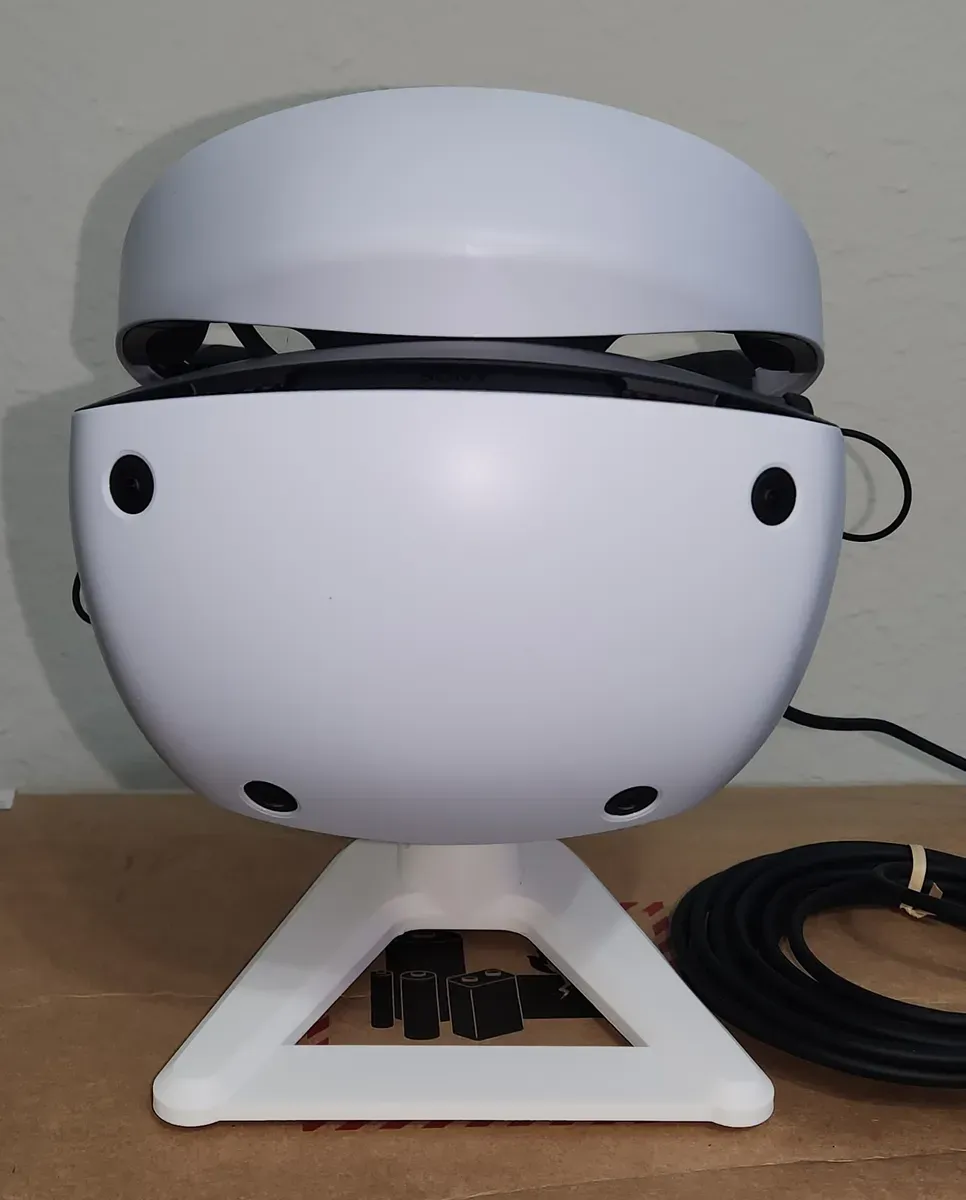
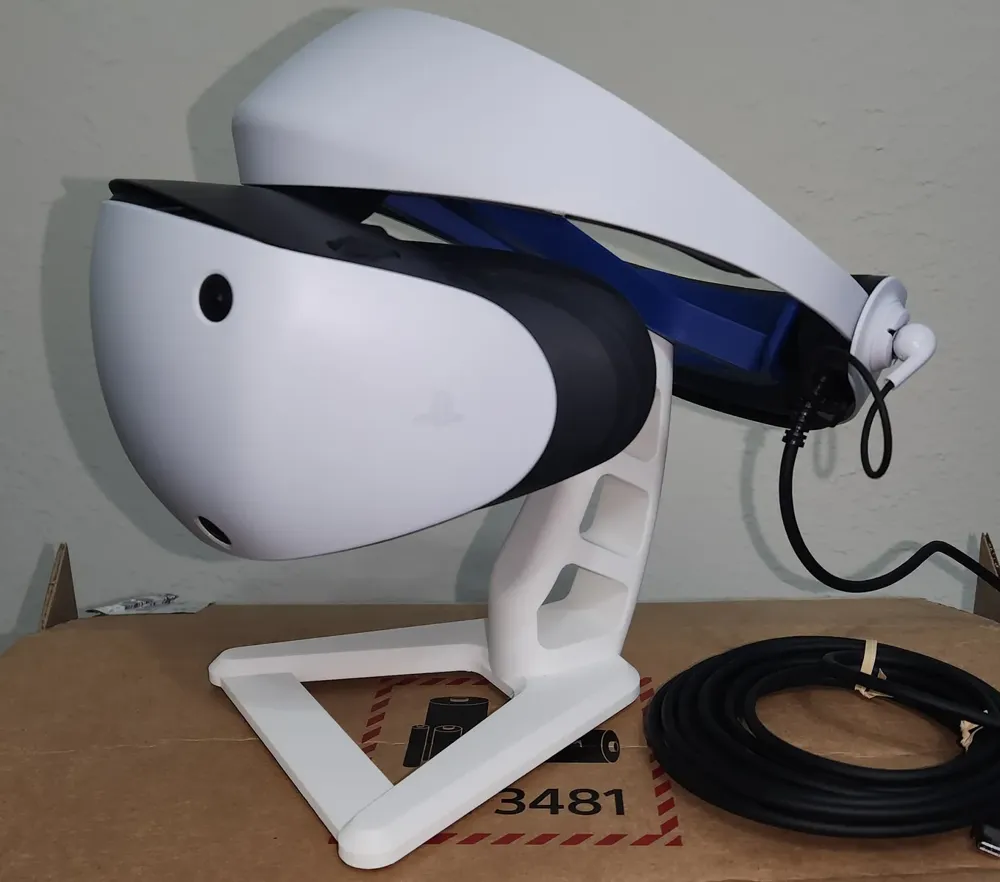
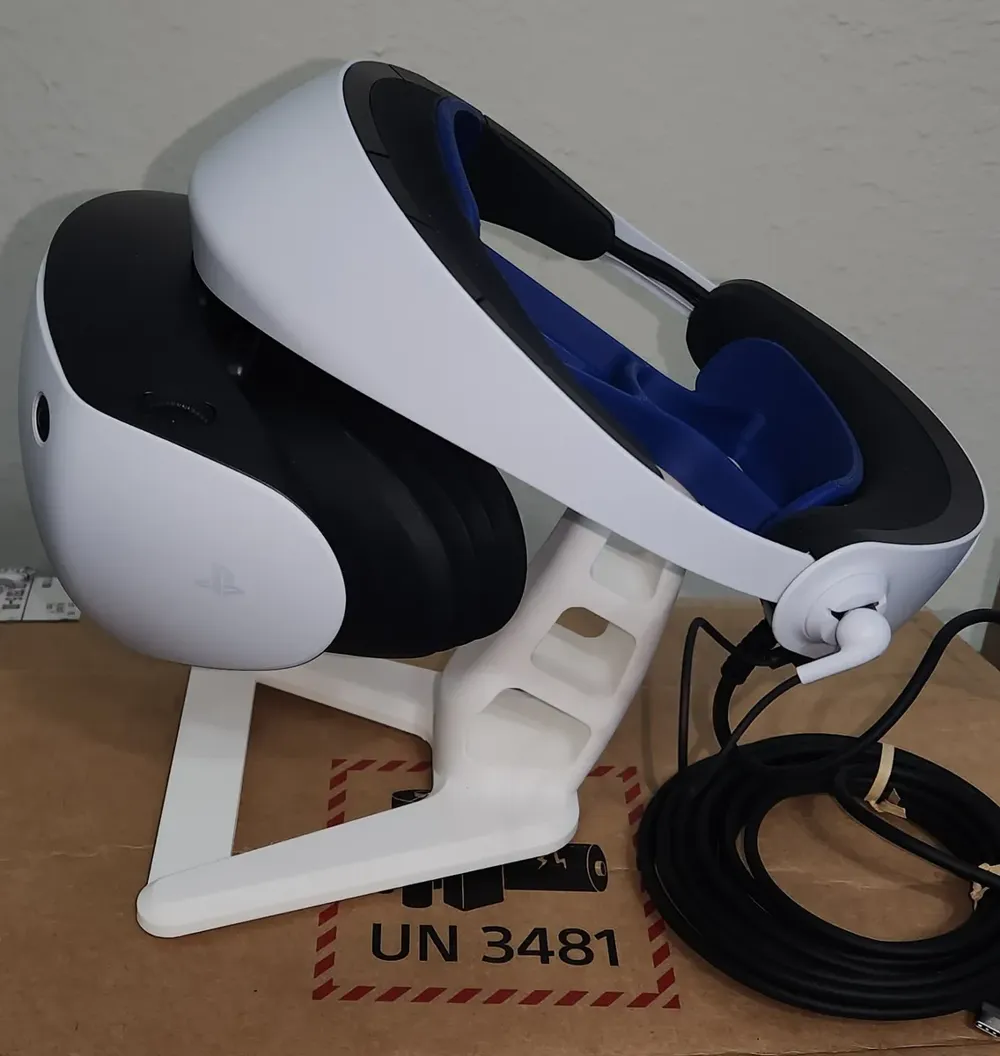
Print Profile(4)


Description
This is my upload from Printables version that has over 1K downloads, so I just copied it here with some tweaks for the Bambu ecosystem….
----
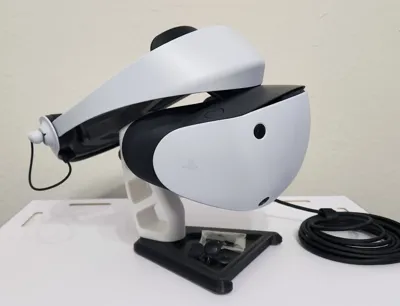
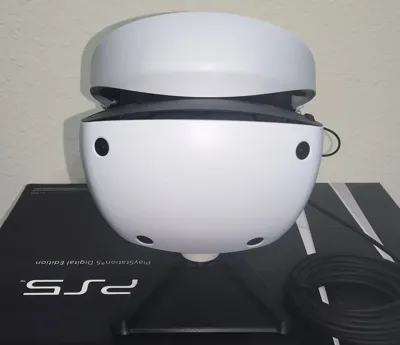
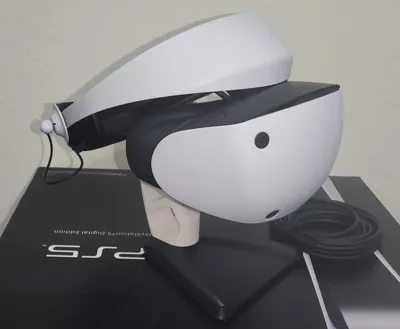
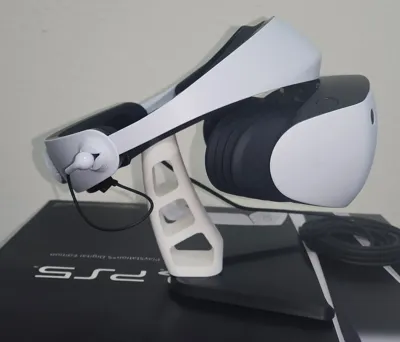
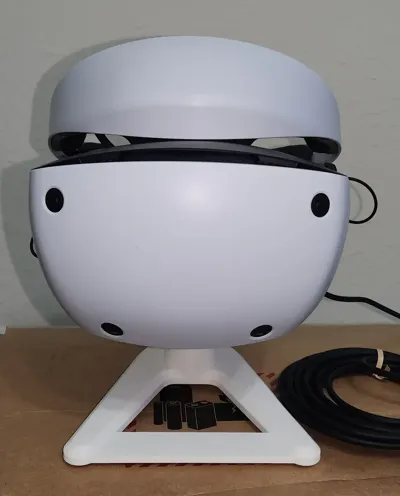
This works very well for my PSVR2.
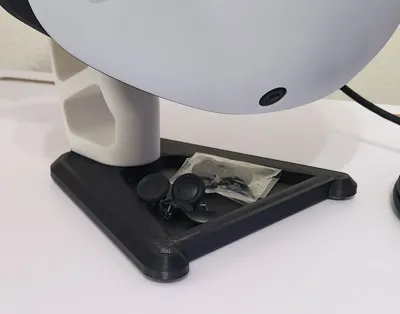
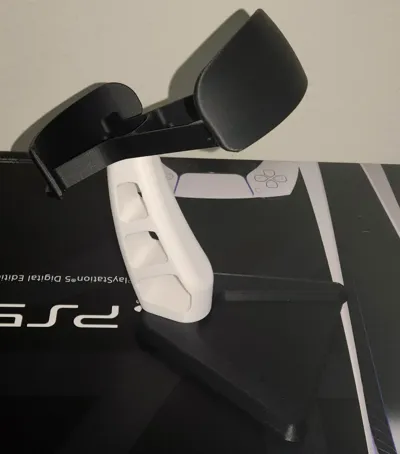
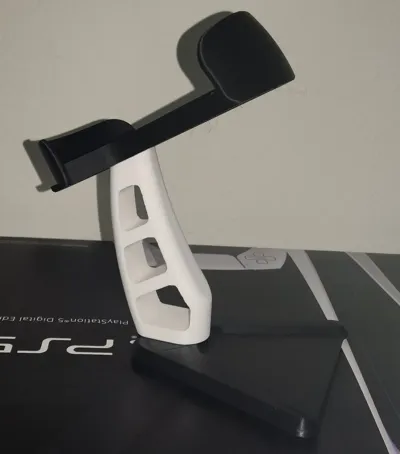
There are a few choices for the base that add extra weight in the front to reduce tipping over backwards compared to the original PSVR version.
There are a bunch of plates for each type of base.
Pick the one you prefer.
There are 2 main 3MF files:
- 1 has supports, but I don't think they realllllly are necessary. But use them if you want.
- The other has no supports.. I think this should be fine for what this model is.
I just set ‘Bambu PLA Matte' for this, but you should change that for your filament setup.
I recommend a matte PLA, like Bambu or Polymaker, but its your call.
There is some black/white painting on the bases for AMS.
If you don't have an AMS or just don't want different colors, click the plate and part and then just clear all painting on the part.
I also tweaked the seams so they should be towards the rear and be minimally visibly when viewed form the front.
---
Assembly:
For attaching the headset part to the base, the original suggested model using M4x16 screws.
I didn't have them, so I ended up using M4x20 self-tapping screws and they worked well.
You can also just use the holes (and use the optional alignment pegs plate to help) to align the top and base while you apply CA glue.
Optional ‘alignment pegs’:
- The round ones print vertically, but will be weaker.
- The ones that have flat sides and print horizontally should be a bit stronger, but the caps will look ‘weird’ and give a lot more wiggle room and will need more attention to center.
- I think the glue on the base will be all the strength you need, so I would use the round ones if I didn't have screws to use.
- Either way, to use these, print two and check the fit and resize in your slicer if you feel you want more or less of a tight fit. Add some CA glue to the base top and then some to each peg before inserting. Insert the pegs, eyeballing the centering a little may be needed, and then just hold for a few seconds until the glue sets enough to hold it for you.
--
Disclaimer:
I haven't printed this on my X1C - but I know it will rock with the basic .28 profile with a few tweaks for strength and weight.
I printed mine when the PSVR2 came out using my Ender 3 S1 with near identical settings and was great, so this should print as well, but probably better and FASTER on any BBL printer! :)
----
Final notes:
I also used 5 clear rubber cabinet bumpers (about ½") for anti-slip on the bottom of the stand.
Any similar type of foot/cushion can be used of course.
Boost Me (for free)
A boost would be cool if you feel so inclined. :) cheers & thanks!
cYa in VR!
This remix is based on

License



Comment & Rating (46)