Search models, users, collections, and posts

Book Folio for Supernote Nomad
Remixed by
Print Profile(1)

0.2mm layer, 2 walls, 20% infill
Designer
14 h
4 plates
Open in Bambu Studio
Boost
35
59
2
3
55
13
Released
Description
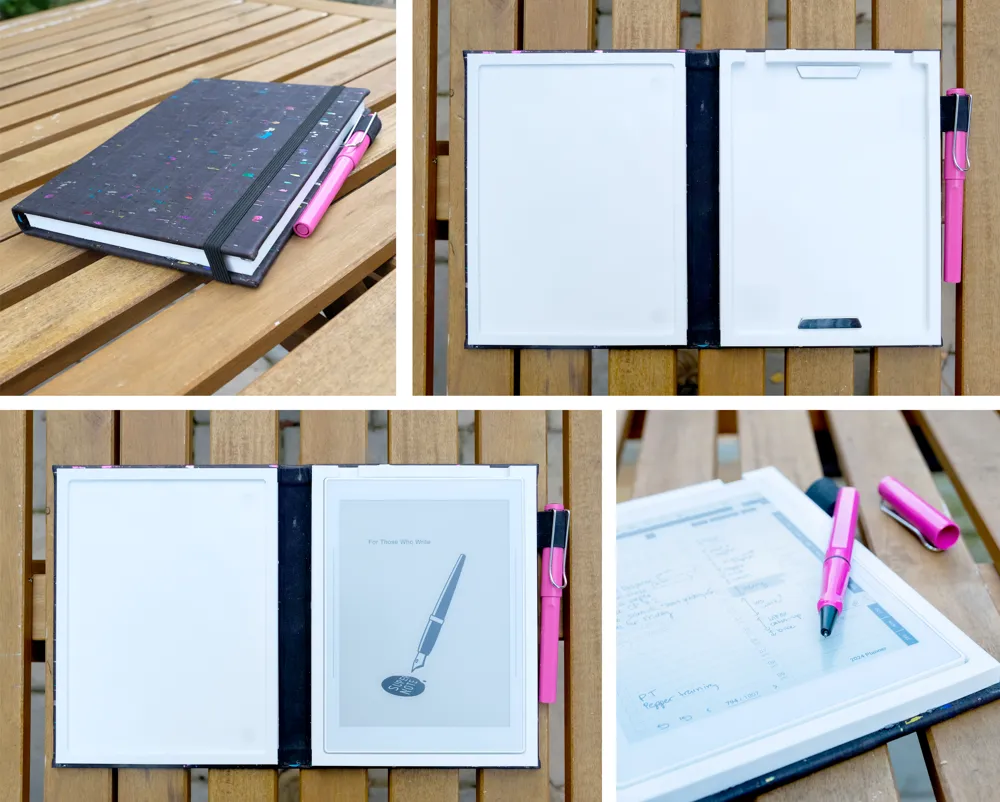
This project provides parts to construct a folio/case for the Supernote Nomad from Ratta that looks like a casebound book.
Supplies needed:
- DIY folio kit for Supernote Nomad from Ratta:
https://supernote.com/products/diy-kit-for-folio-of-nomad?srsltid=AfmBOooMcmBXOkNFT4N96--1FqyxB2YY_GRuJxFZrIQpos0KzeP3nZjC - Approx. 1 fat quarter of book cloth, cork fabric, or leather
- Uploaded STLs assume cover material is approx. 1 mm thick; you will need to re-compile the design in OpenSCAD or the customizer if yours differs from this thickness significantly
- Small scraps (approx. 4" x 12") of a lightweight cotton and a medium-weight fusible interfacing
- Contact cement or other appropriate glue for attaching fabric/leather to plastic and plastic to plastic
Printing instructions:
- FIRST, PRINT THE TESTER FILE from the parent project, https://www.printables.com/model/1007022-supernote-nomad-folio-stiffeners
- Check to make sure that the magnets, magnet shields, etc. all fit in the appropriate holes. If not, increase your slicer's x-y hole compensation before moving on.
- USE THE FOLLOWING GENERAL SETTINGS for all parts, unless otherwise specified:
- layer height: 0.2 mm
- infill: 20% (minimum - can increase for covers for rigidity if desired)
- recommended infill pattern: triangle, but you can change it if you want
- enable thick bridges
- Print the following parts in PLA or PETG at a layer height of 0.2 mm:
- front_cover
- back_cover
- spacers (print 2)
- optional: spine_thick.stl (for a look that is more like a traditional case-bound book)
- Print the following parts in TPU (or PLA or PETG, but I used TPU for a little cushion) at a layer height of 0.2 mm:
- front_block
- insert a pause in the slicer at the beginning of layer 6. Insert the hall sensor magnets in the orientation specified in Ratta's DIY folio guide before resuming the print.
- back_block
- Insert a pause in the slicer at the beginning of layer 6. Insert the magnet shield squares into the holes before resuming print.
- spine_thin (preferred - for a sleeker profile and a little more flex in the spine)
- front_block
- If you have trouble with the print bridging the magnets or shield squares after insertion, check that you have thick bridges enabled, and then wipe them down with rubbing alcohol and try again.
- CAUTION: rubbing alcohol will remove the marks that Ratta places on the Hall sensor magnets to indicate their correct orientation. Be careful that you do not lose track of which way is up!
Assembly Instructions:
- OPTIONAL: attach a strap for closure to the back cover material before you begin assembly.
- I did not do this, so you will have to figure out what kind of closure you want (a tab with velcro?) and how to attach it, but if you want something like this on your folio now is the time to attach it.
- Glue the front cover, spine, and back cover to your cover material.
- The front cover and back cover should be approximately 22-23 mm apart, if you are using the “thin” spine and a 1mm thick cover material. This distance will need to be adjusted if you are using the “thick” spine or a different thickness cover material.
- Center the spine in the middle of the gap between the front and back covers.
- Trim the cover material to approx. 5/8" from all edges of the printed cover.
- Cut notches or punch holes for the registration pins, making sure to stop approx ¼" from the printed cover so that the notches will not be visible once the “text block” is glued in.
- Cut the corners diagonally to within about ¼" of the printed cover.
- After this step, your project should look something like this:
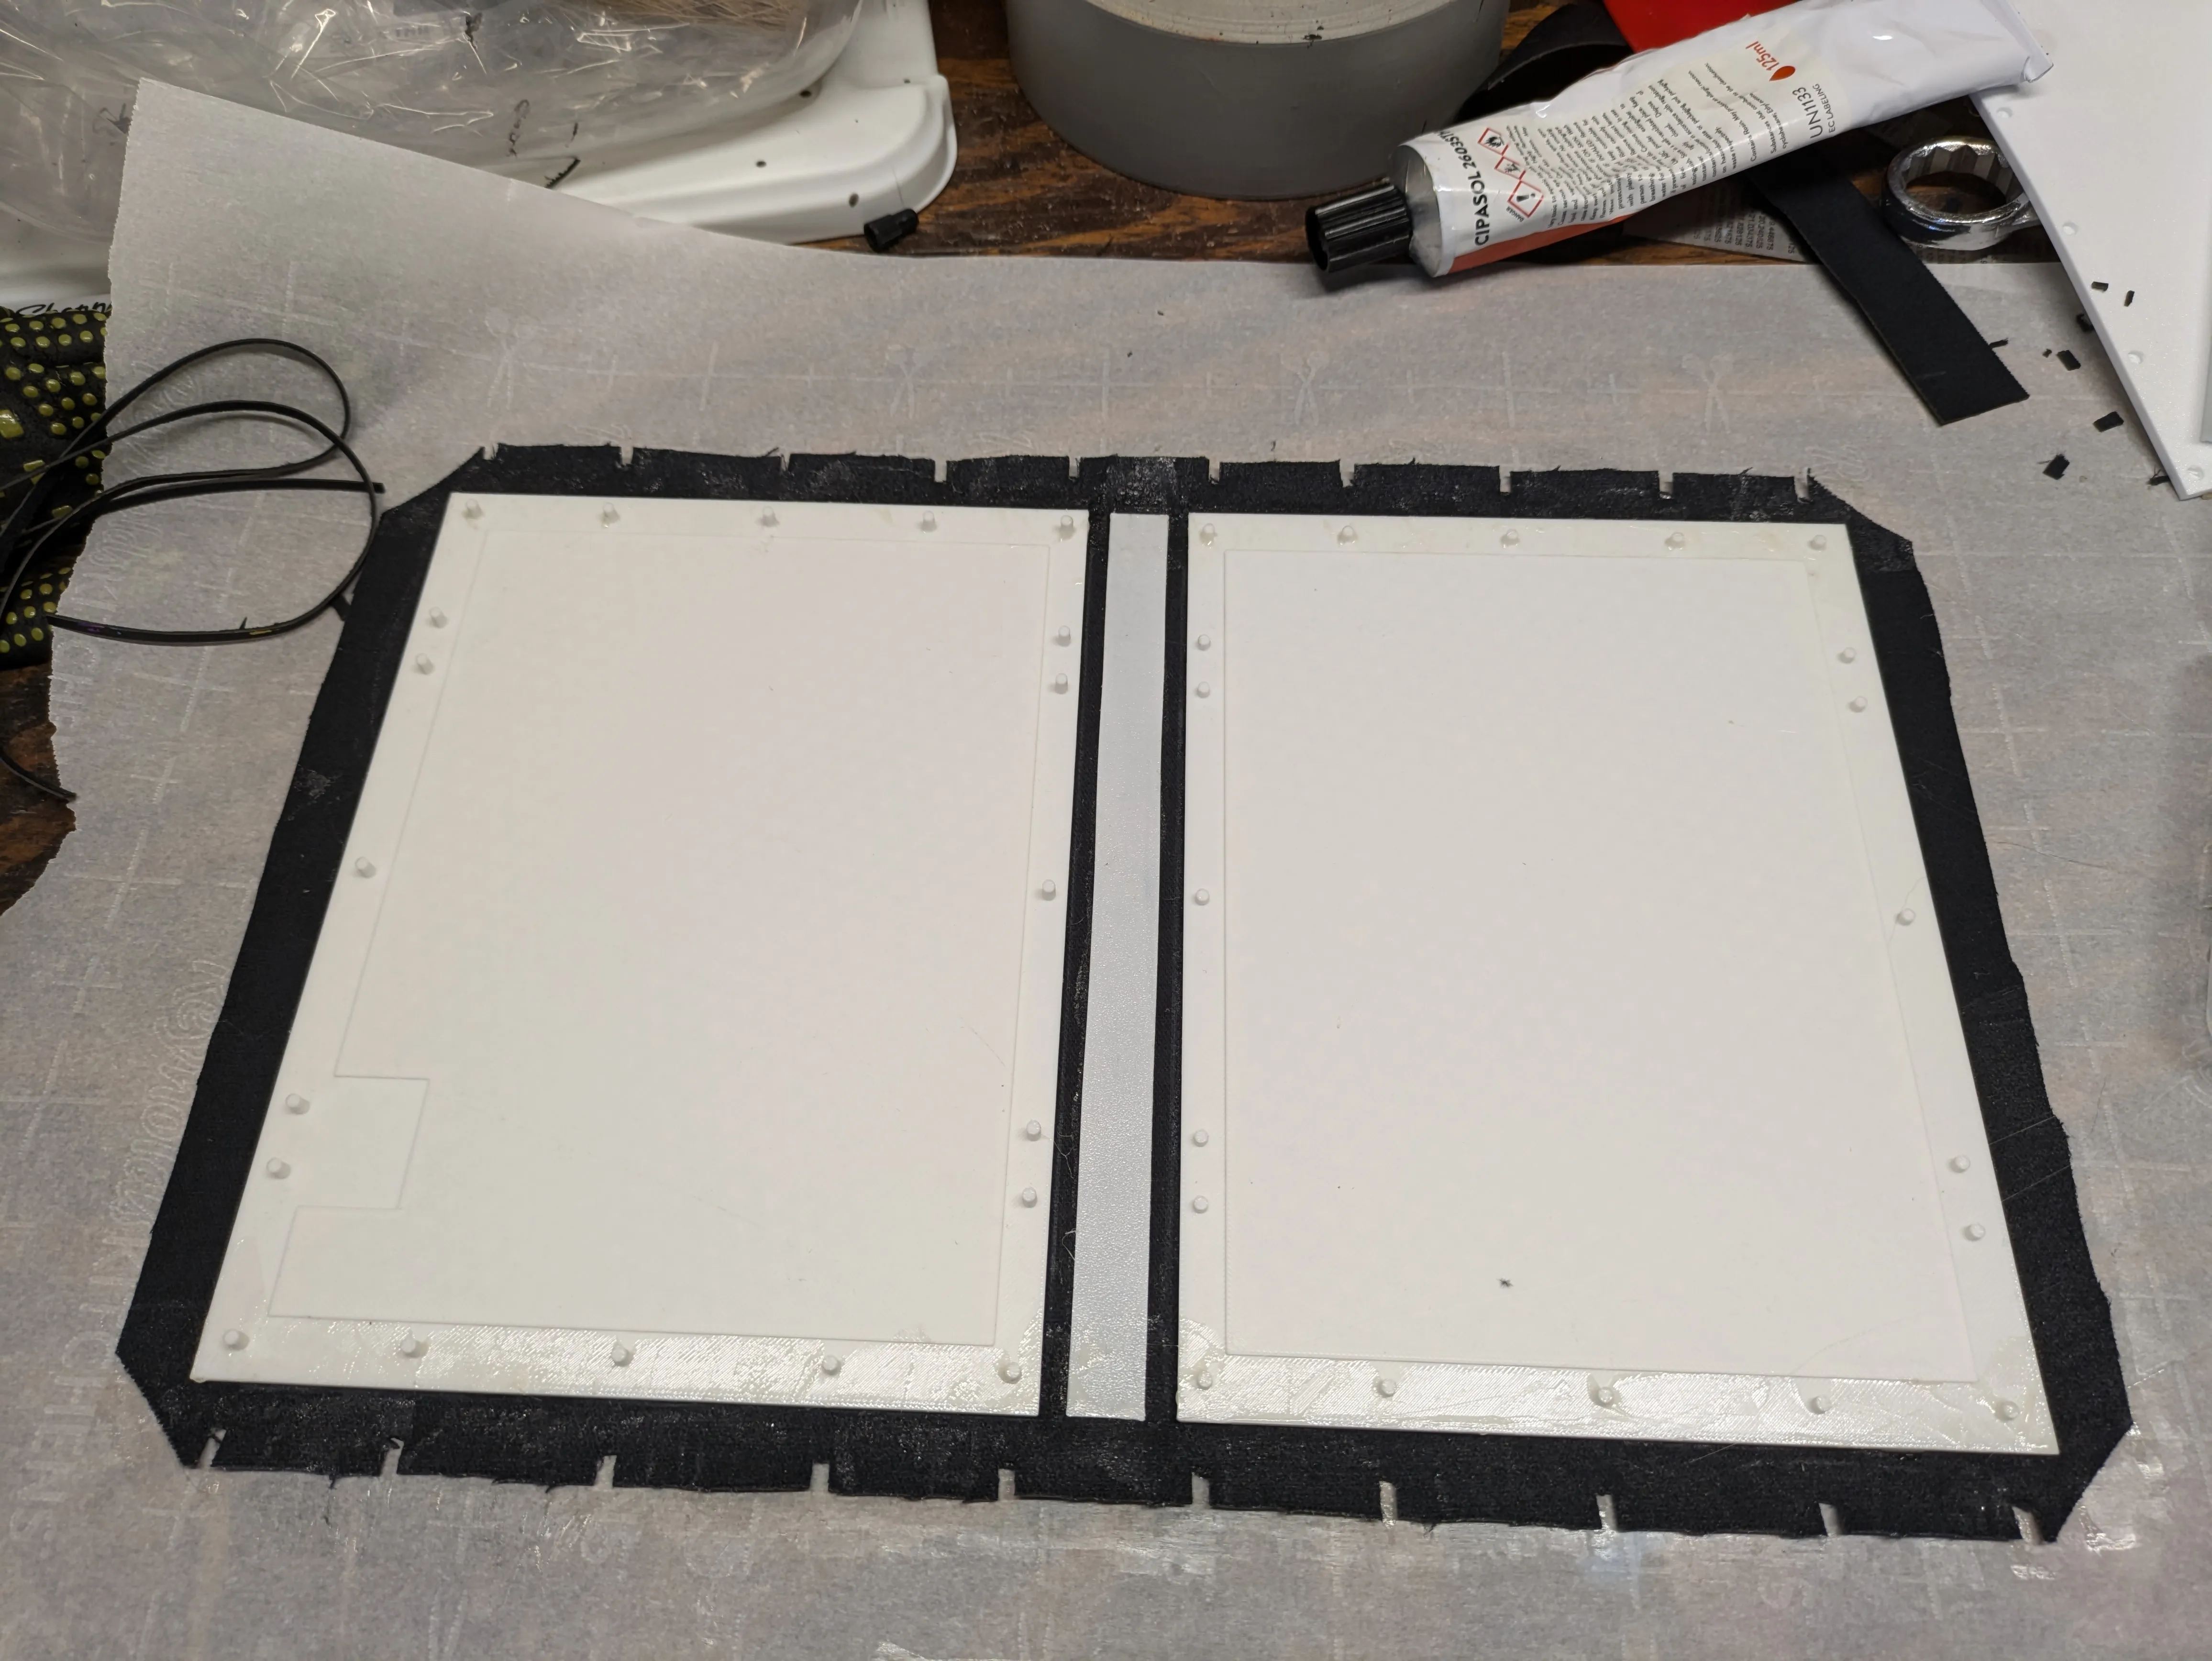
- After this step, your project should look something like this:
- Fold the cover material up and over onto the printed cover and glue in place.
- Fold and glue the long edges first, THEN do the short edges.
- Before doing the short edges, skive or thin the corners down as much as possible to make it easier for the block to sit flat when it is glued in.
- Construct the pen loop and spine cover as follows:
- Pen loop:
- Cut a piece of thin cotton fabric approx. 2" x 6"
- Cut a piece of fusible interfacing 1" x 6" and fuse to the center of the cotton
- Using fold the un-interfaced edges inward over the interfacing and glue in place
- Place on back cover and mark locations of the registration pins. Punch or cut 3mm holes for each registration pin.
- Glue pen loop to cover.
- Place pen in desired location and wrap pen loop around it. Once you have determined how long the pen loop should be, mark the positions of the registration pins and punch them out. Cut off any excess from the pen loop, and glue the free end of the loop in place.
- Spine cover:
- Cut a piece of fusible interfacing approx. 23 mm wide and the same length as the text block.
- Fuse to a scrap of cotton and cut out with approx. ½" allowances on the long edges and ¼" allowances on the short edges.
- Fold the short edges over toward the interfacing and glue in place
- Glue the interfacing to the spine piece between the covers, then cut/punch notches for the registration pins and glue the allowances down to the covers.
- Finally, glue in the spacer pieces that were printed earlier.
- Pen loop:
- Remove support material from the back_block piece and attach the magnets that hold the device in place with the provided screws.
- Finally, glue the front_block and back_block pieces to the covers. At this point, your folio should look like this (maybe minus having a pen IN the pen loop…)
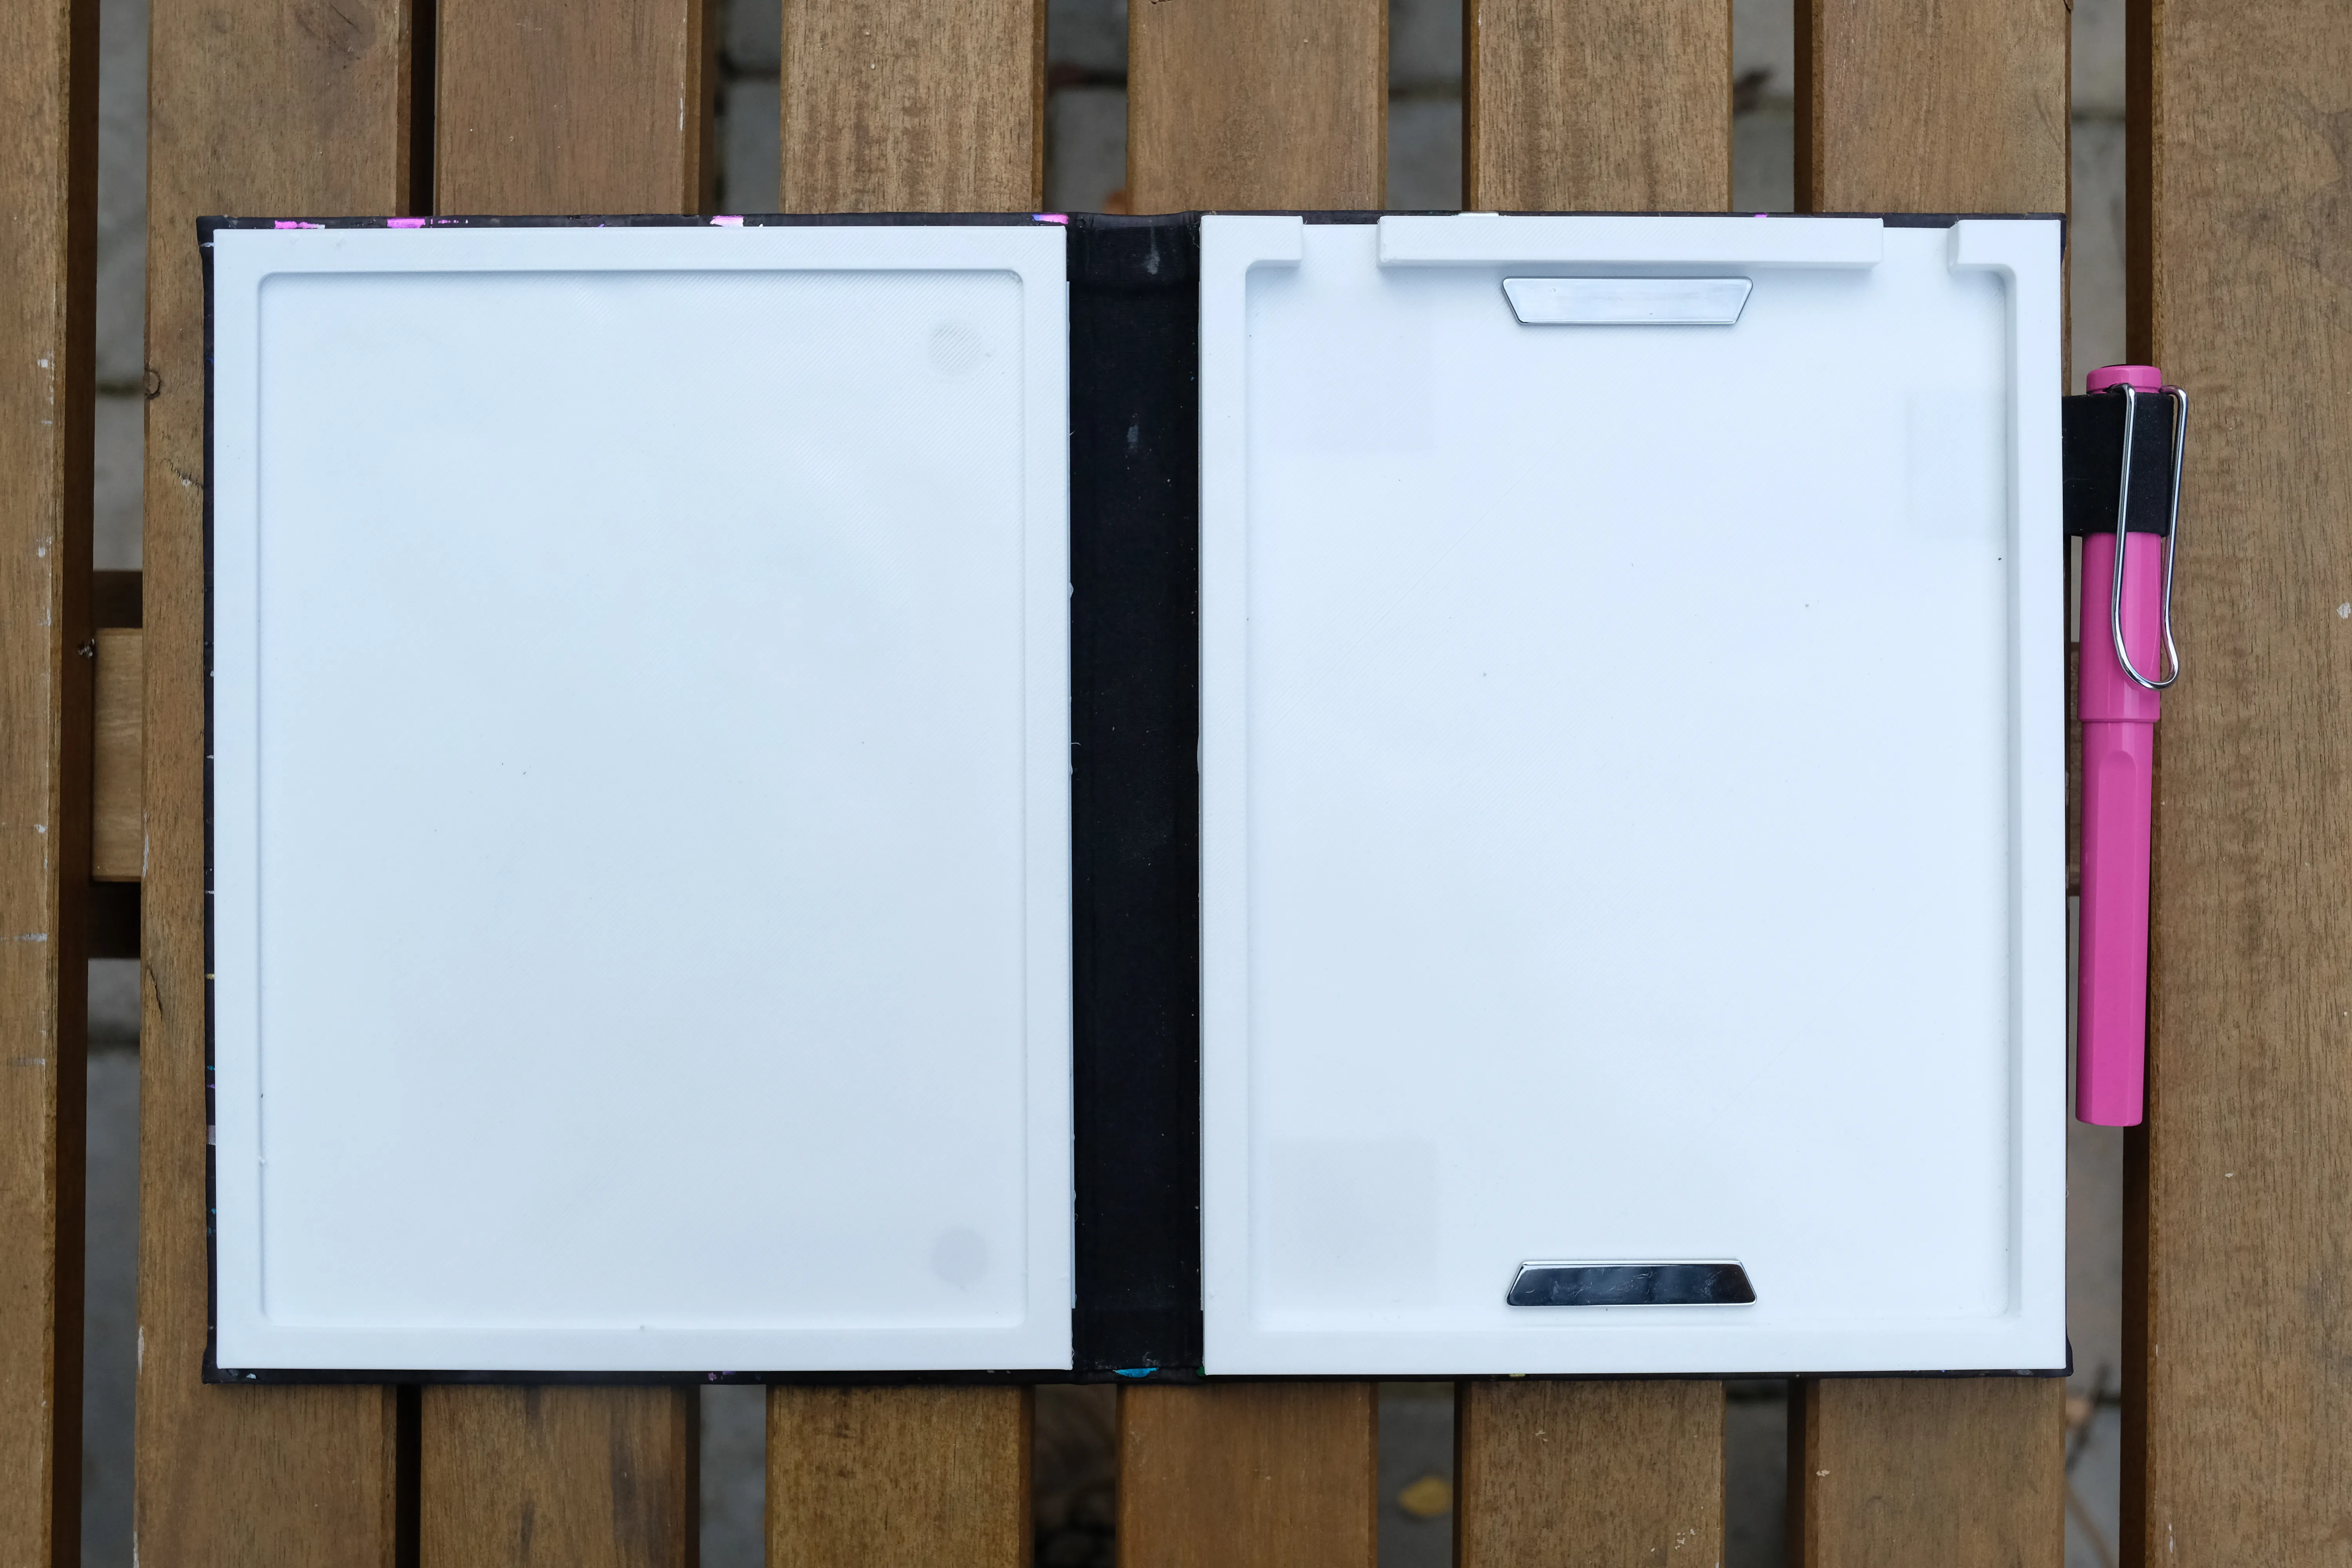
- Let everything cure, and enjoy your new book folio!
Note: If you did not attach any sort of closure tab to the folio before assembly, I recommend making a loop of elastic that you can wrap around the folio to keep it closed while in your bag. You could glue this to the back cover if you want to keep it attached; I did not, and it has been fine, but it's up to you.
This remix is based on

License

This user content is licensed under a
Creative Commons Attribution-Share Alike


Comment & Rating (2)