
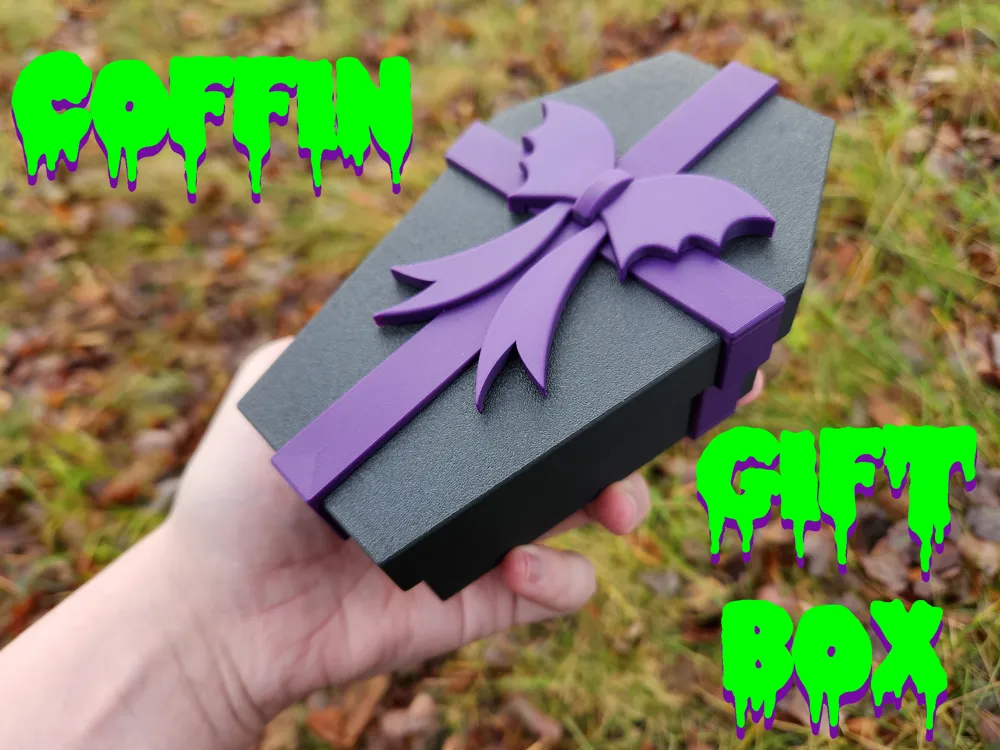
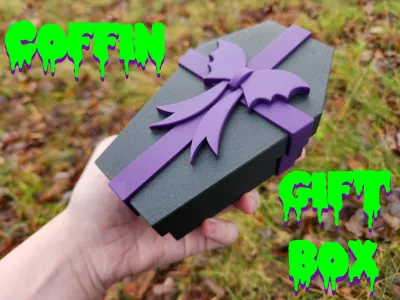
Coffin Gift Box (important update at bottom!!!)
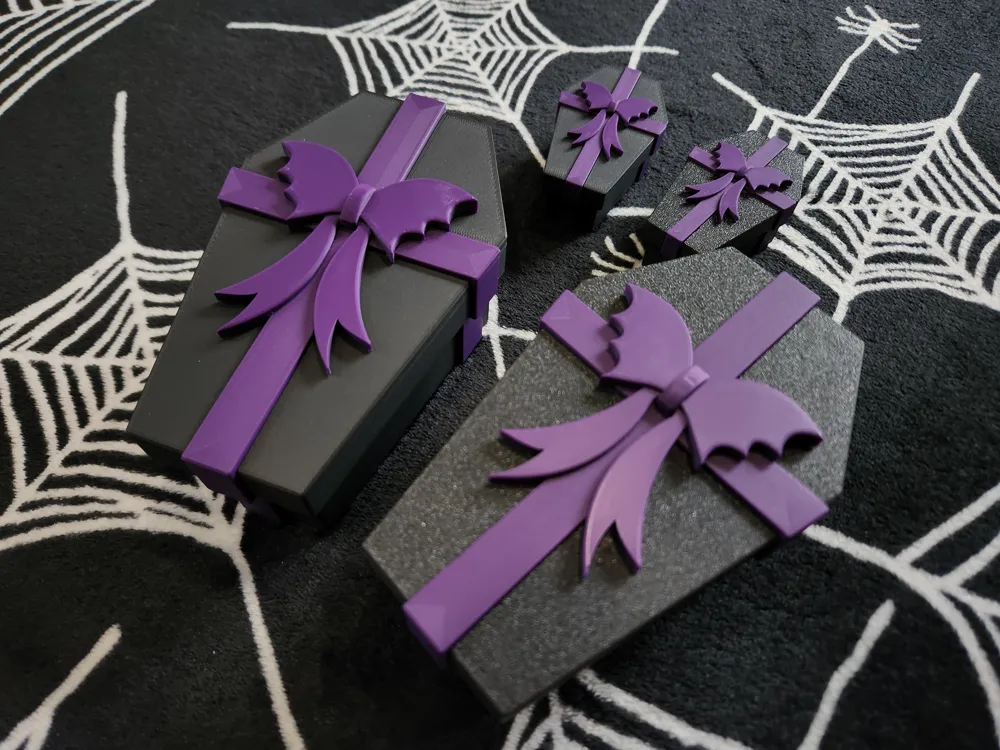
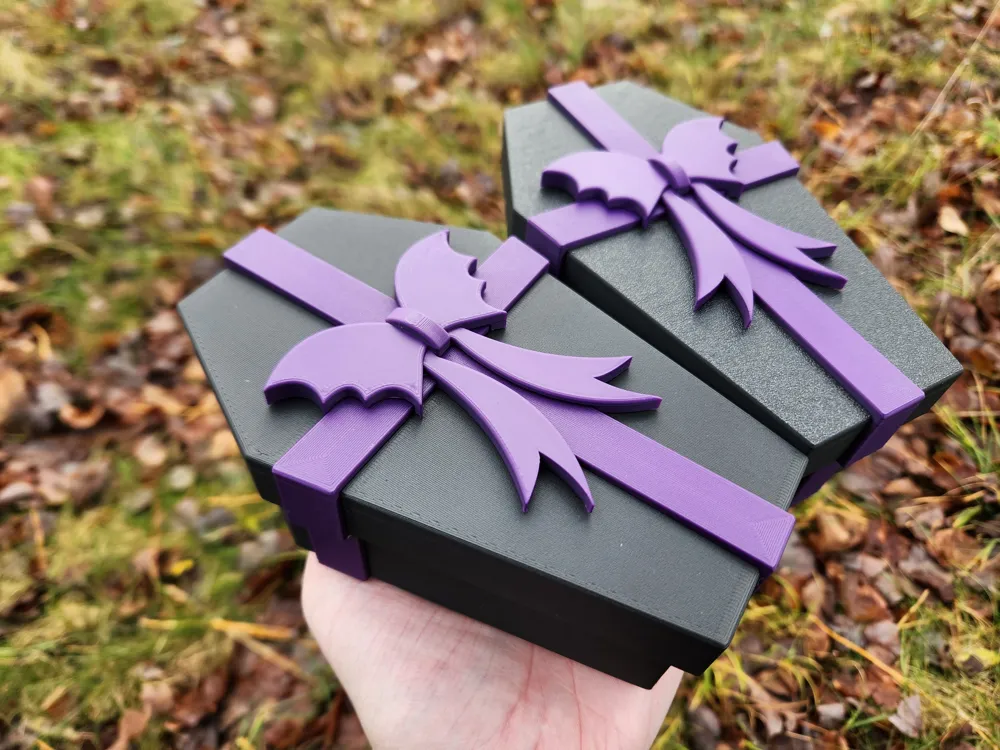
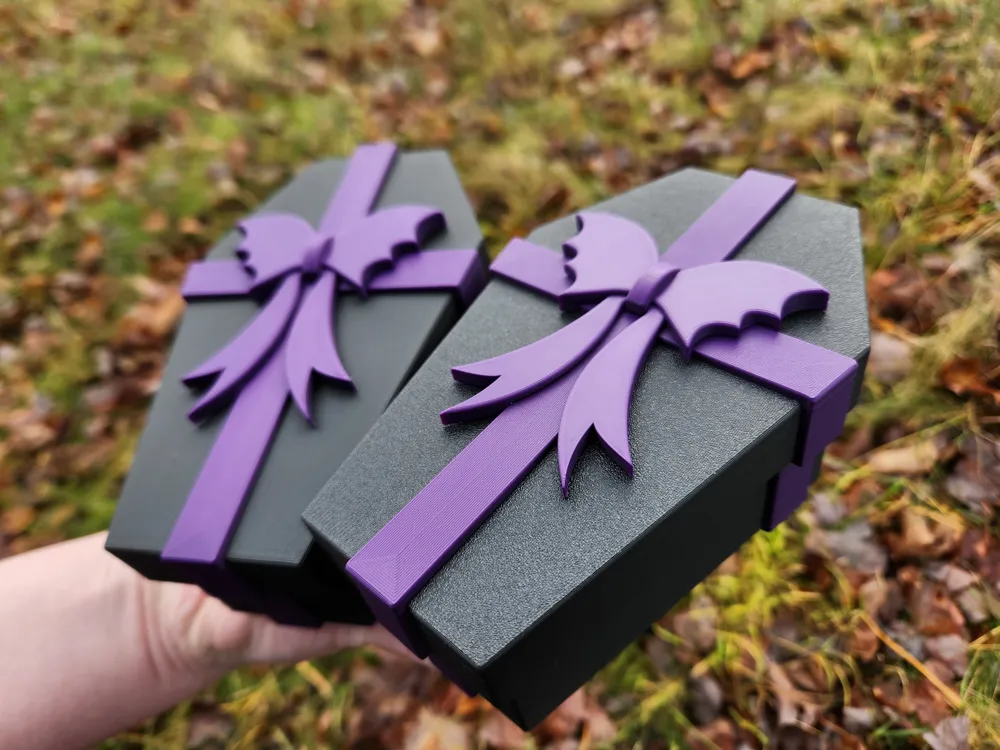
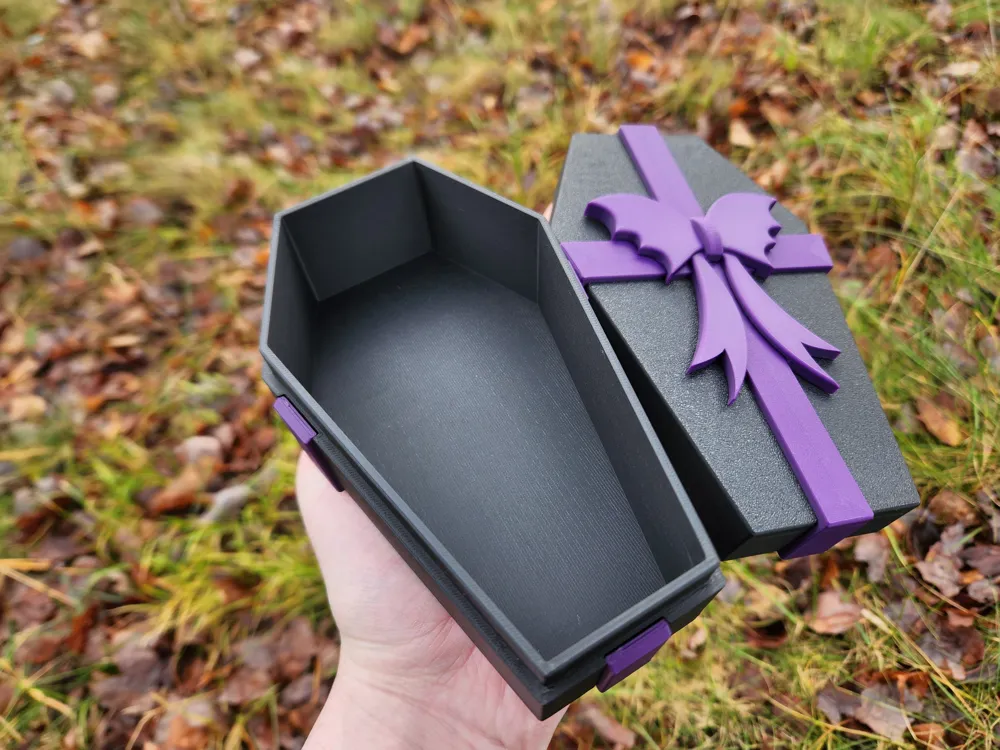
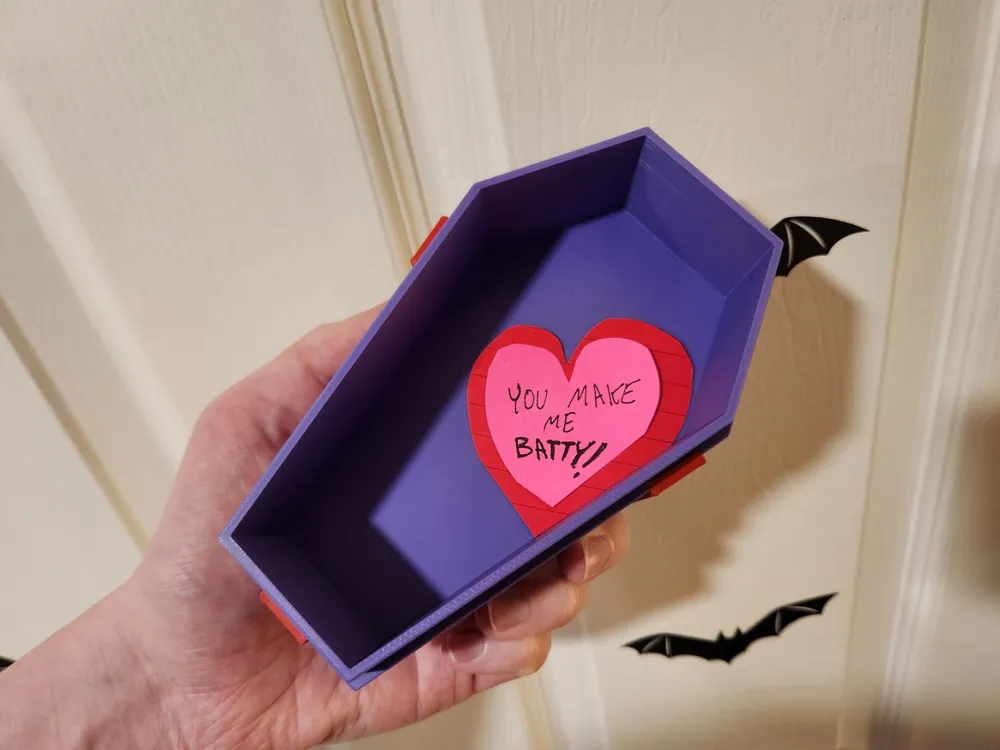
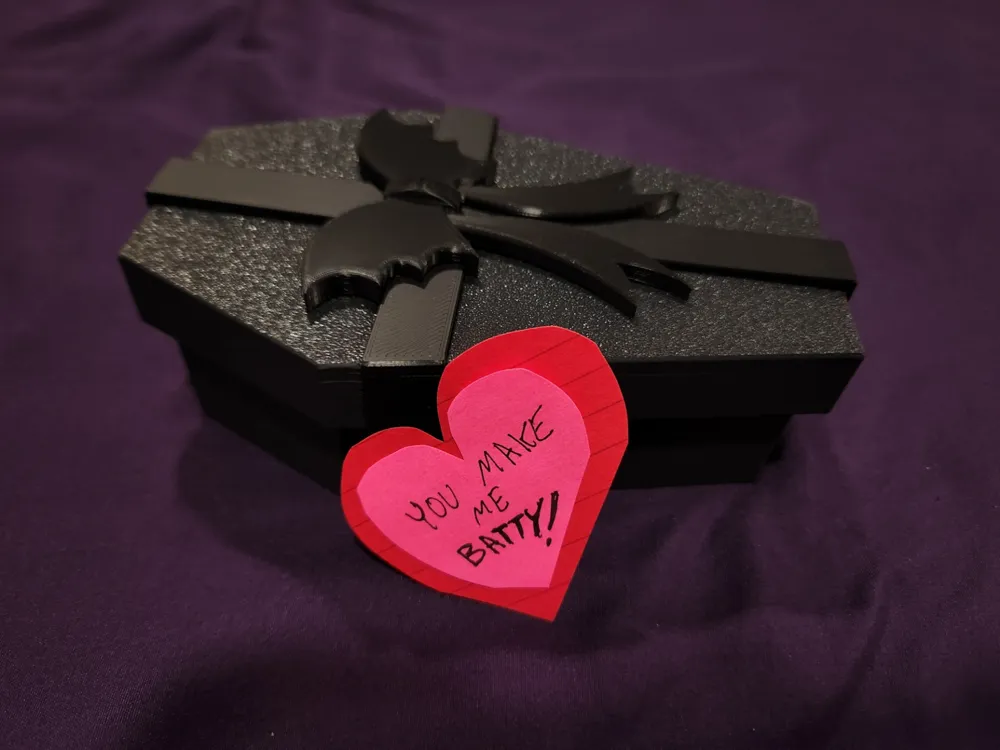
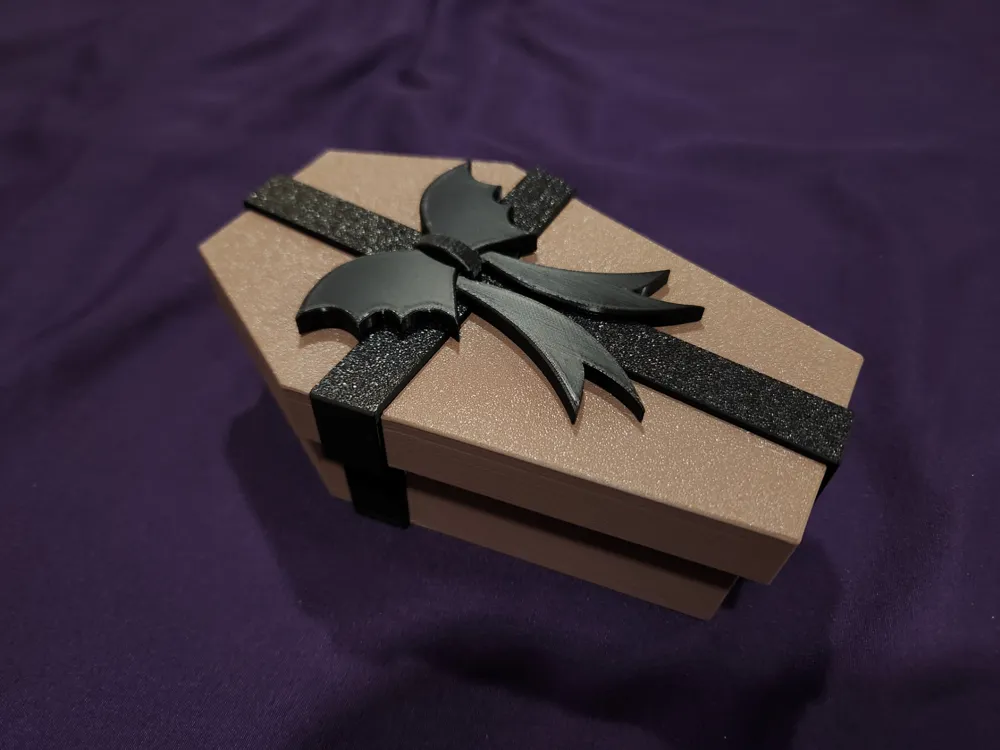
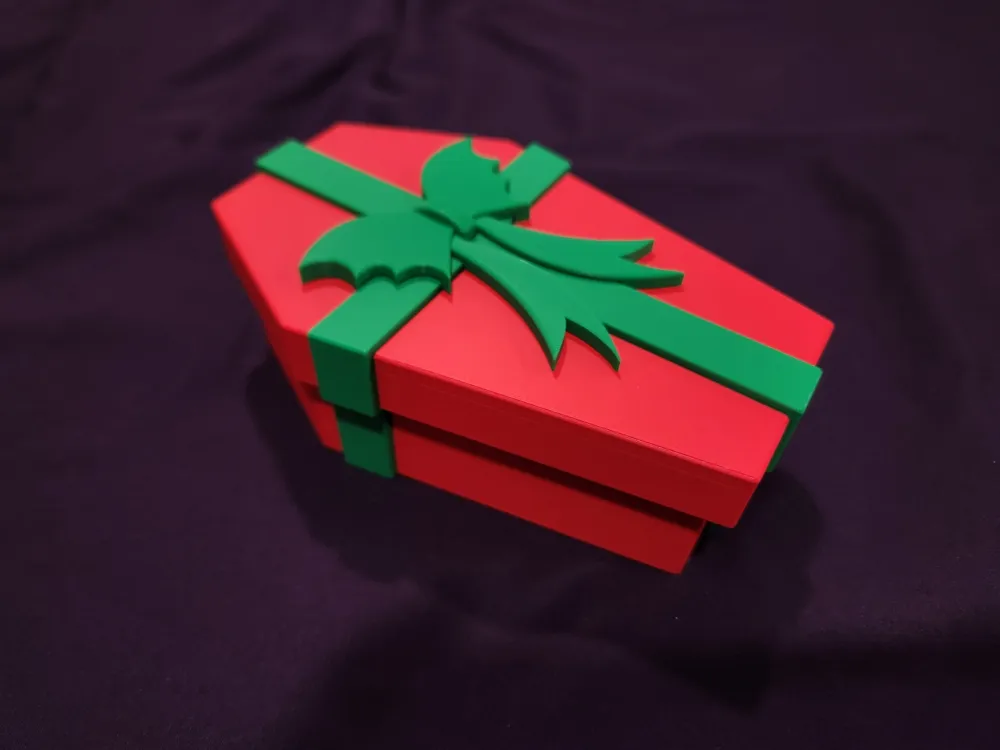
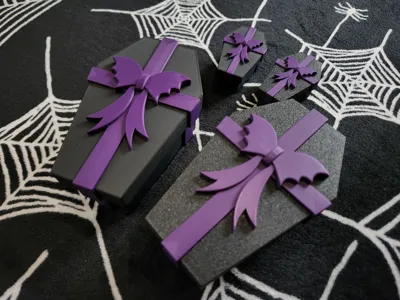
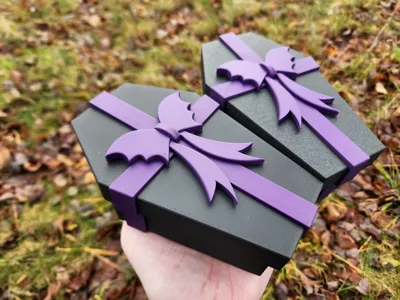
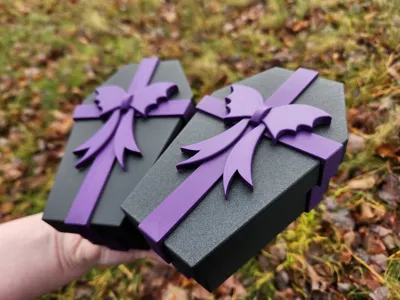
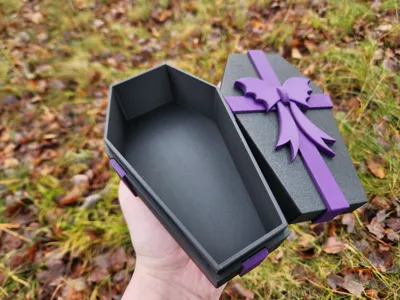
Print Profile(2)


Bill of Materials





Description
Show your affection to that spooky person in your life!
Or perhaps you ARE that person and this is how you want to spread joy - I mean dreariness - to those around you?
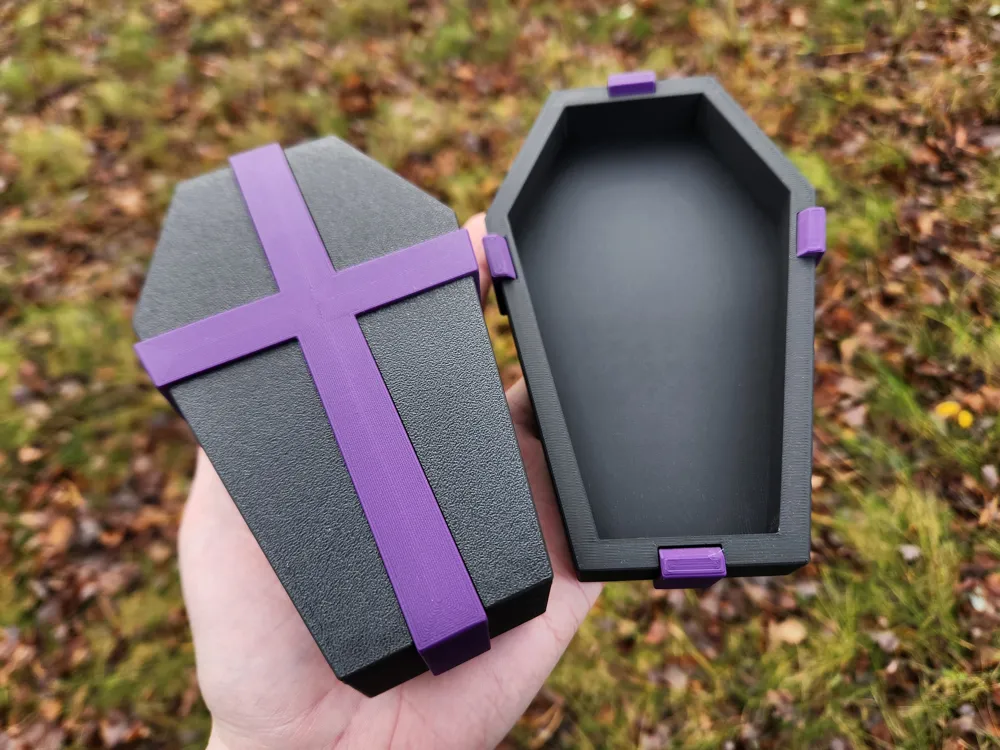
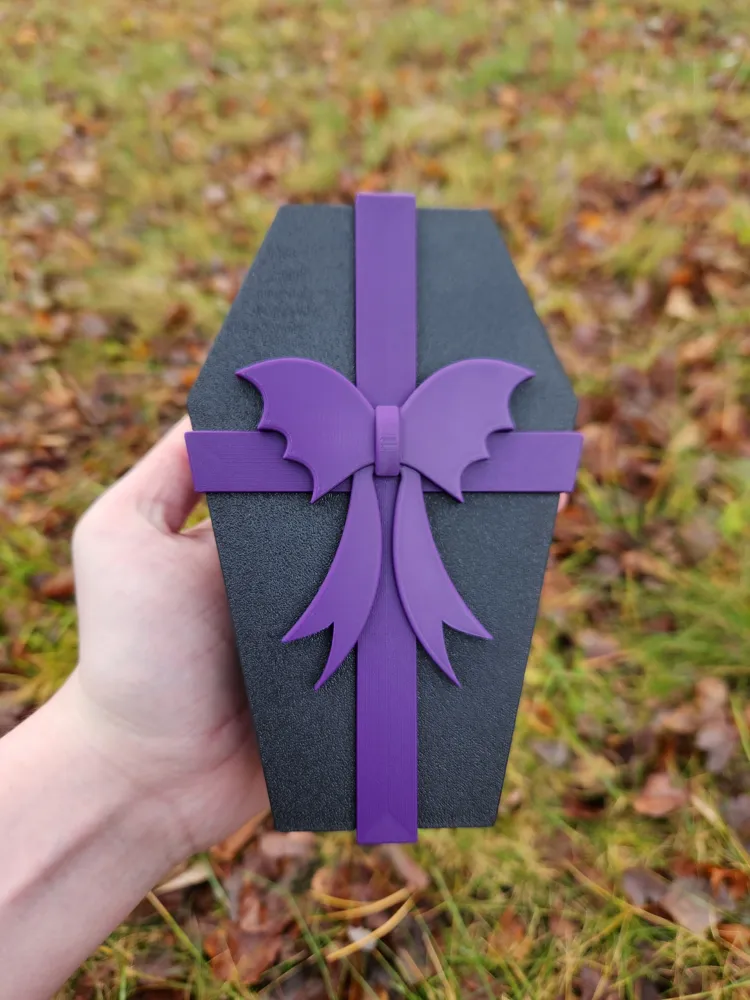
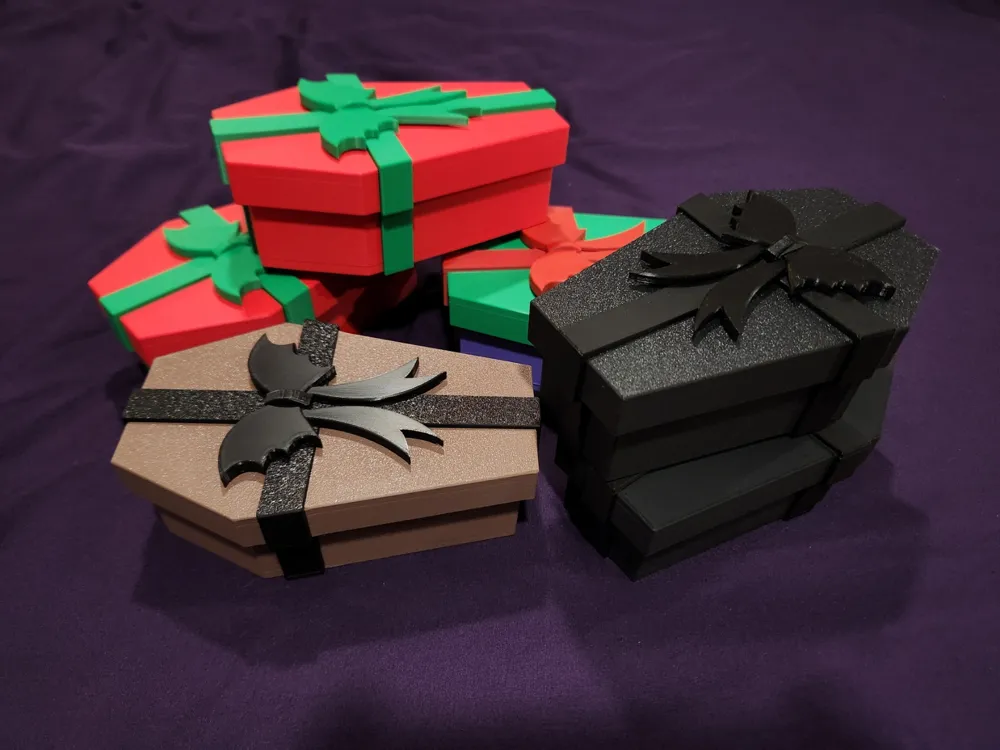
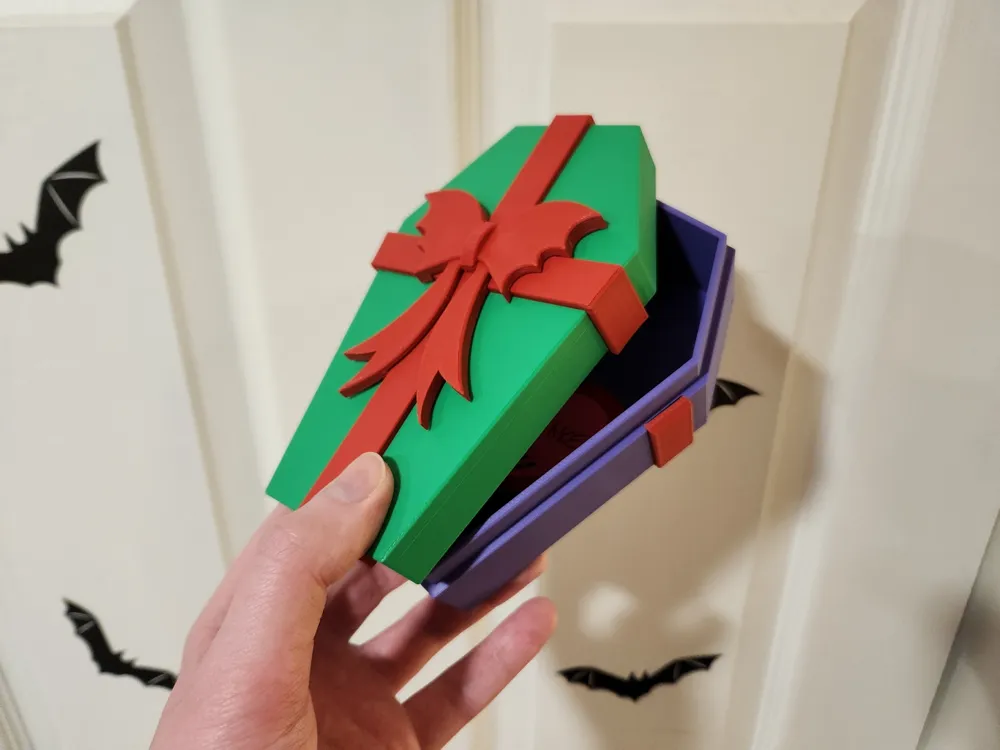
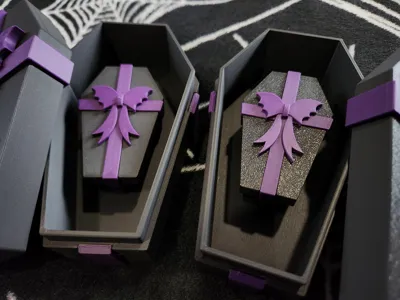
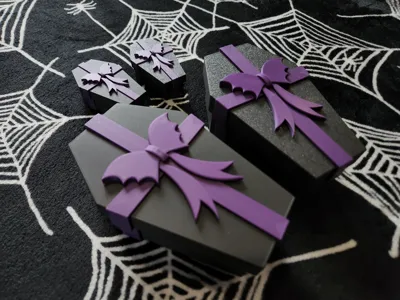
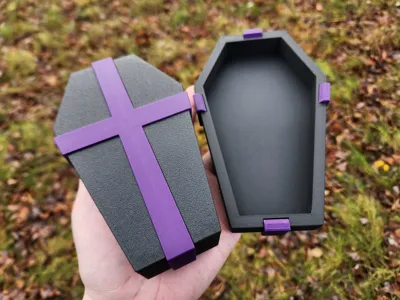
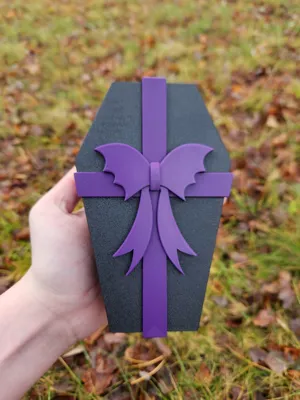
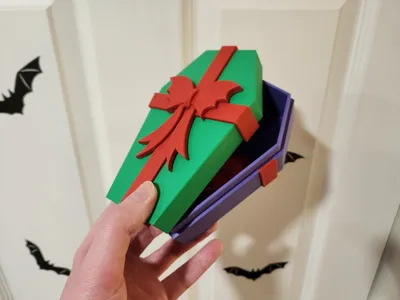
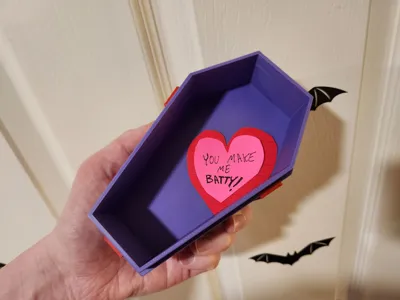
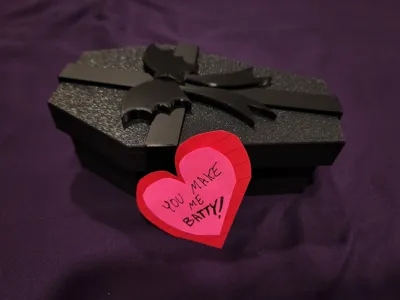
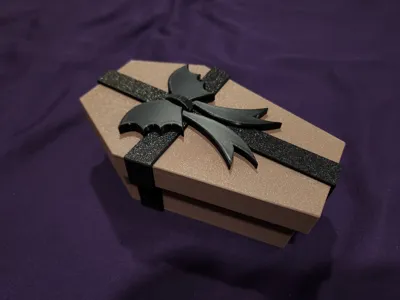
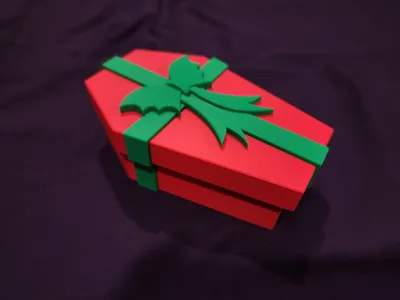
Either way, this little gift box is designed to be both beautiful and functional. It is highly color-customizable, as it is made up of 5 different parts. You can use it for your own decorative storage, or to package a small gift!
Video Preview:
Printing Tips
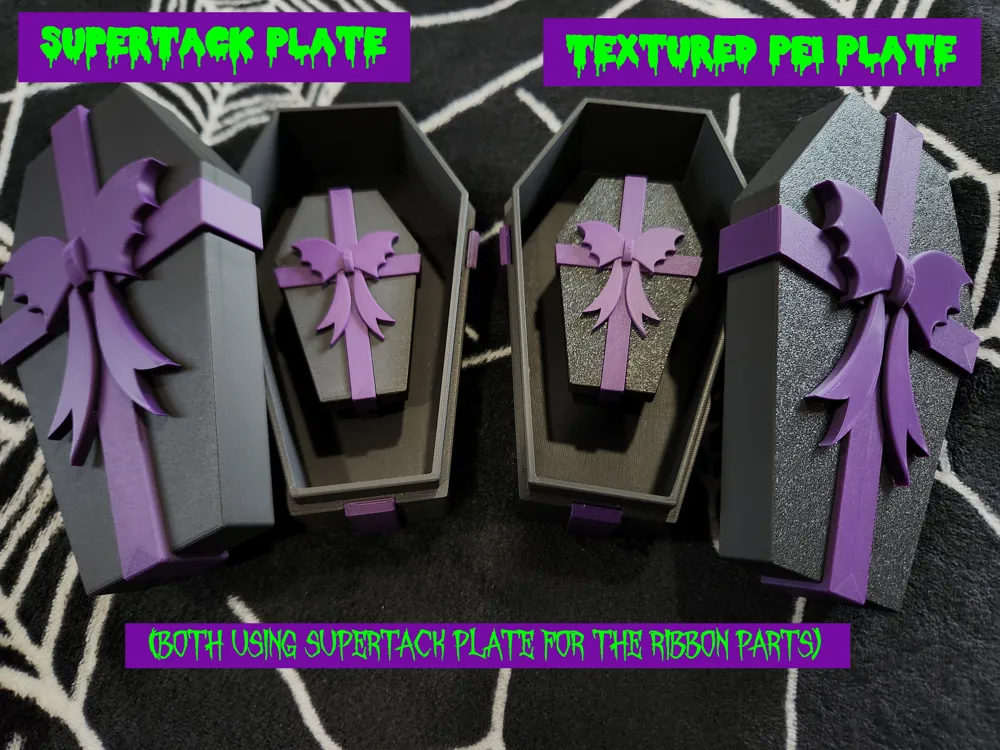
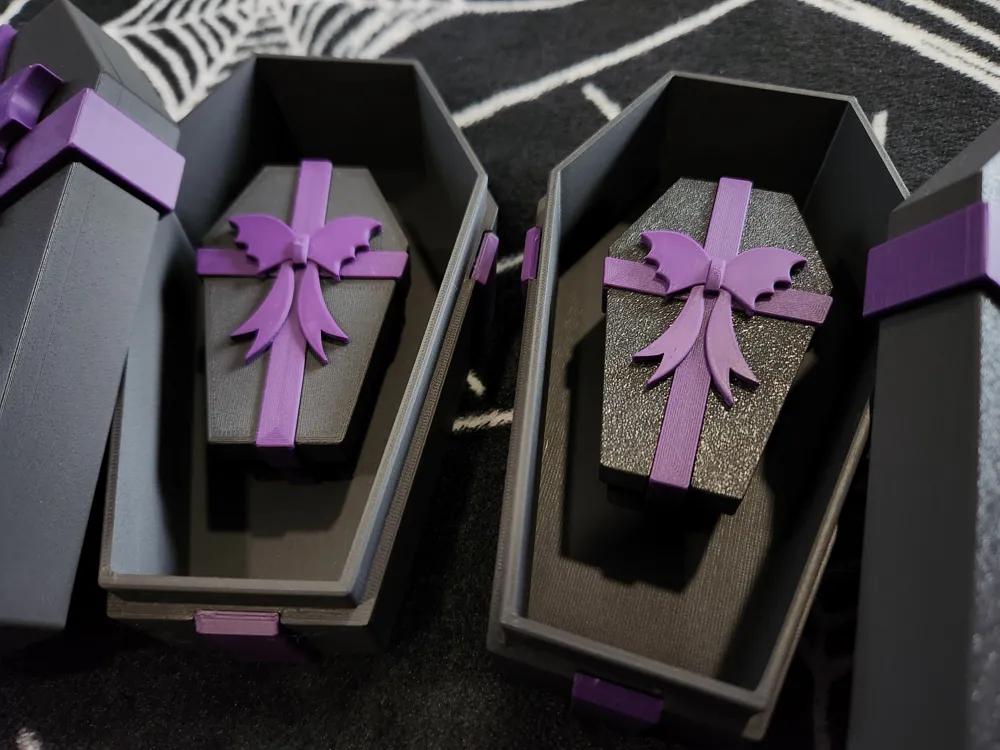
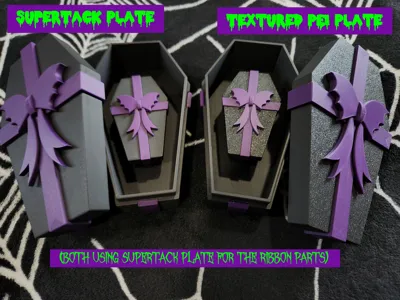
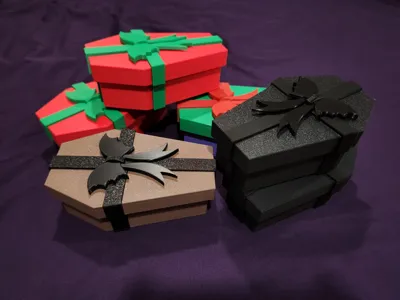
Printed on Bambu Lab P1S with 0.4mm nozzle. Combination of Smooth Plate (SuperTack) and Textured PEI plates. For the cover image builds, I used Bambu PLA Matte (charcoal) and Bambu PLA Basic (Indigo Purple) - see bill of materials. For the other builds shown, I used an older print profile (and various other Bambu filaments - see bill of materials).
- The only part requiring supports is the smallest “bow” part. The overhangs on the box parts ("main" and “lid”) are all small distances able to be bridged without support, which will be concealed after assembly by the 2 “ribbon” parts.
- I recommend printing the bow and both ribbon parts all the same color for consistency. You can either do both box parts the same color, or change it up with a different color for the lid. OR you can get really funky with it and do some color swaps mid-print for a stripey box (I have not tried this personally).
- Select your build plate carefully! It will very much affect the surface finish of your box! I like how it looks the most when the box parts are printed on my Bambu Textured PEI plate, while the ribbon is printed on my Bambu Smooth PEI Plate (The bow doesn't matter, as the bottom of it gets fully concealed). You should probably enable ironing on top surfaces though for the bow for maximum smooth.
- If the fitment of the lid to the box isn't to your satisfaction (too tight, too loose), feel free to slightly change the scaling of the corresponding parts. Otherwise, they're intended to be printed each as-is, but with their flat-most face oriented toward the build plate.
- The parts are meant to be glued together, so if they easily slide apart, that is normal. Depending on your tolerances/printer/settings, you may find that the parts are tight enough to not require any glue though. I still recommend using glue on the bow at least , so that it holds together better.
- Do be careful when sliding the ribbon parts onto the body, especially with the “main” (base) ribbon piece. They are quite thin, and if you bend it too far it will visibly crease.
I made this thing with the intent to release it publicly in some form during the 2023 holiday season. Since that clearly is not the case (as I am writing this in February 2024), I figured why not get it out just in time for Valentine's Day?
Enjoy! I hope you made their day!
update 9/20/2024
Posted model for free for Halloween 2024!
Uploaded my print profile.
Some photos are from original testing/prototyping, and do not have my ideal infill settings, etc as the profile I've uploaded!
IMPORTANT NOTES ABOUT THE PRINT PROFILE:
- Despite my not changing anything that should matter for this… When I reprinted a couple of boxes with this print profile, for some reason the fitment was way tighter than it used to be. Your mileage may vary, but I had perfected the settings before. Maybe it's my printer, or an update to the slicer, IDK. But be aware that your parts may fit VERY tight (if at all).
Another thing that has since changed is that Bambu Studio now messes up the bridging in the “main” and “lid” models. I don't expect the way it's slicing now to work as intended, so I've enabled supports for those parts. See below:
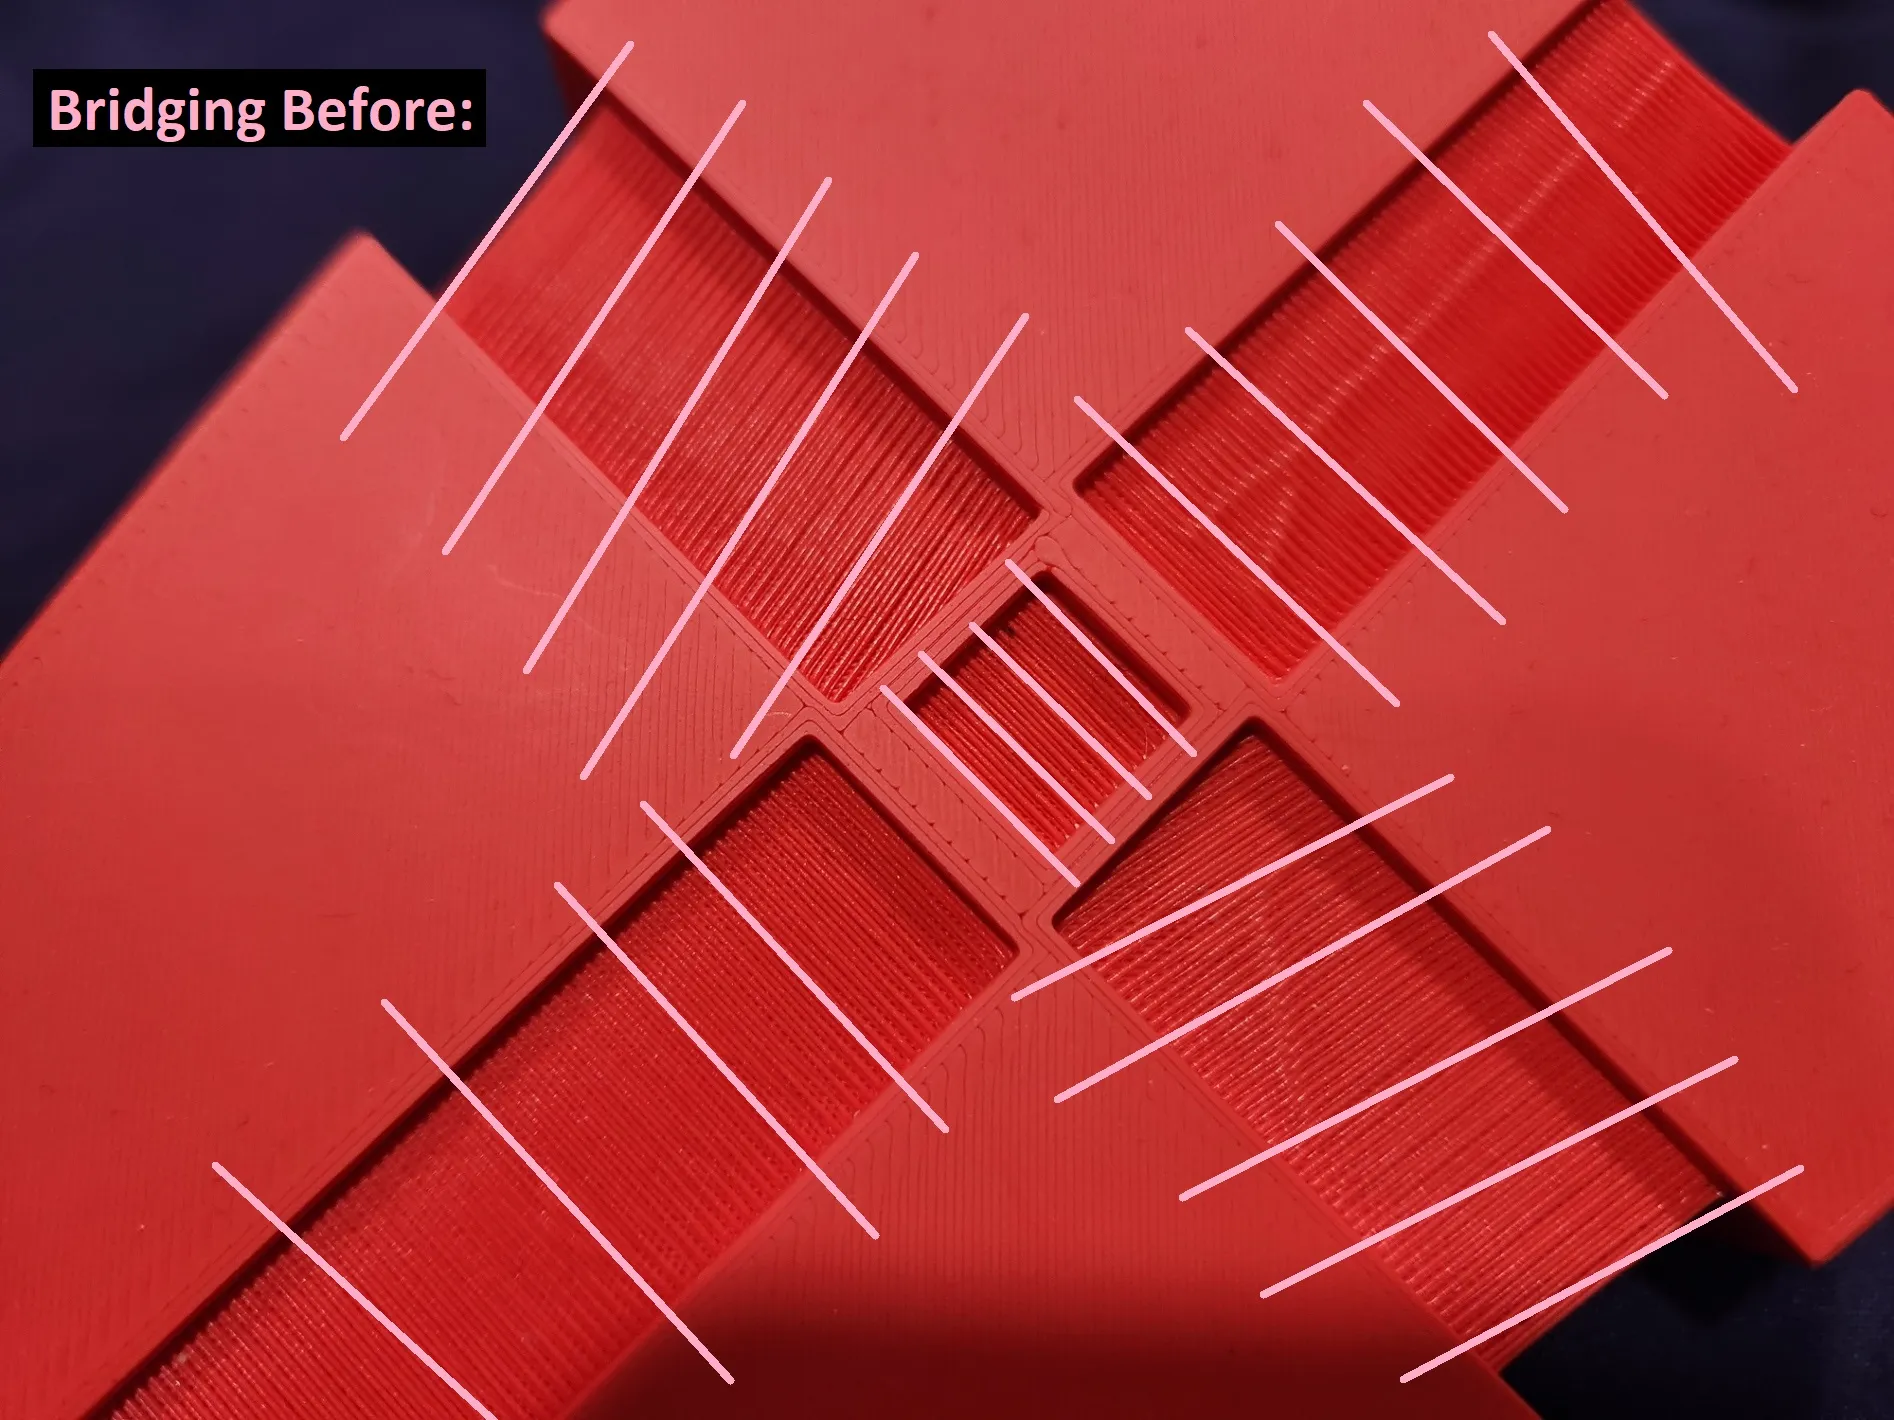
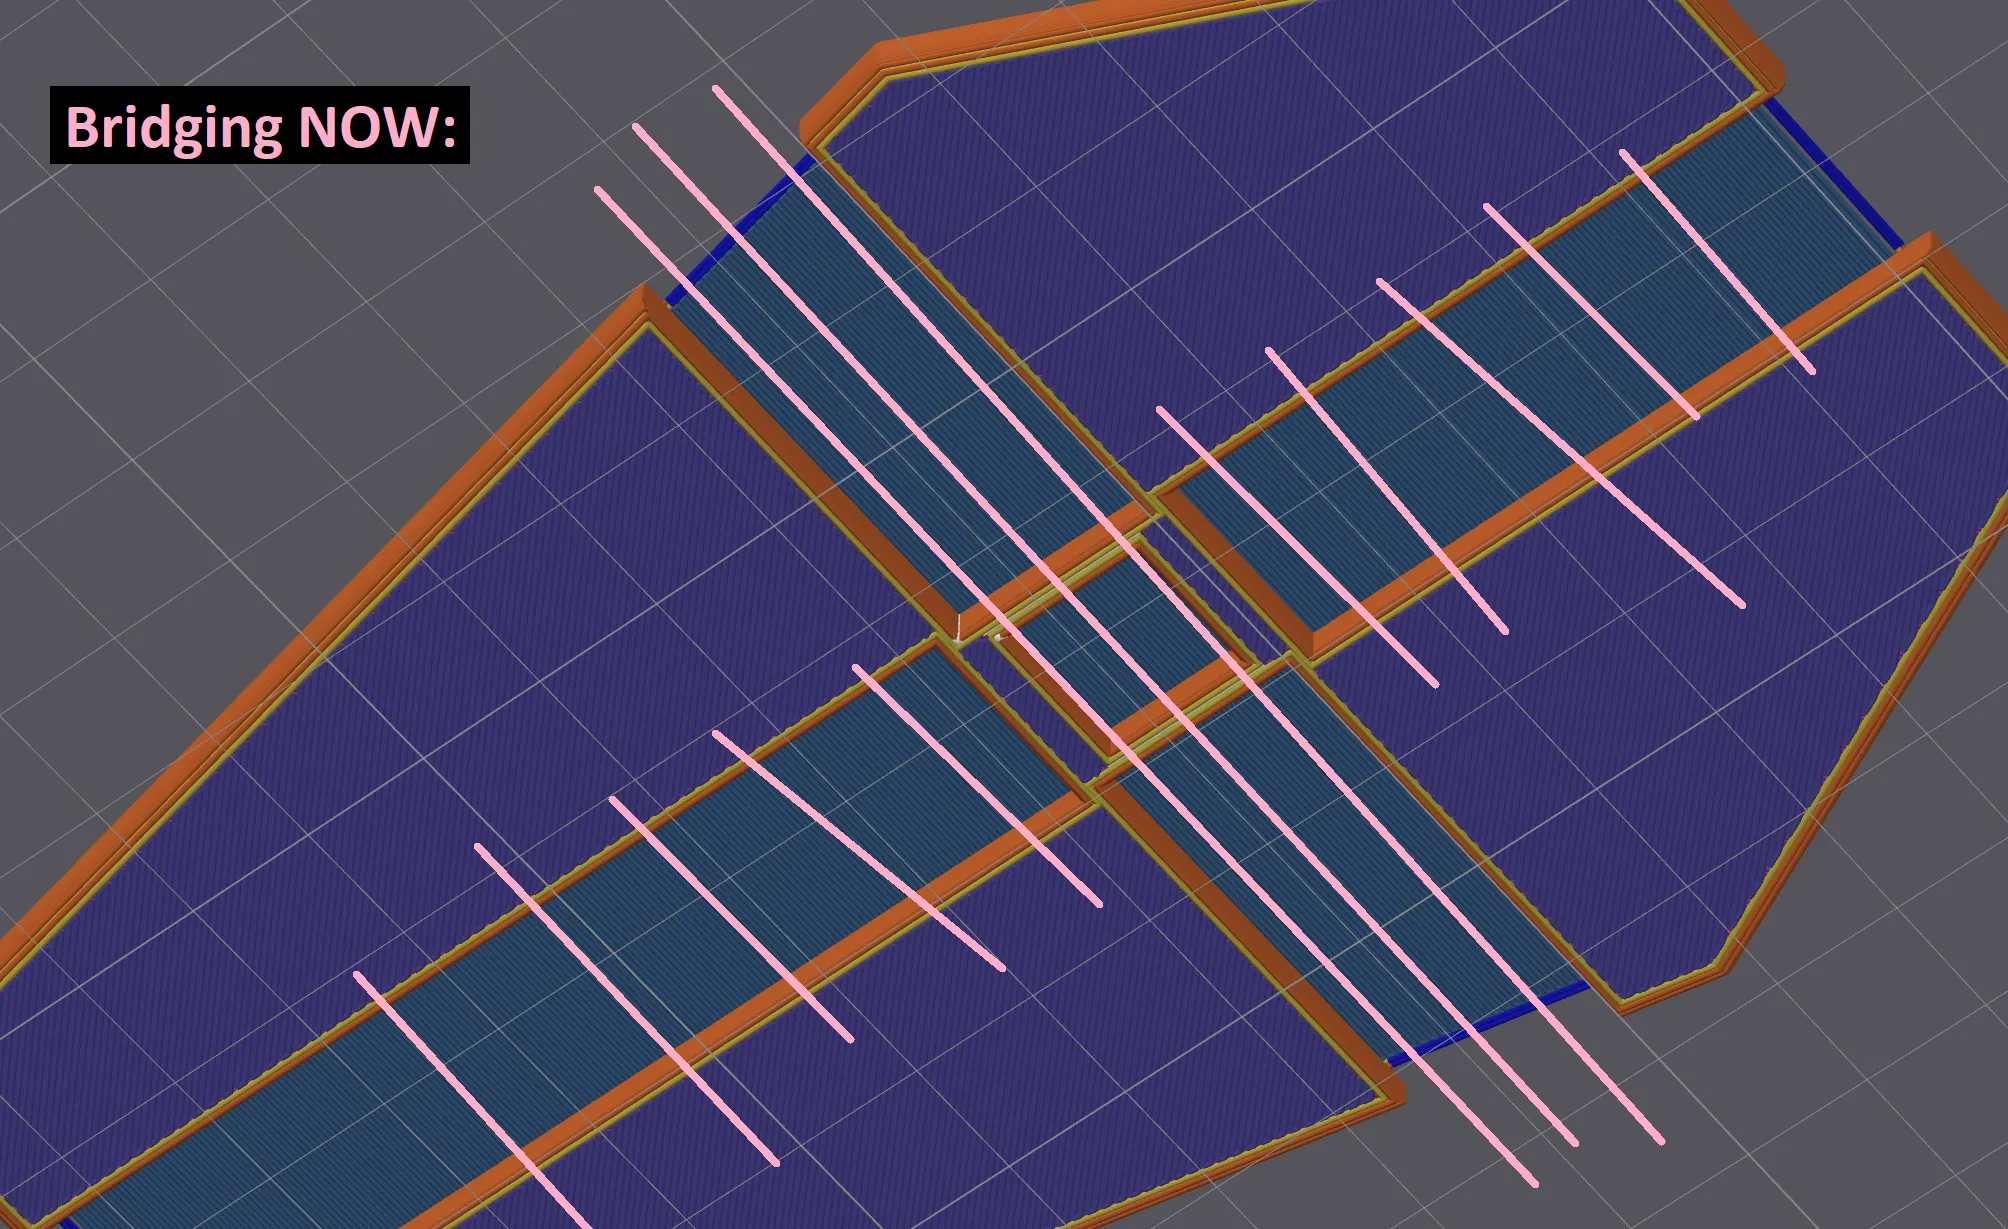
Update 11/26/2025:
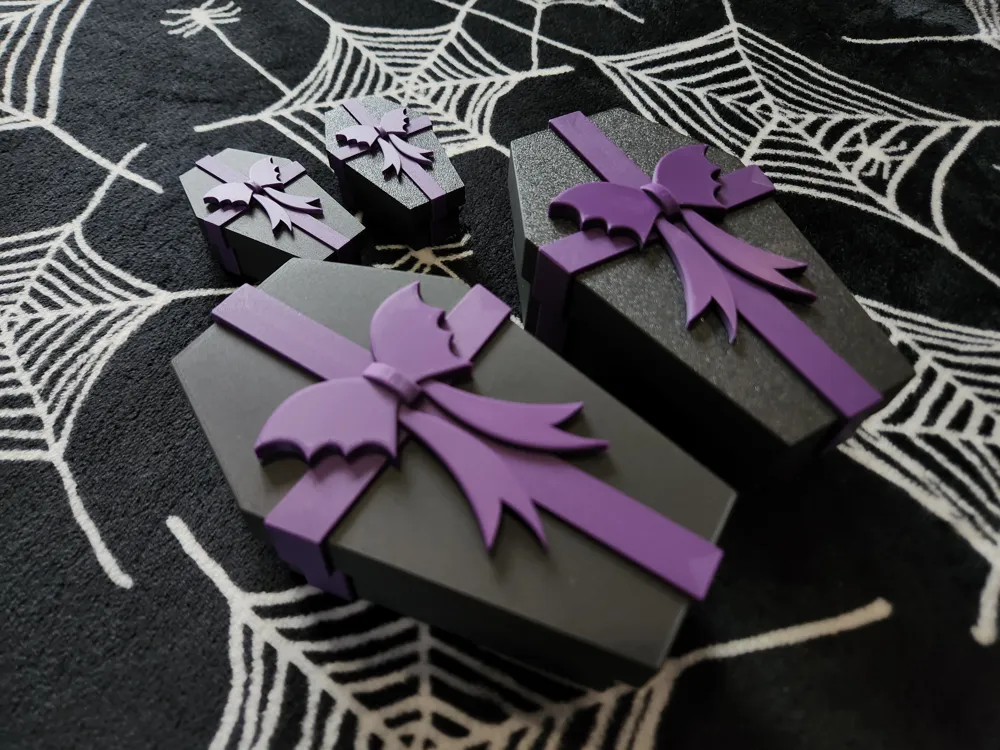
I've replaced the print profile with a new one that is more efficient in terms of time/material, while also producing a more intentional and consistent appearance (with regard to wall speeds and top/bottom infill patterns). I've also added some plates for printing more than one part at a time on standard (non-mini) printers. I've even added 2 plates for printing a 50% scale version (I don't recommend going any smaller than that). I've uploaded a completely new A1 Mini designer print profile as well (with the same improvements mentioned). New photos/video posted too. Recommended filaments updated.
*the issue mentioned just above this update is still present, and as such the non-bow parts still need supports to print properly.
Boost Me (for free)
If you liked this model, please consider showing your support!
License

You shall not share, sub-license, sell, rent, host, transfer, or distribute in any way the digital or 3D printed versions of this object, nor any other derivative work of this object in its digital or physical format (including - but not limited to - remixes of this object, and hosting on other digital platforms). The objects may not be used without permission in any way whatsoever in which you charge money, or collect fees.


Comment & Rating (93)