Battery Welding Jig


Print Profile(1)

Description
Summary
I wanted an adjustable jig to hold my battery cells while i glue and/or weld them together. I found one on an unnamed online store for a little under $80. No Way!!!
45 minutes on Tinkercad and a couple refinements and I have the same thing for about $5 worth of hardware and a few pennies of filament.
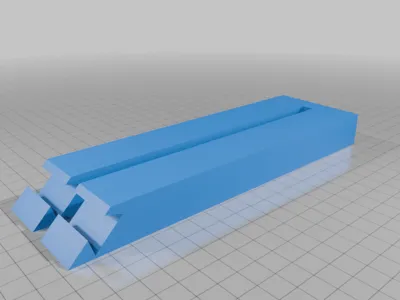
I'm no cad expert, so I cut in the dovetail with Bambu Slicer. You can go directly to the Tinkercad file and cut the long piece yourself or use another slicer. Either way it's too big for most printers uncut.
2x short sides and 2x long sides,
or 4x either side,
Depends what size you need.
Comments and remixes are welcomed.
Print Settings
Printer Brand:
Bambulabs
Printer:
Bambu X1C
Rafts:
No
Supports:
Yes
Resolution:
draft is good enough
Infill:
30% gyroid
Filament: any pla, pla+, petg, asa, cf, anything stiff
any
Notes:
I like tree supports, use whichever you like.
Post-Printing
Parts:
4x- 5/16 x 1.5" hex bolts
4x 5/16 fender washers
4x wing nuts or bolts. I recommend wing nuts for ease.
Assembling Long Pieces:
I found it easiest to set the bolts in the space area when assembling the dovetail. It adds rigidity when putting the two pieces together. I started with the top and tapped it in with a rubber mallet, all the way through to the bottom. The bolts, set in the space keep them from collapsing when doing this.
Half way through, start the top half and tap that in, too.
I did not use CA glue. But I did need to file the edges that had supports. Nice, tight fit.
Glue if you want.

Bolts are just set in to hold the loose pieces steady while tapping together.
Heat-Set Bolts:
The bolt head insert holes s are a little small by design.
I heated the bolt heads and pressed them in.
CA or Hot Glue for rigidity.

I used Pliers to hold the bolt straight and level until it cooled. A small vice would be great.
Final Assembly:
Run bolt through long holes of all four pieces to make a rectangle.
Add washers, then nuts.
Adjust size as needed for battery size and pack size.
Tighten nuts to hold batteries while welding. No need to overtighten.
Comment & Rating (0)