Search models, users, collections, and posts
SyncSign 7.5" Display Window Mount
IP Report


Print Profile(1)

0.2mm, high strength, 25% infill
Designer
2.3 h
1 plate
Open in Bambu Studio
Boost
1
3
0
0
6
0
Released
Bill of Materials
Maker's Supply Kits and Parts
Select all
List other parts
- 3M VHB Tape 4910 x 1: 1/4" wide, 1mm thick double sided tape: https://www.amazon.com/dp/B00GTAB20M
- SyncSign 7.5-Inch Display (D75C-LEWI) x 1: https://sync-sign.com/product/e-paper-display-7-5-inch/
Description
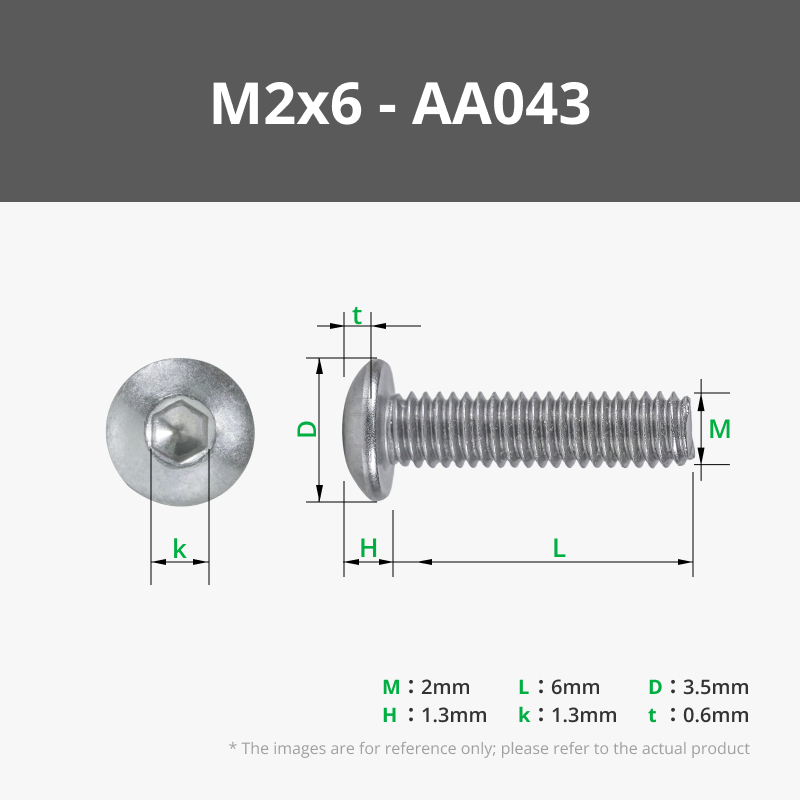
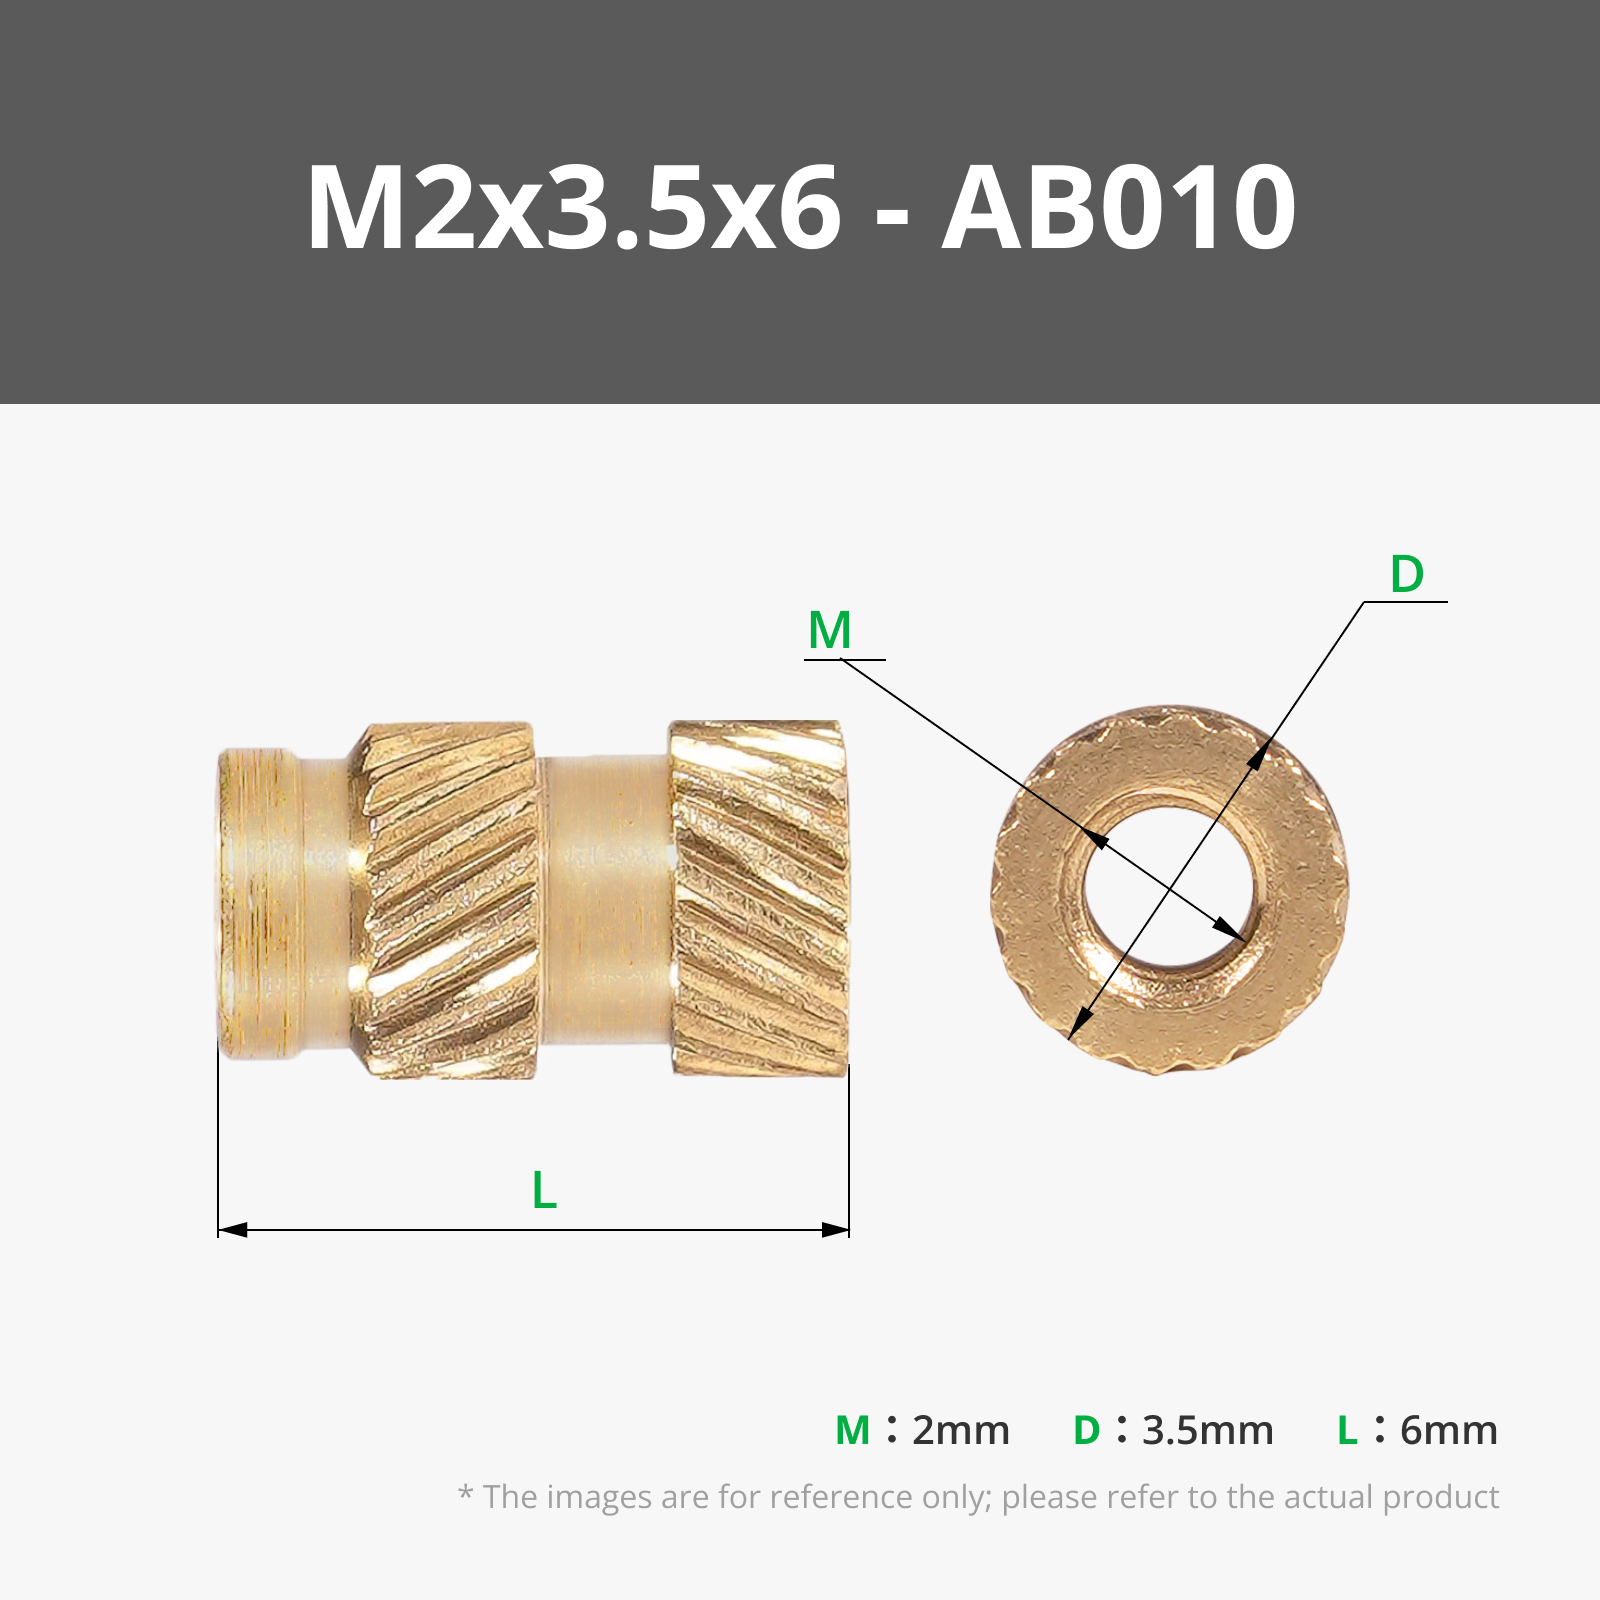
The mount is designed to be stuck inside a window, so the display is visible but inaccessible unless you are inside the room. The top is screwed in by M2x6 Screws held by M2x3.5x6 Heat inserts, increasing security as one needs a screwdriver to gain access to the device. The device can be recharged with the charging hole below or removed from the mount by using the charging area as a way to push the device out once the top has been unscrewed.
The recommended filament is PETG (HF) in white, or PLA for indoor, temperature-controlled environments with no direct sunlight.
Assembly Instructions:
- Print both parts
- Use a soldering iron to insert a heat-insert nut into the holes at the top of the main shell
- Cut three strips, each 8cm long, of clear ¼" wide VHB tape.
- Place the strips in the recessed areas in the main shell
- Stick the main shell to the window
- Slide in the SyncSign Display
- Screw in the lid with two M2x6mm long screws.
License
This user content is licensed under a
Creative Commons Attribution-Noncommercial-Share Alike
Comment & Rating (0)