HomeMatic IP HmIP-eTRV-B Mounting Ring


Print Profile(1)

Description
German:
Hello everyone,
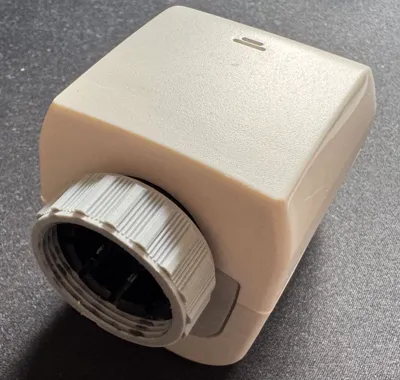
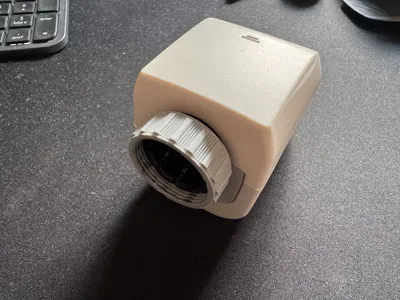
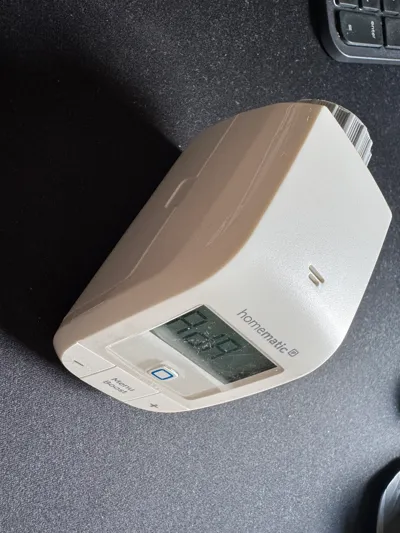
here is a spare part for the HmIP-eTRV-B radiator thermostat from Homematic.
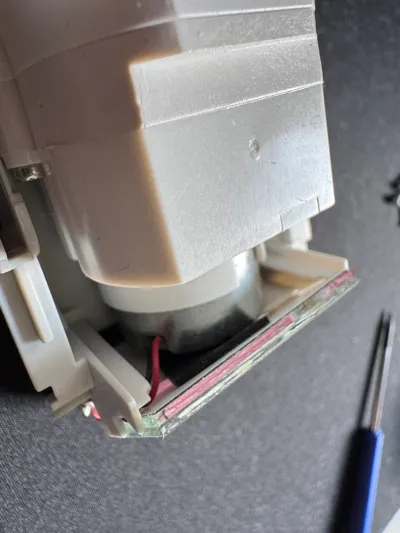
Sometimes it happens that you walk in front of the thermostat, something falls against it or something similar. It often happens that the rear mounting ring breaks off and the union nut no longer holds.
Here you will find the solution to restore the device in an environmentally friendly way.
All you need is:
- Sandpaper (60 to 120 grit is no problem)
- Wood or plastic screw (min = 2.5x4mm max = 2.5x8mm - pointed)
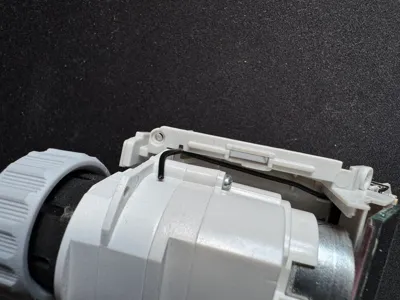
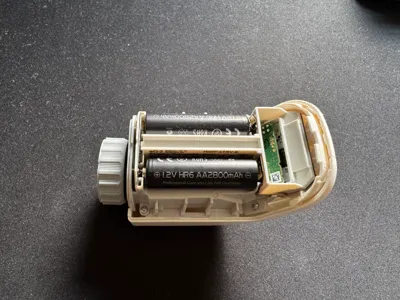
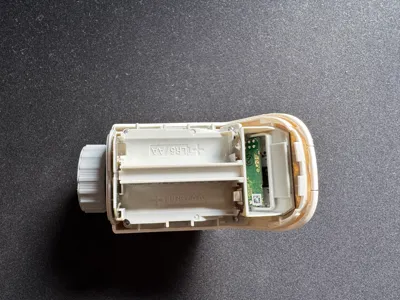
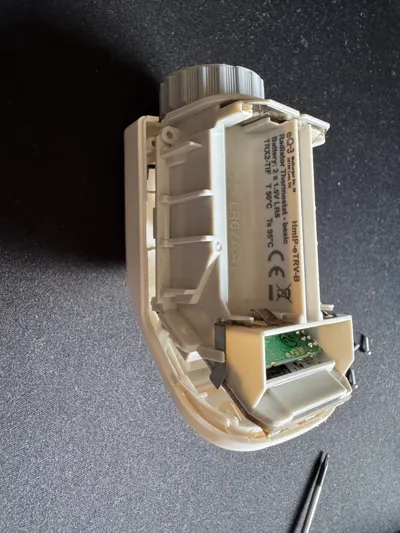
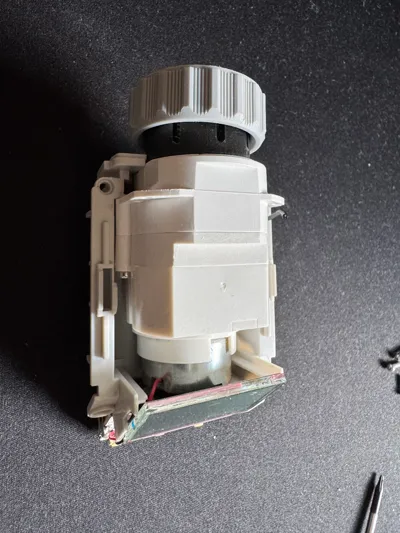
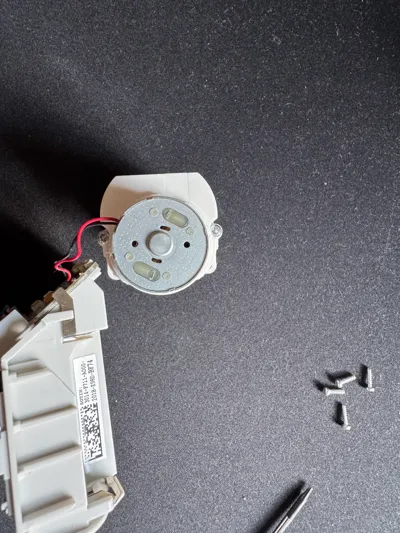
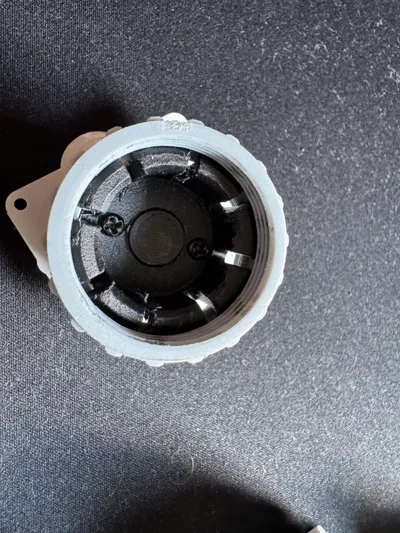
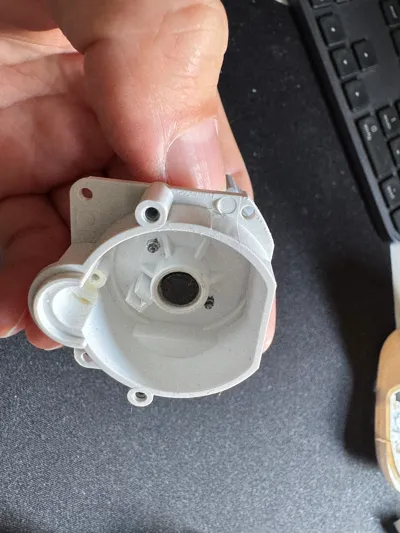
First, the component must be completely dismantled until you only have the component with the ring (pictures are available). Now the rest of the ring must be removed. You can break off the bars with pliers and sand down the rest with sandpaper.
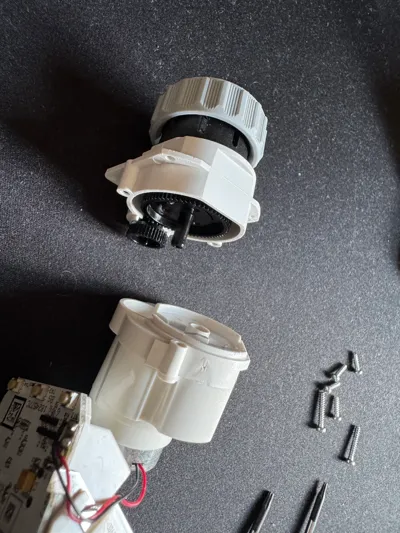
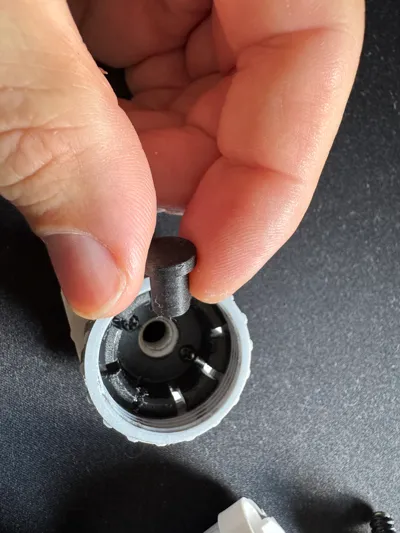
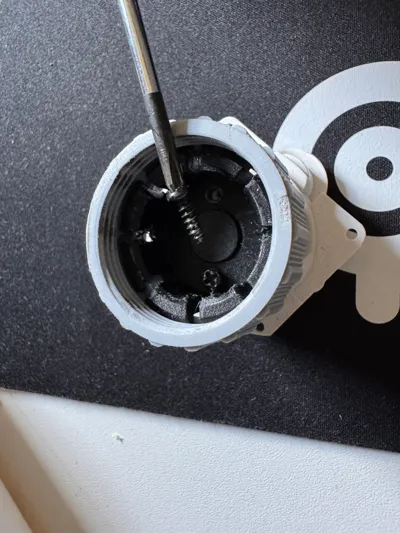
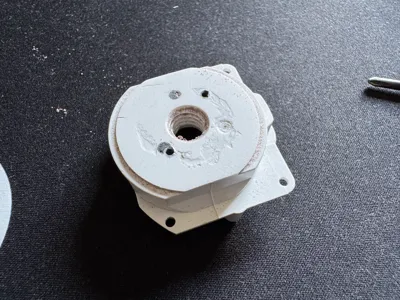
Now the pressure part is used. The pin, which is also printed, is used for fixing and centering. To do this, unscrew the last threaded gear wheel and attach the pin from the outside. Now the “crown” is placed over it. The “crown” can now be screwed on with the screws. Make sure that no important components are screwed through on the back (inside).
Once the “crown” has been screwed in place, the thermostat can be reassembled. Finally, the union nut is placed over the “crown” and the thermostat can be refitted.
Have fun and good luck with the repair!
English:
Hello everyone,
here is a spare part for the HmIP-eTRV-B radiator thermostat from Homematic.
It happens sometimes that you walk in front of the thermostat, something falls against it or something similar. In this case, the rear mounting ring often breaks off and the union nut no longer holds.
Here you will find the solution to restore the device in an environmentally friendly manner.
All you need is:
- Sandpaper (60 to 120 grit is no problem)
- Wood or plastic screw (min = 2.5x4mm max = 2.5x8mm - pointed)
First, you have to completely dismantle the part until you only have the part with the ring (pictures are available). Now the rest of the ring has to be removed. You can break off the bars with pliers and sand down the rest with sandpaper.
Now the pressure part is used. The pin, which is also printed, is used for fixing and centering. For this purpose, the last toothed wheel with thread is unscrewed and the pin is attached from the outside. Now the “crown” is placed over it. The “crown” can now be screwed on with the screws. Make sure that no important components are screwed through on the back (inside).
Once the “crown” has been screwed on, the thermostat can be reassembled. Finally, the union nut is placed over the “crown” and the thermostat can be attached again.
Have fun and good luck with the repair!
Comment & Rating (12)