
Kart Race


Print Profile(3)


Bill of Materials





- hall sensor x 3: https://www.amazon.com/dp/B01NBE2XIR?ref=ppx_yo2ov_dt_b_fed_asin_title
- 1602 I2C display x 1: https://www.amazon.com/dp/B0CYM37CBW?ref=ppx_yo2ov_dt_b_fed_asin_title&th=1
- Arduino Nano x 1: https://www.amazon.com/gp/product/B08C9ZVF51/ref=ppx_yo_dt_b_search_asin_title?ie=UTF8&psc=1
- Arduino Nano Breakout Board x 1: https://www.amazon.com/dp/B07FZXG747?ref=ppx_yo2ov_dt_b_fed_asin_title
- jumper wires x 1: https://www.amazon.com/dp/B08151TQHG?ref=ppx_yo2ov_dt_b_fed_asin_title
Description
IMPORTANT NOTE ON COMMERCIAL USE OF MY MODELS
Please note that I am sharing my designs for everyone to enjoy but for personal use only. You may share physical copies for FREE but not the digital copy nor sell as I have NOT provided any commercial license to any one to sell either digital or physical copies of my designs. I will not hesitate to report to Etsy's and other online sites' admin if I find them being sold there for profit.
__________________________
Release History
2024-11-04: Assembly Guide updated to show number of pillars to print for the tracks and lifter.
2024-09-22: Princess Peach added to available character drivers; see updated profile
2024-09-21: Luigi added to available character drivers; see updated profile
2024-09-19: Full assembly guide released!
2024-09-18: 3rd installment of the assembly guide uploaded containing up to assembly of Bullet Bill
2024-09-17: Wiring diagram for the electronic components posted
2024-09-16: Uploaded updated assembly guide up to assembling the tracks
2024-09-15: First installment of the assembly guide uploaded
2024-09-14: Initial print profiles released with 2 driver characters; additional driver characters coming soon; assembly guide to follow
____________________________

Features
- rolling go-karts
- customizable tracks
- moving obstacles just like from the game
- tracks laps and determines the winner of the race
Video below shows one full race cycle:
Backstory
Released in 1992 for the SNES, Super Mario Kart revolutionized the racing genre by combining the beloved Mario characters with innovative gameplay, power-ups, and vibrant tracks. Its multiplayer mode fostered friendly competition, making it a hit at gatherings and establishing it as a cultural phenomenon. The game’s success paved the way for numerous sequels, cementing Mario Kart’s legacy as an iconic and enduring series in the gaming world.
Mario Kart is one of the first games I played with friends on the Nintendo 64 back in the day. Now with a kid of my own, I play Mario Kart with my kid starting from the Nintendo DS, and now on the Switch. This model is an homage to that iconic game that we all continue to get loads of fun from.
Build Levels
I have organized the print profiles so that you can print only the parts of the model that you're willing to invest time or which level you're comfortable with. The full experience requires some microcontroller (Arduino) and basic electronics assembly to control the obstacles, track laps, etc., but no soldering will be required.
Level 1 (easy): Rolling Go-karts

This is the easiest part of the printing and assembly. By completing this level, you'll have playable rolling go-karts with your choice of character drivers.
Hardware Needed:
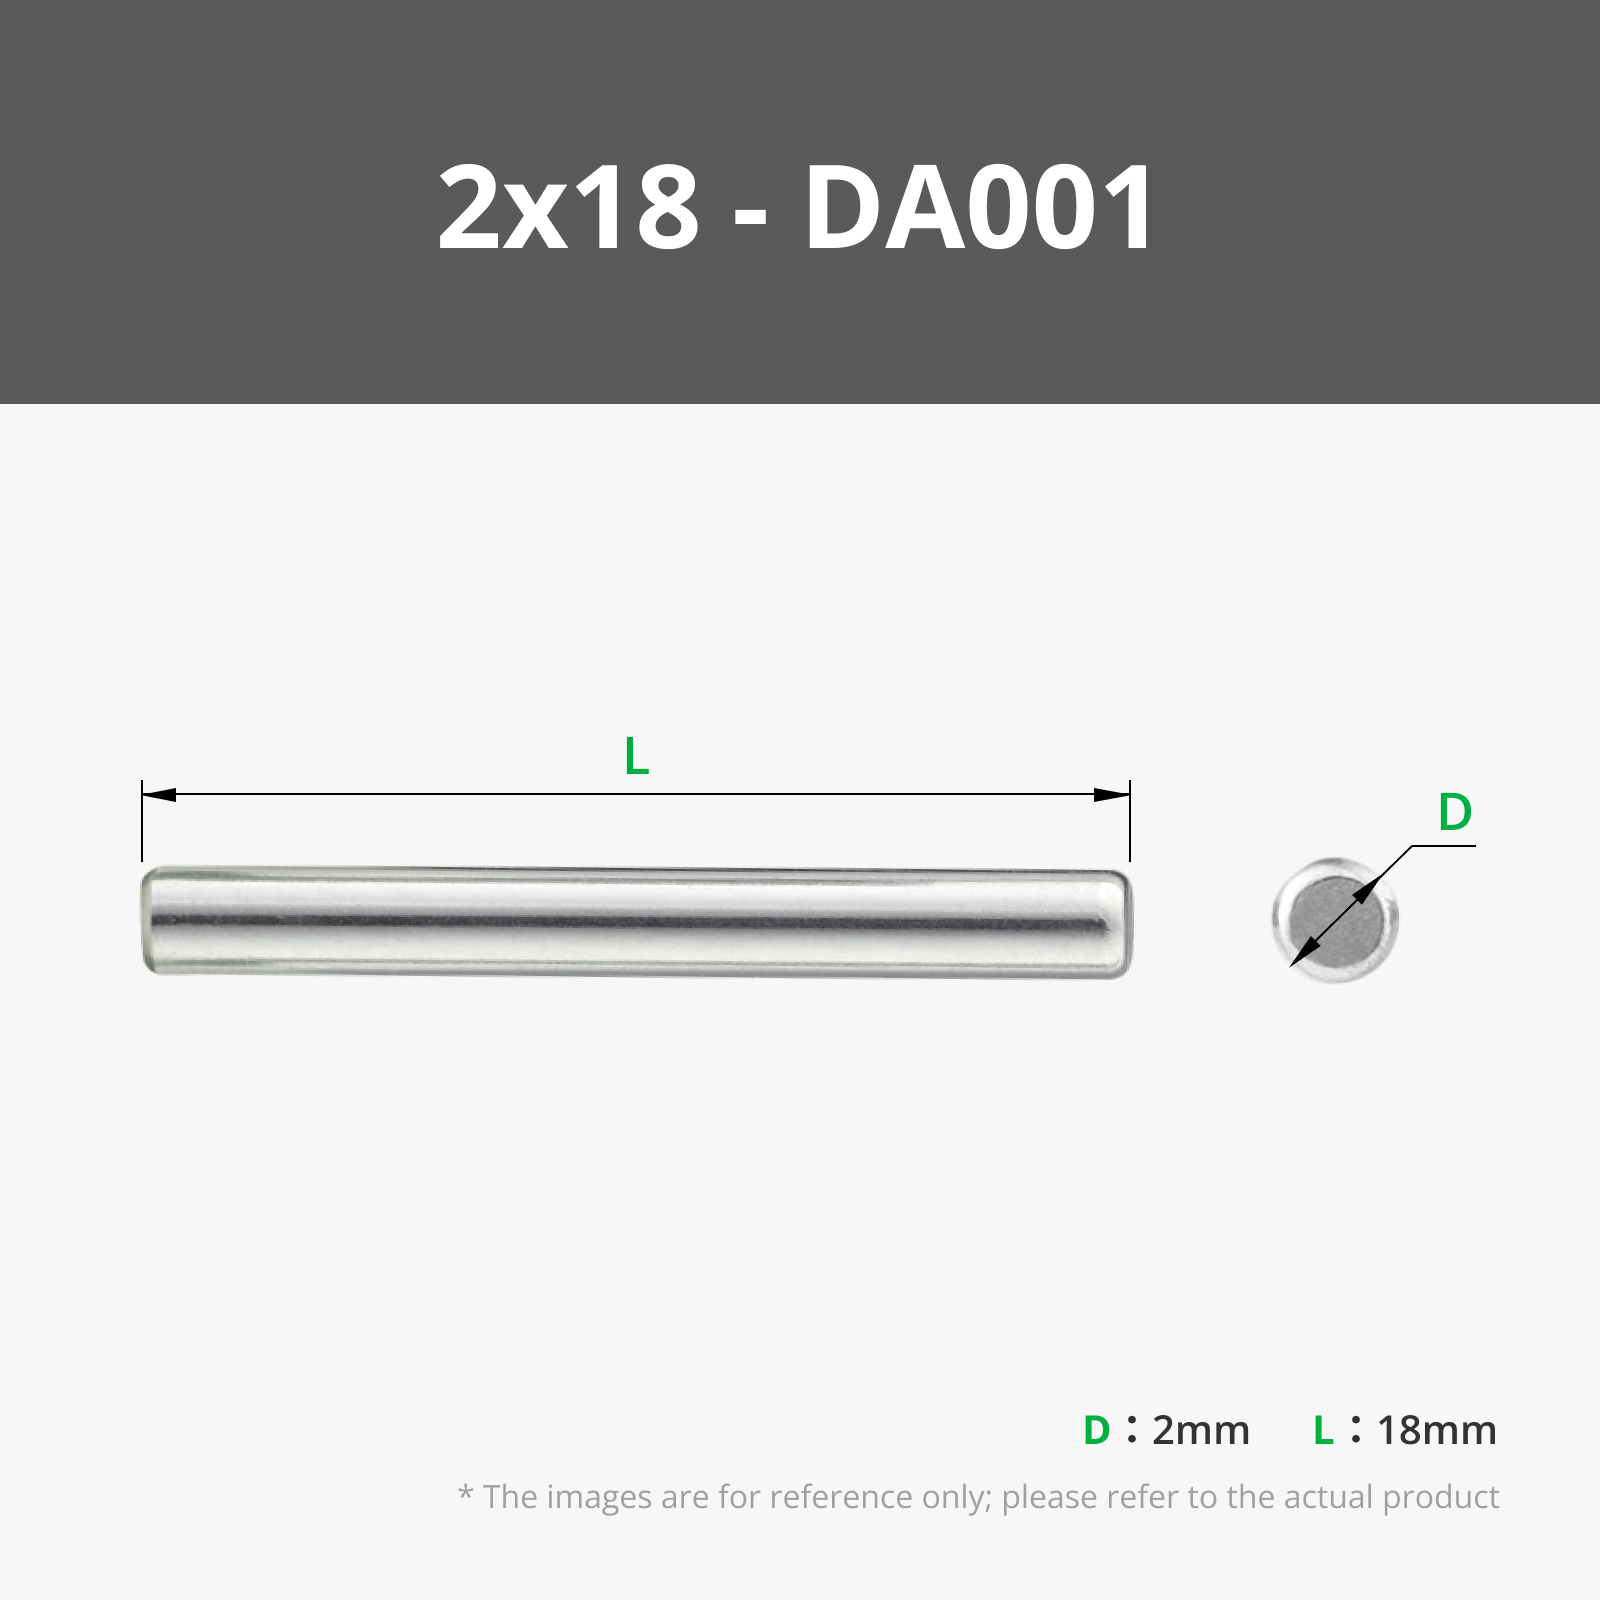
- 18mm stainless steel pins, 2 pins each go-kart
- 10mm steel balls, 1 for each go-kart
Level 2 (intermediate): Race Track Set

By completing this level, you will have your own basic, customizable track set to run your printed go-karts on.
Total amount of filament needed for the tracks is approx. 4.6kgs (~ 5 spools). Please see last section below for the number of times each plates has to be printed.
Hardware Needed:
- 4+ 2mmx18mm stainless steel pins
- 1x TT motor
- battery pack
Level 3 (advanced): The Works! (obstacles, laps tracking, etc.)

This build level will get you the full experience of the Mario Kart game in the real world!
The included Arduino program will control starting the race, track completed laps, control the obstacles (Thwomp and Bullet Bill) and determines who completes 10 laps first as the winner! You can race with someone else just like the game!
At this level, you will have to do some basic electronics connections but no soldering will be required at all through the use of an Arduino breakout board and jumper wires.
Hardware Needed:
- 3x1mm round magnets, two stack together on either side of of the go-kart, (or one 3x2 mm round magnet)
- 2x hall sensors
- 3x servo motors for the starting line barrier and moving obstacles
- 1x 1602 I2C display for keeping track of the completed laps, etc.
- Arduino Nano preferably with breakout board for easier assembly
- 1x usb cable with JST connector
- jumper wires with assorted Dupont connector pairs (i.e., female-to-male, female-to-female, male-to-male)
- 2.6mm x 8mm self-tapping screw
- 1x battery pack with at least 2 USB out
Assembly Guide
Full assembly guide (sample screenshot below) will be provided shortly.

Amounts of Plates to Print
Thanks to @axel_mery for collating the number of times each plates need to be printed:
- Plate 1 : 10 pieces to print --> 1 plate + 4 pieces (225g)
- Plate 2 : 6 pieces to print --> 1 plate (134g)
- Plate 3 : 20 pieces to print --> 1 plate + 8 pieces (198g)
- Plate 4 : 4 pieces to print --> 1 plate (26g)
- Plate 5 : 5 sets to print --> 5 plates (232g)
- Plate 6 : 2 pieces to print --> 2 plates (88g)
- Plate 7 : 2 sets to print --> 2 plates (18g)
- Plate 8 : 24 pieces to print --> 4 plates + 4 pieces (594g)
- Plate 9 : 29 pieces to print --> 9 plates + 2 pieces (1924g)
- Plate 10 : 1 piece to print --> 1 plate (23g)
- Plate 11 : 2 pieces to print --> 2 plates (52g)
- Plate 12 : 29 pieces to print --> 1 plate + 14 pieces (174g)
- Plate 13 : 11 pieces to print --> 3 plates + 2 pieces (281g)
- Plate 14 : 1 piece to print --> 1 plate (23g)
- Plate 15 : 1 piece to print --> 1 plate (11g)
- Plate 16 : 9 pieces to print --> 2 plates + 1 piece (340g)
- Plate 17 : 24 pieces to print --> 6 plates (462g)
- Plate 18 : 1 piece to print --> 1 plate (69g)
- Plate 19 : 4 pieces to print --> 1 plate (8g)
- Plate 20 : 1 piece to print --> 1 plate (11g)
- Plate 21 : 6 pieces to print --> 1 plate (15g)
- Plate 22 : 6 pieces to print --> 1 plate (17g)
- Plate 23 : 1 piece to print --> 1 plate (34g)
- Plate 24 : 1 piece to print --> 1 plate (28g)
- Plate 25 : 2 pieces to print --> 1 plate (8g)
Total filament used:
- Gray : 3,96kg
- Black : 232g
- White : 682g
- Red : 21g
- Green : 92g
- Yellow : 8g
Boost Me (for free)
If you find this creation useful or just to show appreciation for the effort in making this model, please hit the BOOST button!
Documentation (1)
License

You shall not share, sub-license, sell, rent, host, transfer, or distribute in any way the digital or 3D printed versions of this object, nor any other derivative work of this object in its digital or physical format (including - but not limited to - remixes of this object, and hosting on other digital platforms). The objects may not be used without permission in any way whatsoever in which you charge money, or collect fees.


Comment & Rating (424)