
Halloween Trick or Treat Spider Candy Box

Print Profile(5)


Description

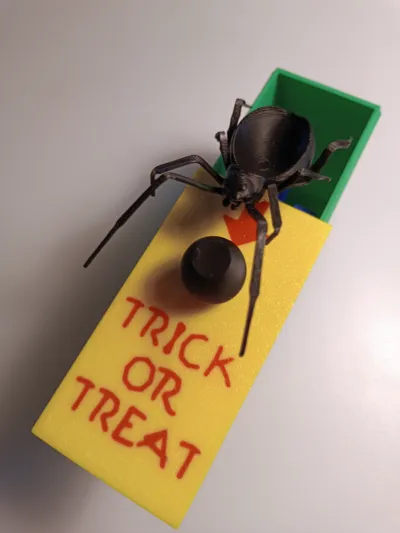
Trick or Treat? Why not both?
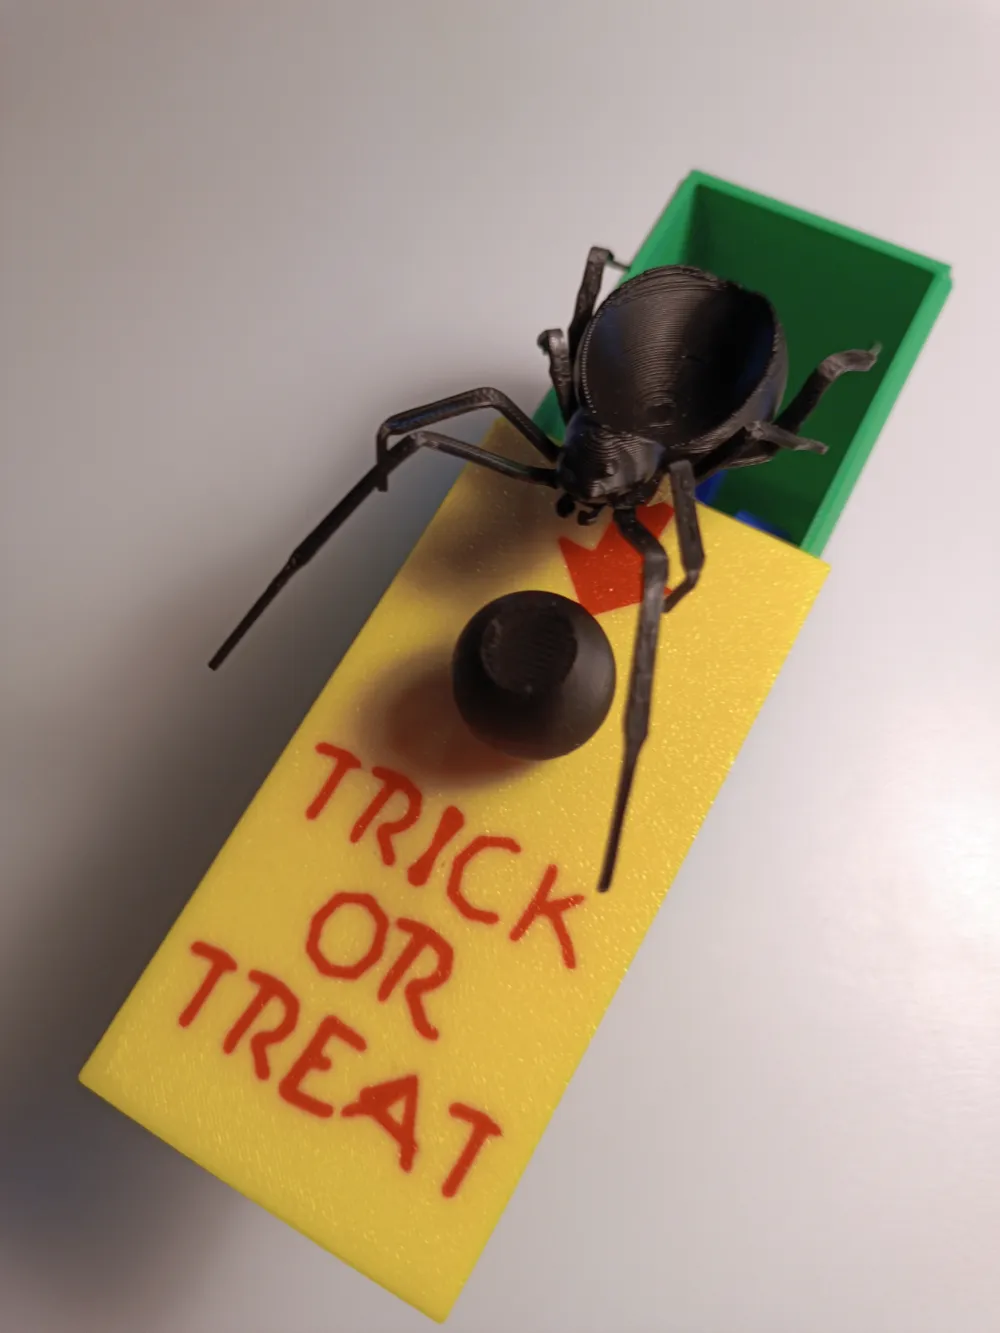
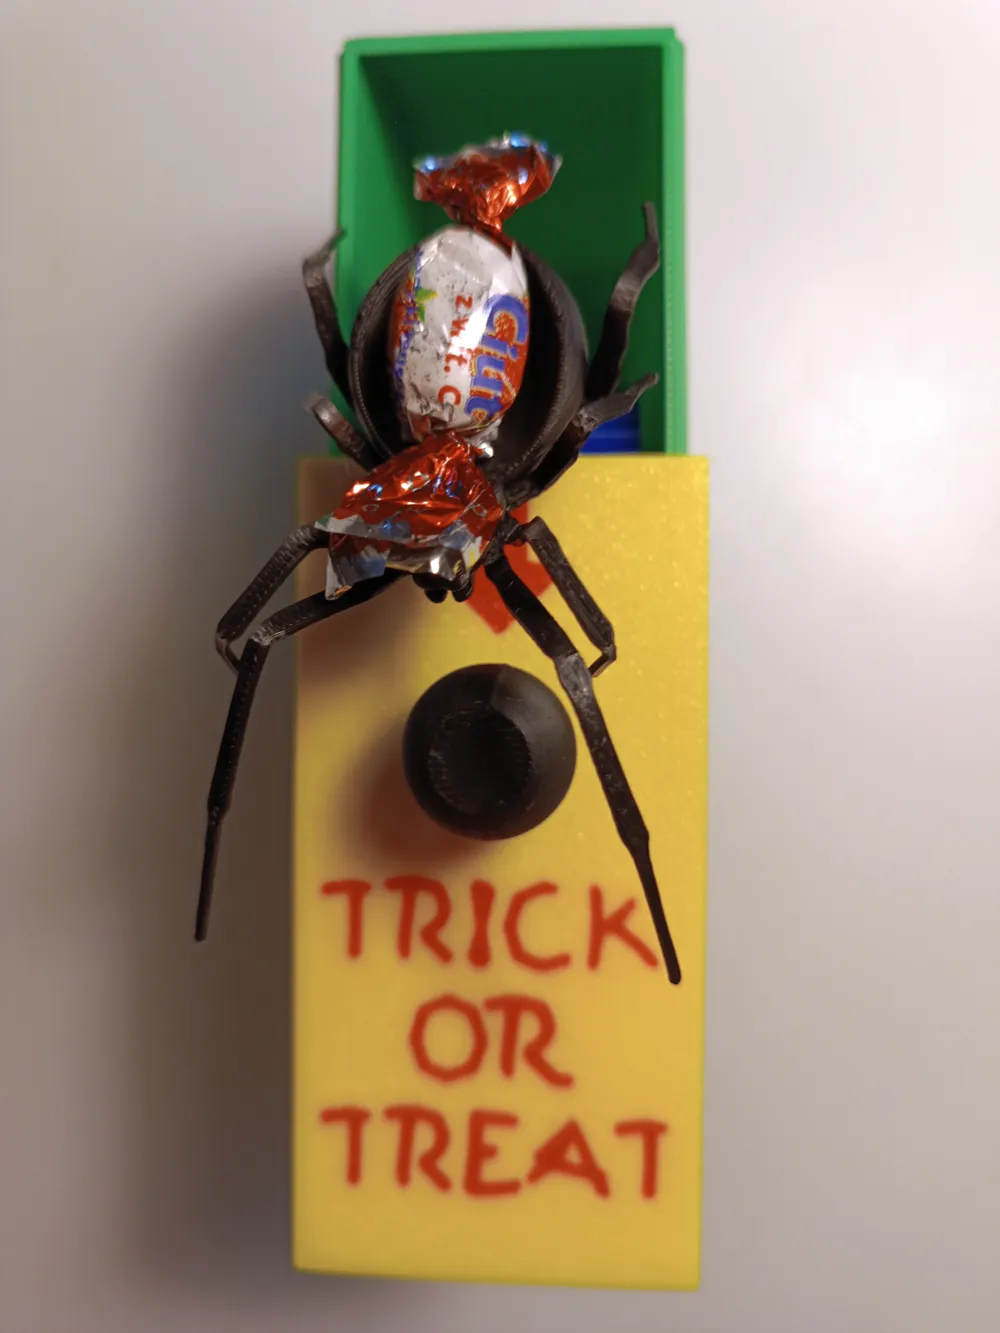
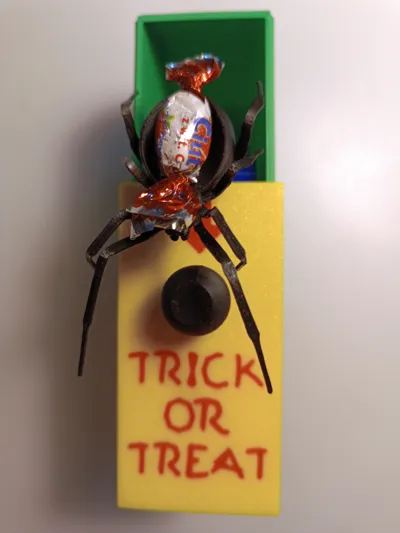
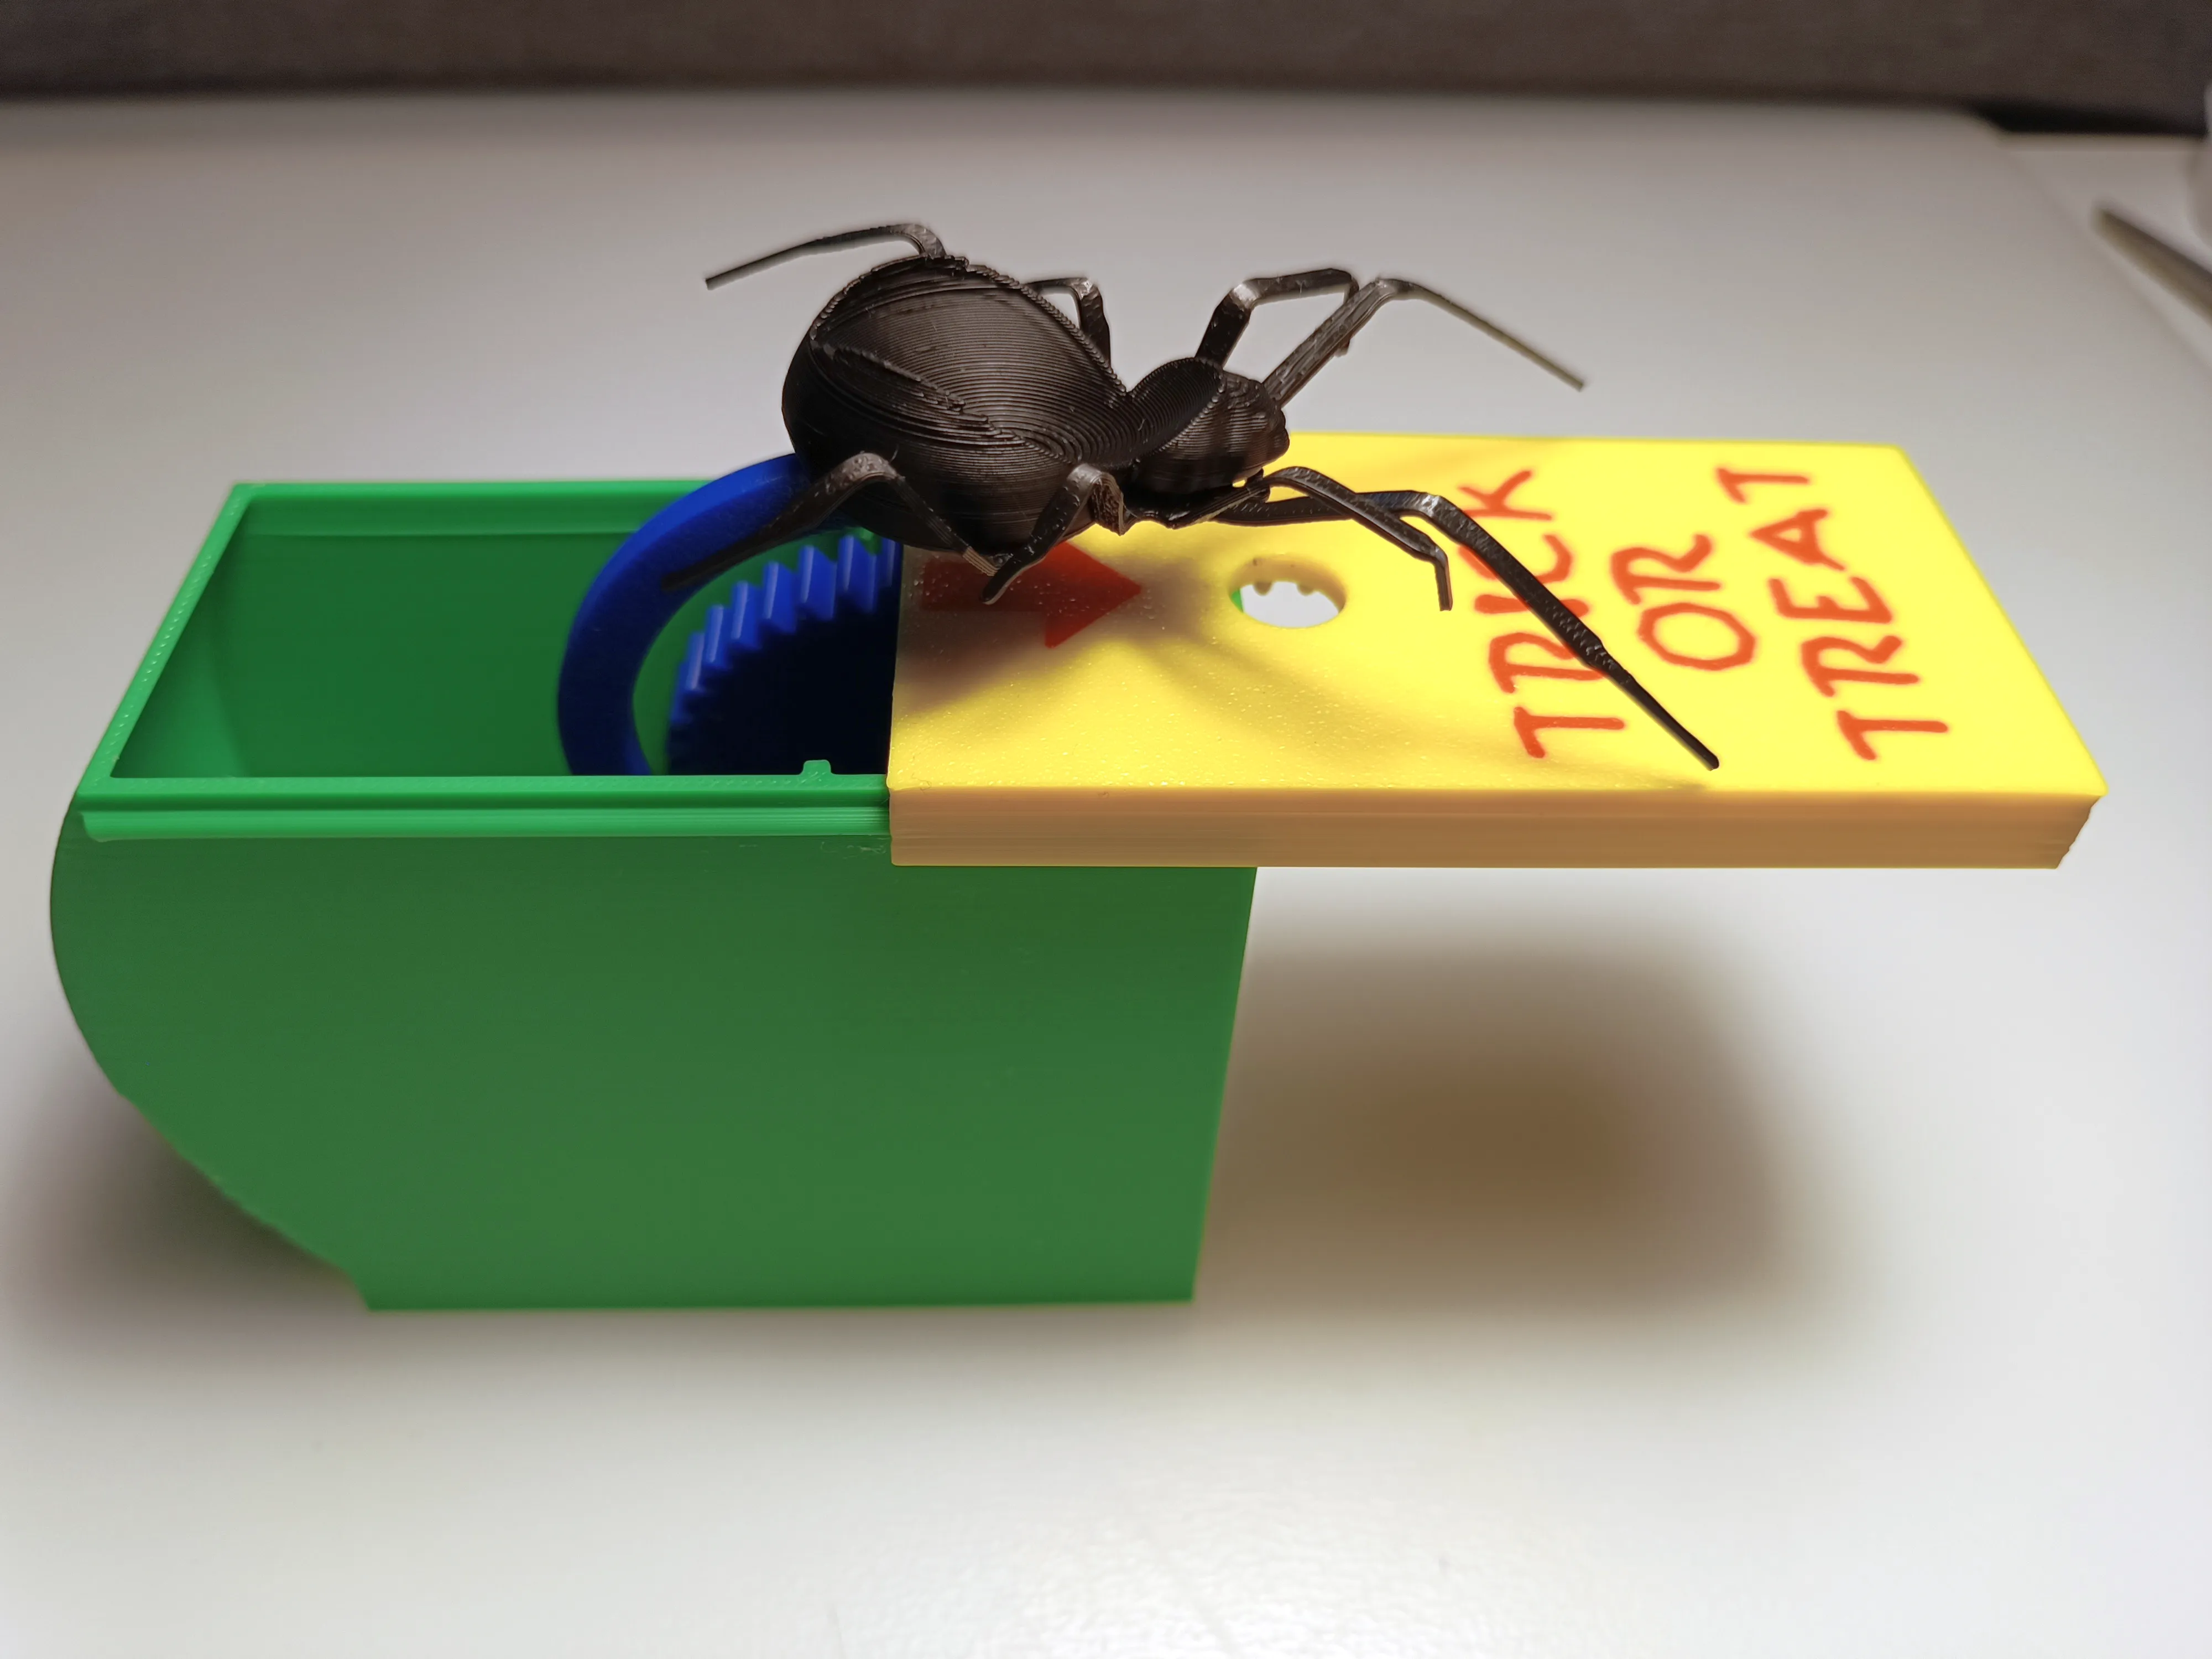
Get ready for double the fun with this Halloween Trick-or-Treat Spider Box! Slide the lid, and a spooky spider pops out to touch your finger. Use double-sided tape to stick a candy on the spider—delivering both a frightful trick and a sweet treat!
Perfect for Halloween pranks and candy-filled scares.
🎃🍬🕷️ Dare to open?
WARNING: May cause sudden urge to throw across the room!
Print profiles:
The AMS version is just for the text on the lid.
If you want multiple colors, please print the parts separately to avoid a significant waste of filament.
Feel free to customize the colors however you like!
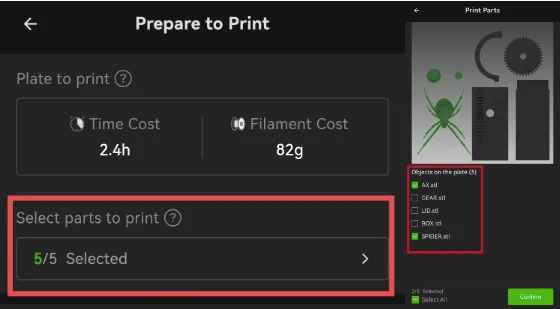
The non-AMS version is designed for a single color, but the lid has the letters and arrow extruded for easy painting.
If you don't have AMS but want different colors, you can print the parts separately and manually change the filament between prints.
SPIDER V2 is available in print profiles (for a quick print) and updated in the ams/non-ams versions. I’ve updated the spider design with thicker legs for added durability! This modification ensures the spider is sturdier and less prone to breaking.
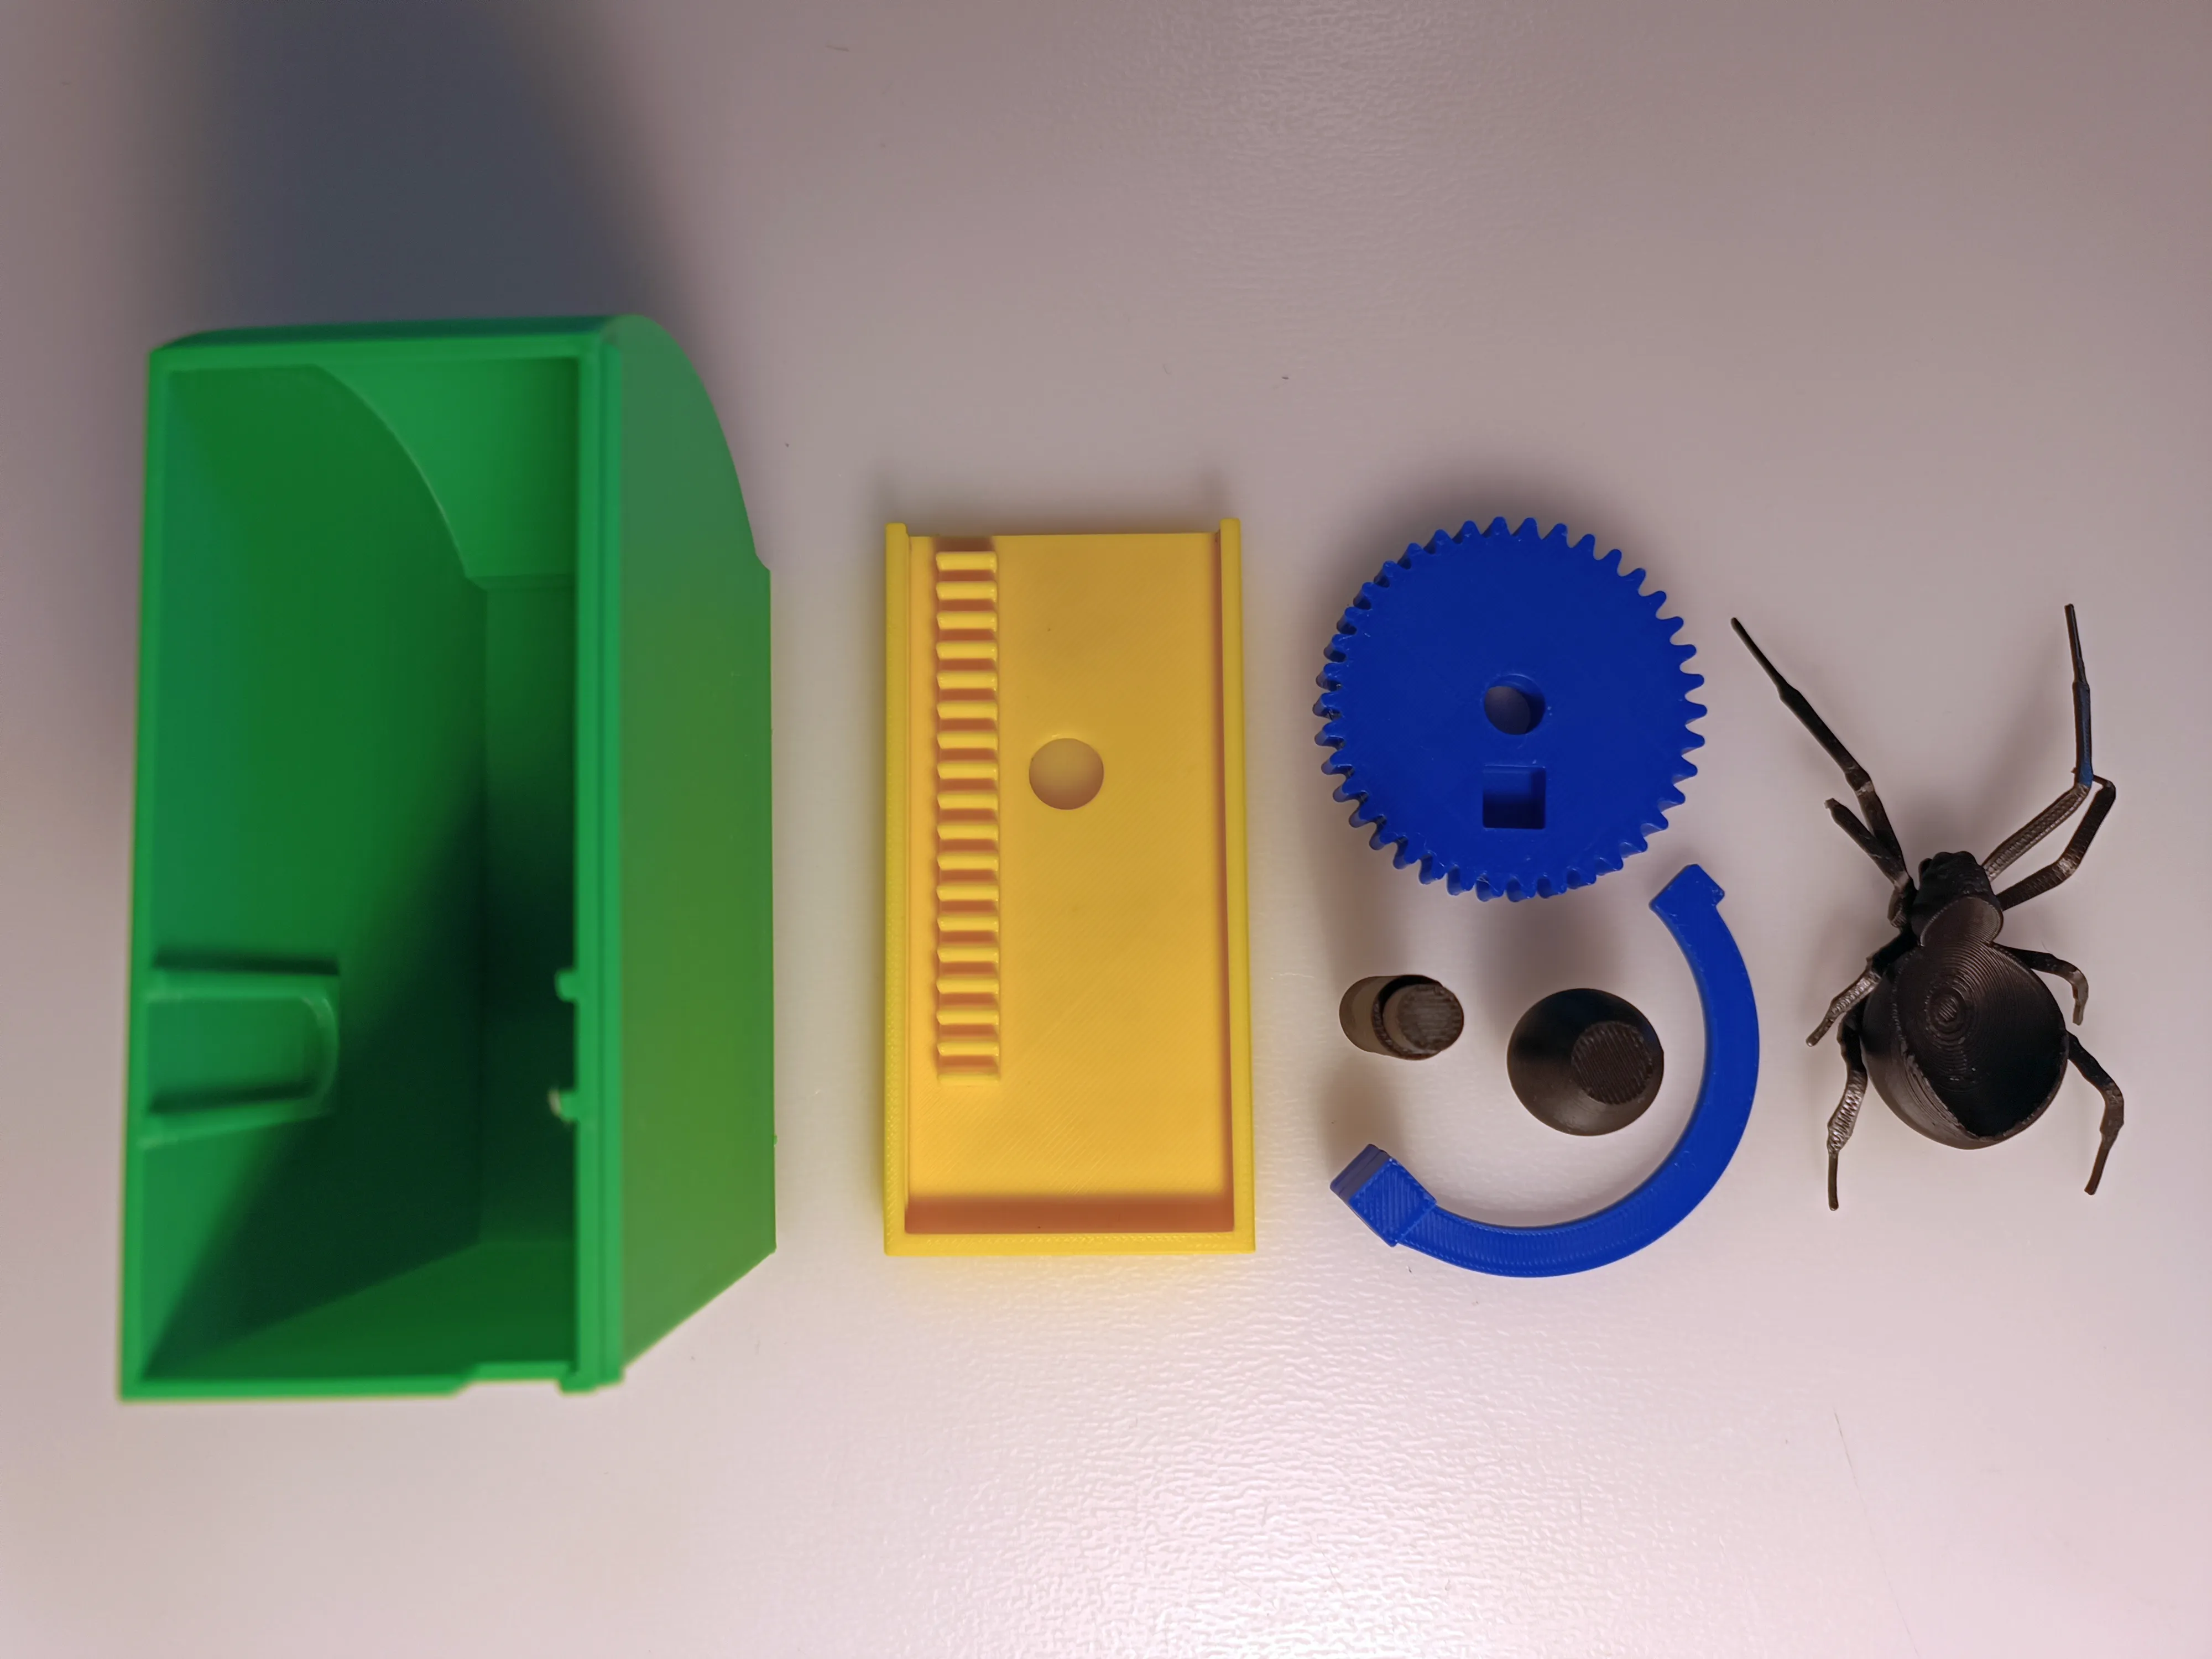
Assembly Instructions:
Please make sure to follow the instructions carefully. If not, the spider won’t fit properly into the box. This step is key for everything to work smoothly and give the best spooky surprise!
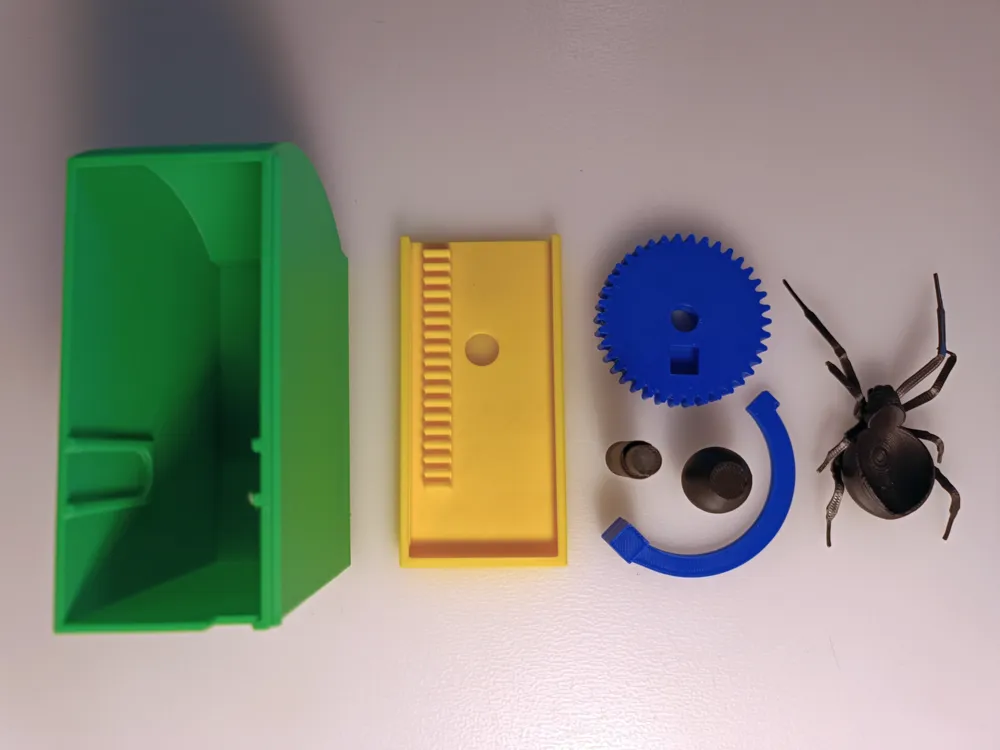
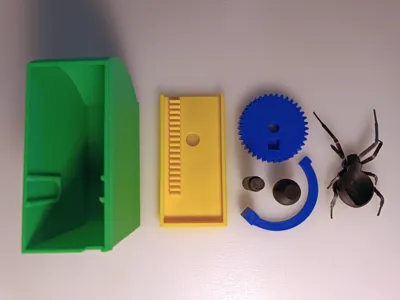
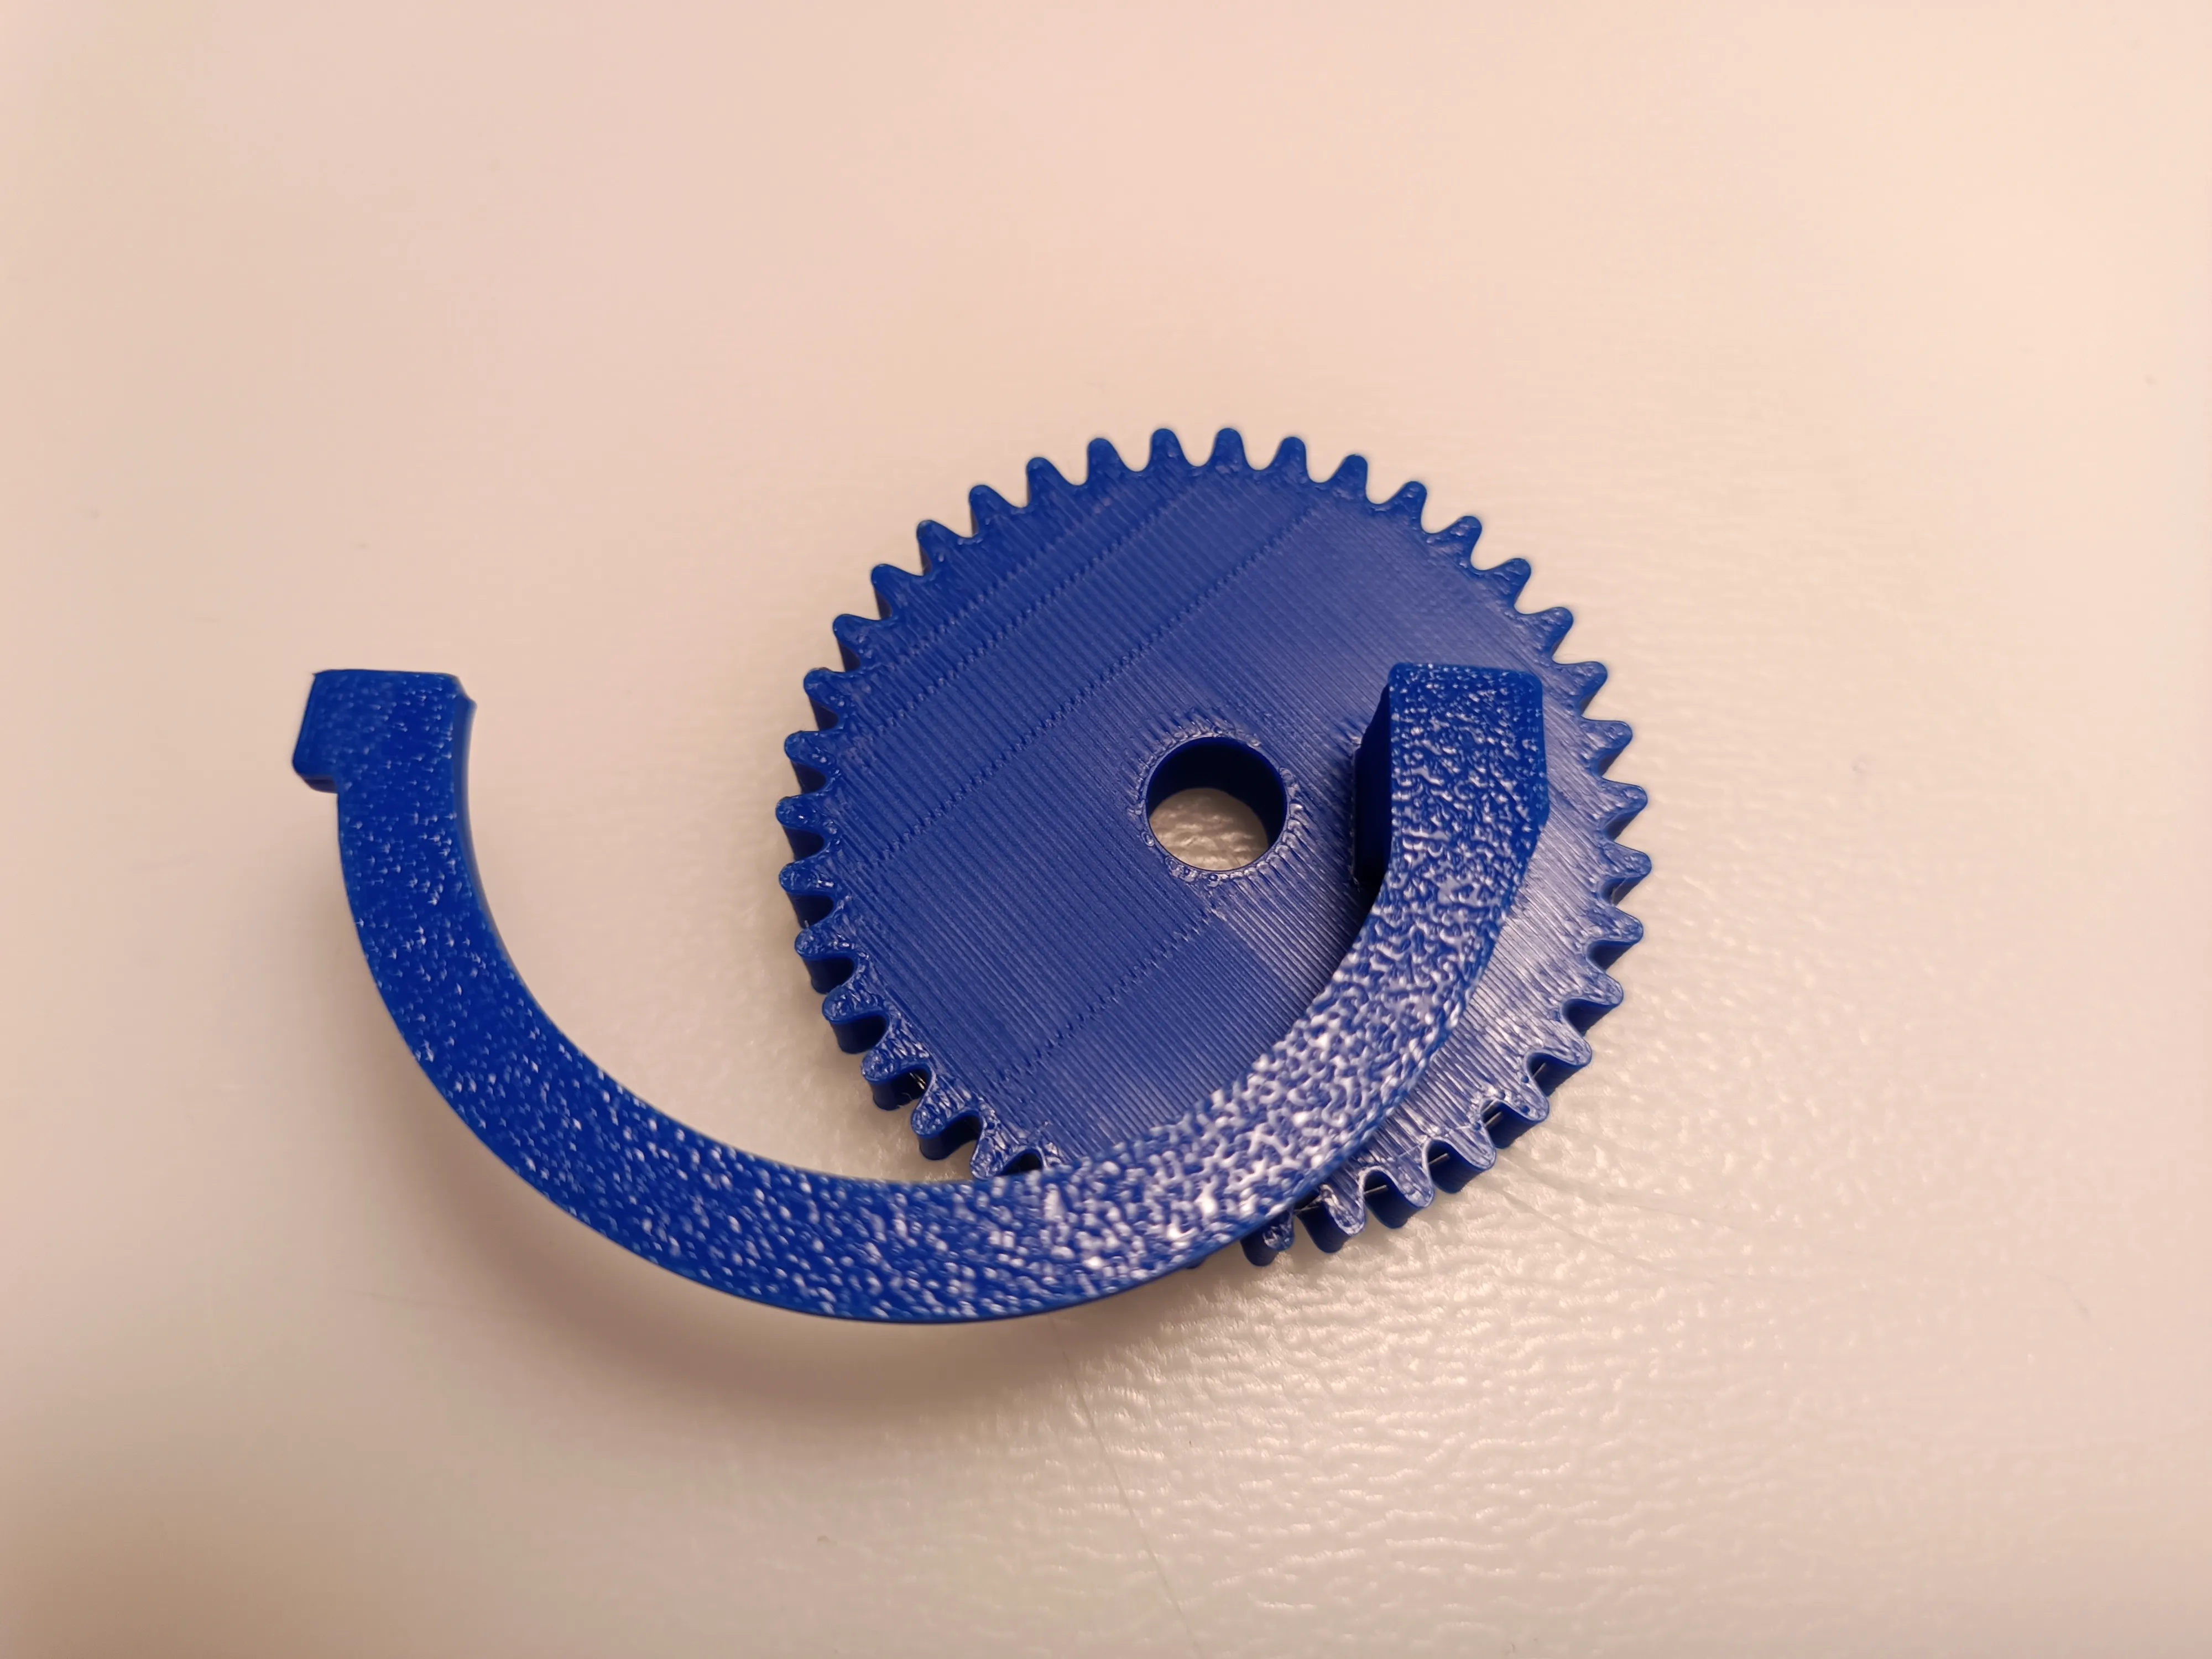
Assemble the gear and the arm like this:
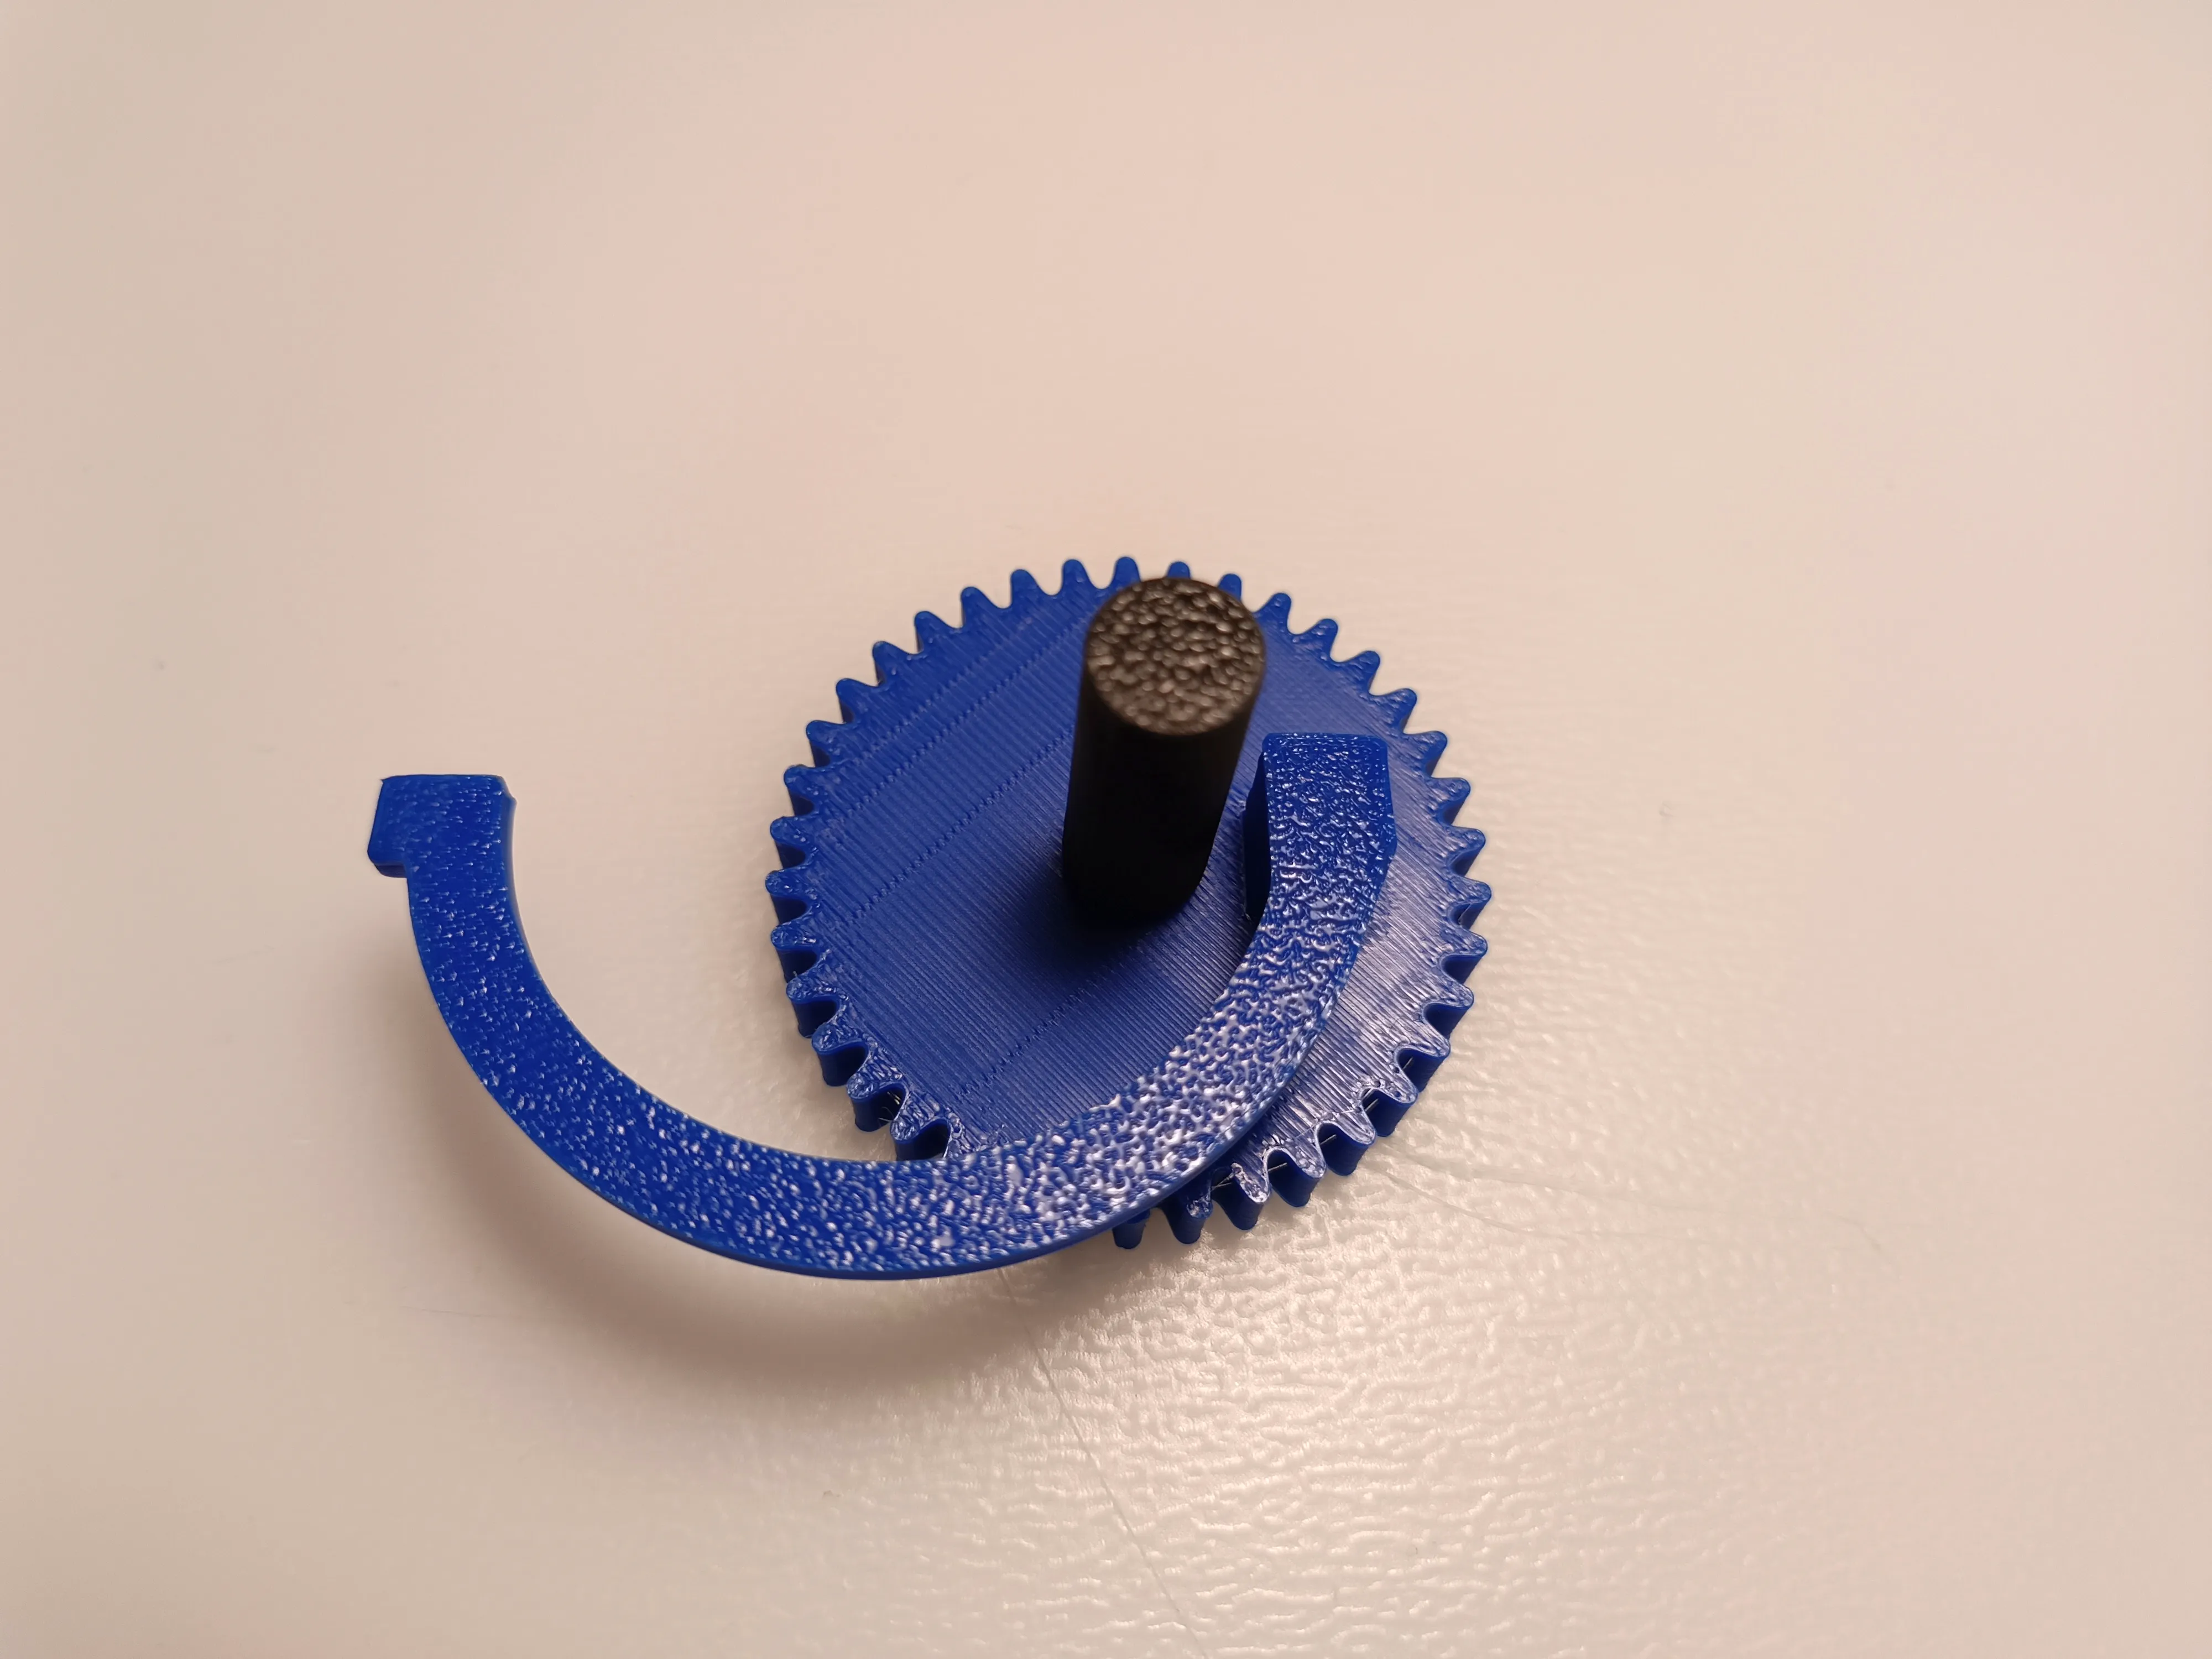
Put the axis in the gear:
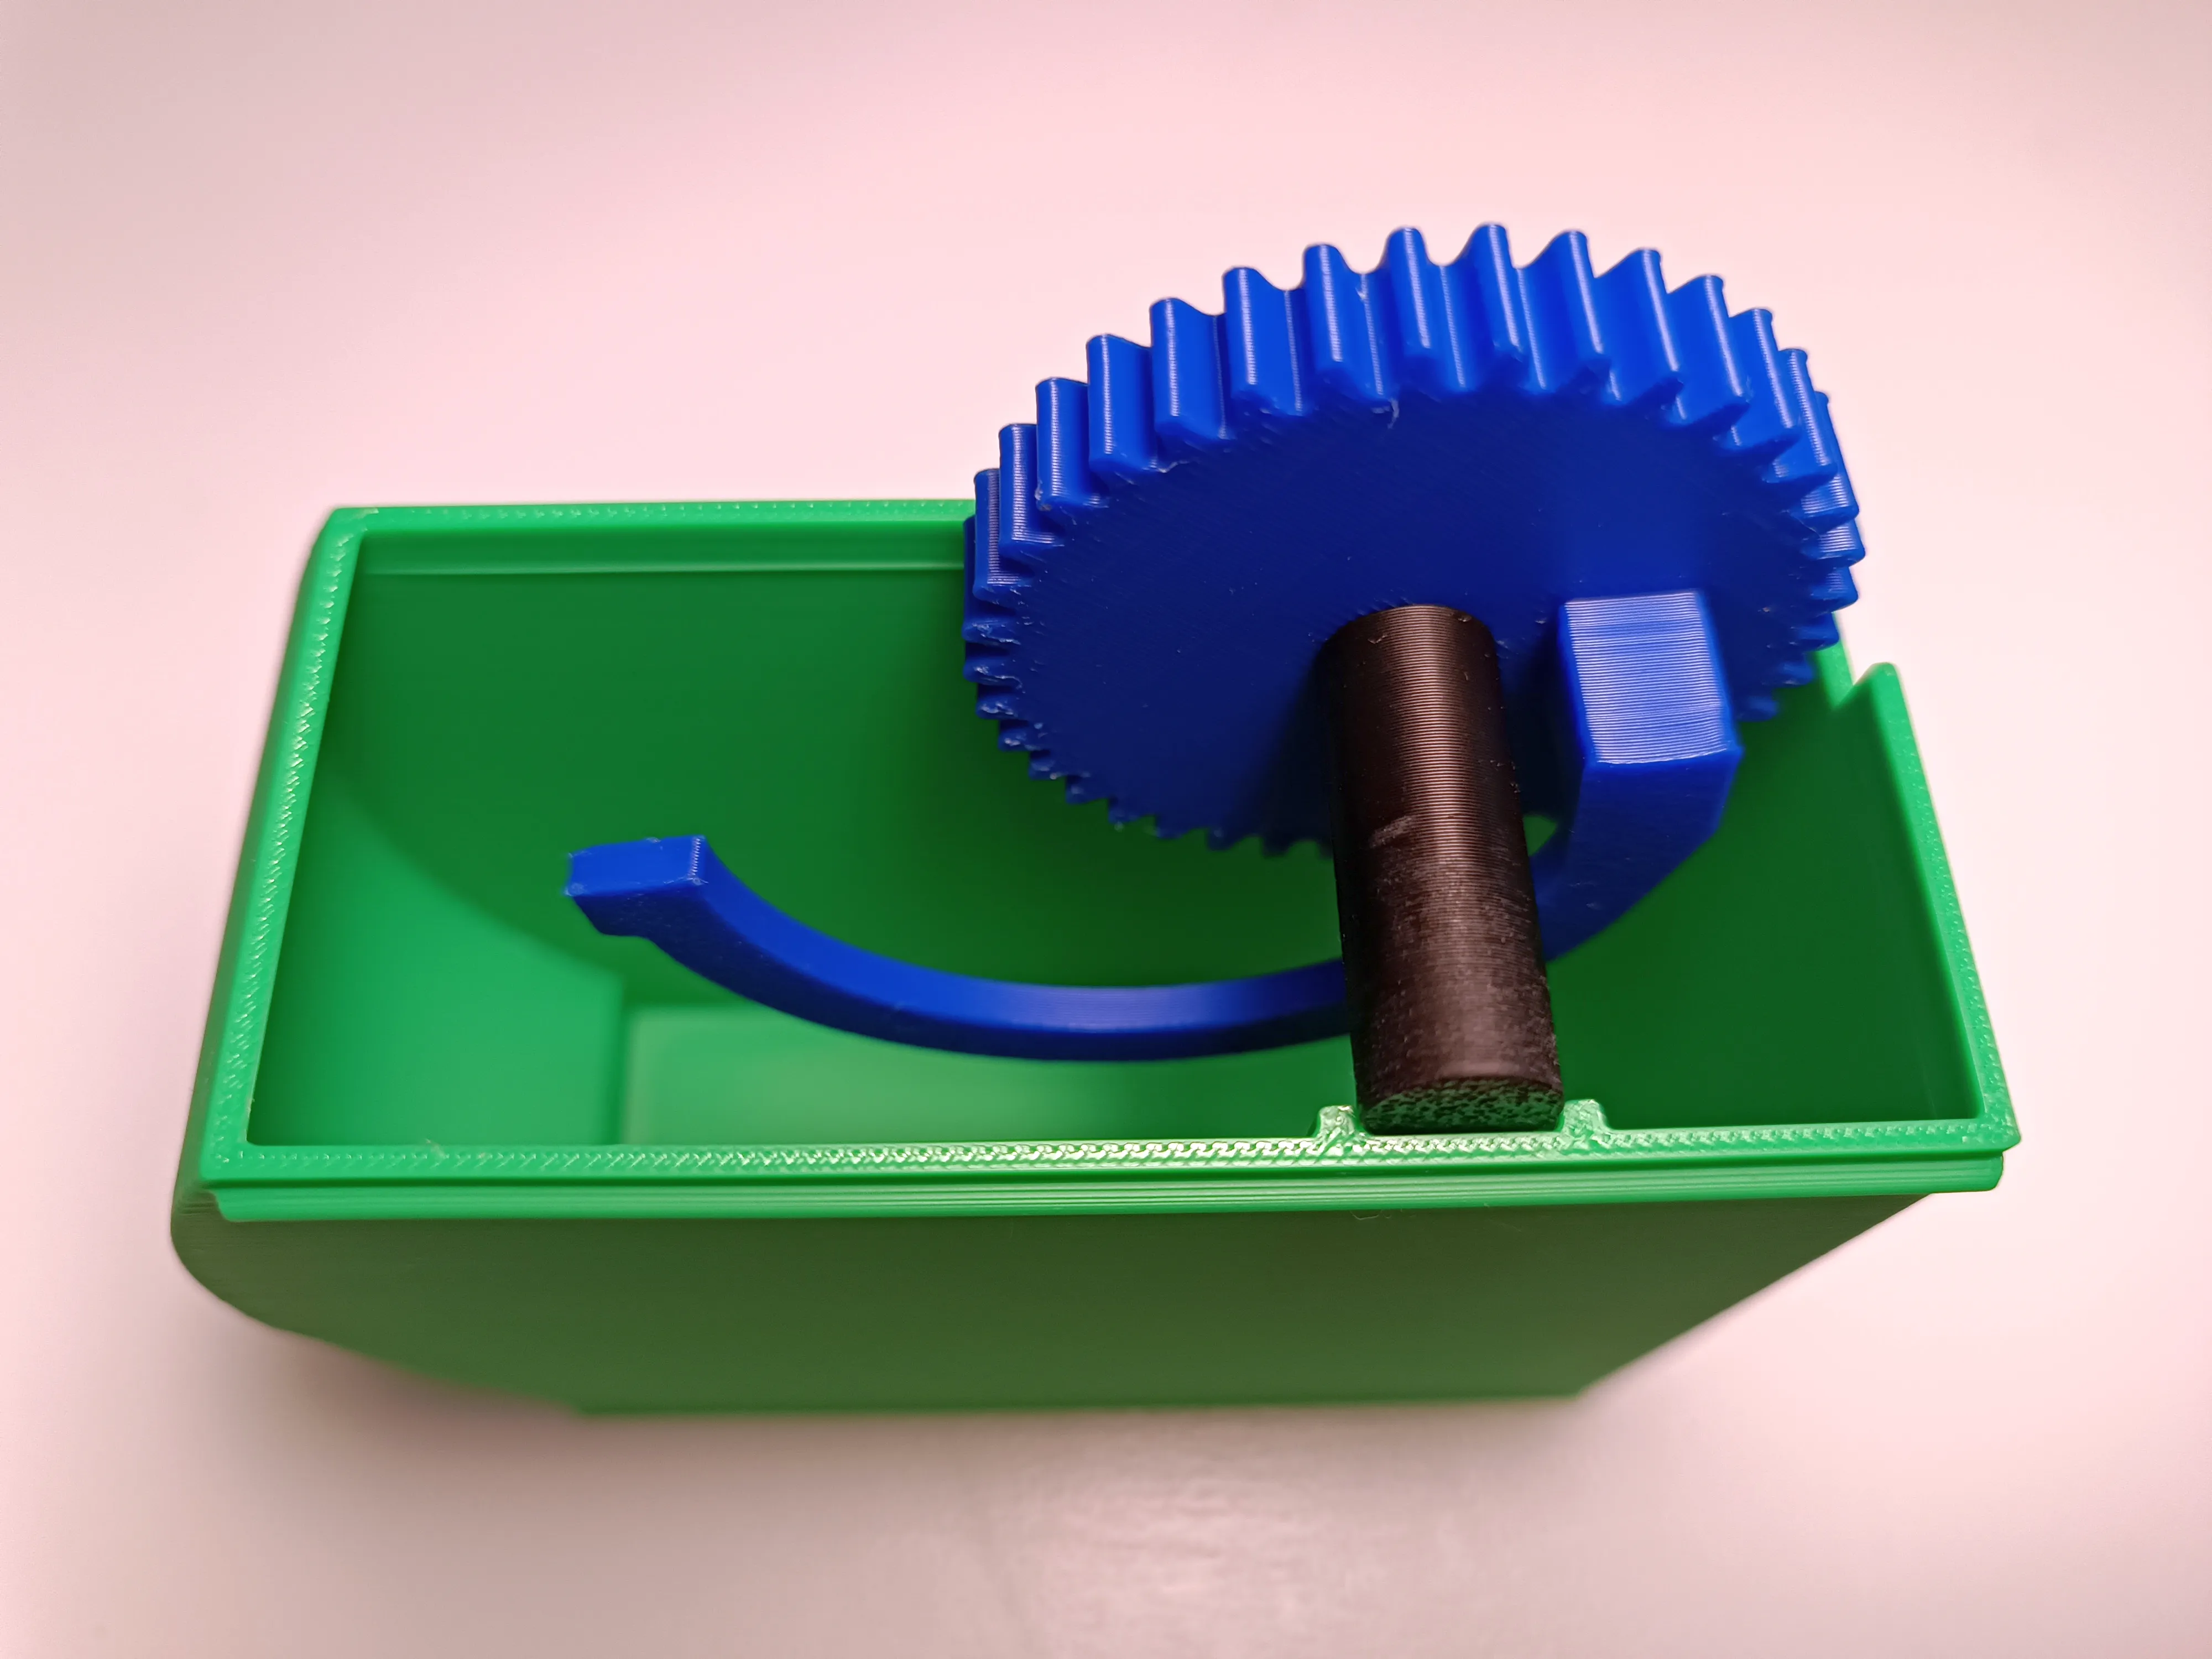
Slide the assembly in the box:
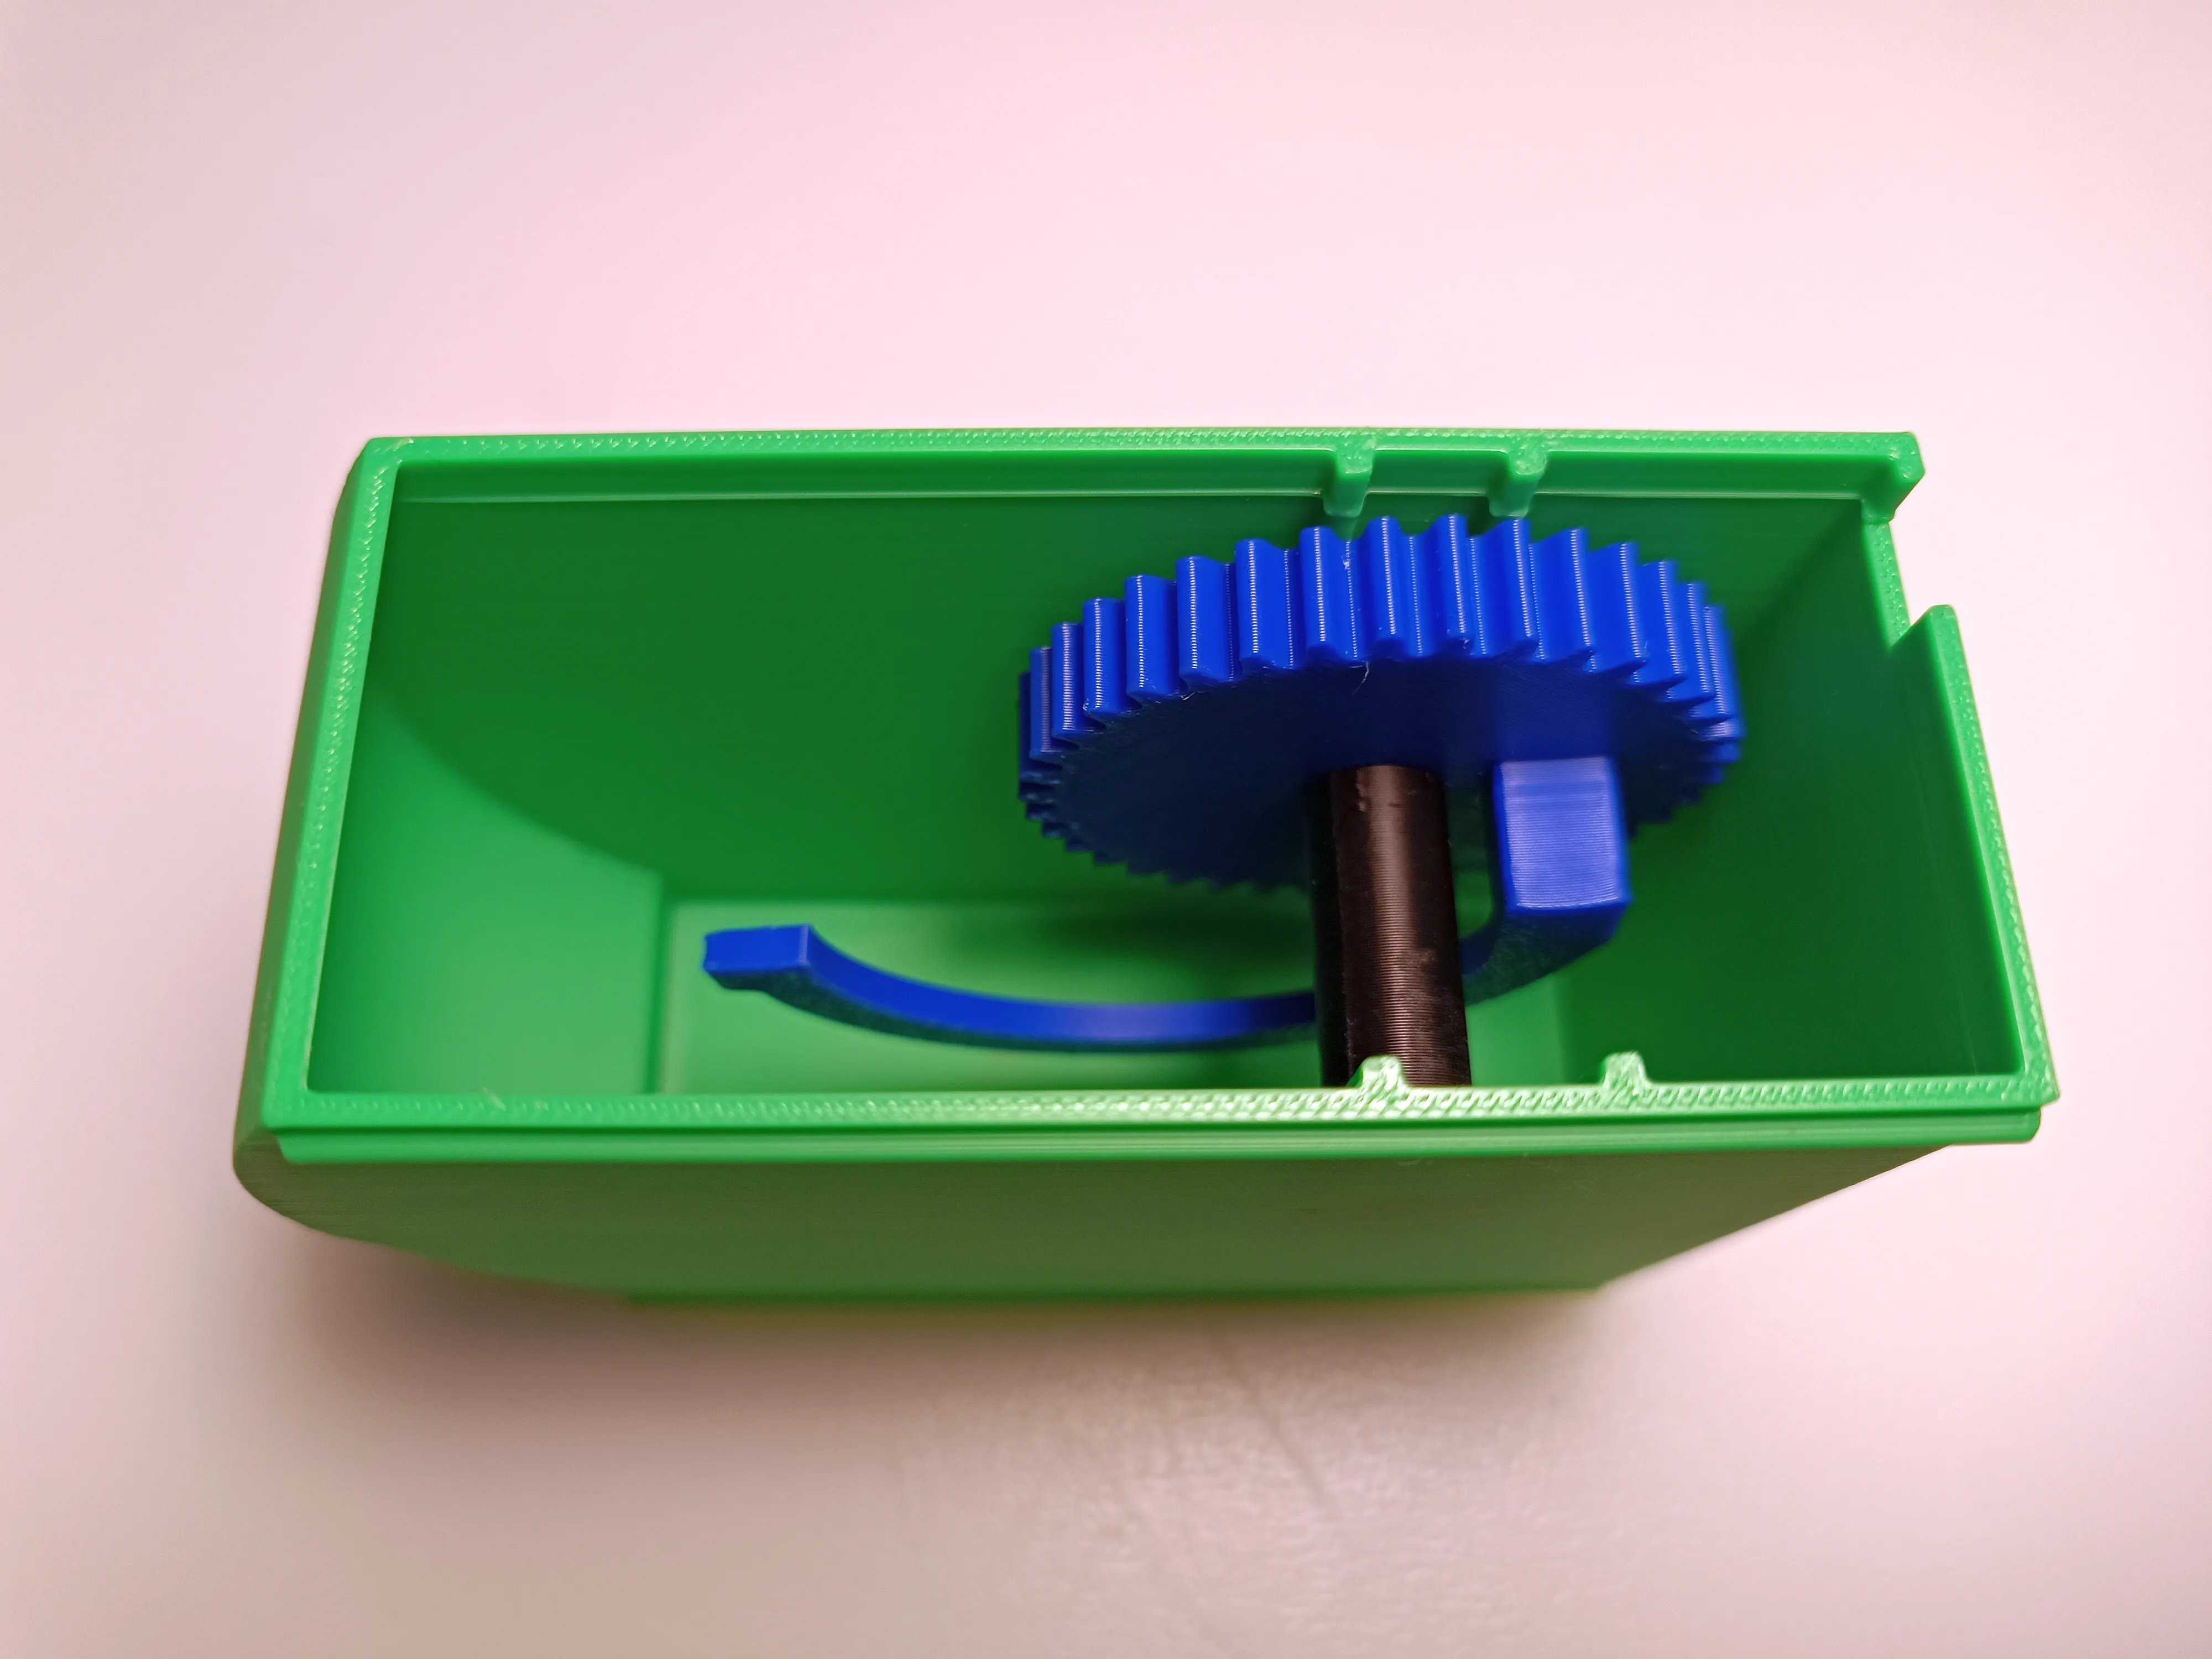
Bend and arrange the spider legs like this:
(Tip: If you're worried about breaking the spider's legs while bending them, use hot water to soften them before starting)
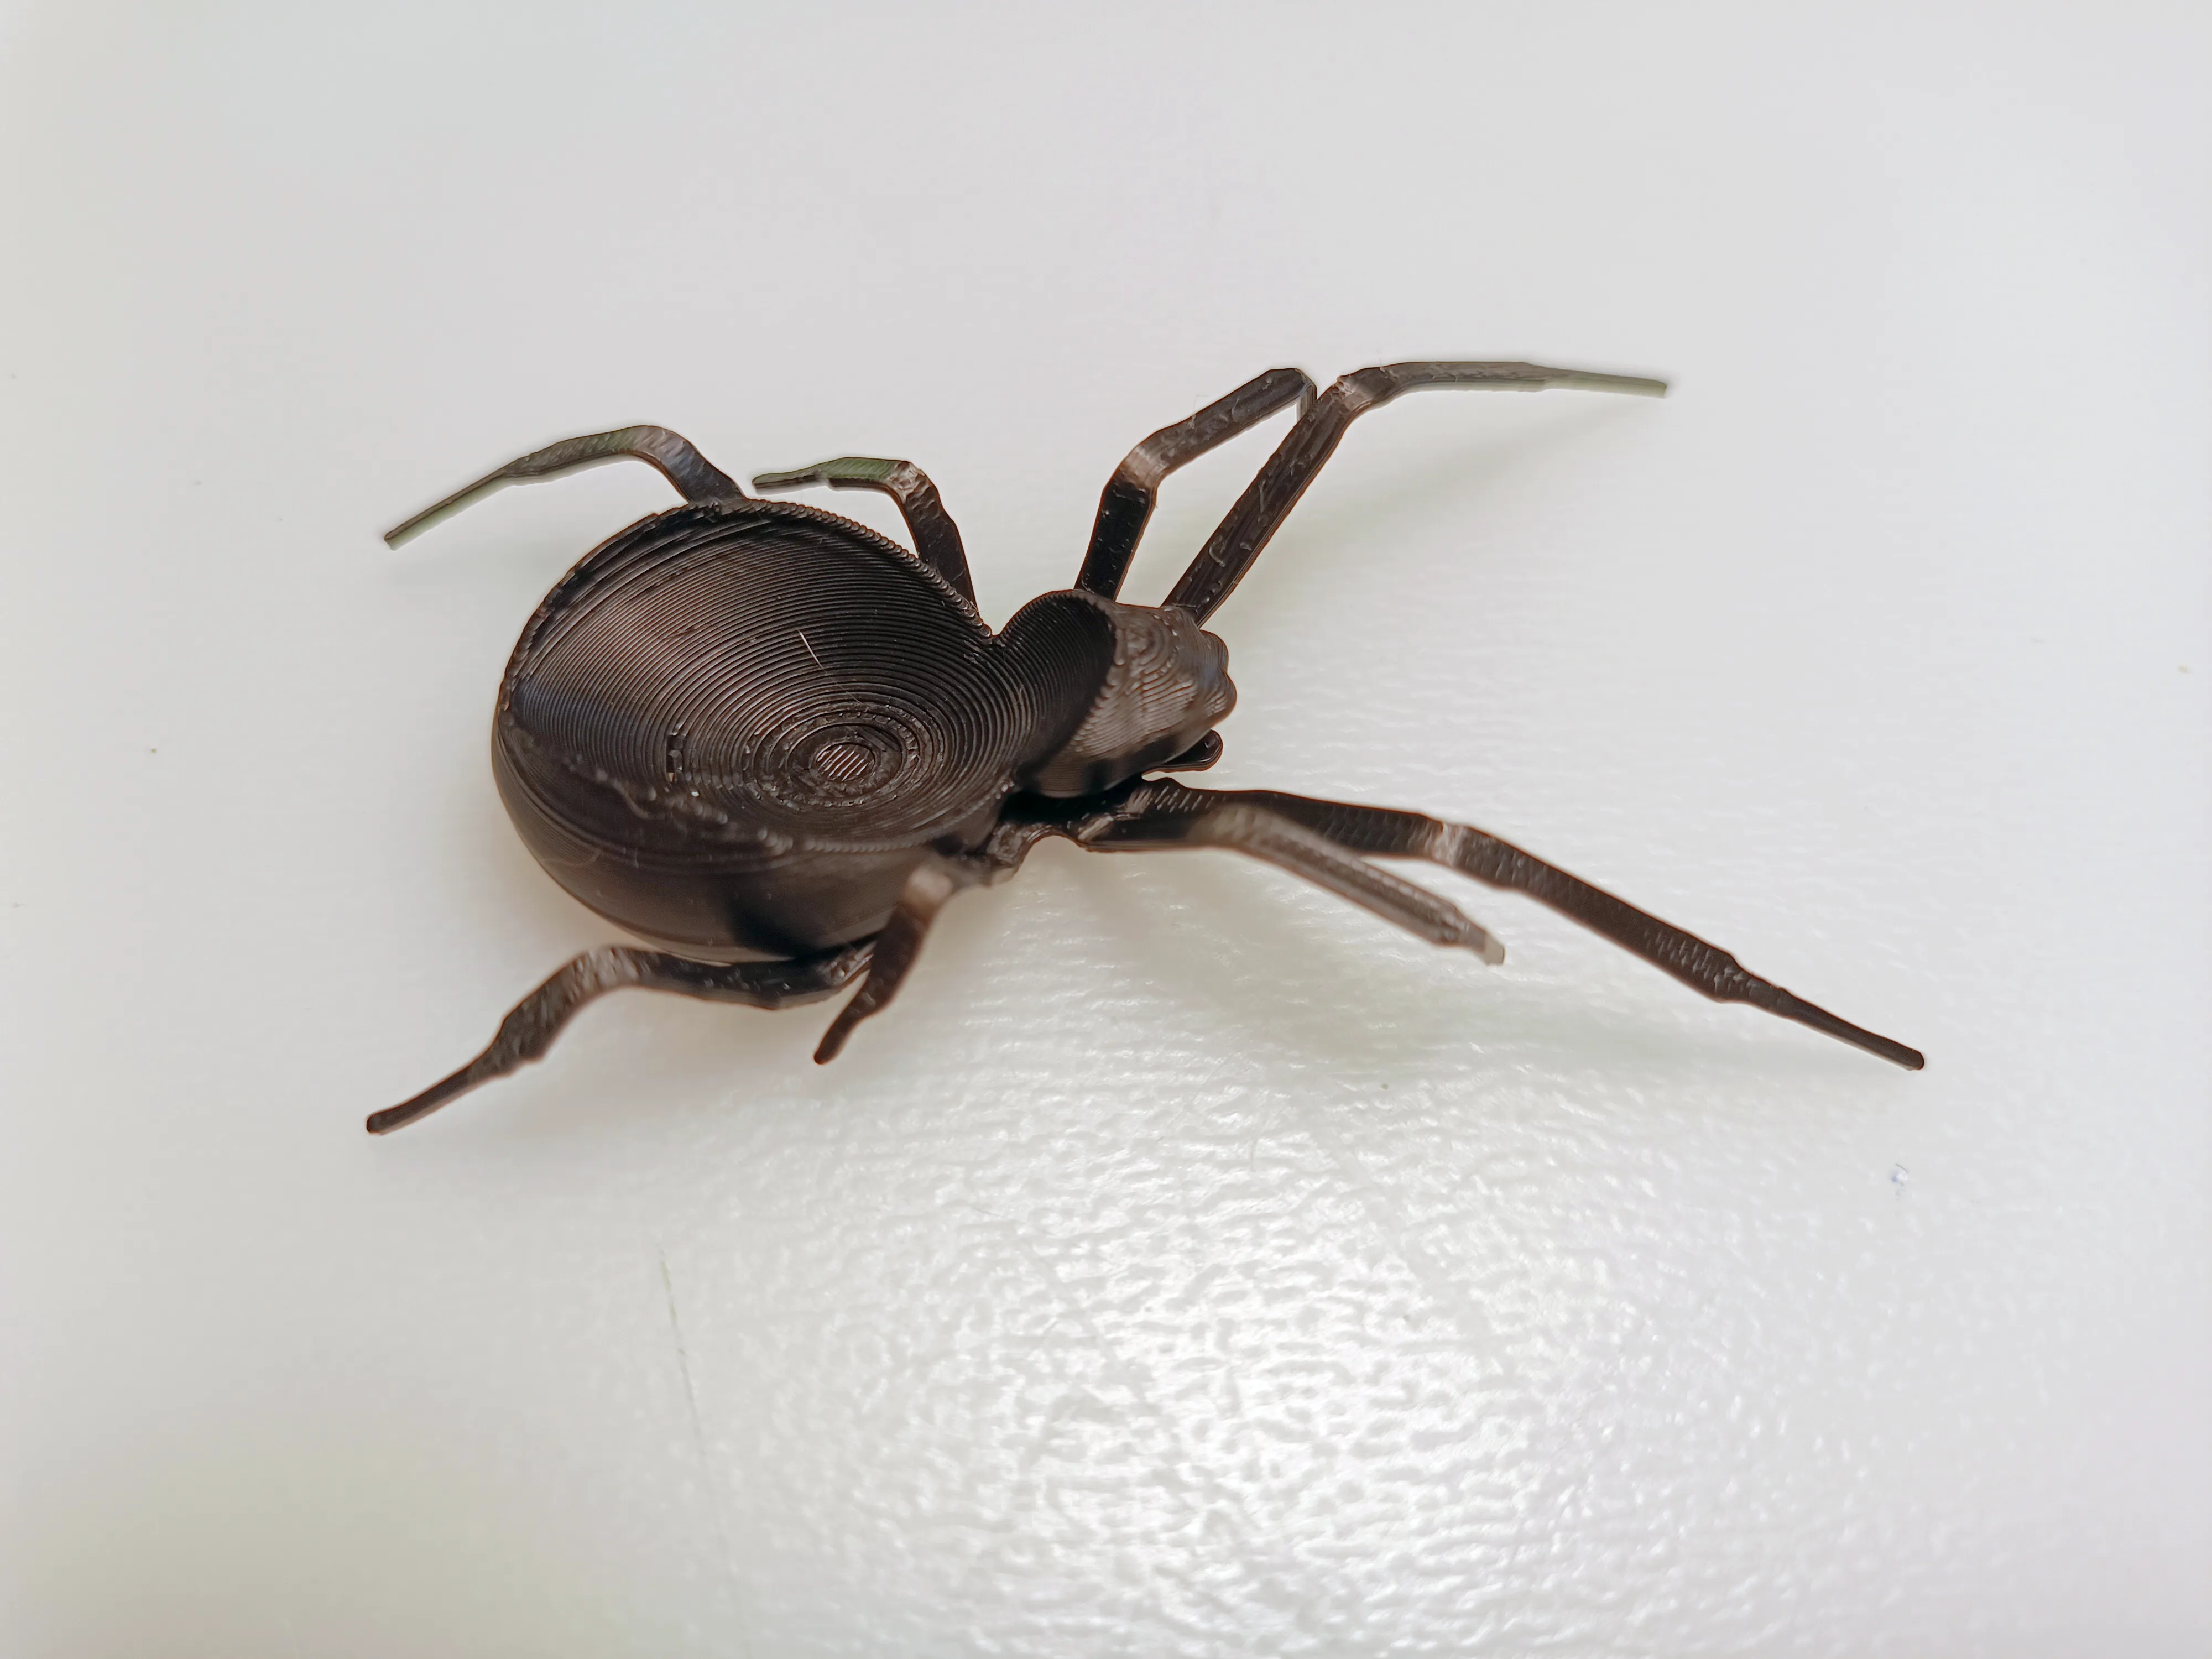
Place the spider on the arm:
(it’s a tight fit because it needs to stay securely in place)
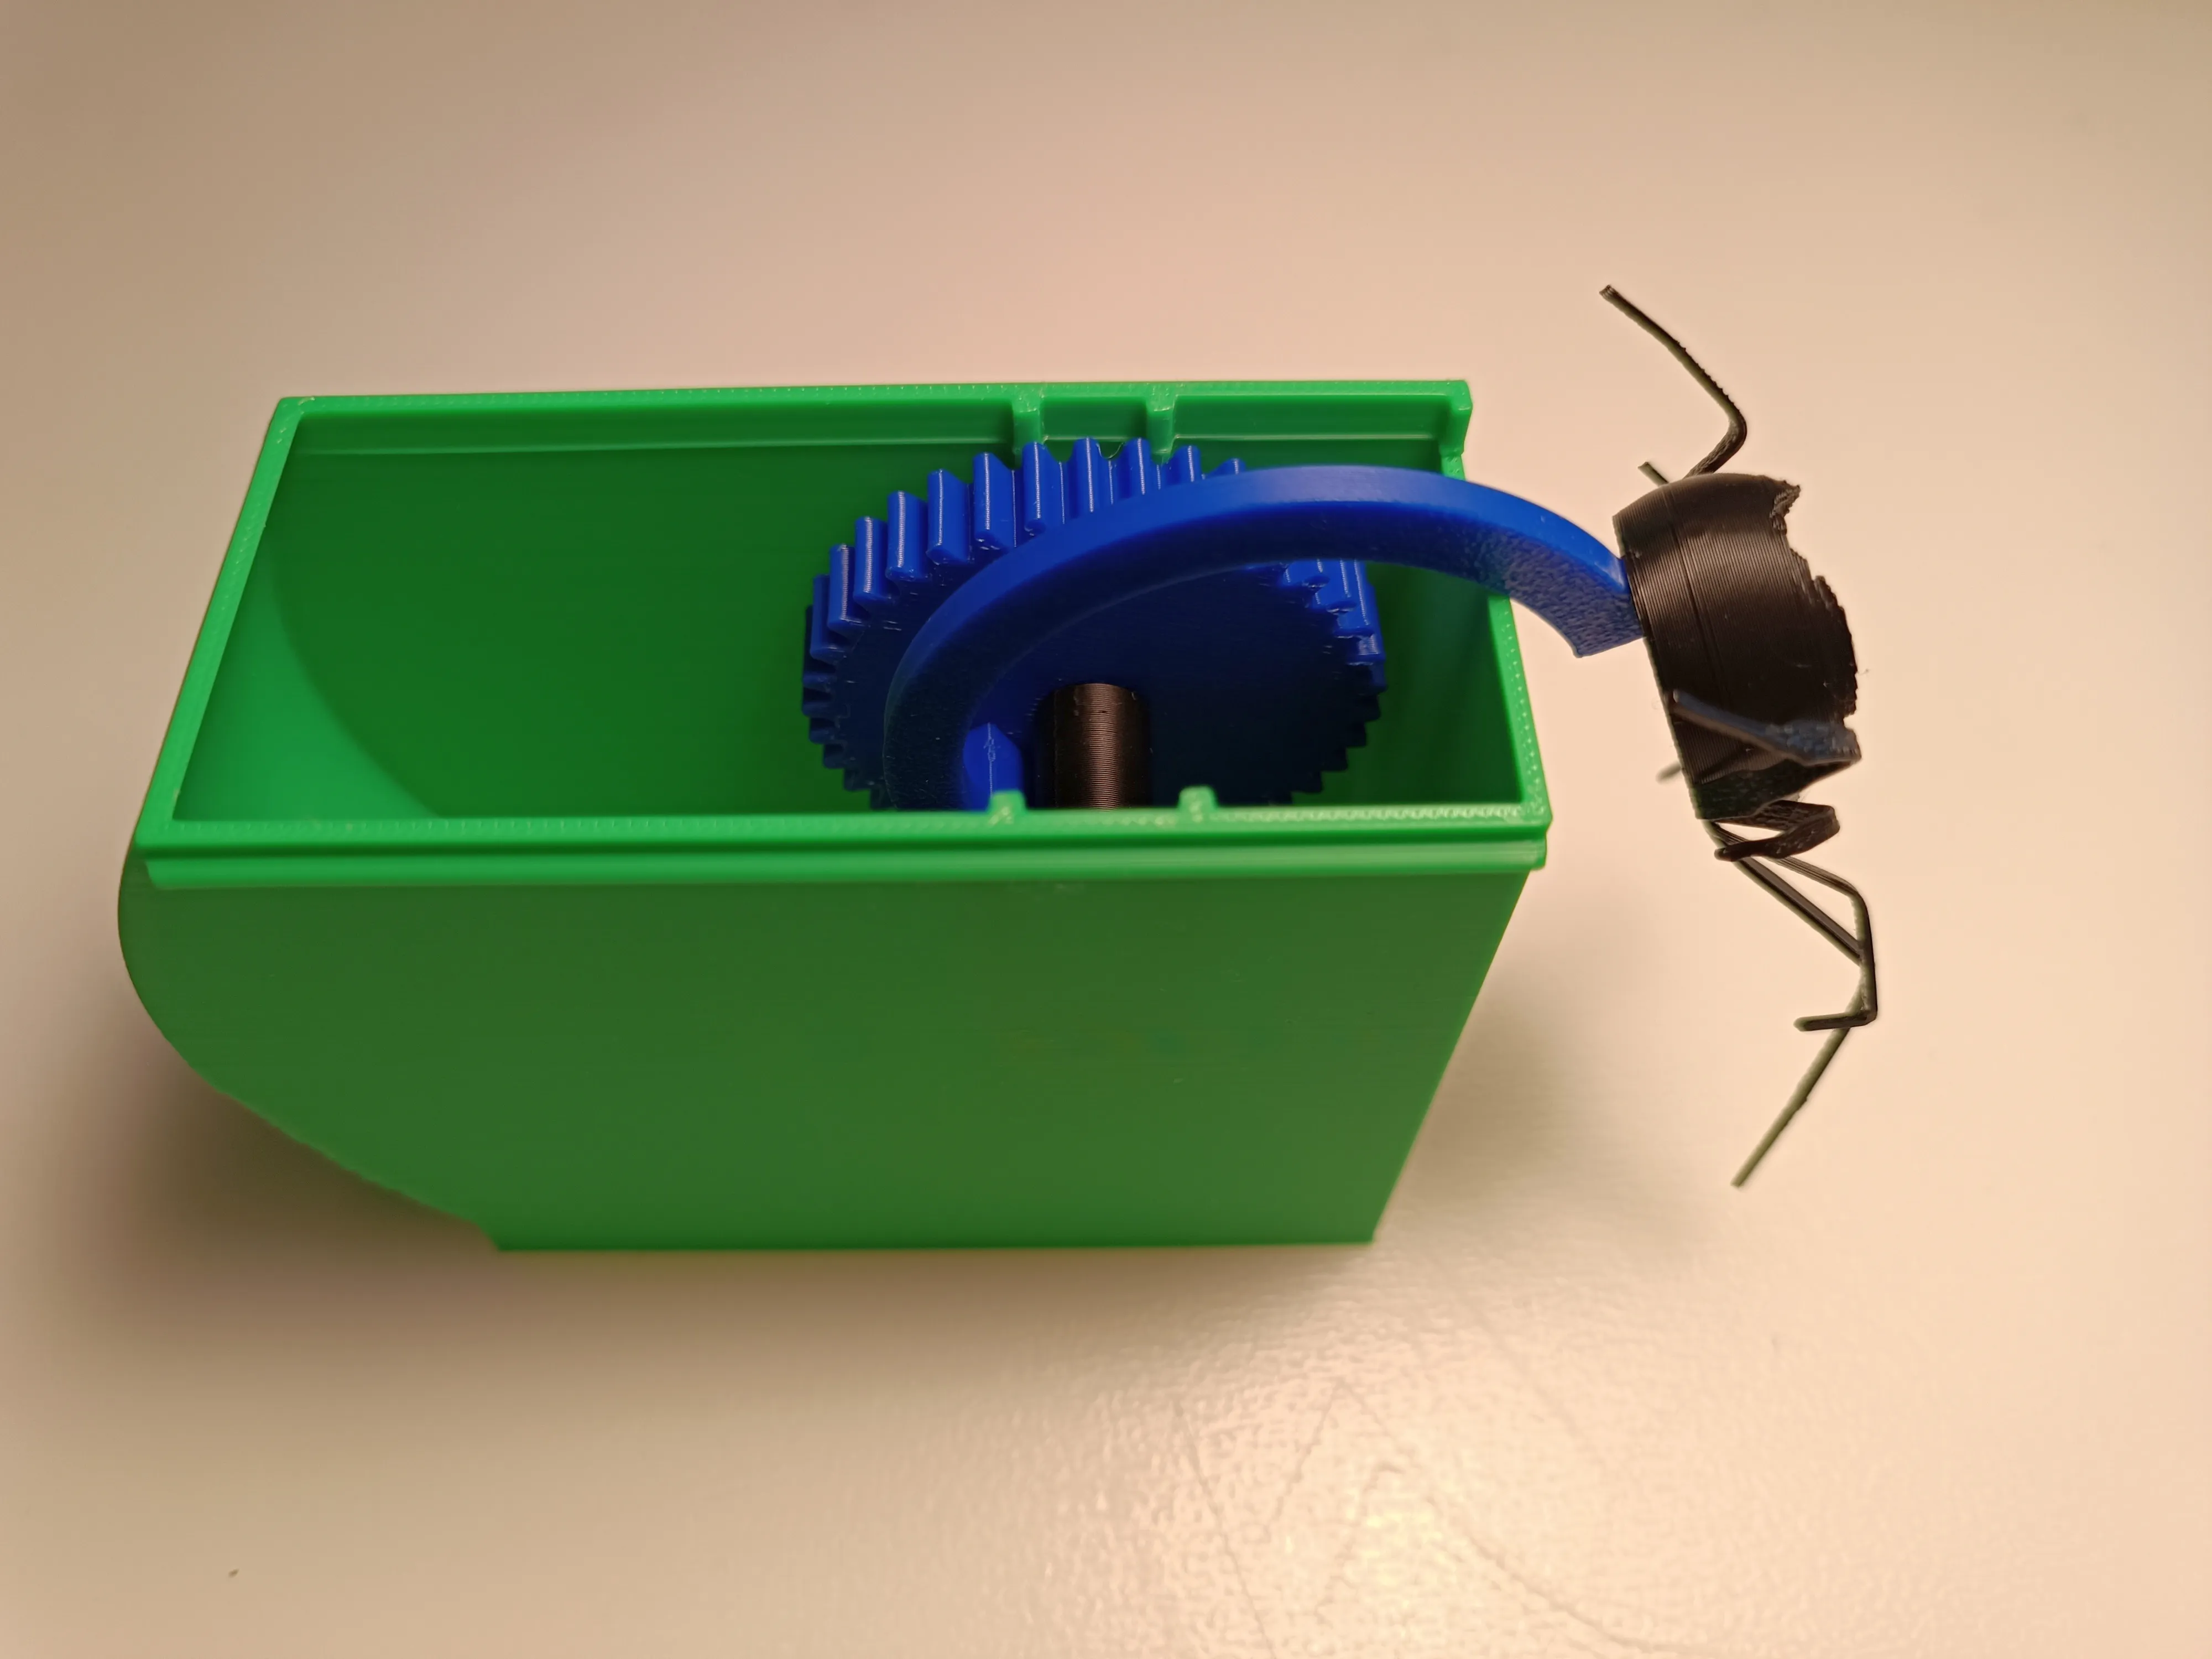
Make sure the spider slides in the box easily:
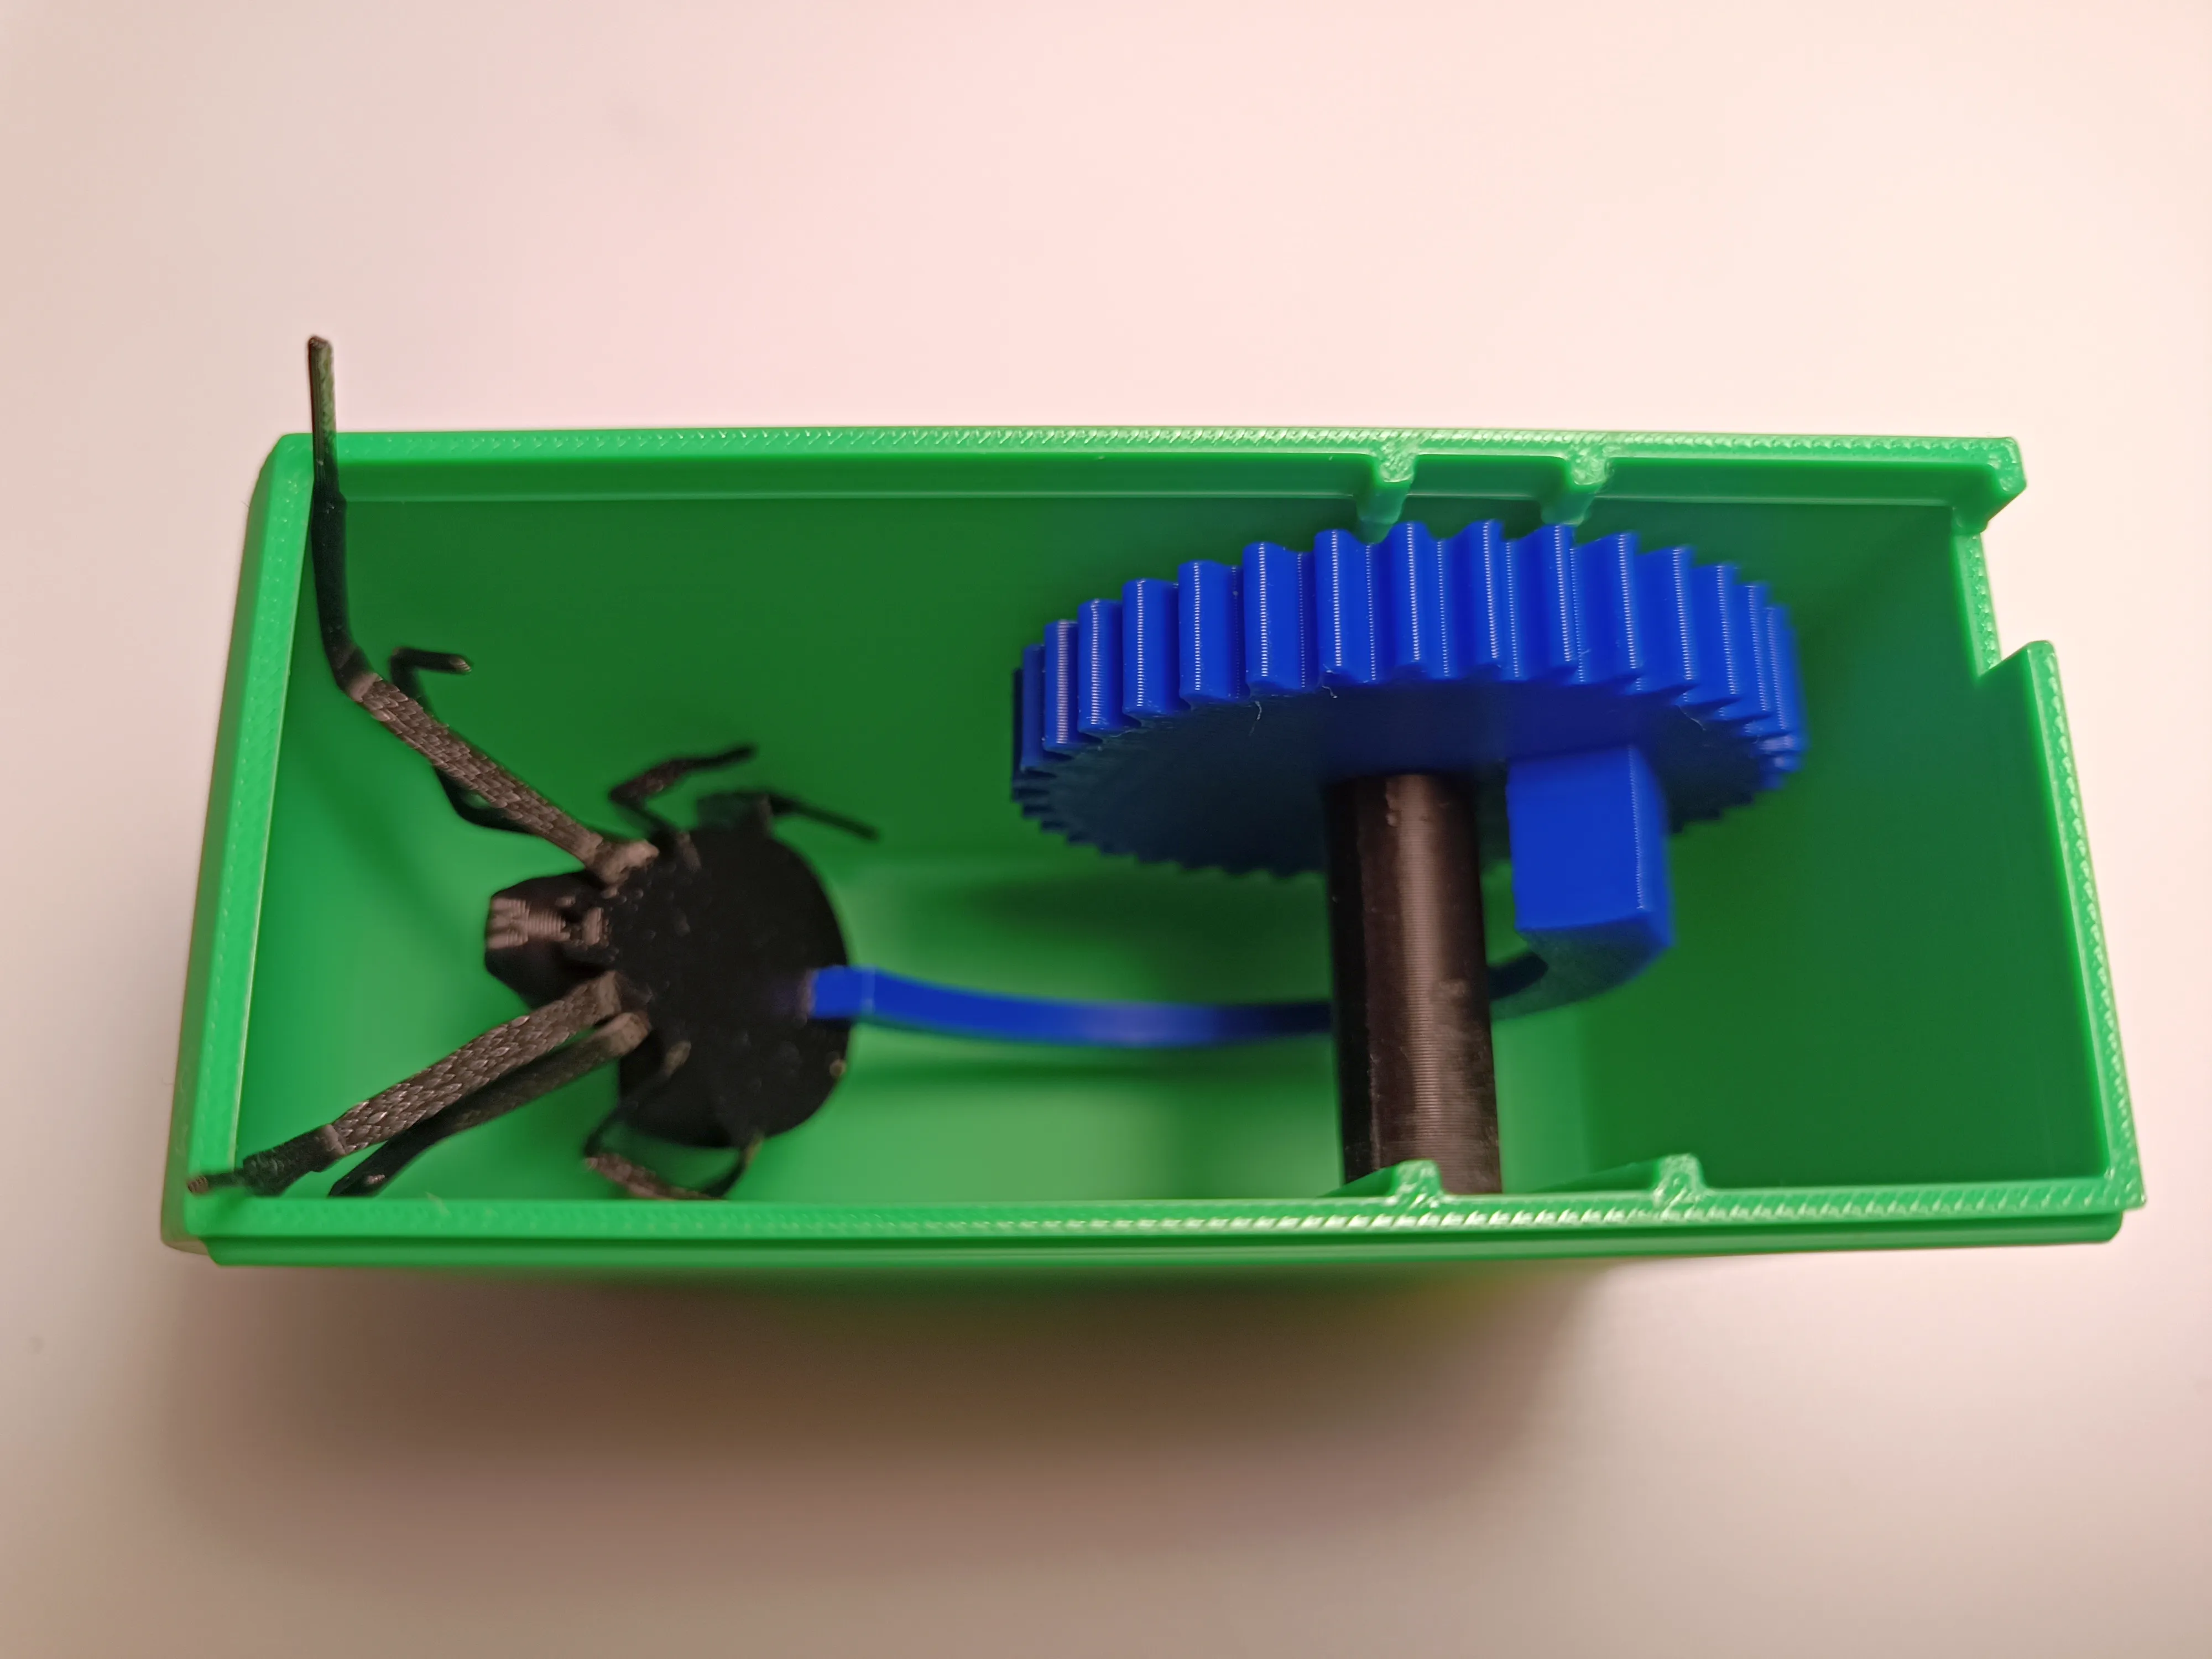
Bring the spider into a horizontal position and slide the lid:
(If the lid doesn't slide all the way, try bringing the spider closer to it before sliding)
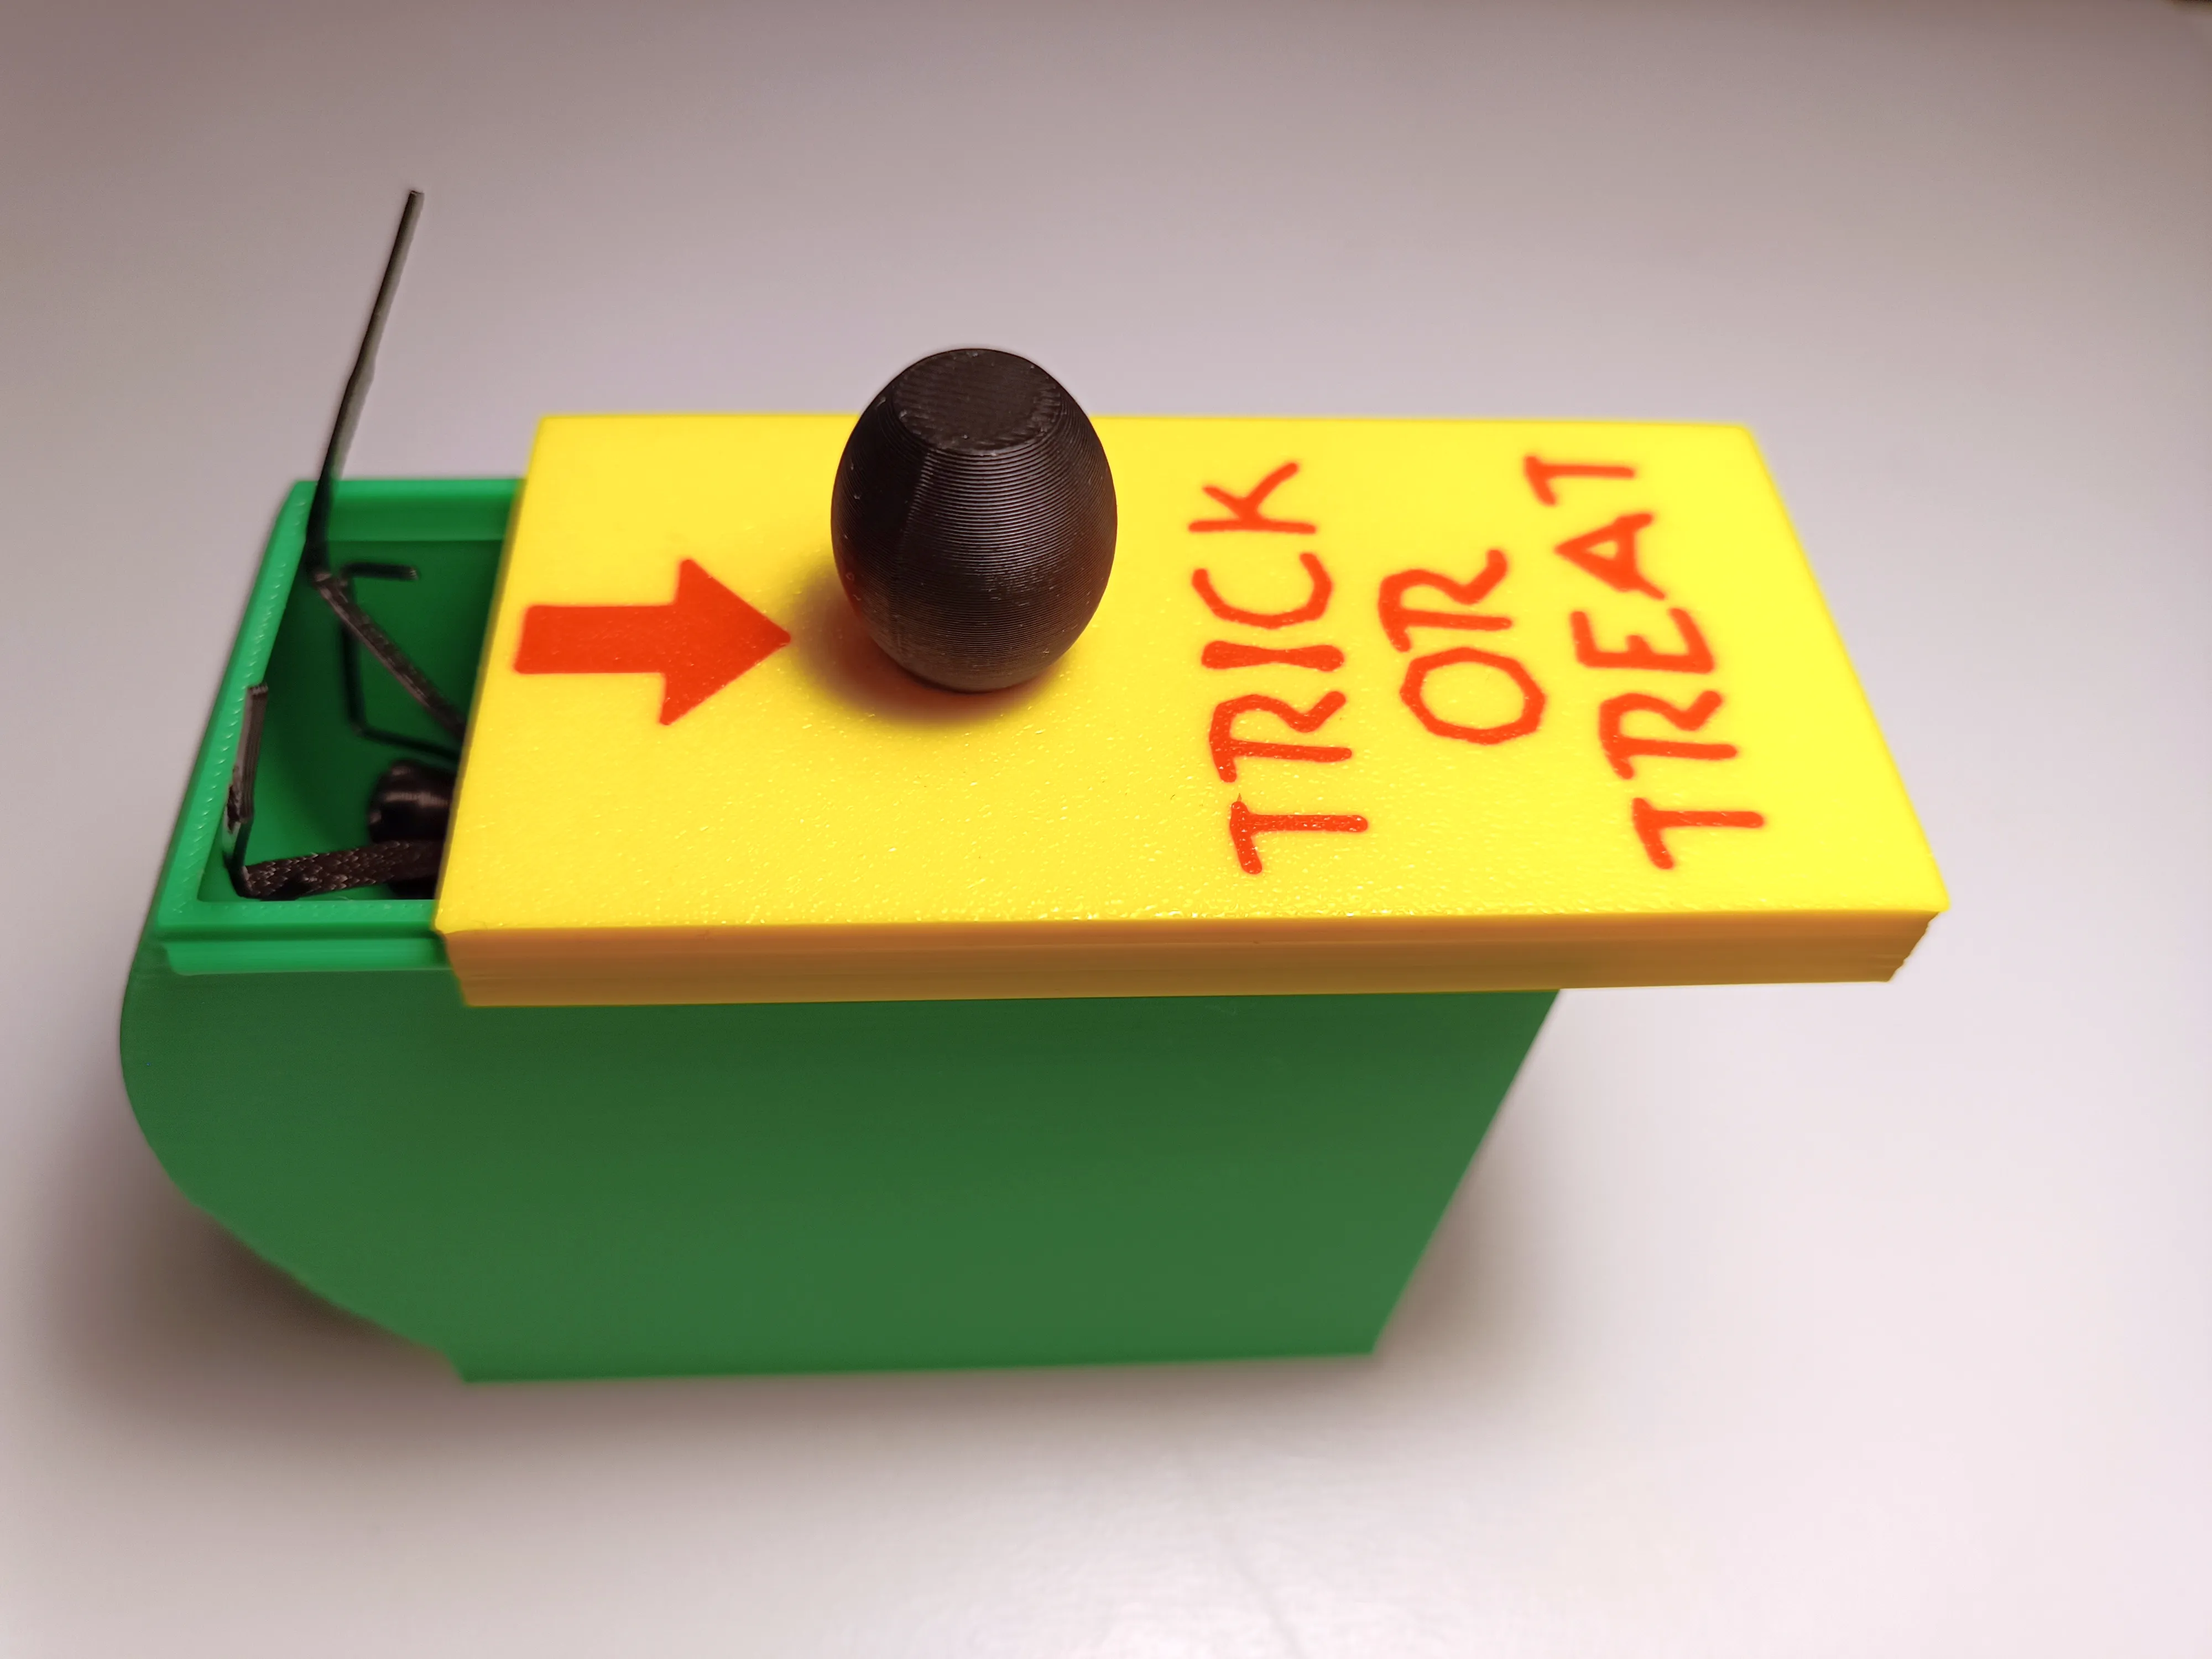
Place the knob on the lid:
Use double-sided tape to stick a candy on the spider:
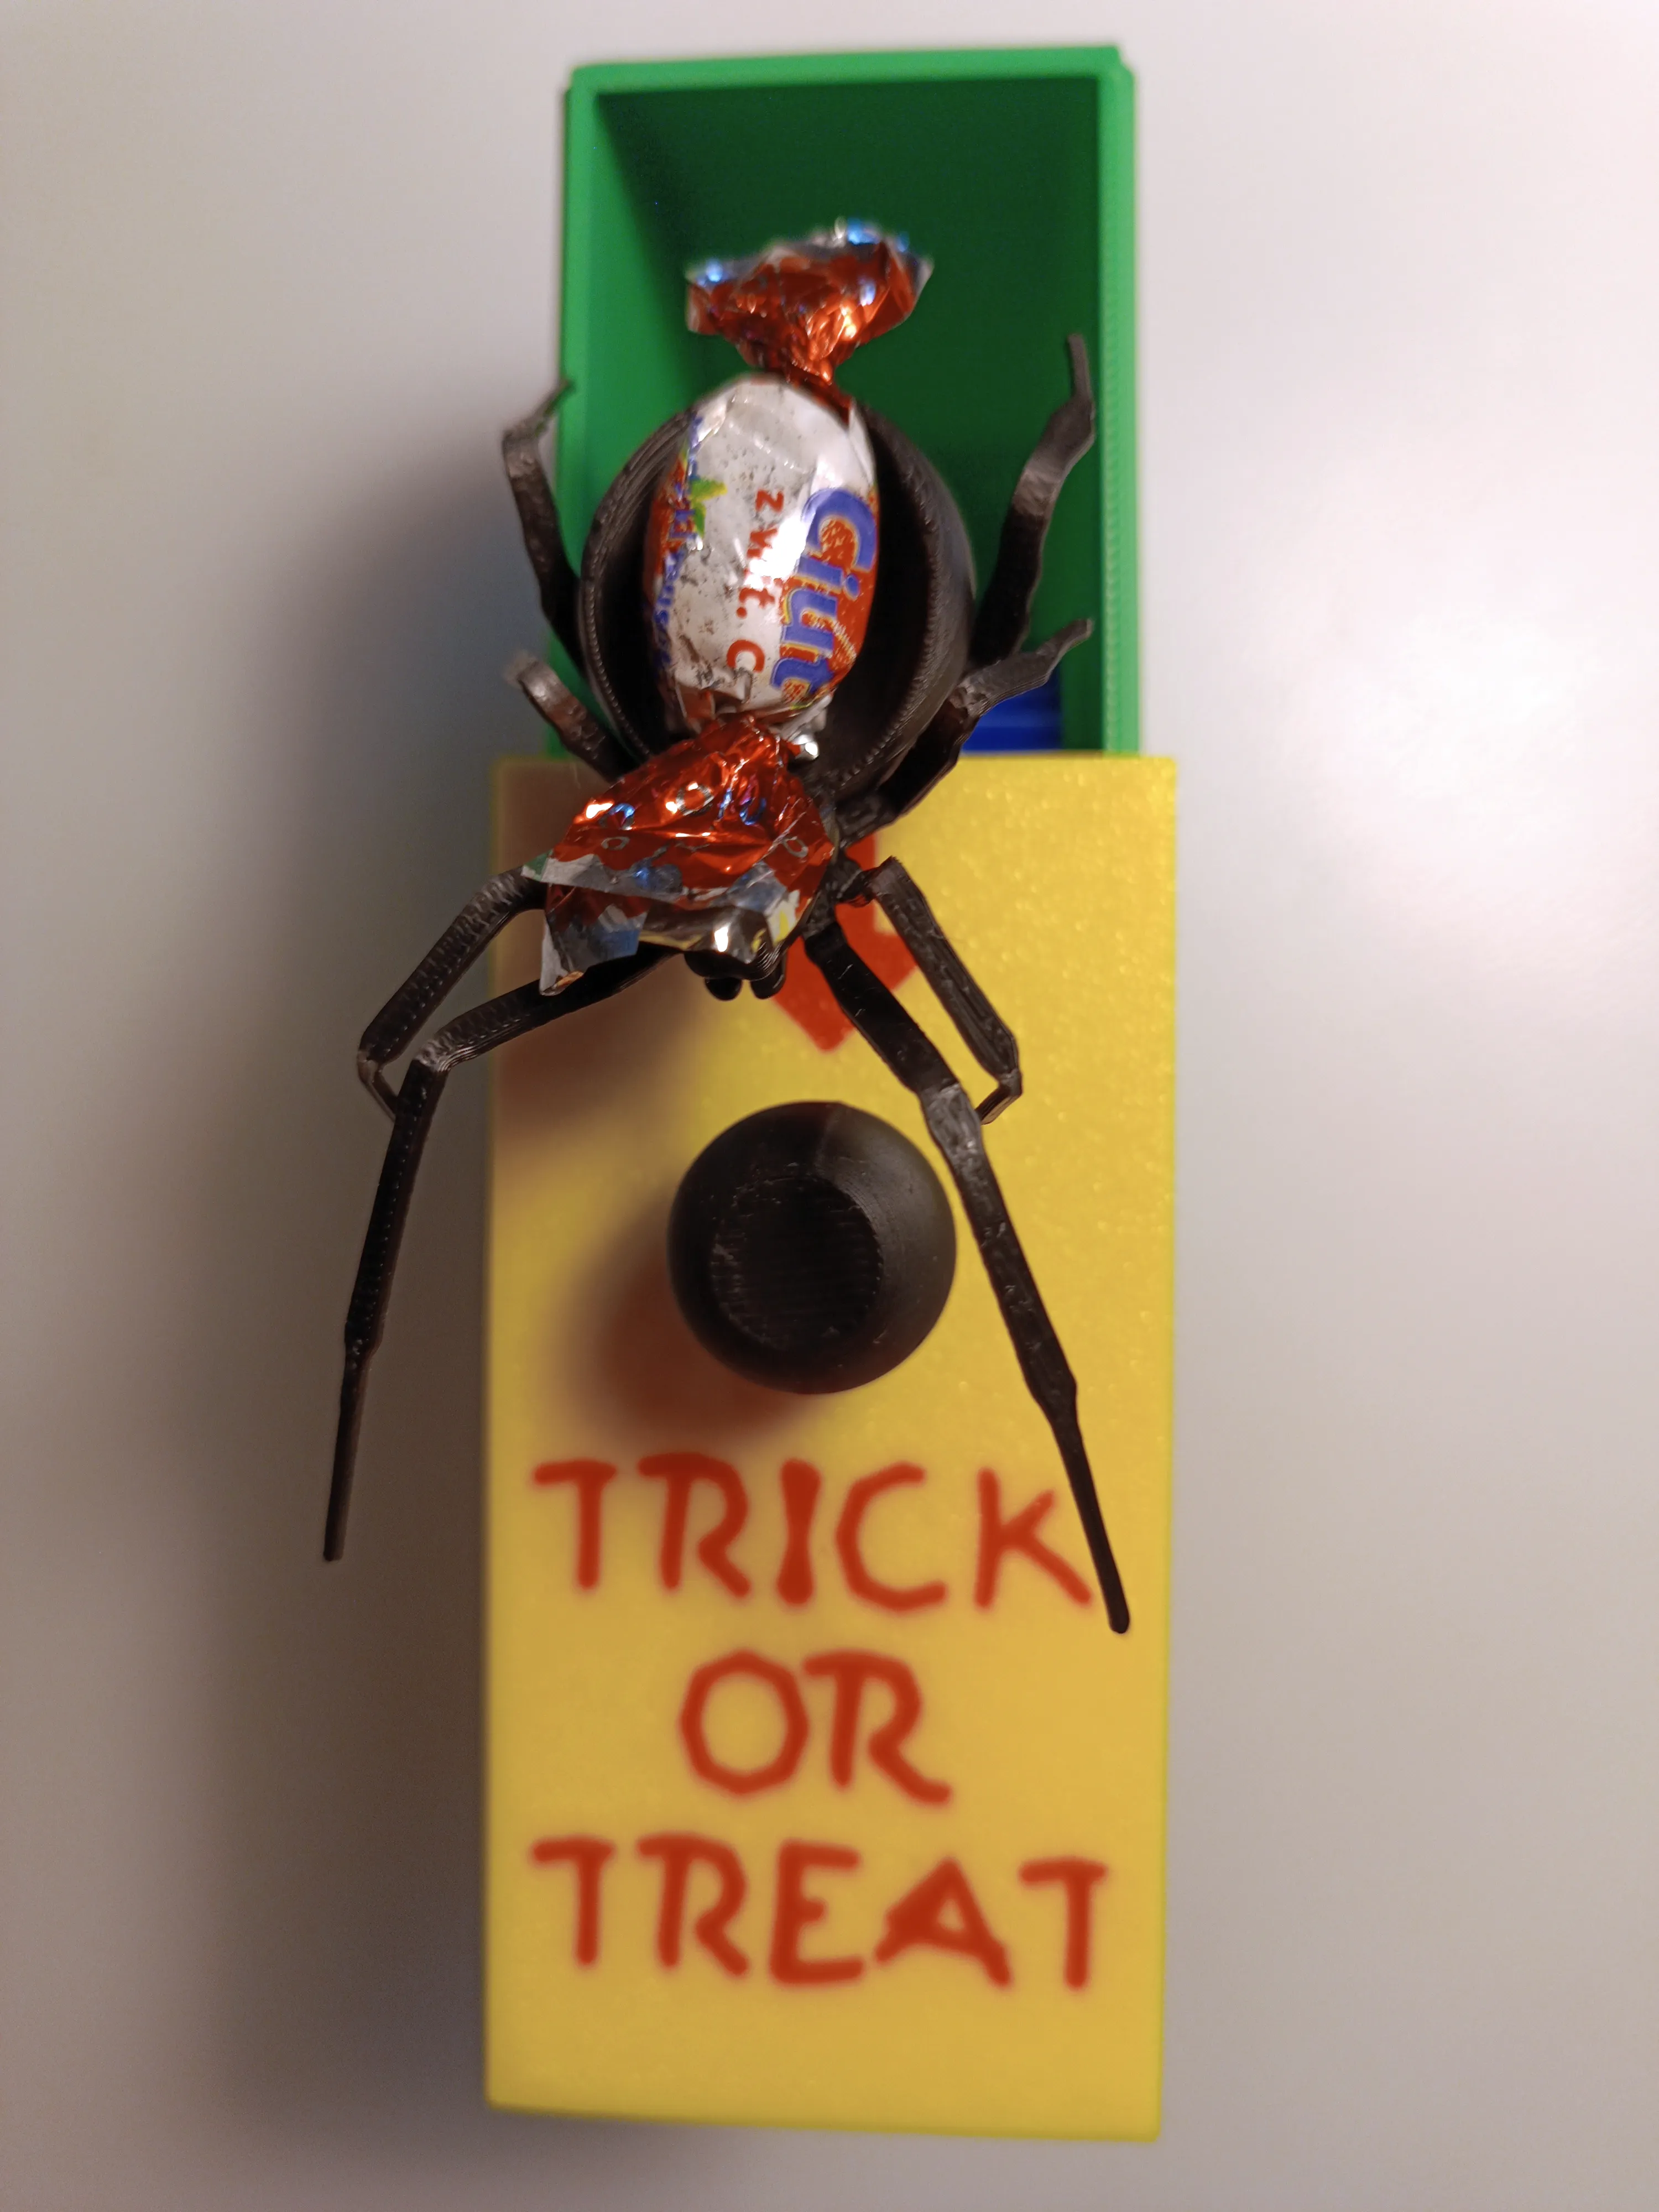
- Happy Halloween! 🕷️🍬😱
Boost Me (for free)
Or follow me to keep up with what's new!
License

You shall not share, sub-license, sell, rent, host, transfer, or distribute in any way the digital or 3D printed versions of this object, nor any other derivative work of this object in its digital or physical format (including - but not limited to - remixes of this object, and hosting on other digital platforms). The objects may not be used without permission in any way whatsoever in which you charge money, or collect fees.


Comment & Rating (741)