
Lens covers - 46, 49 and 62 mm
Print Profile(6)


Description
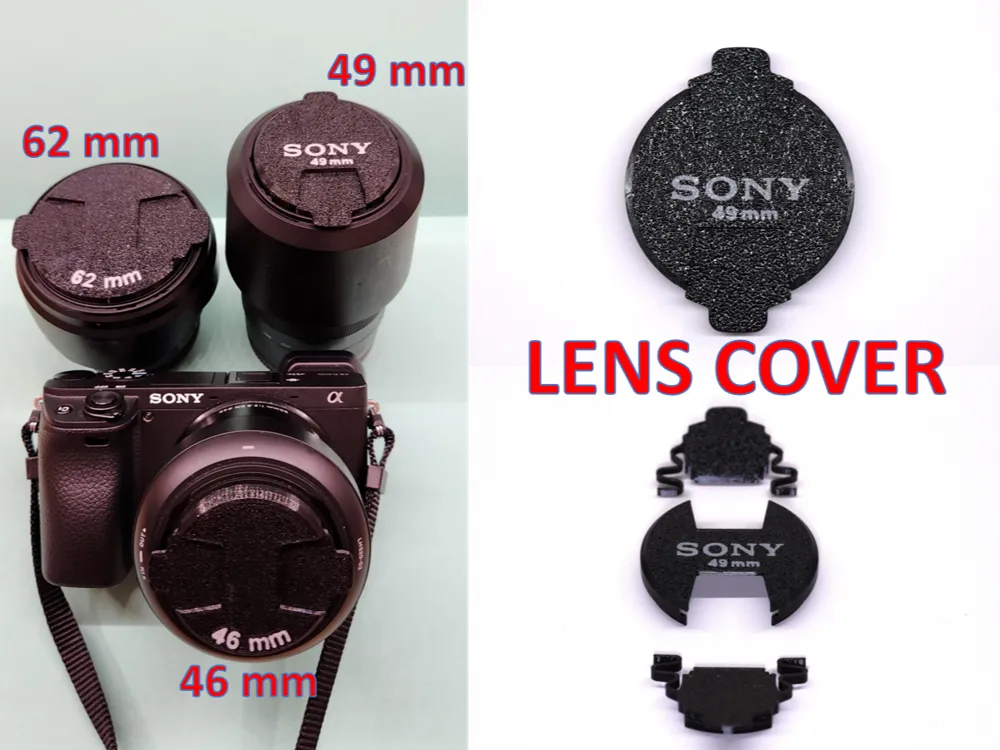
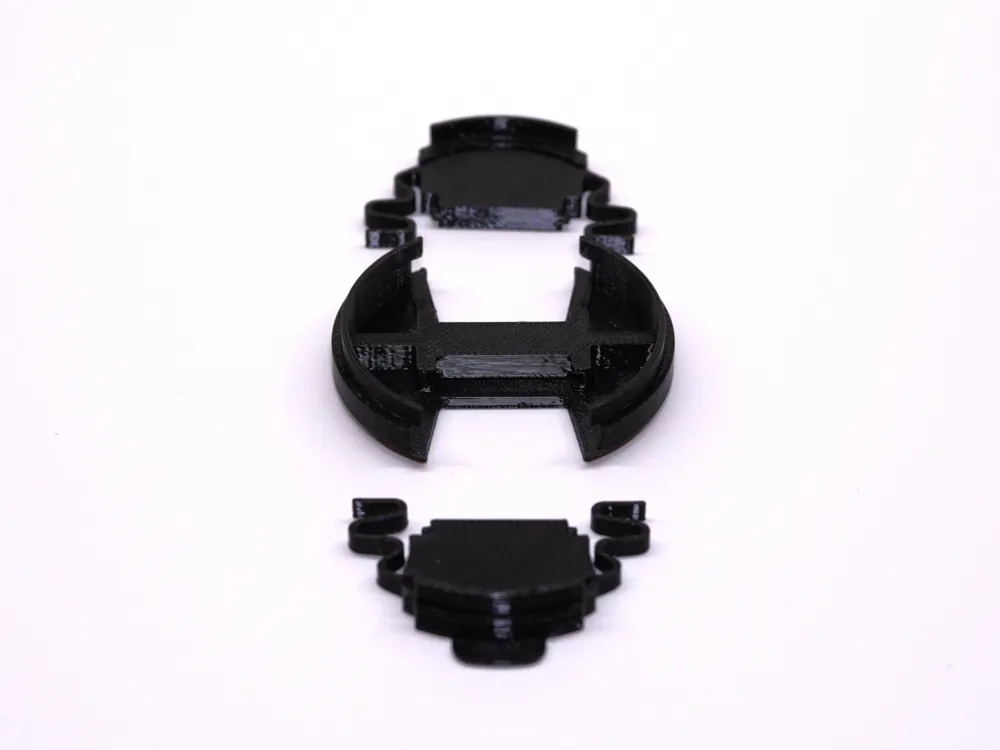
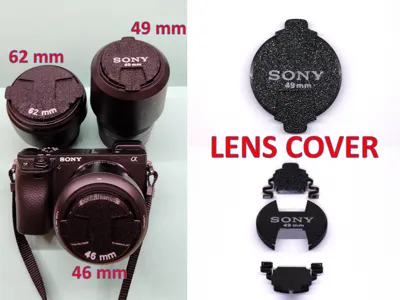
My original Sony 49 mm lens cover broke. The plastic spring elements cracked due to fatigue. I searched for a suitable 3D model but could not find any that really worked by gripping the lens nicely and at the same time not allowing dust to enter. So I decided to design my own.
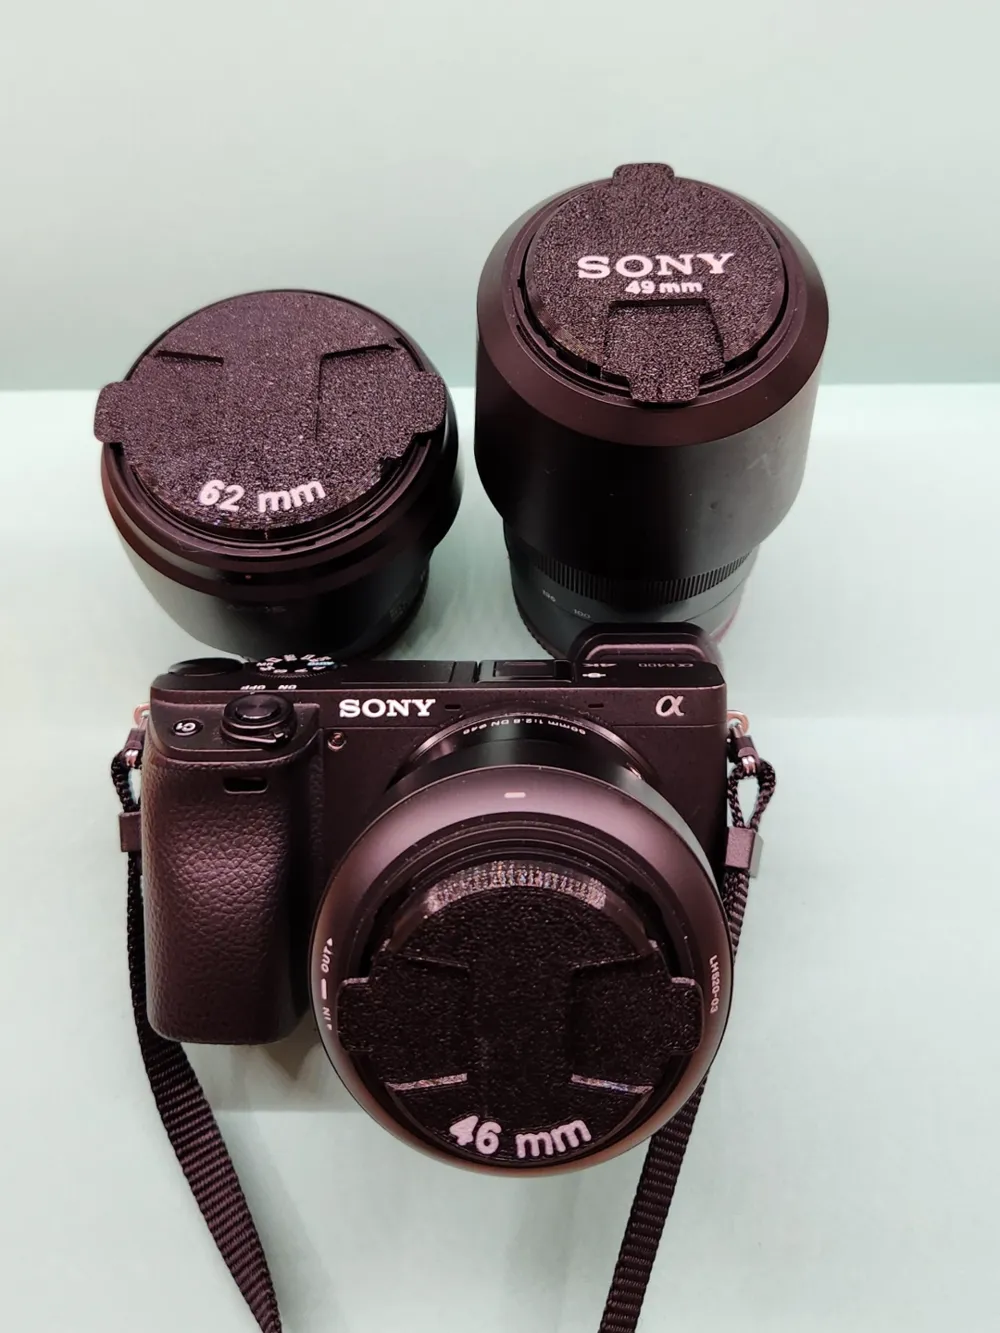
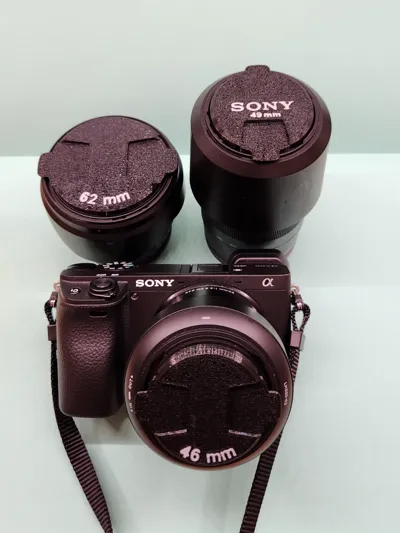
So far I have created three cover models for three lens diameters: 46 mm, 49mm and 62mm. If you need other diameters just let me know with a comment and I will create that for you.
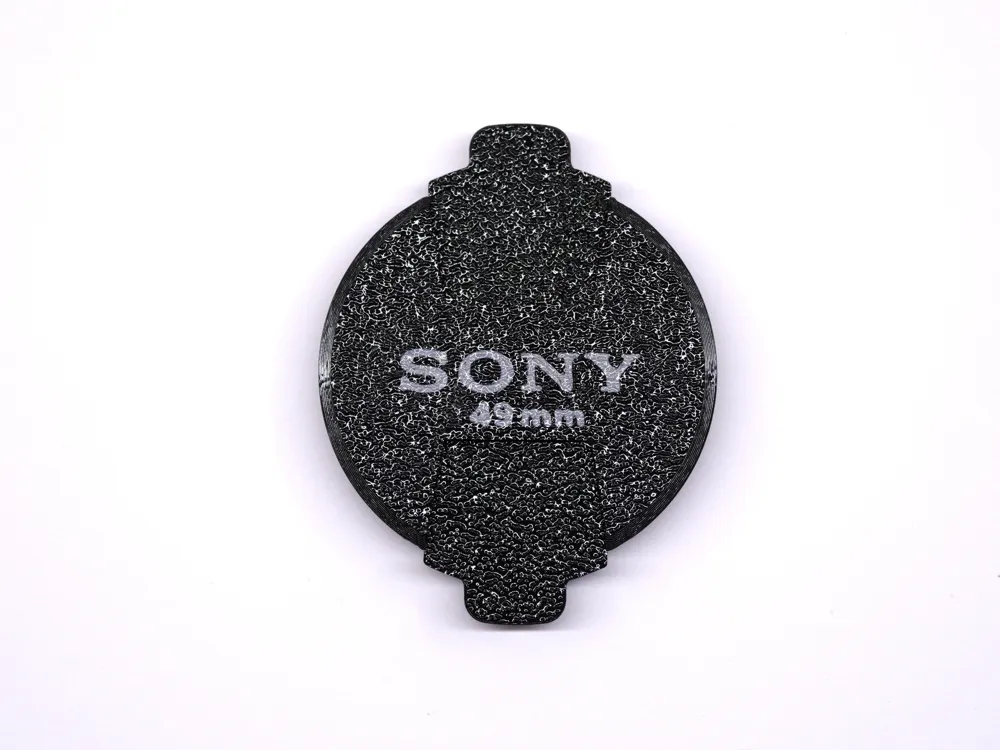
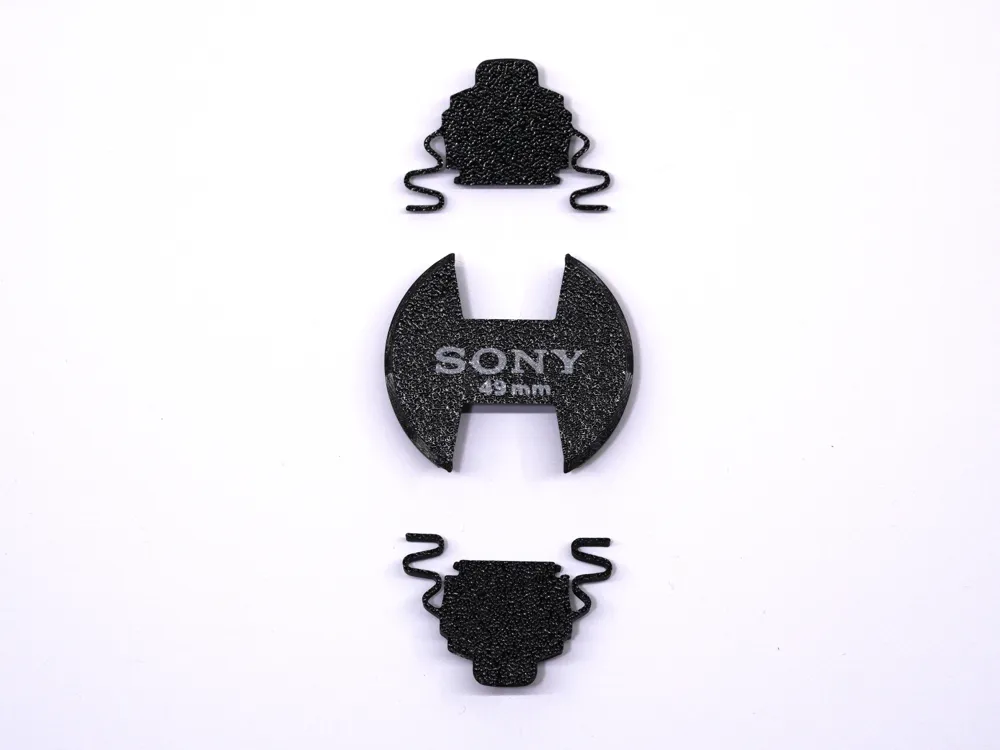
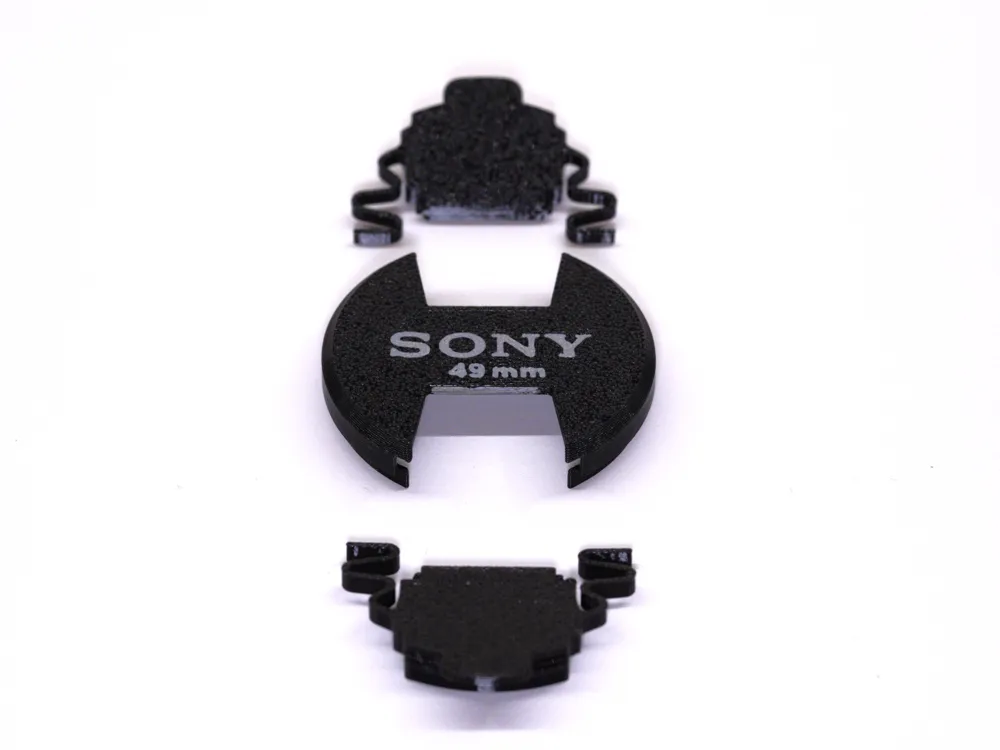
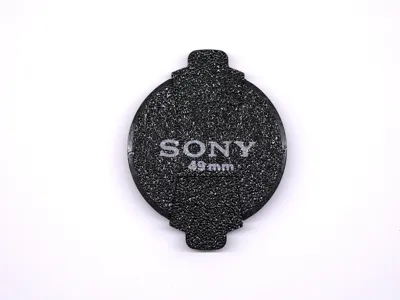
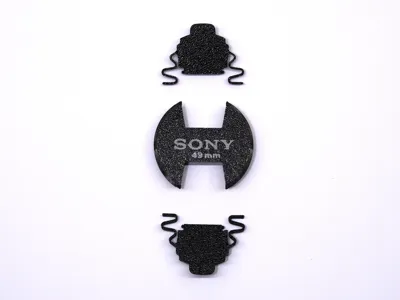
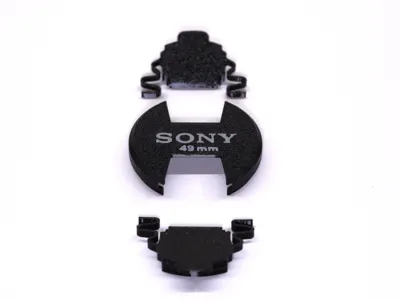
I have attached two types of print profiles. With and without markings (diameter or brand logo). The markings require printing with multiple colors so an AMS is highly recommended. Printing the profiles without markings does not require an AMS, of course.
Materia recommendation:
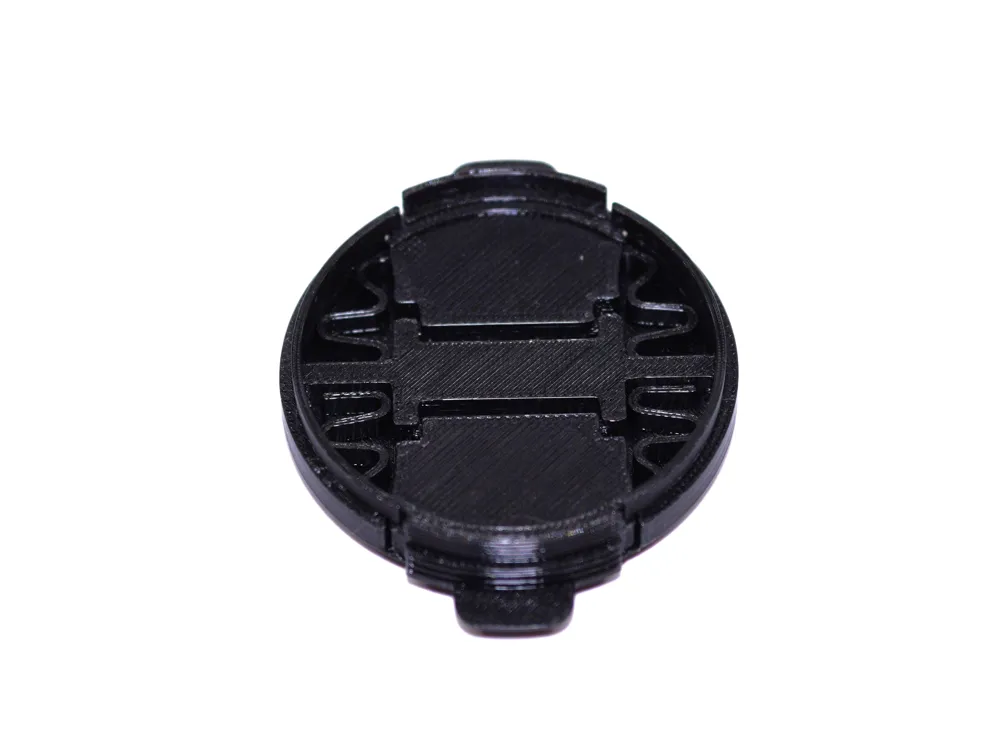
You should use PETG for higher temperature resistance and the required flexibility for the spring elements to function properly. PLA is not recommended as the spring elements of the slides will deform permanently after the first assembly and will not be able to provide enough retaining force.
Orientation and supports:
The print profiles I have attached include everything that is needed to print the parts correctly, smooth assembly and operation. You should use the recommended orientation. Also. I have painted the required supports exactly where they should be used.
Potential issues:
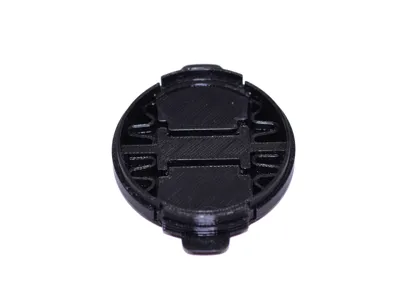
The sliders have two pins that slide inside the main cover. I have painted supports to make sure they are dimensionally correct. It can happen that the pins are printed slightly bigger or with rough edges and this can lead to rough sliding. If that is the case you can clean / adjust them with a sharp cutting tool.
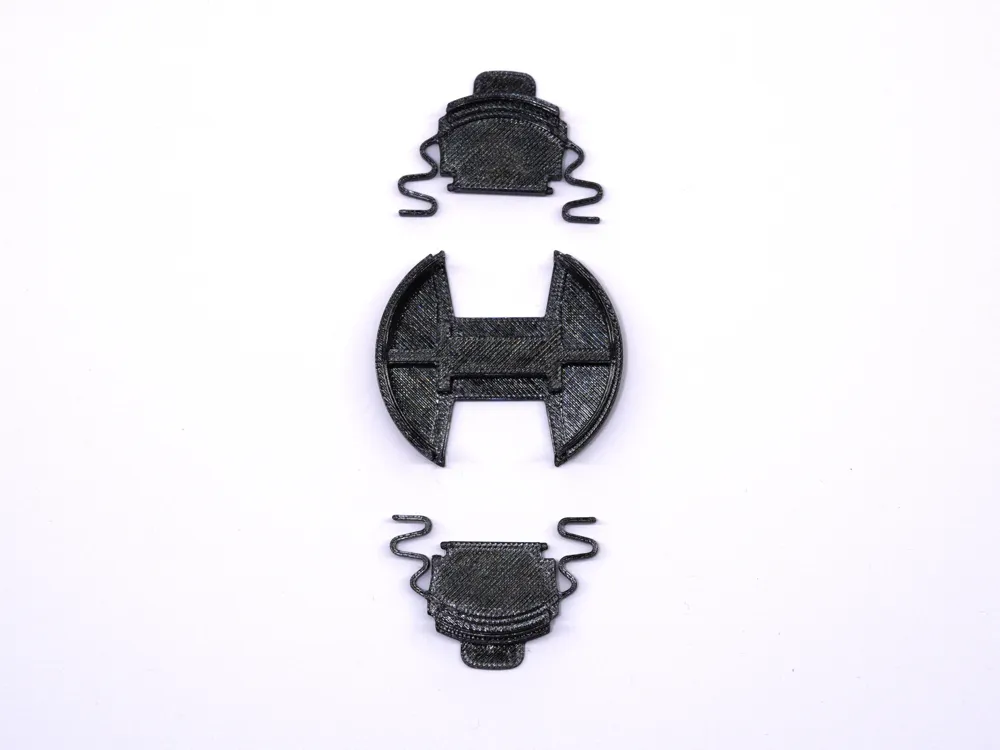
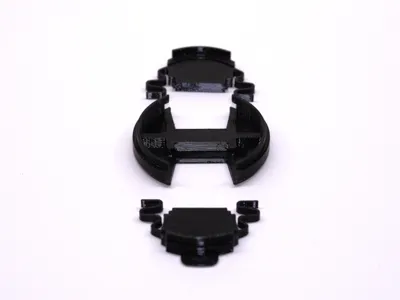
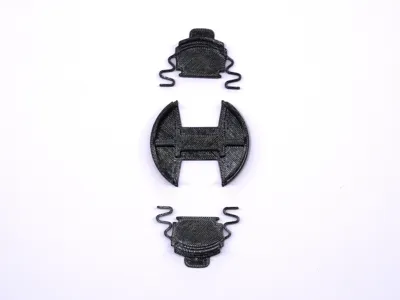
The lens cover requires minimal assembly of three parts. The two sliders need to be assembled onto the main_cover.
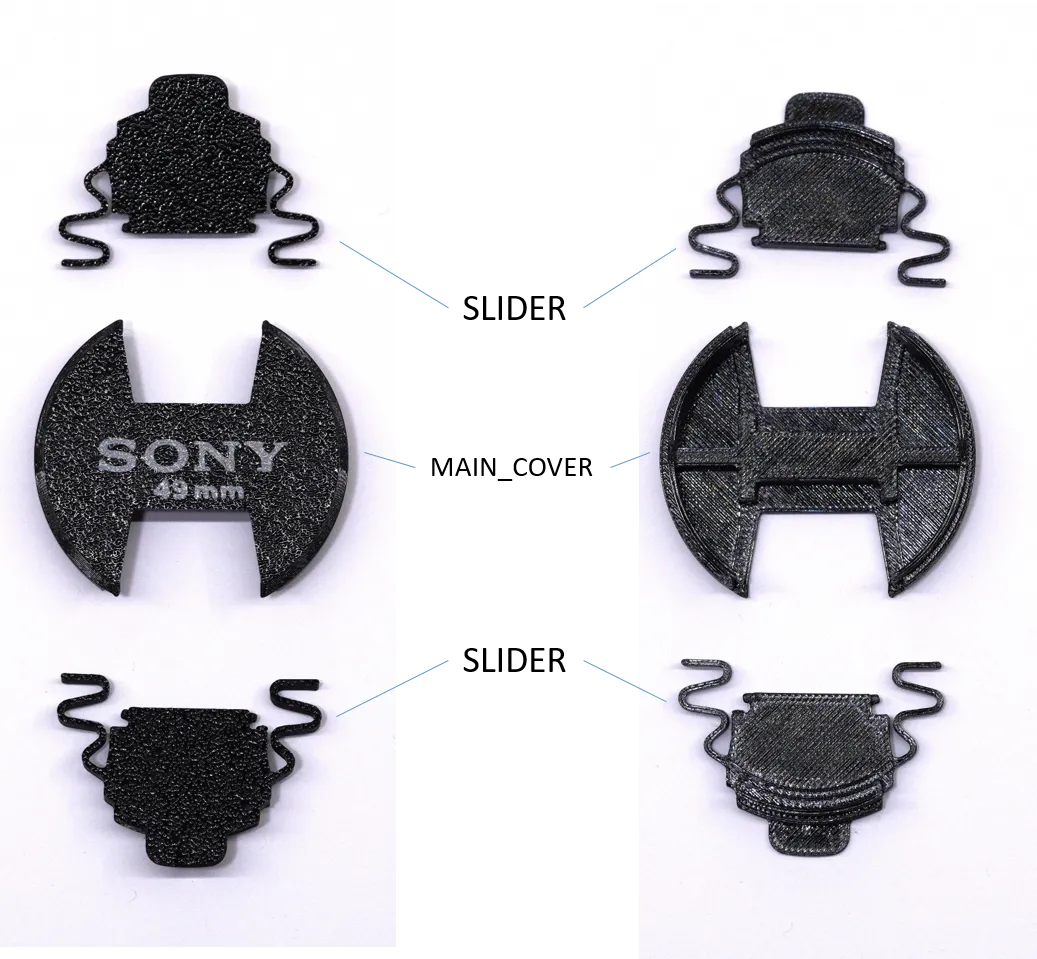

You can watch this video showcasing the assembly process.

You can also watch how the 3D printed cover fits onto the SONY 55-210 lens.
License

You shall not share, sub-license, sell, rent, host, transfer, or distribute in any way the digital or 3D printed versions of this object, nor any other derivative work of this object in its digital or physical format (including - but not limited to - remixes of this object, and hosting on other digital platforms). The objects may not be used without permission in any way whatsoever in which you charge money, or collect fees.


Comment & Rating (8)