Forged Carbon Fiber Golf Putter & Mold


Print Profile(1)

Description
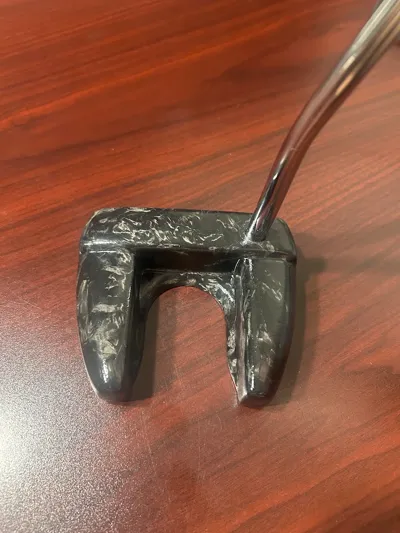
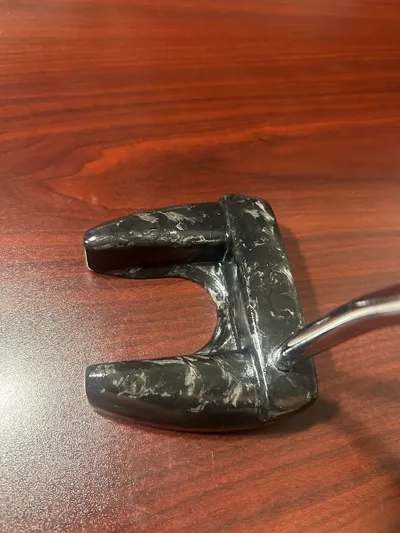
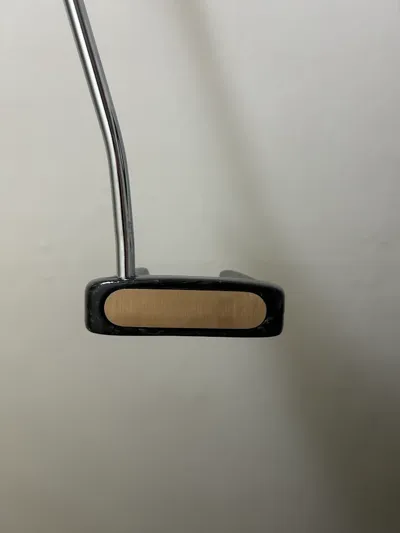
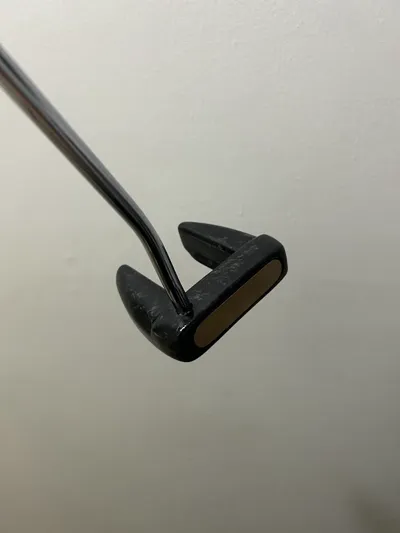
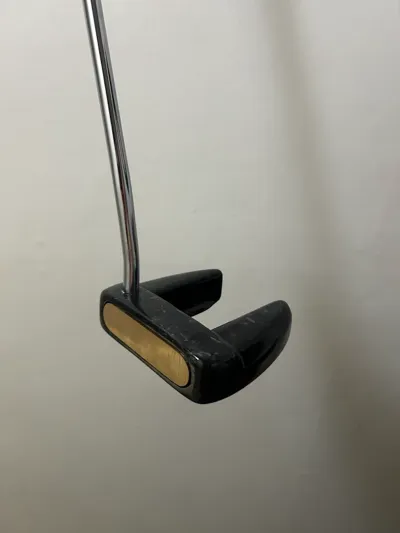
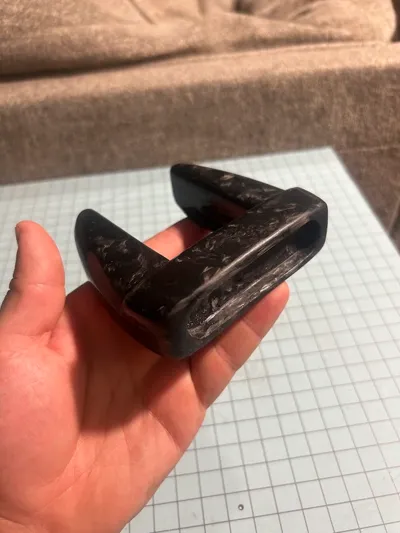
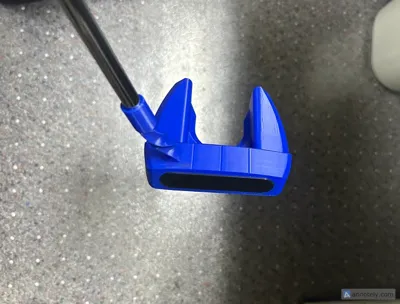
This is my custom Forged Carbon Fiber Golf Putter. It’s made from chopped carbon fiber and epoxy. Yes, I’m lefthanded, sorry. But I made everything in RH too for all you RH golfers out there, so you’re welcome.
Everything related to the 3D printing aspect of this project is all included on the (1) Bambu 3mf project I uploaded. I have everything split up on the appropriately labeled beds.
Below I have laid out all the steps and information needed to complete this project. This took me months to finish (mostly from procrastination) but the results are absolutely amazing. If you have any questions, feel free to leave a comment.
Here is a link for more pictures of the process. Also in that link there is an excel file where I did the math for the Carbon Fiber/Resin ratios.
Designing the putter and mold:
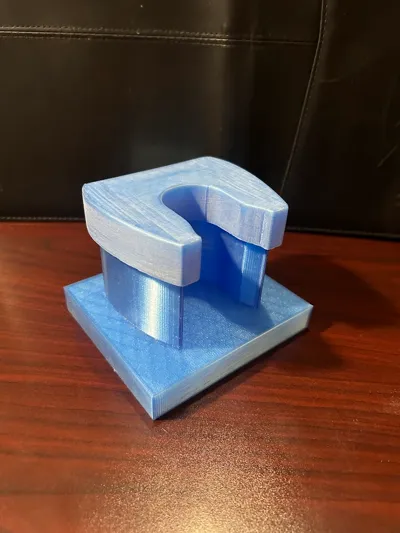
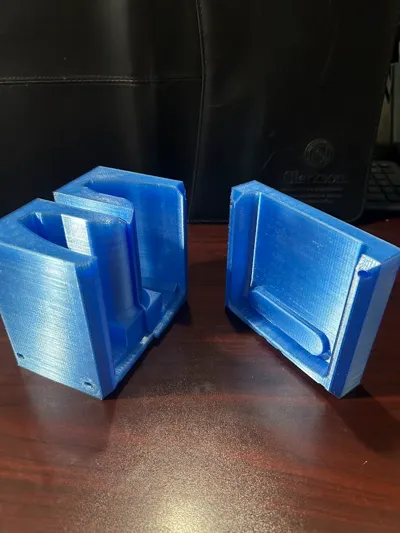
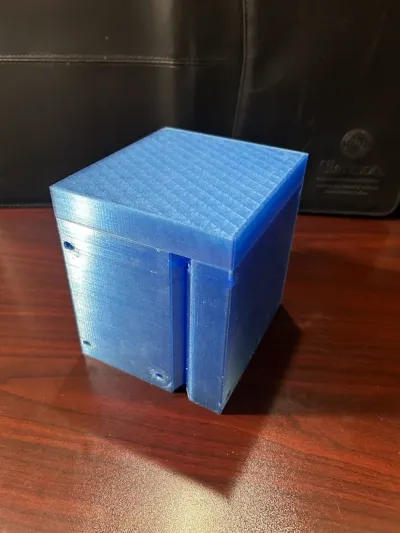
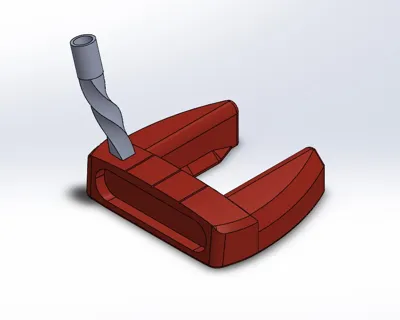
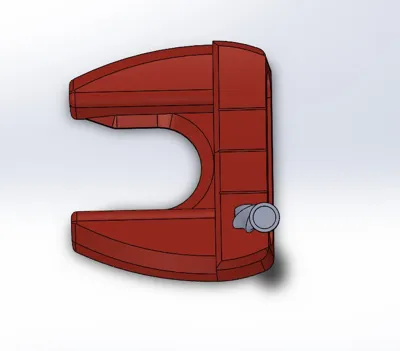
The first step for this project was to design a putter. I used Autodesk Inventor/Solidworks, and I went through a few different iterations (38 to be exact) until I had a design that I really liked. I 3D printed the putter for fit, form, and function and it came out exactly how I wanted. From there, I used Autodesk Fusion to create a mold of the putter. The mold was 3D printed out of transparent PETG.
Forging the Carbon fiber:
The forging process is quite intimidating but not that hard. I did this project by following the tutorial for the “Forged Carbon Mold design” from Easycomposites (link below). In the video the person was making a carbon fiber chassis for a drone, so it was a little different than my project here. There were a few things I needed to change such as the location of the parting lines, number of pieces of the mold, etc. One thing that I did think was very important was when the putter comes out of the mold it will likely not have a perfect surface finish. So before I sealed the surface, so I did a flood coat of the epoxy where I poured the epoxy over the putter after it was all sanded to help fill in any holes that were left. And finally, I used Minwax Polycrylic Topcoat to seal the surface.
https://www.easycomposites.co.uk/learning/forged-carbon-mould-design-and-optimisation
Making the “strike face”:
The strike face was made from a piece of brass. To fit in the slot on the putter, it needed to be about ¼” thick. I milled the brass to be about the correct shape and size. I 3D printed the proper size strike face from PLA and used a very small amount of glue to secure it to the piece of brass to use as a template on the belt sander to perfectly shape it to fit in the slot. Once the brass fit in the slot to my liking, with slight pressure I popped the PLA off the brass. Lastly, I glued the brass in the slot using a small amount of epoxy.
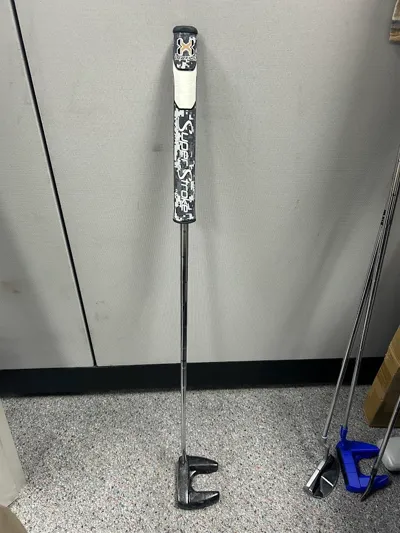
Connecting the Shaft:
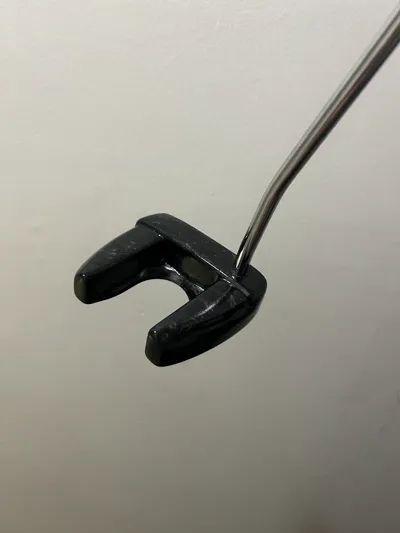
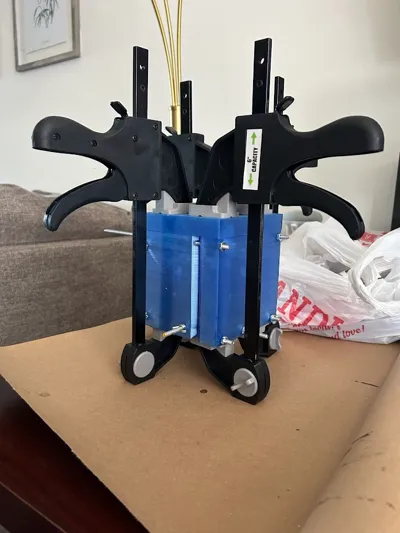
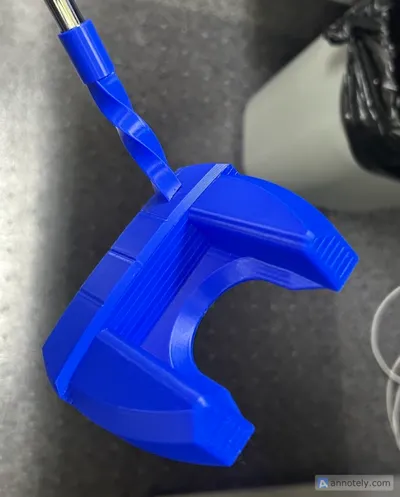
The last part of this project is connecting the shaft to the putter. To connect the shaft, I 3D printed a little drill jig (don’t have pics of when I actually drilled so I just put my other 3D printed putter in to show how it works) to hold the putter while drilling the hole for the shaft. The putter slides into the jig, and the jig front is clamped onto the jig laying out exactly where the hole needs to be drilled. The hole should be ½” deep and the shaft diameter is .370” at the bottom so I used a 3/8” (.375”) drill bit and that seemed to be perfect. After drilling, I used epoxy and again used the drill jig to perfectly hold the shaft at the proper angle while the epoxy cures. Once cured, take the jig apart and you now have a completed putter.
Additional information? Hosel?
More information here. There are a few options for putter configurations. Some putters have bent shafts, and some putters have a straight shaft with a “Hosel” instead. The hosel is the twisted pretzel-lookin piece on the 3D printed putter and that was part of the original design, but it is too small to forge in the carbon fiber and wasn’t strong enough as a 3D print (even using PA6-CF). So, because of this I just opted for the double bent shaft disregarded the hosel in my final design. I did however include it here because it’s cool and that’s really the only reason. If you are just 3D printing the putter and not making the forged carbon fiber one, the hosel works great. What I really should have done is gotten the hosel machined out of brass an then it would have matched the strike face and that would have looked really nice.
License
You shall not share, sub-license, sell, rent, host, transfer, or distribute in any way the digital or 3D printed versions of this object, nor any other derivative work of this object in its digital or physical format (including - but not limited to - remixes of this object, and hosting on other digital platforms). The objects may not be used without permission in any way whatsoever in which you charge money, or collect fees.
Comment & Rating (12)