SB Brace Cheek Riser


Print Profile(1)

Description
If you like this design please give me a thumbs/drop a comment by the download button!
If you require a custom height and are unable to modify the cheek riser yourself, you can drop me a comment and I'll see what I can do.
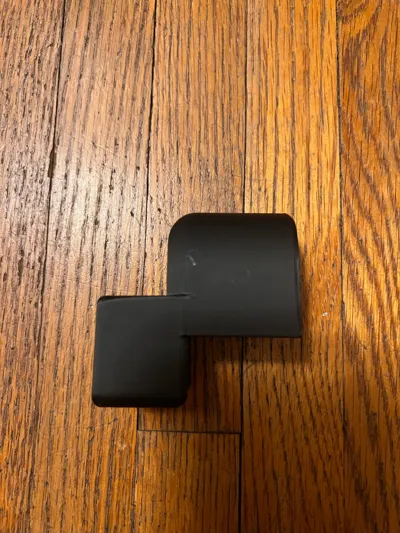
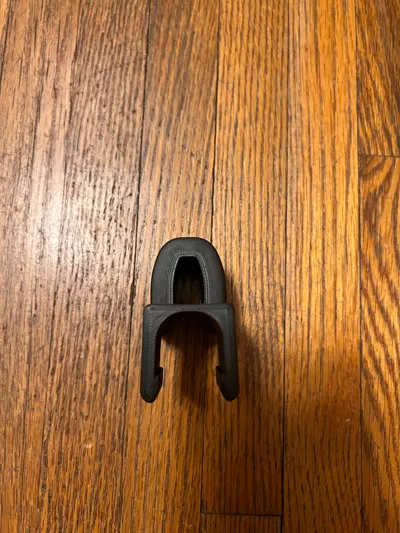
This is a cheek riser for the SB brace for the MP5 platform.
There are a lot of braces floating around out there and I thought it would be nice to design something to give braces relevance again and to help out those who don't have a lot of money to burn on fancy accessories before getting the basics taken care of.
I made this minimalist design with several goals in mind:
- Facilitate a comfortable and repeatable contact point for the cheek to rest while sighting down an optic on a riser mount.
- Allow folding of the brace without blocking the ejection port.
- Maintain the ability to use the iron sights by not protruding to high or too far rearward without having to remove the cheek riser.
- Does not interfere with the wearing of safety glasses or hearing protection.
- Be as lightweight and snag free as possible while also being sturdy enough to take abuse.
- Require no hardware to attach or remove when mounting on the brace.
Why would you want to mount a cheek riser your brace?
Optics often have to be mounted in a way that blocks the iron sights from being used. A work around that keeps the irons usable is placing the optic on a riser, however that comes with the downside of not being able to put your cheek against the brace because of the added height. Not having your cheek against the brace when sighting through an optic allows the everything to move while your head stays more or less still, this leads to loss of your point of aim, slowing down your rate of fire and decreasing accuracy.
By adding a cheek riser, your head moves with the platform the optic is mounted to, greatly decreasing the amount that a “dot” or "crosshairs" moves in relation to the eye. This can help stabilize aim and aid in more accurate fire.
How to print this:
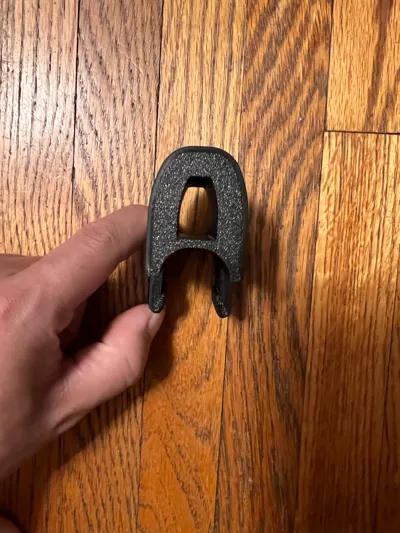
Print this item vertically with the clamping wings 90 degrees to the build surface. The optimal way to orient it is with the widest point forming an “A” shape on the build plate when seen from below. This orientation maximizes adhesion and rigidity of the clamping wings.
Print Settings:
Although all printers require different settings, I have included a print profile that works well for me using eSun PLA+.
You will be placing your face against this so don't use an abrasive filament. PLA+ is durable enough for this application.
.20mm Layer height, 4 walls, 20% infill.
Supports should be used. My settings are auto/default/30 degree threshold angle to get the cleanest print and least cleanup processing.
How to assemble:
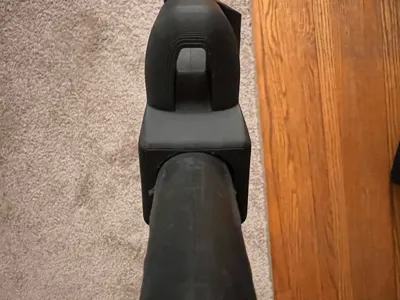
Simply press fit the Cheek Riser onto your brace at the forward most (triangular) support window until the clamping wings lock into place. Push it forward until it seats against the small angle of the window to allow you more space rearward. It will be a firm fit and may require some prying to remove should you choose to do so. This placement should allow you to use both the riser for sighting with your optic by placing your cheek against it, and also allow you to pull your head back far enough to place your cheek on the brace itself to use the iron sights.
License
You shall not share, sub-license, sell, rent, host, transfer, or distribute in any way the digital or 3D printed versions of this object, nor any other derivative work of this object in its digital or physical format (including - but not limited to - remixes of this object, and hosting on other digital platforms). The objects may not be used without permission in any way whatsoever in which you charge money, or collect fees.
Comment & Rating (4)