
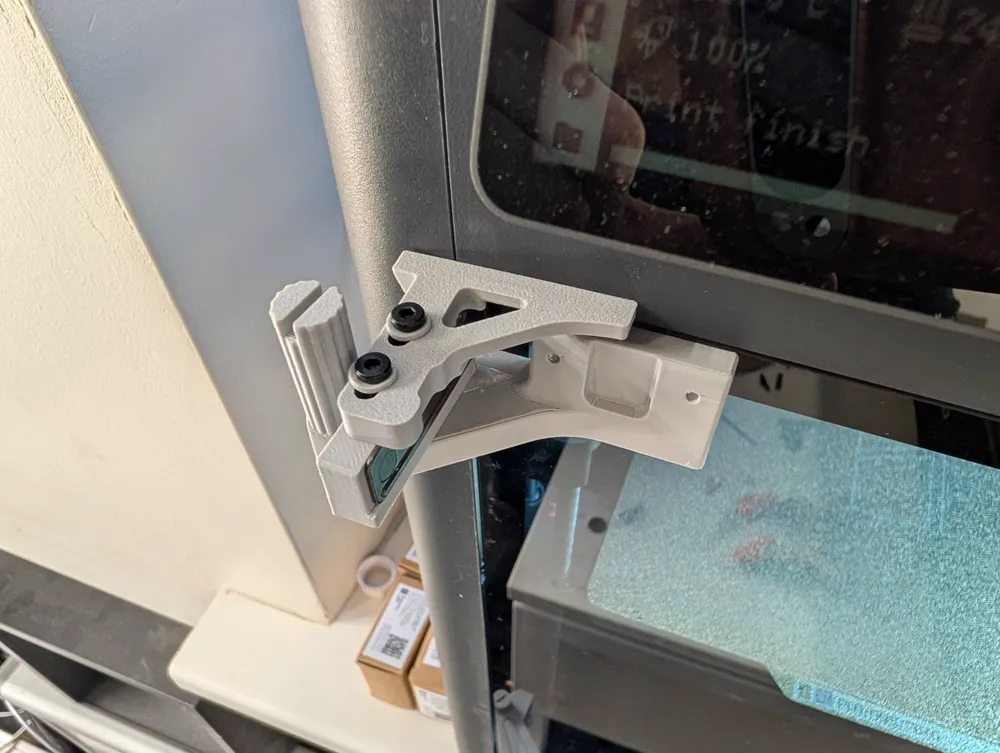
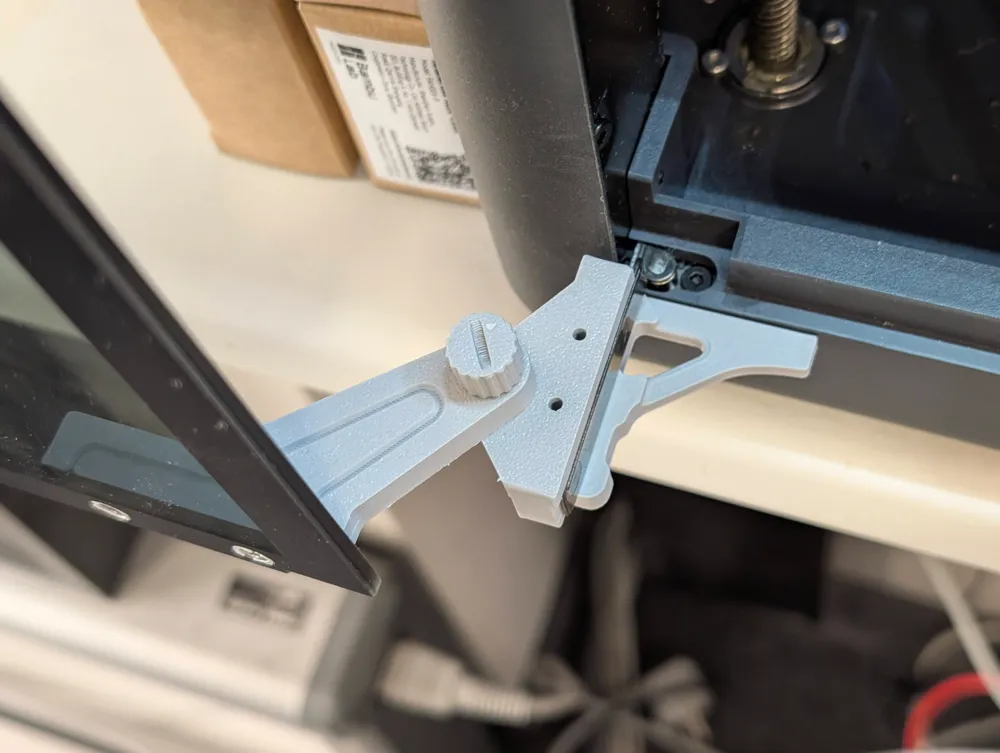
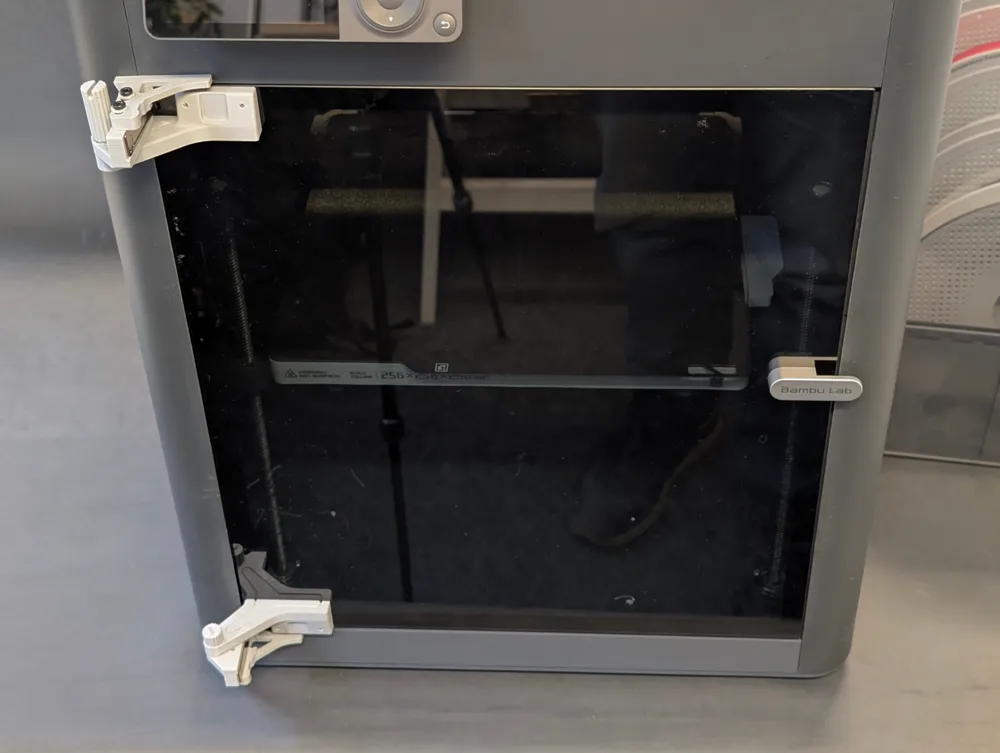
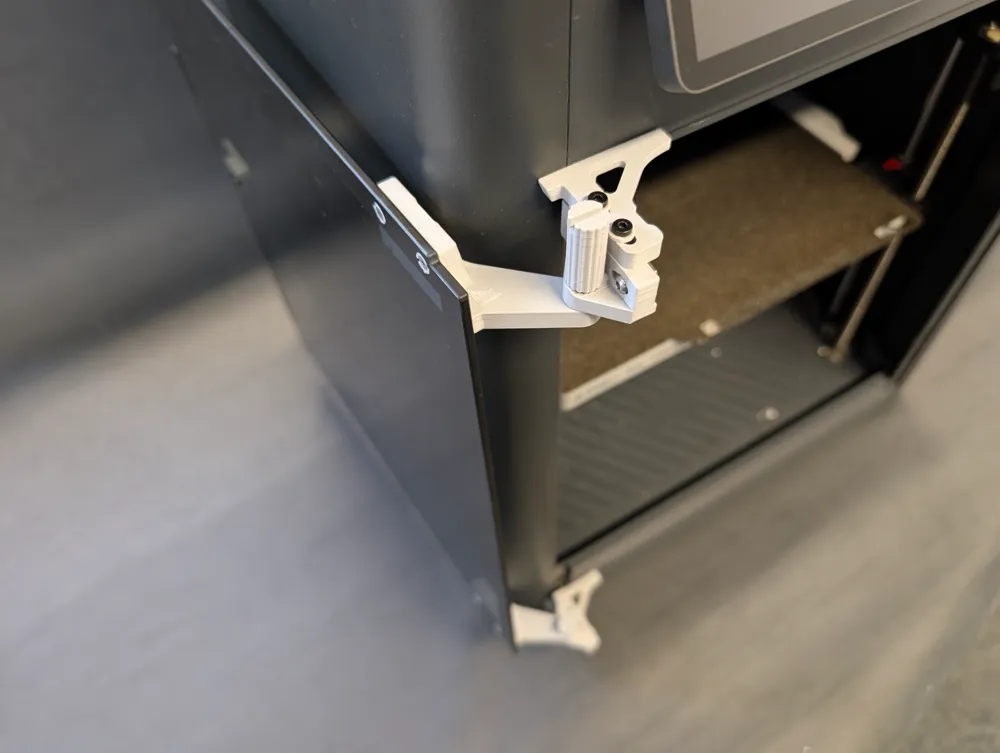
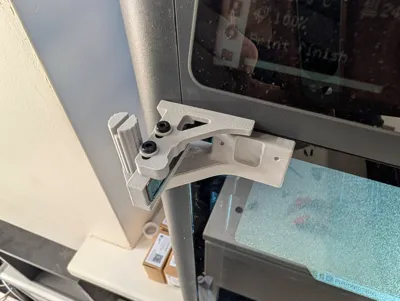
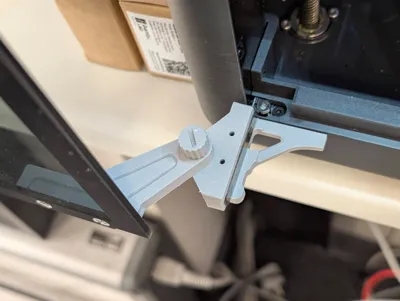
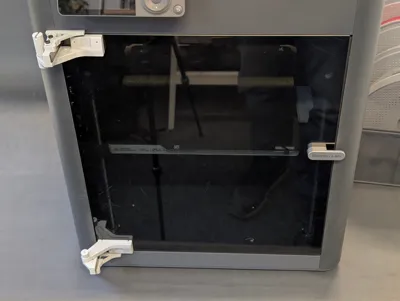
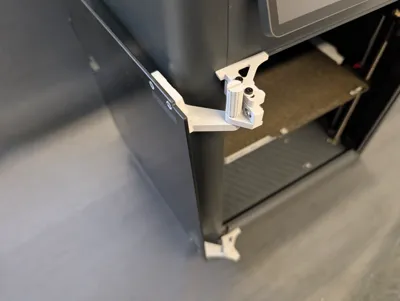
P1S/X1 Door hinge 180/270° - V3 adjustable
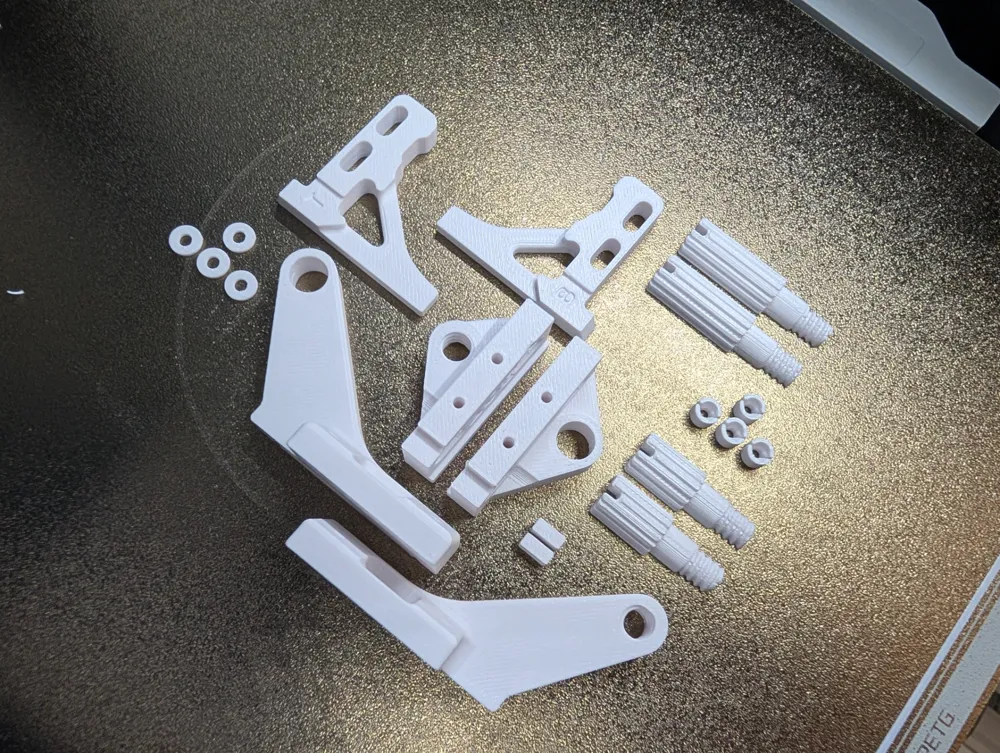

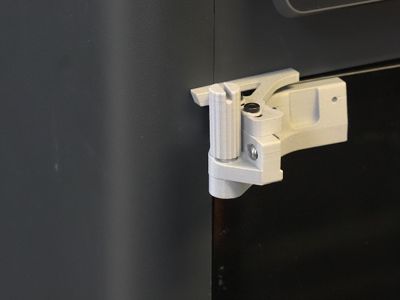
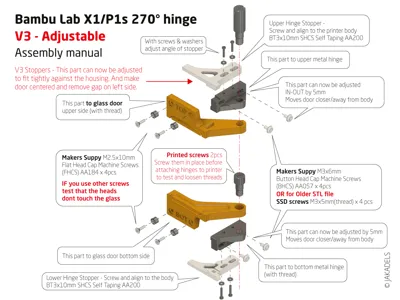
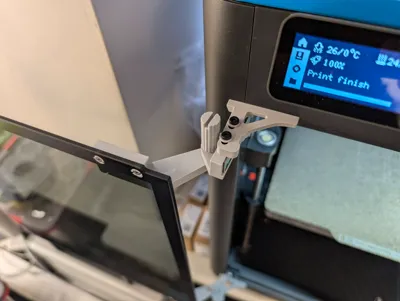
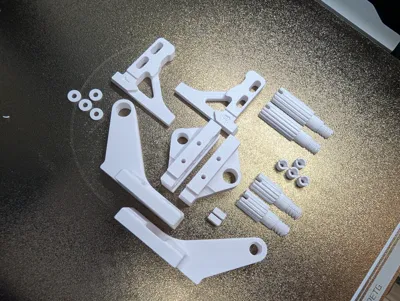
Print Profile(3)



Bill of Materials

Description
Membership
Print & sell my models with this small monthly membership payment.
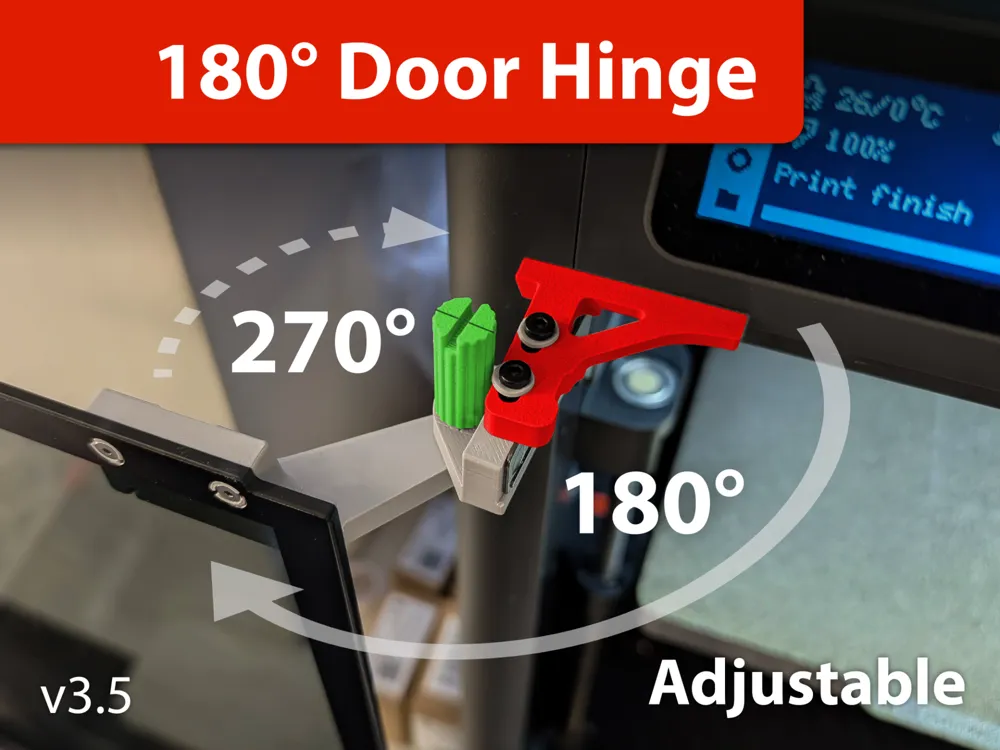

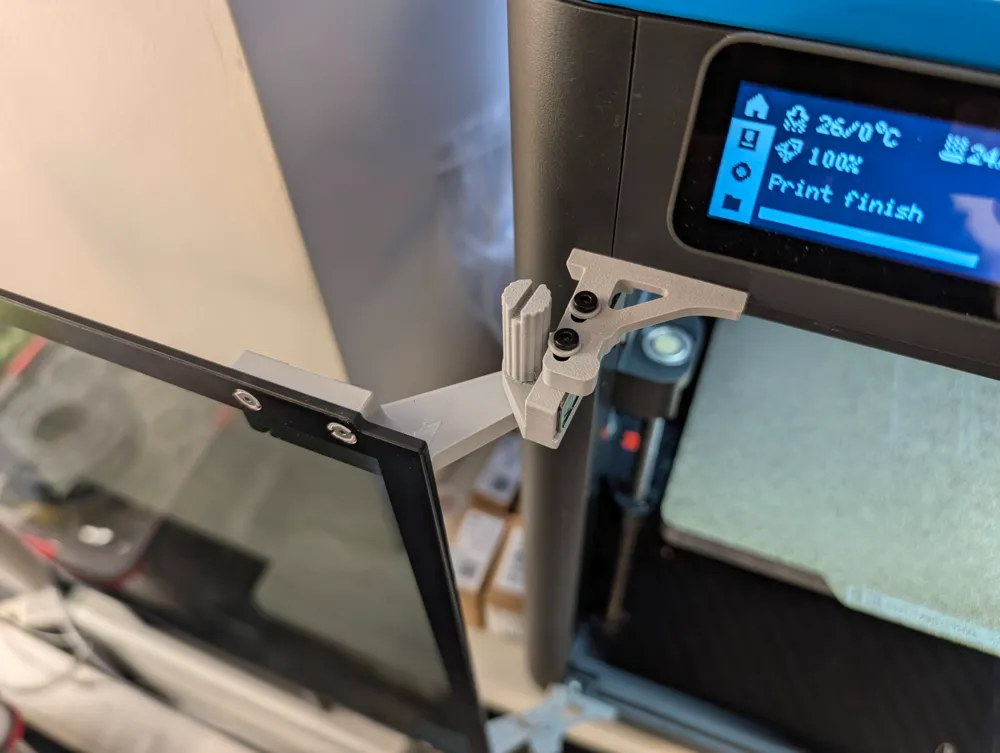
With this add-on you will be able to open your printer door fully by 180° or even 270°.
Small V3.5 update:
Big screws are printed horizontally from 2 parts to make them stronger.
And with coarser thread, for easy printing.
Version 3 update includes some updates users asked about:
- Hinge stopper to be able adjust doors sideways, to remove gap on left side.
- The (to metal part) hinge have more space for adjusting glass in/out
- Longer top screw (easier to hold and tighten)
- Use of screws from Makers Supply
Here is video manual:
Hinge is attached to original Bambu hinge metal part, so you don't need to disassemble anything, just remove 4 original screws with rubber gaskets from glass doors. Assembly will take no more than 5 minutes, and if you don't like it, you can turn back to original in no time.
P.S. As some users say, the newer models have glass door glued to the metal hinge with double sided tape, so you need to cut it off carefully with thin paper knife or gillette.
I tested this hinge with PETG and PETG-CF.
With 3 walls and 20% infill all the fillaments are tough enough for those parts.
For PETG and PETG-CF use your own settings or use my attached profile.
I'm using filament and printing settings from this link ← those are BEST settings for printing PETG ever! Im using those for months now and they are THE BEST. (Thanks Donnie)
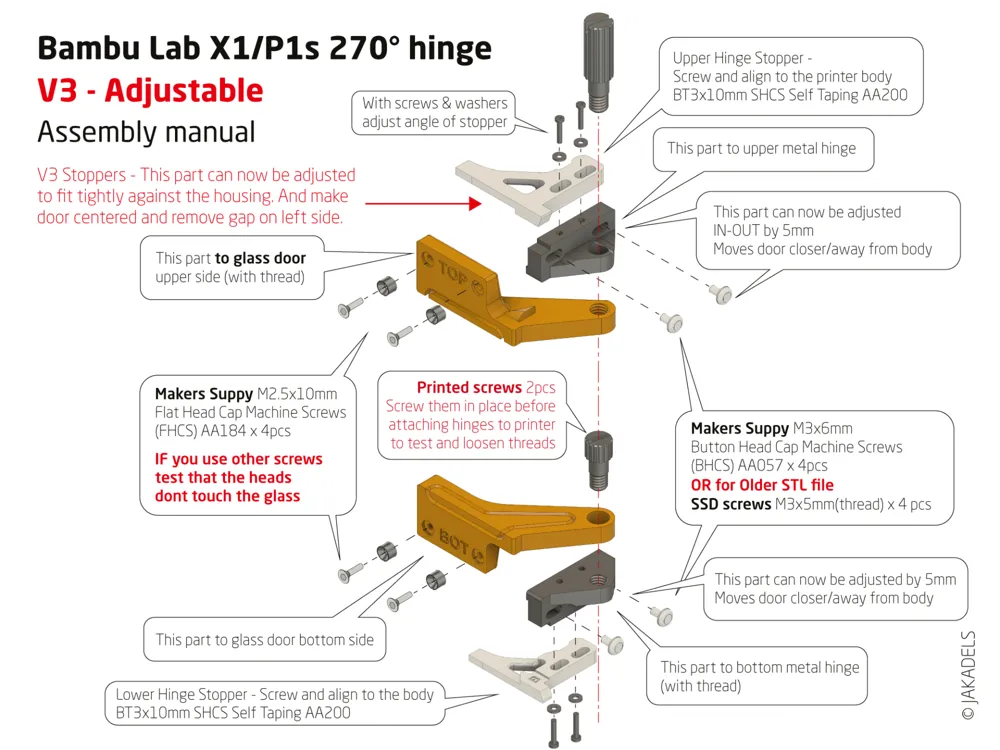
Additionally to printed parts you need some screws - look in parts list.
It's easy to assemble it without any documentation, just look for TOP and BOT writing on parts. Or use attached assembly guide.
Use hand screwdriver not electric one to feel the tightening force.
Boost Me (for free)
If you think this is a useful print - press Boost Me :)
Have a look at my other models too!
Documentation (1)
License

You shall not share, sub-license, sell, rent, host, transfer, or distribute in any way the digital or 3D printed versions of this object, nor any other derivative work of this object in its digital or physical format (including - but not limited to - remixes of this object, and hosting on other digital platforms). The objects may not be used without permission in any way whatsoever in which you charge money, or collect fees.


Comment & Rating (2736)