
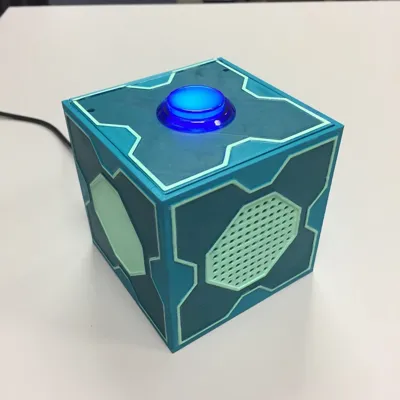
Meeseeks Box - Google AIY Voice for the Pi Zero W
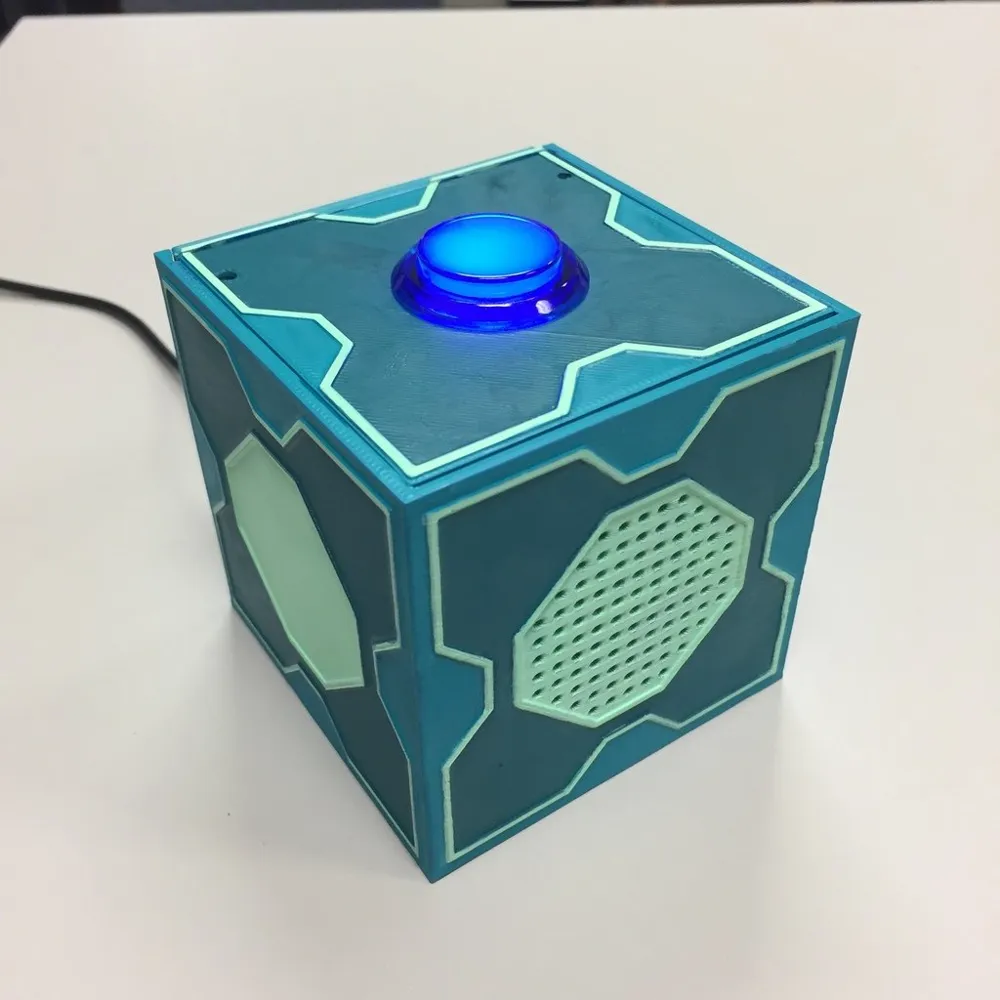
Print Profile(1)


Description
Summary
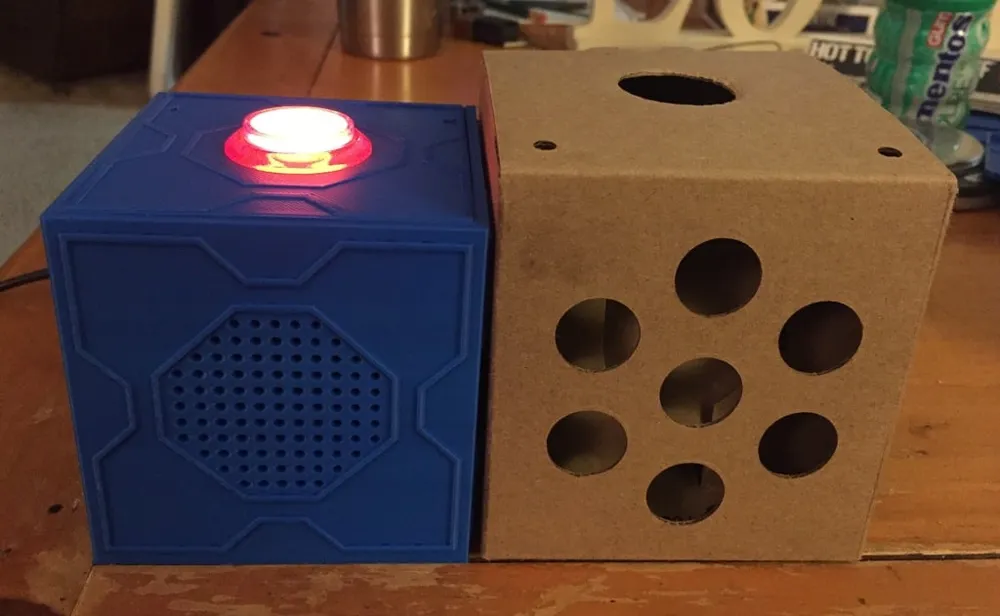
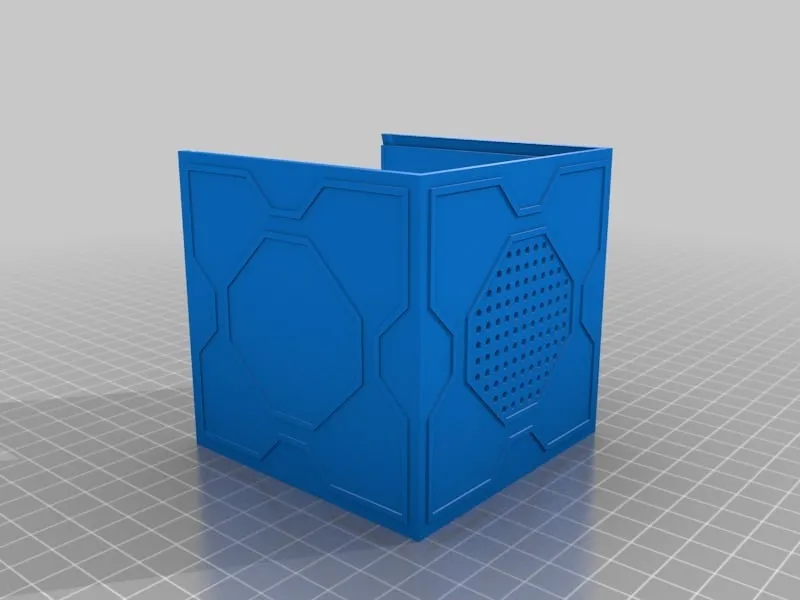
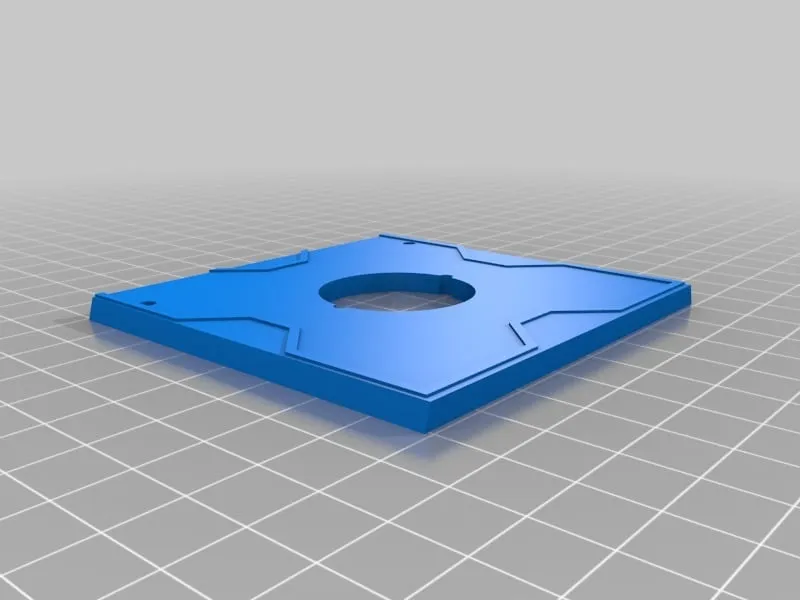
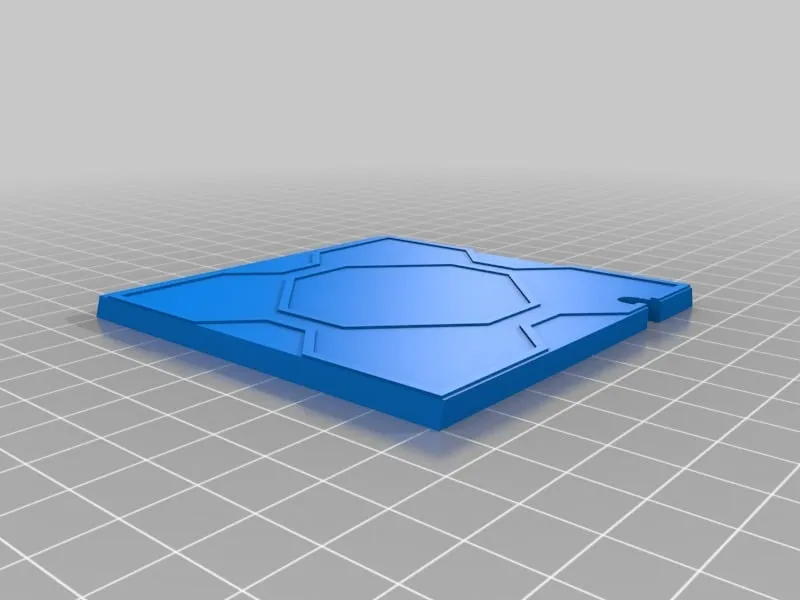
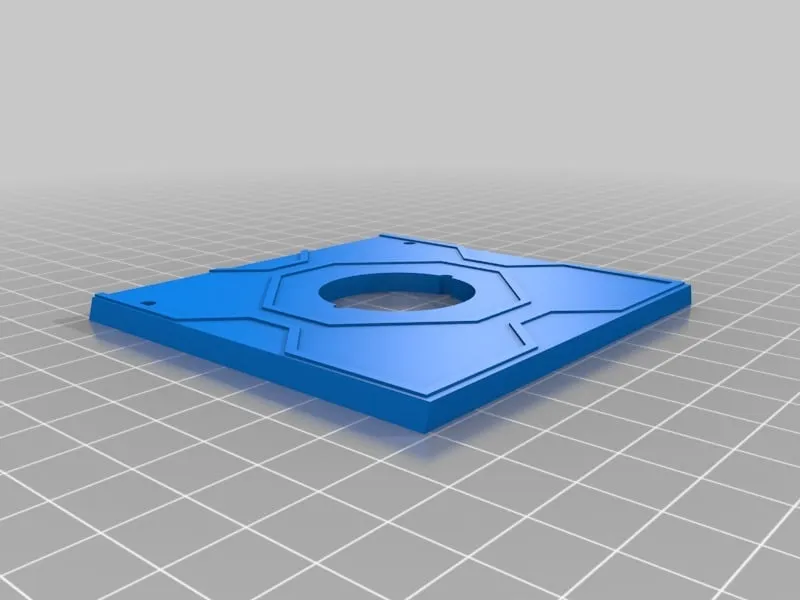
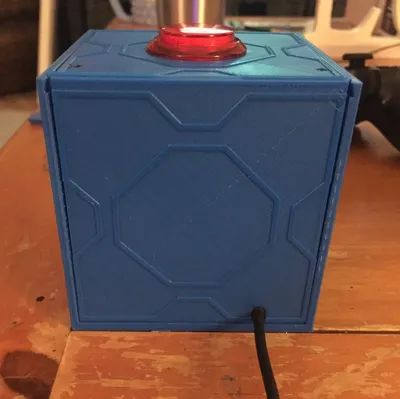
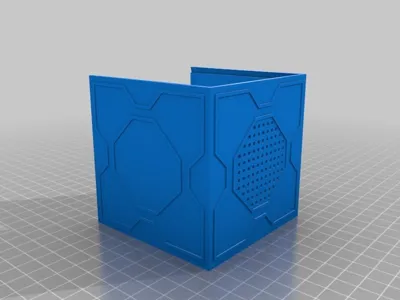
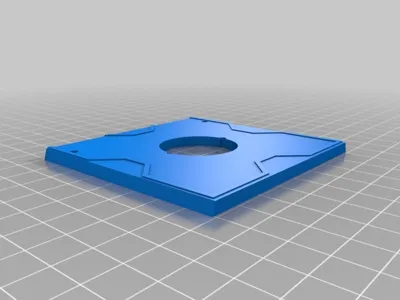
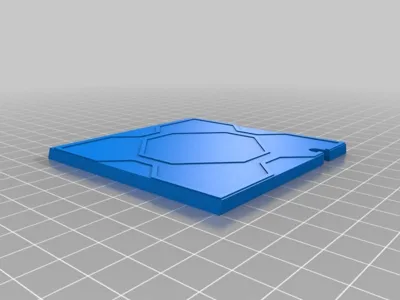
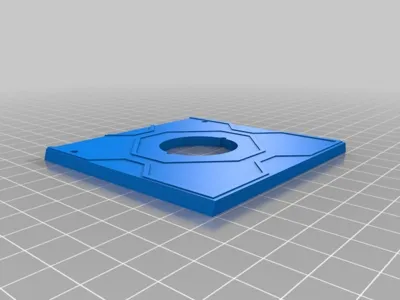
If you haven't printed yet, redownload the files as I've made a few minor tweaks for a better fit and alignment. I also realized the top of the box doesn't have a octagon in the middle, so I have created an Accurate Top as well as an Octo Top in case you like how it looks. The square supports underneath the microphone holes should be able to be popped off from the top, maybe poke a small screw driver threw to top holes.
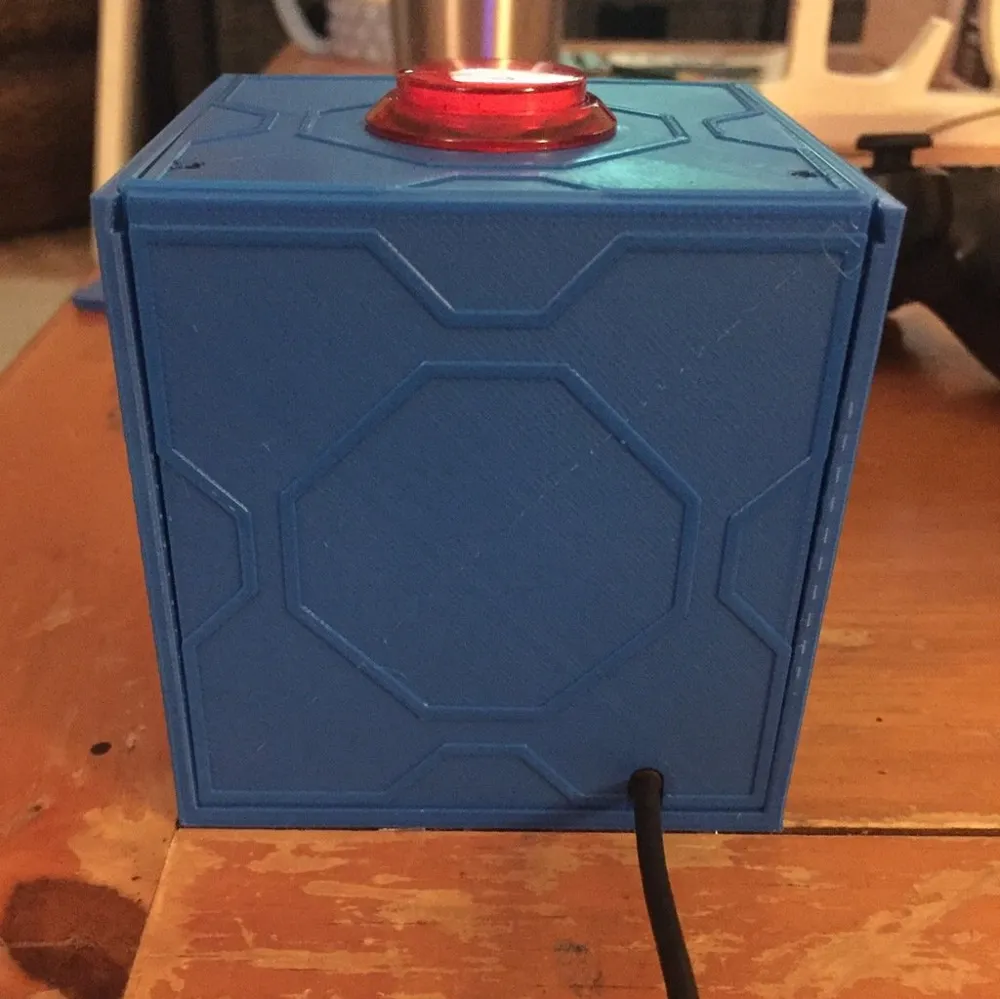
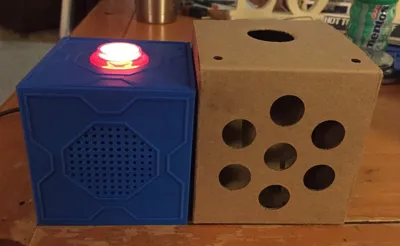
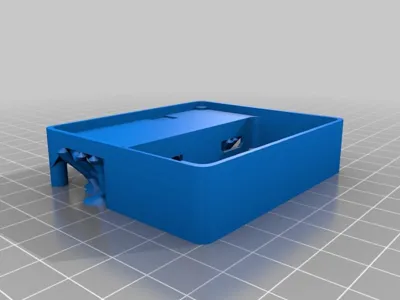
This is designed to fit the Pi Zero W and will not fit larger Pi. Due to how tight the design is inside, I moved the microphone to the back of the box but everything still works fine. The hole in the back panel for the power supply is 5mm wide in case you need to widen it a little for your own power supply.
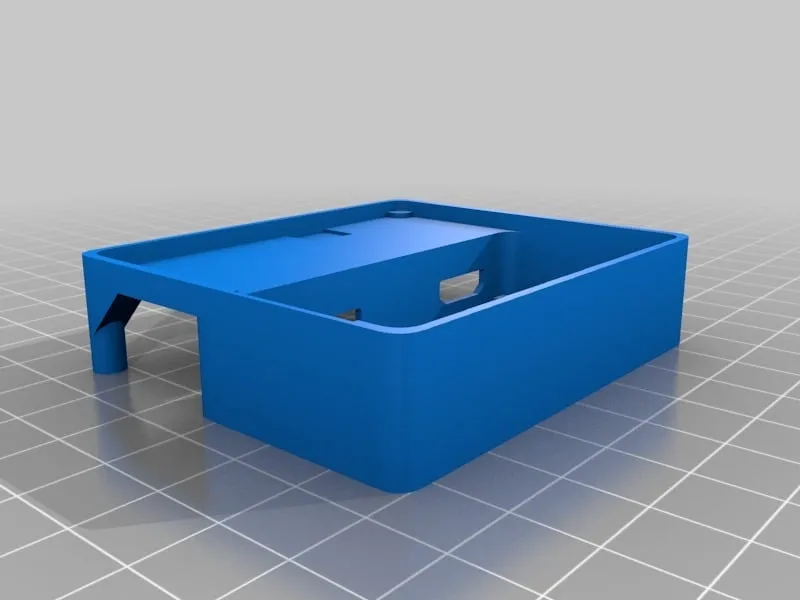
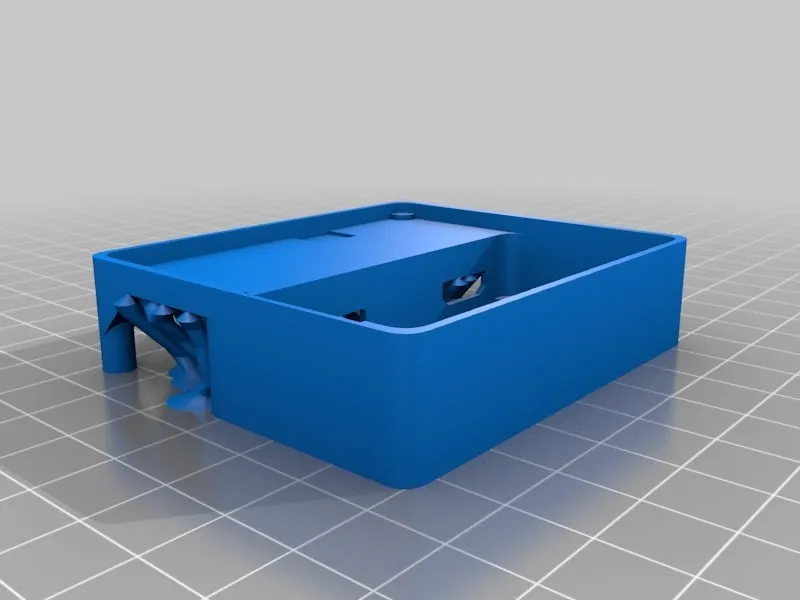
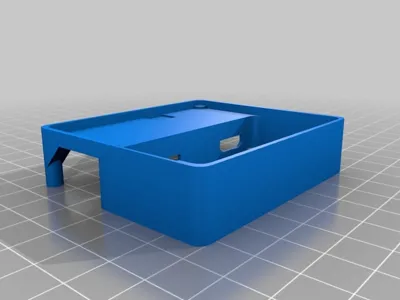
The Pi Zero W Holder is optional, as the Pi zero will sit nicely inside the hole on the bottom. I updated it to adjust some clearances. There's now a hole underneath to help with removal of the Pi. I also added a version that has Tree Supports generated in MeshMixer.
Video of it running:
https://www.youtube.com/watch?v=vgi76dW5N3g
Assembly Video
https://www.youtube.com/watch?v=7mb9ln7fUww
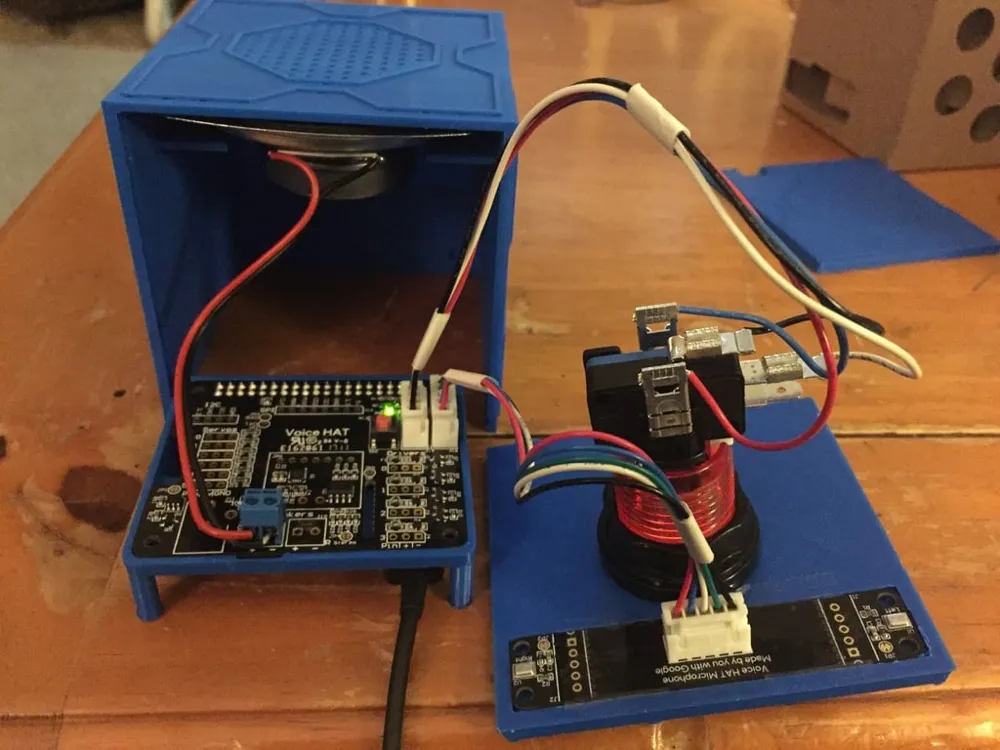
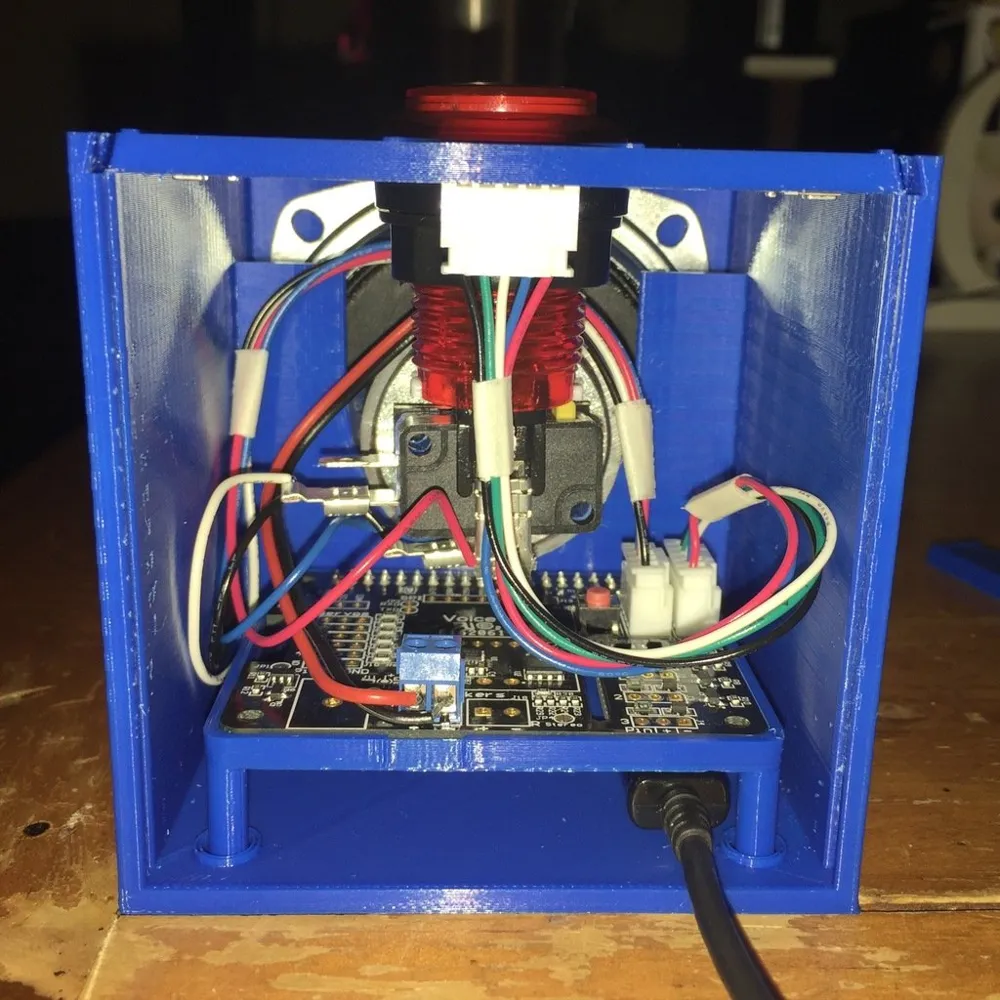
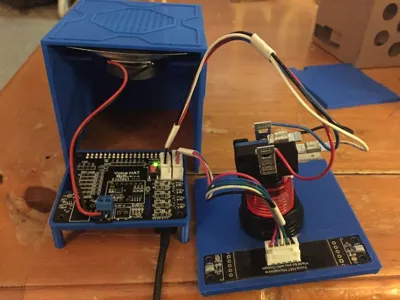
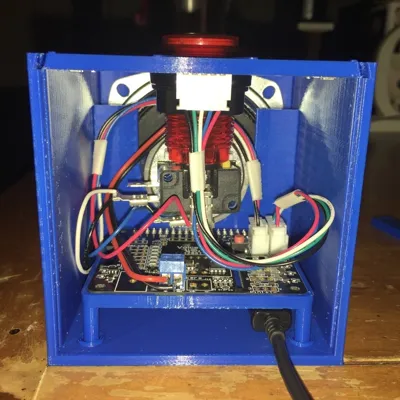
- Install the button to the top panel. Insert the lamp so that the plugs and wires jut out to the left when looking at the box from behind. Clearance is VERY tight in this design, so you want everything facing properly.
- Install the Microphone PCB into the opening and tape it in place. Connect the plug.
- WITH THE MICROSD CARD REMOVED Place the Pi Zero W + Voice Hat into the Pi Zero W Holder. Once its in place, insert the microSD card.
- Connect your speaker wires to the the board. Plug in the Button cable as well as the Microphone cable.
- Now is a good time to plug in the power supply (the Mini USB end) . Place the Pi Zero W Holder into the opening inside the box. It should fit nicely in place to keep from moving around too much.
- Gently slide the top panel into the top slots and push it forward all the way. Move wires as necessary.
- Insert the back panel and guide it over the power supply cable.
- Knock yourselves out just keep your requests simple.
Print Settings
Printer Brand:
PowerSpec
Printer:
PowerSpec 3D Pro
Rafts:
No
Resolution:
.2
Infill:
15-25
Notes:
The Pi Zero W Holder needs supports, the rest should be fine without supports.




Comment & Rating (0)