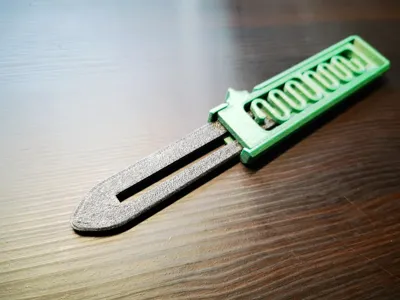
Improved Fidget Spring Knife


Print Profile(4)


Description
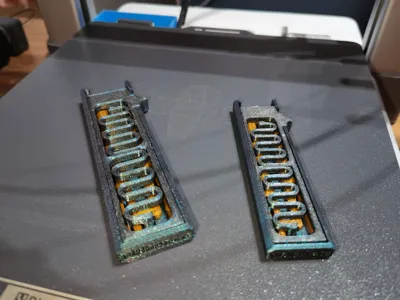
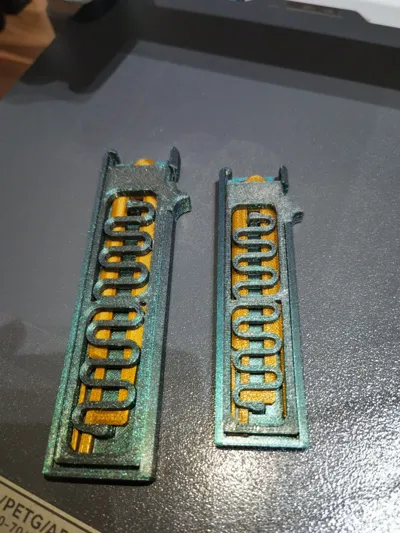
For multi-color printing, it is highly recommended to enable print-by-object on your computer to shorten print time by 50 minutes and reduce filament waste, the current pre-plated spacing allows for direct print-by-object. (The size of the A1 mini does not support print-by-object, so it can only be printed by plate)
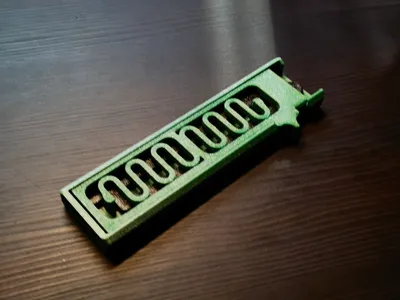
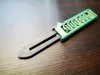
The spring firing mechanism has been improved, extending the spring travel, enlarged by 120% for a better grip, and simultaneously increasing the spring's stiffness coefficient and deformation, making the blade easier to catch on the latch, extending its lifespan, while also thickening the latch, preventing the blade from retracting easily upon contact, enhancing its fun factor
If you have any questions, please leave them in the comments, and I will do my best to resolve them. I have printed over 10 of these without issues so far, and some solutions are listed below. Also, I am currently in high school, so I might only reply to comments between 11 PM and 12 AM from Monday to Saturday, and I will be online all day on Sunday.
Weak ejection, unable to eject, please refer to this section for solutions first: Through my repeated tests, when ejecting, the first half of pushing the button must be a bit slower. Once you find the right feel, you can achieve a success rate of over 95%. If it still feels weak when ejecting, then trim it little by little. Generally, the more you trim, the faster the allowed flicking speed can be, but due to the model's size, there is a limit here. Through experiments, I let several classmates who had never played with it before try it, and after a few uses to master the activation technique, they could play smoothly. High-speed camera footage showed that when flicking too fast, the spring extension was insufficient. The underlying reason is still unclear, suspected to be inertia causing premature disengagement of the latch.
If ejection is still insufficient, current solutions are:
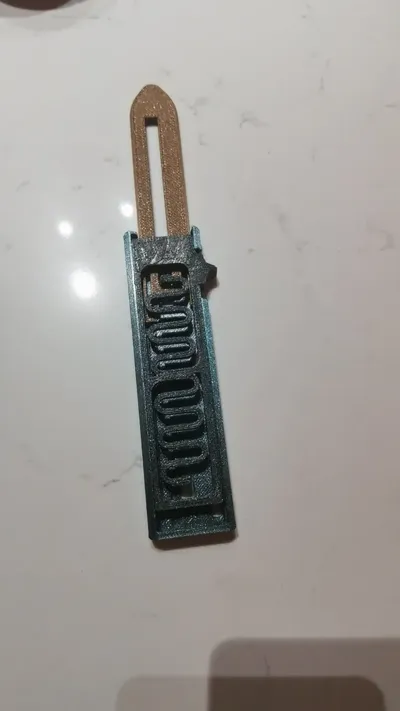
First, please confirm if the flow rate is correct. If there is roughness in the indicated area, please recalibrate and re-print or sand it smooth. This is due to an inaccurate flow rate.


Another reason is that the material itself is relatively soft, so you need to adopt the method of chamfering (a part has already been cut off in the model design). As shown in the figure, only 1mm should be trimmed each time before installation and testing.
For the upper and lower activation blocks, trim the part where the force is insufficient in that direction. For example, if the force from bottom to top is insufficient, trim a bit of the lower activation block. But be careful not to trim too much, otherwise, it won't be able to eject at all if it doesn't reach the latch. Initially, I used Tianrui's sparkling PETG series for my experiments, which has higher hardness than ECO, so it could be used right after installation. This is similar to the effect achieved by the first person who printed my model using PLA. However, many users reported that it wouldn't eject, so I tested with Tianrui PETG-ECO, and even with the activation block trimmed to the minimum, the feel was still not very good. This is related to the material's hardness and K-value (elastic coefficient). I will consider addressing this when I have time; the general idea is to extend the stretching range, but my studies are becoming increasingly demanding, so I might not have enough time. For now, everyone can only choose to print with harder materials.

Boost Me (for free)
License
You shall not share, sub-license, sell, rent, host, transfer, or distribute in any way the digital or 3D printed versions of this object, nor any other derivative work of this object in its digital or physical format (including - but not limited to - remixes of this object, and hosting on other digital platforms). The objects may not be used without permission in any way whatsoever in which you charge money, or collect fees.
Comment & Rating (50)