
LitterBuddy
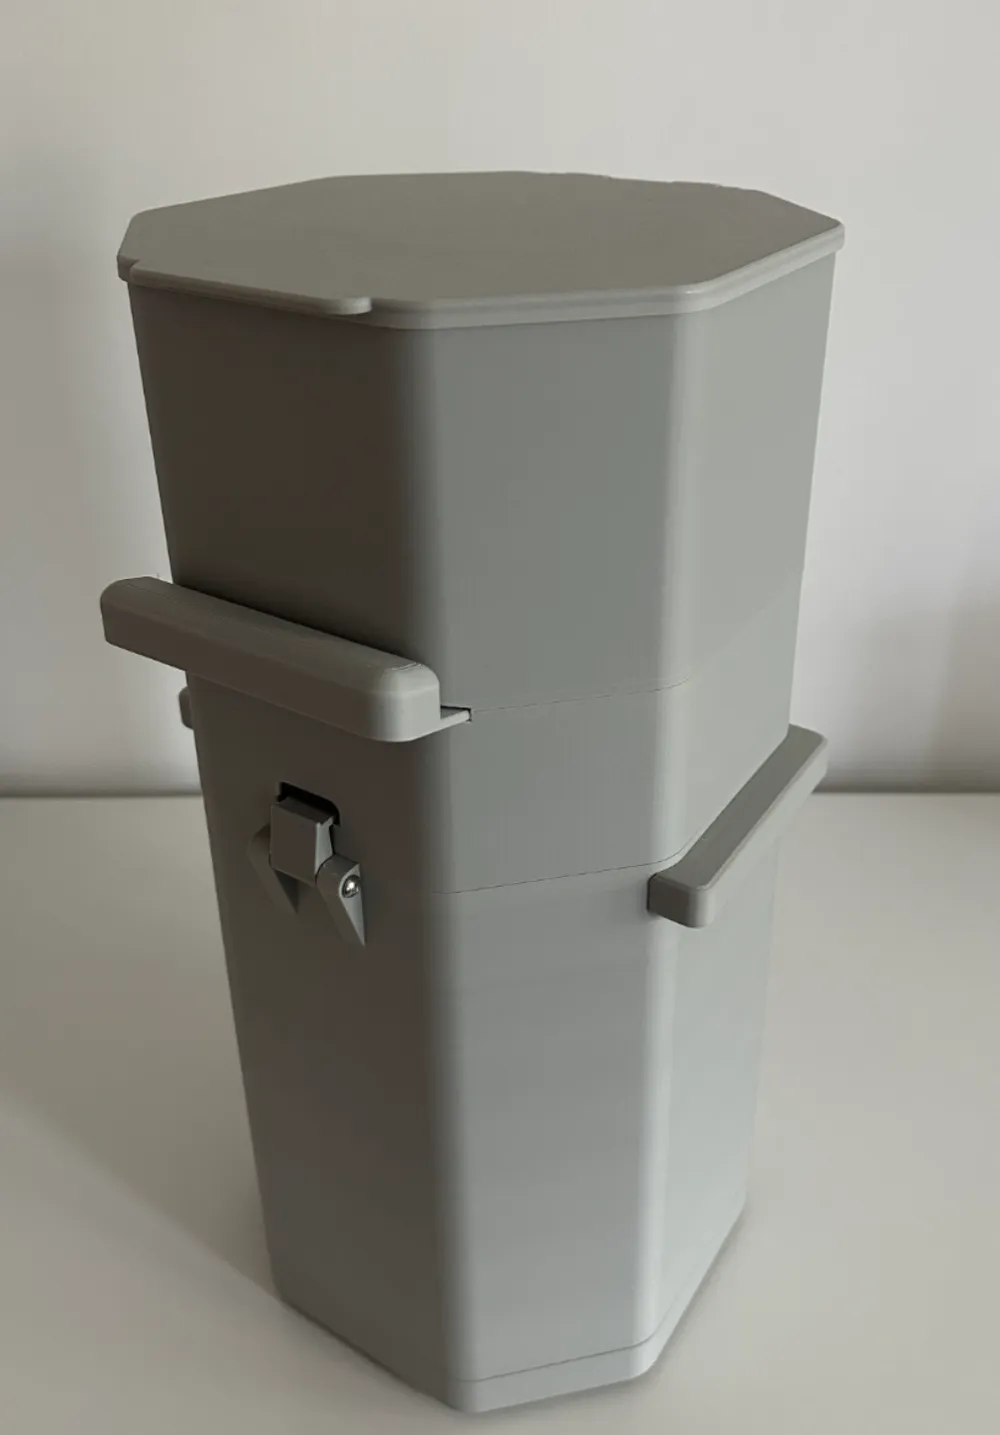
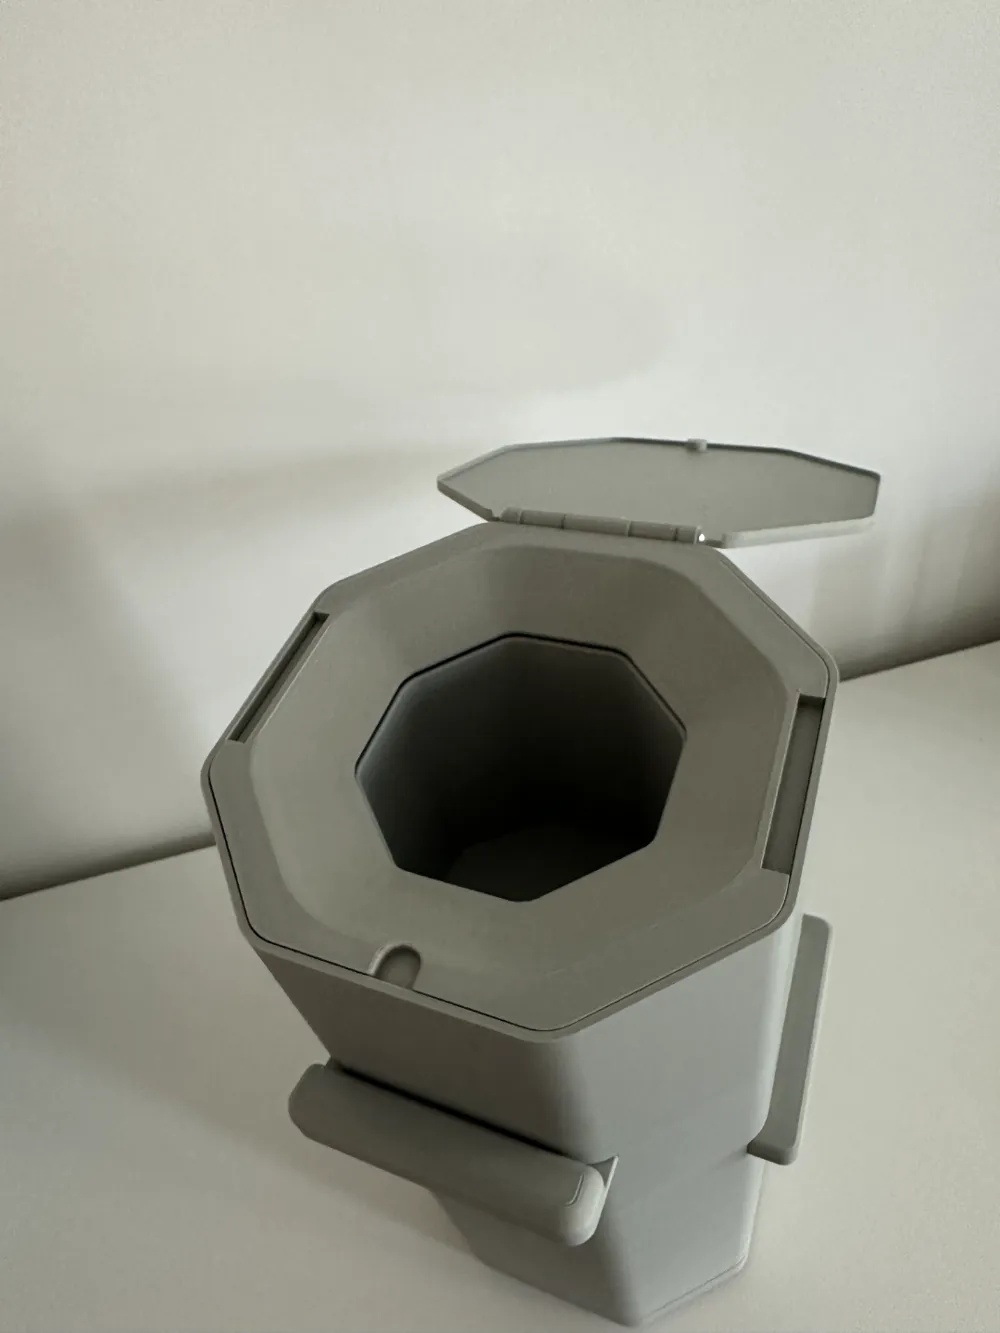
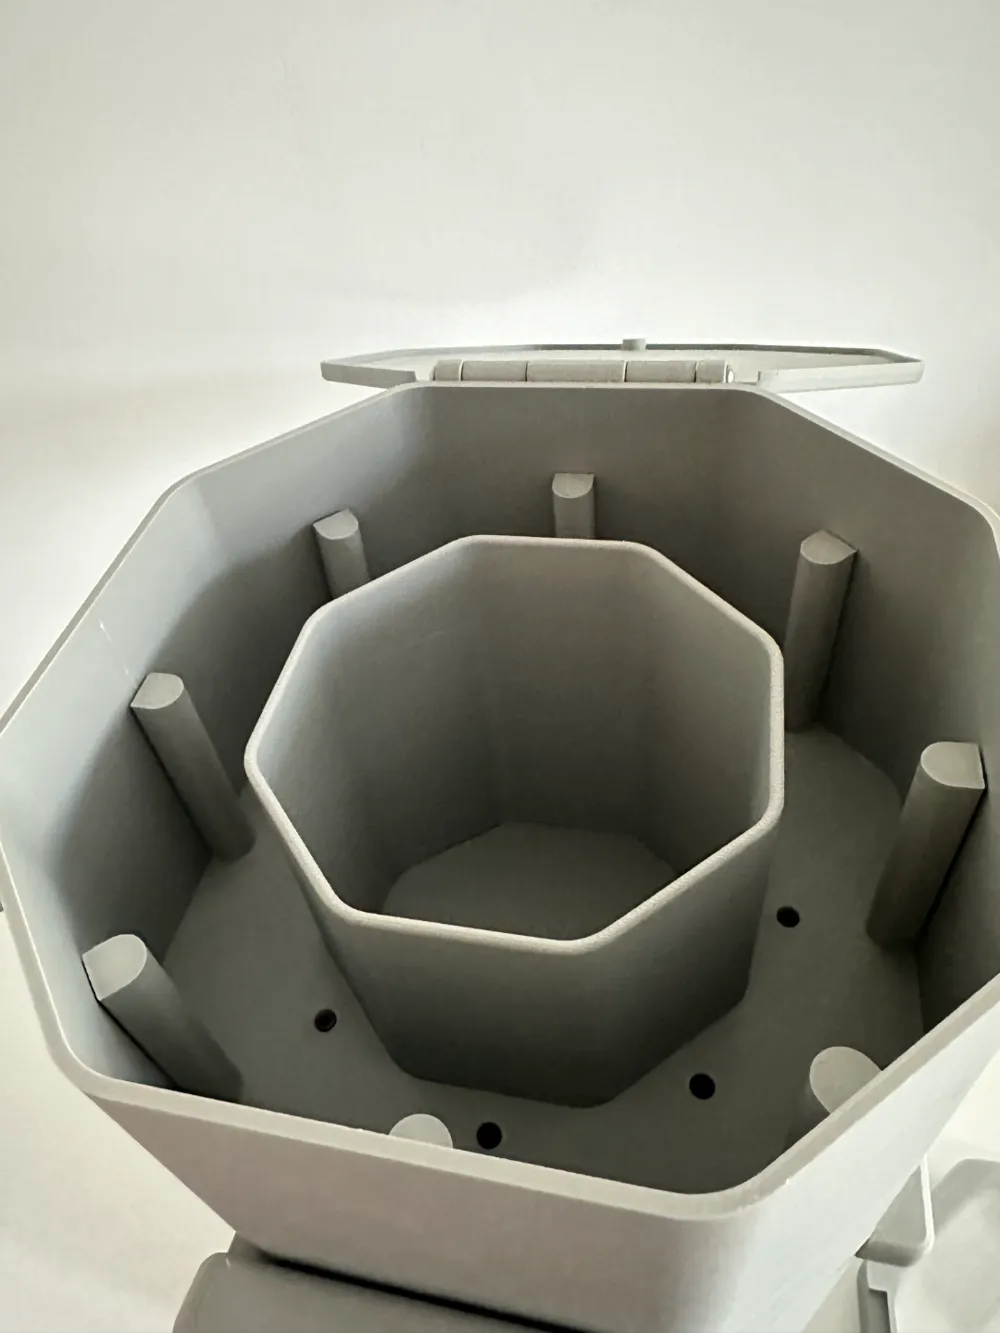
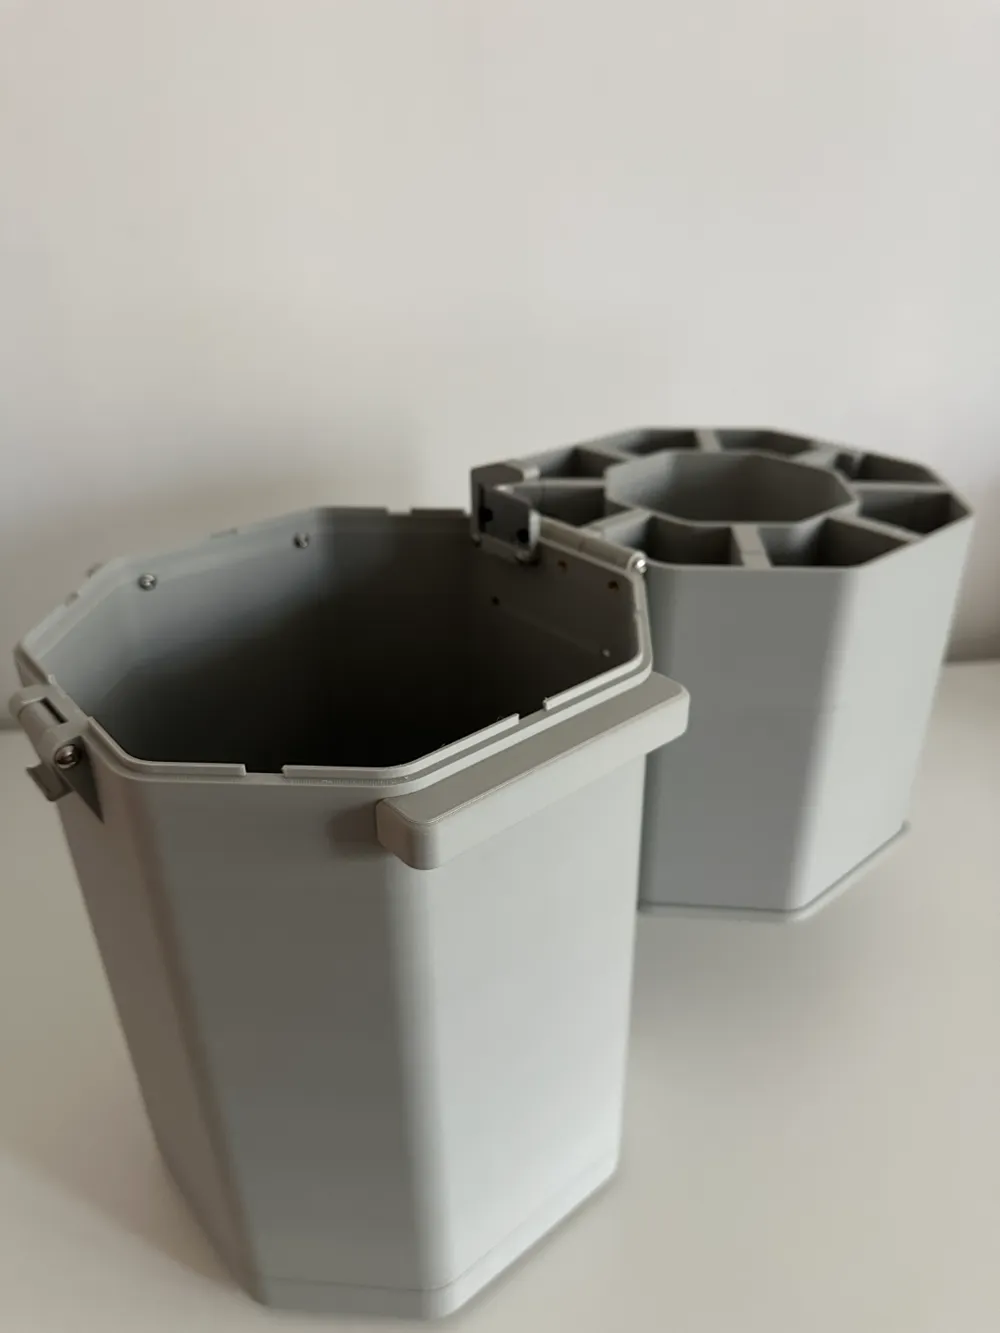
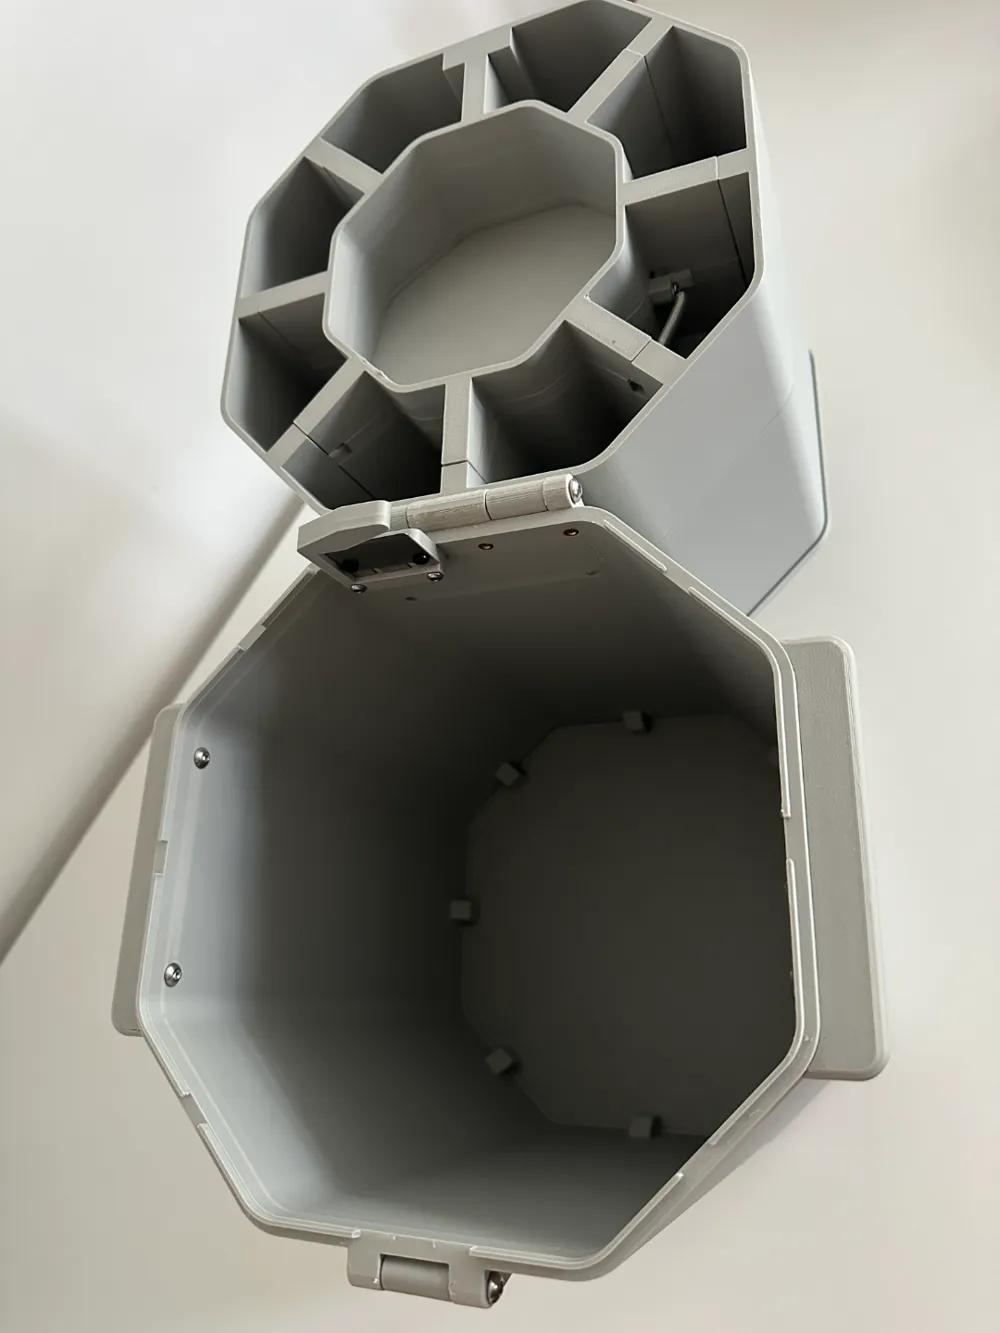
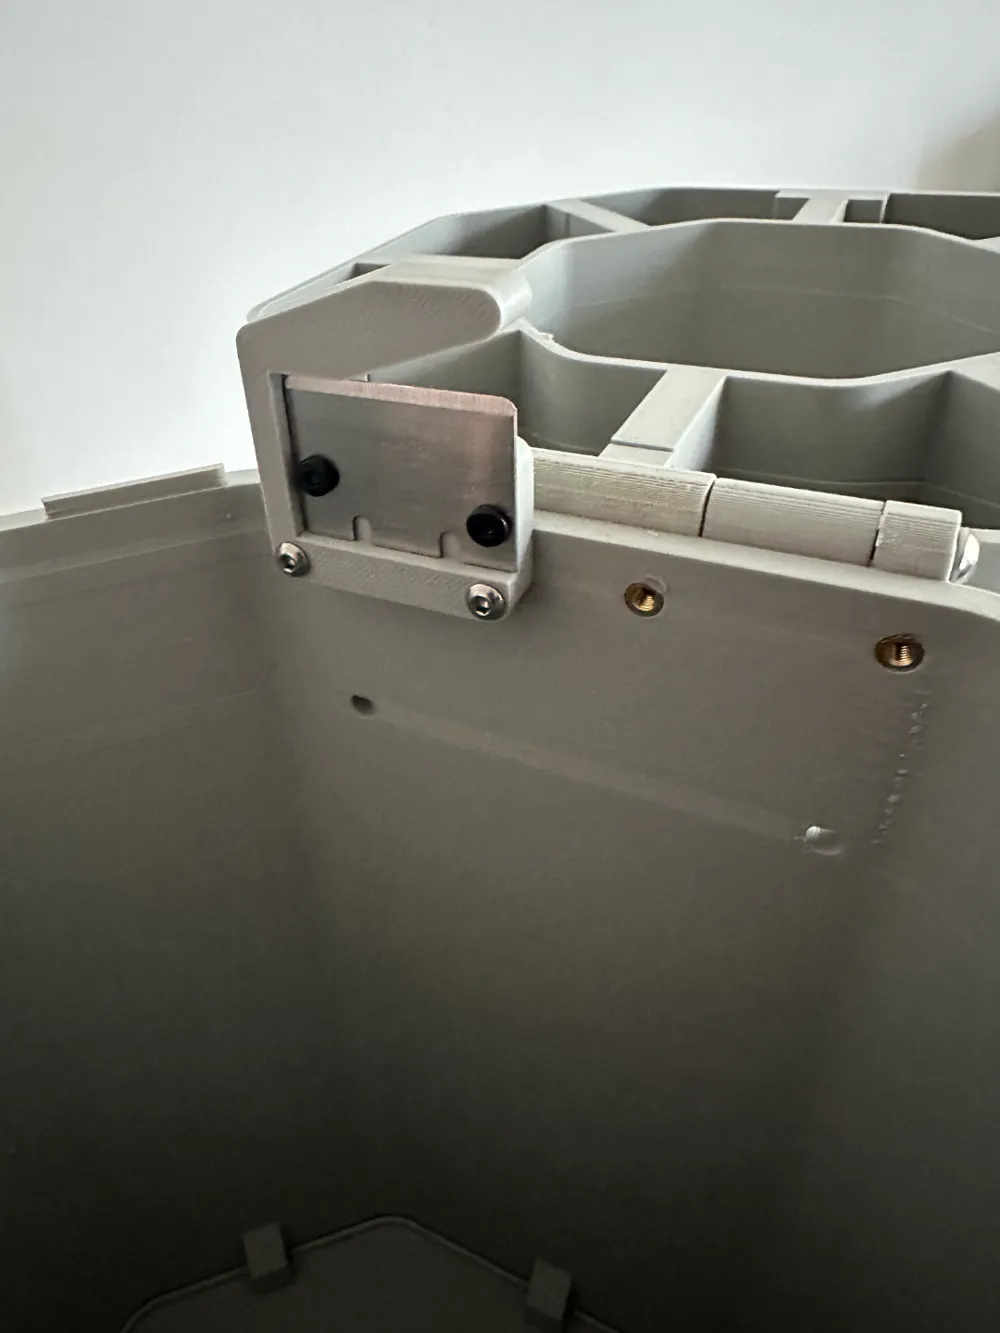
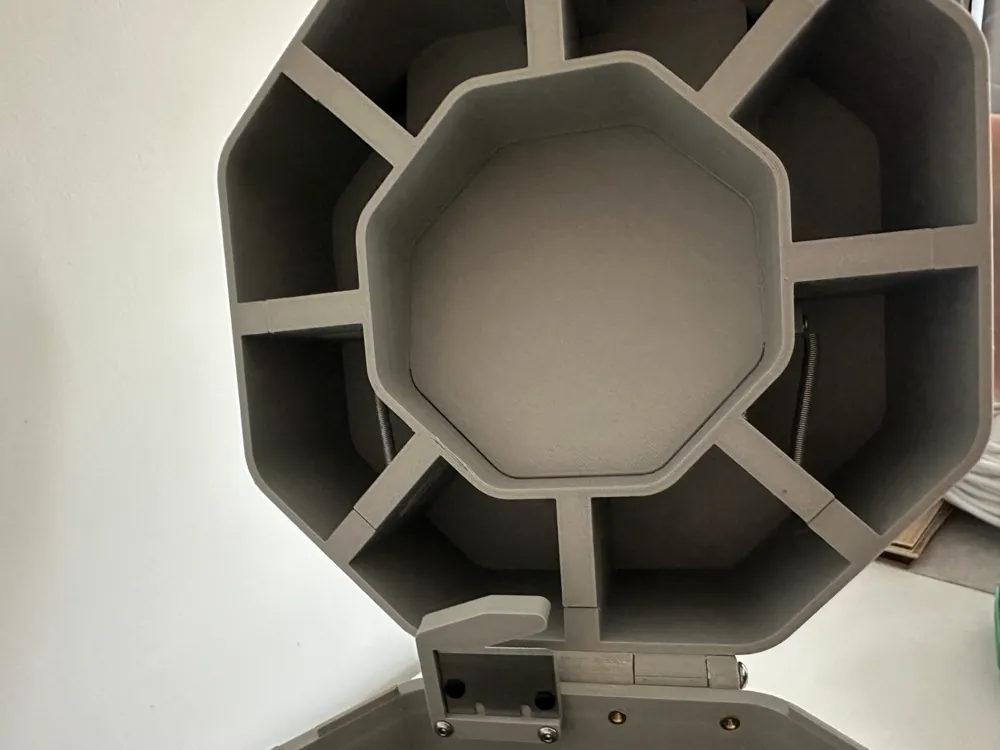
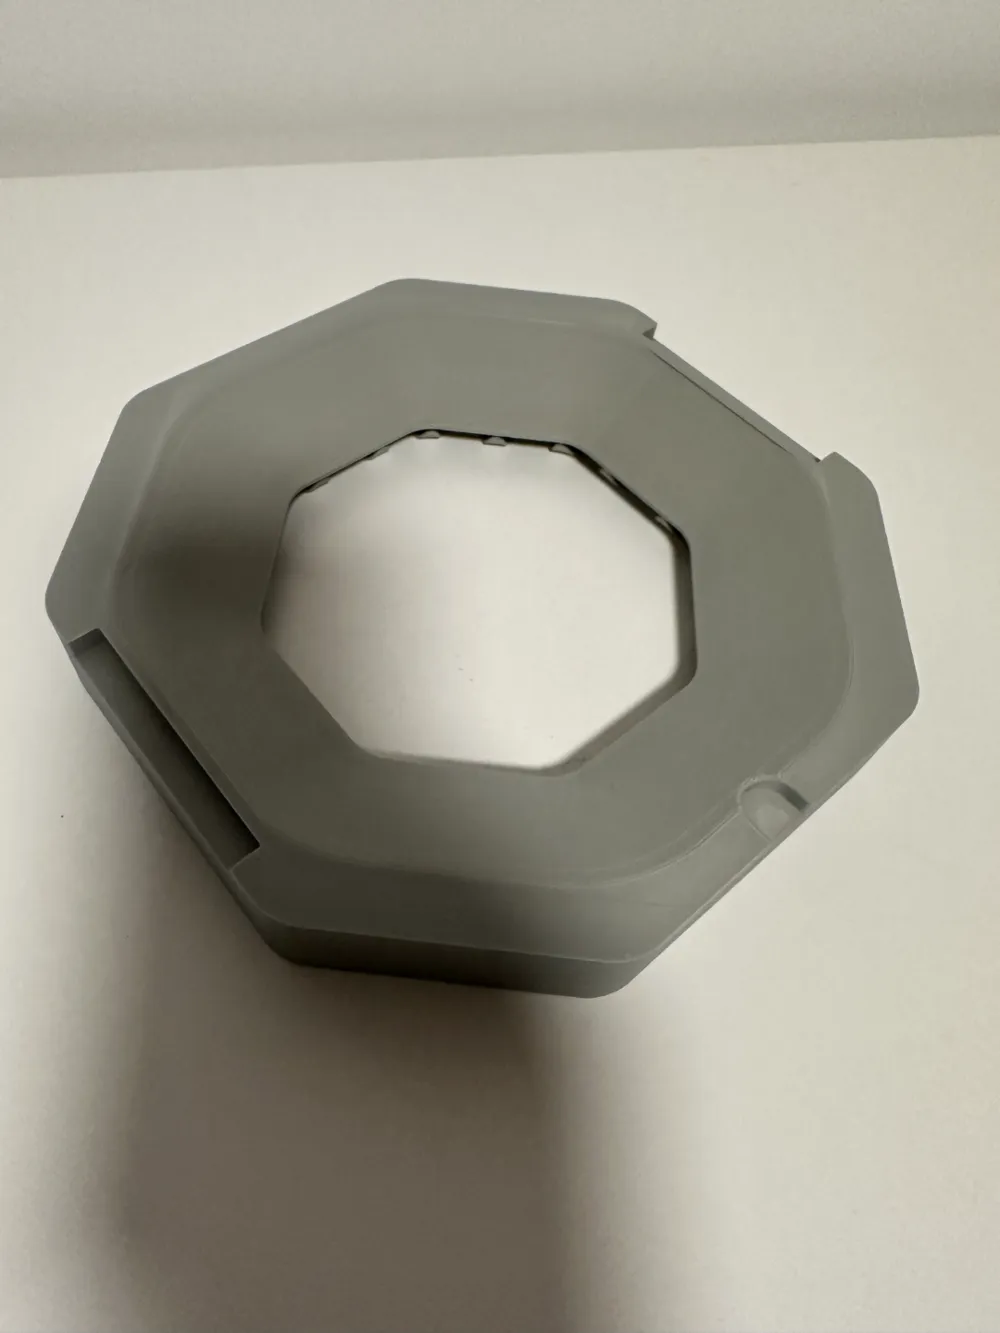
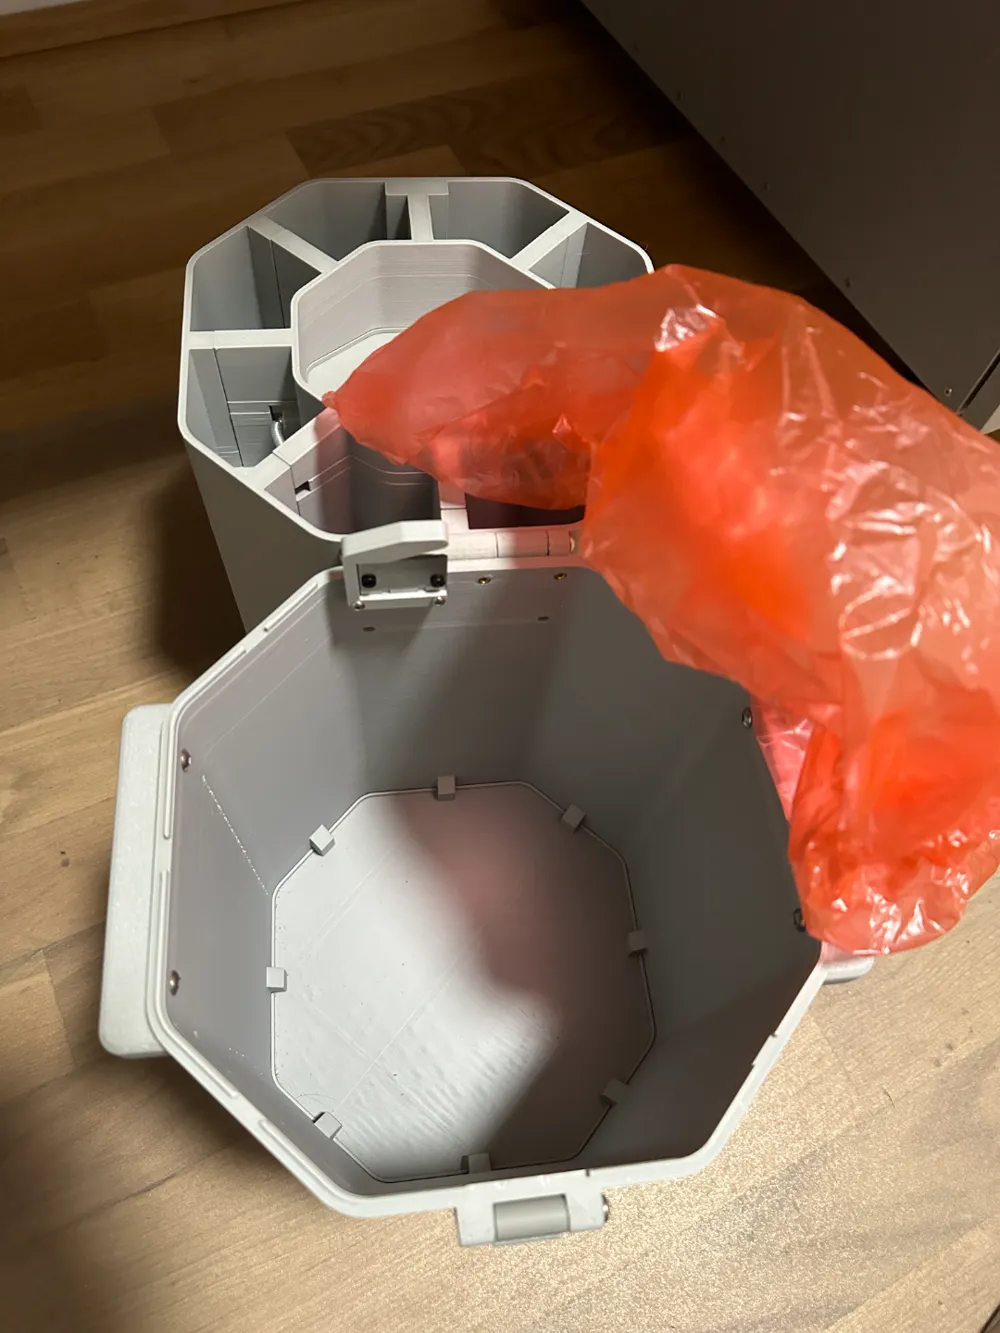

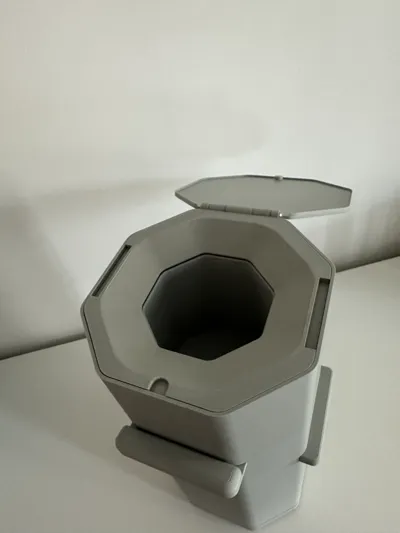
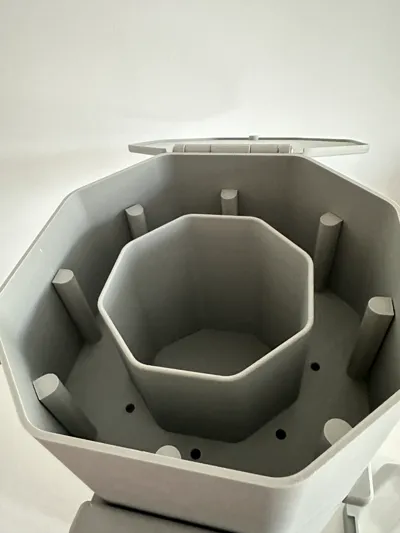
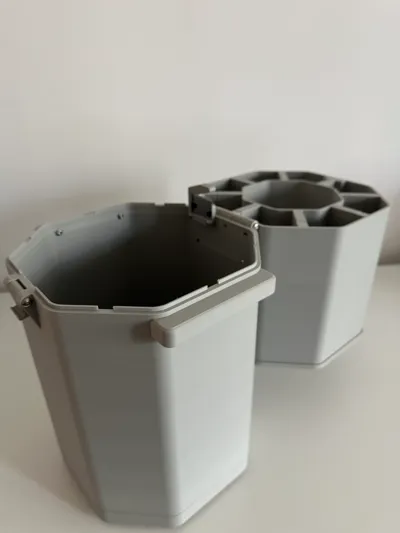
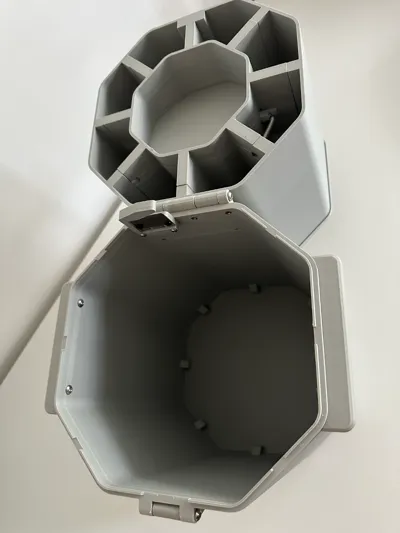
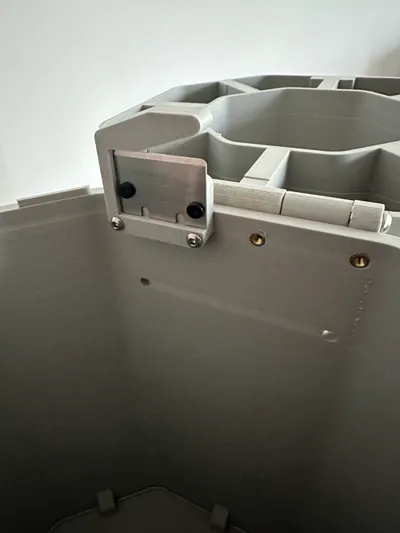
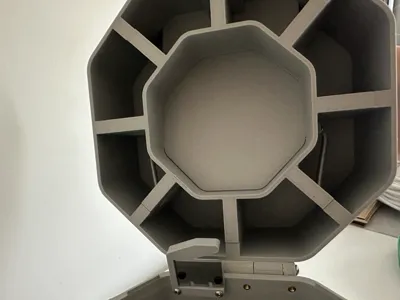
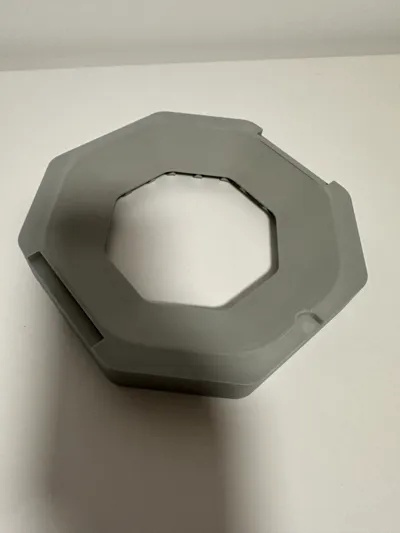
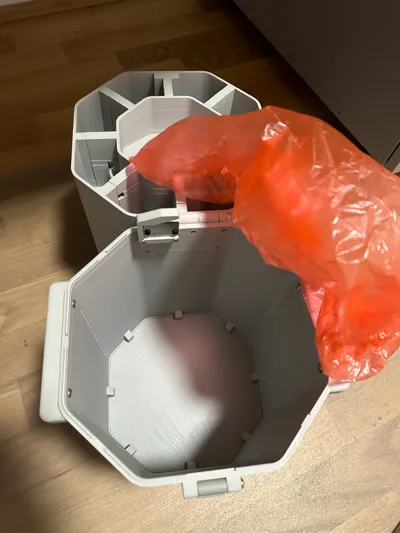
Print Profile(2)


Bill of Materials

- 3/16"x1-3/4" extension springs x 2:
- 8x2mm disc magnets x 10:
- M3 (4.5x4mm) threaded inserts x 32:
- M4 (5.4x8mm) threaded inserts x 5:
- M4x35mm screws x 5: (used in: Total assembly)
- M3x12mm screws x 7: (used in: Outer Body assembly)
- M3x16mmscrews x 5: (used in: Drawer assembly)
- M3x6mm screws x 4: (used in: Drawer assembly)
- M3x6mm countersunk screws x 8: (used in: Cartridge)
- M3x30mm screws x 8: (used in: Bottom Trash can)
- M3x16 countersunk ferromagnetic screws x 8: (used in: Funnel)
- Concrete x 1: or anything else which gives weight to the base
- Rubber feet (18mm diameter) x 8: optional,V1
- M4 (5.4x8mm) threaded inserts x 2: optional(used in: Handles) per Handle
- M4x10mm screws x 2: optional(used in: Handles) per Handle
- M3x12mm screws x 2: optional(used in: Bag Cutter) per Handle
- Rubber feet with center hole for screen mount x 8: optional,V2
- M3x16mmscrews x 8: optional(used in: Extension) per Extension
Description
Welcome to LitterBuddy - A Cat Owner's 2nd best friend!
2024-02-24: V2 Uploaded! 🎉
This update includes a new bottom part without the predefined cut outs for glued gummi feet: I do recommend gummi feet with a mounting hole in the center.
Also the drawer unit has been updated to give a lot more clearance of the drawer. Unfortunately this also involves an update of the trash can, which is the biggest part to print. In case you want to save the reprinting of the trash can, you can also modify the V1 trash can using a sharp knife. The change in the trash can part involves two sections of the guidances on the top only. (After assembly you can easily identify where to cut the guidances, as otherswise the drawer unit will not close completely on the trash can)
The lid was updated for bigger clearance.
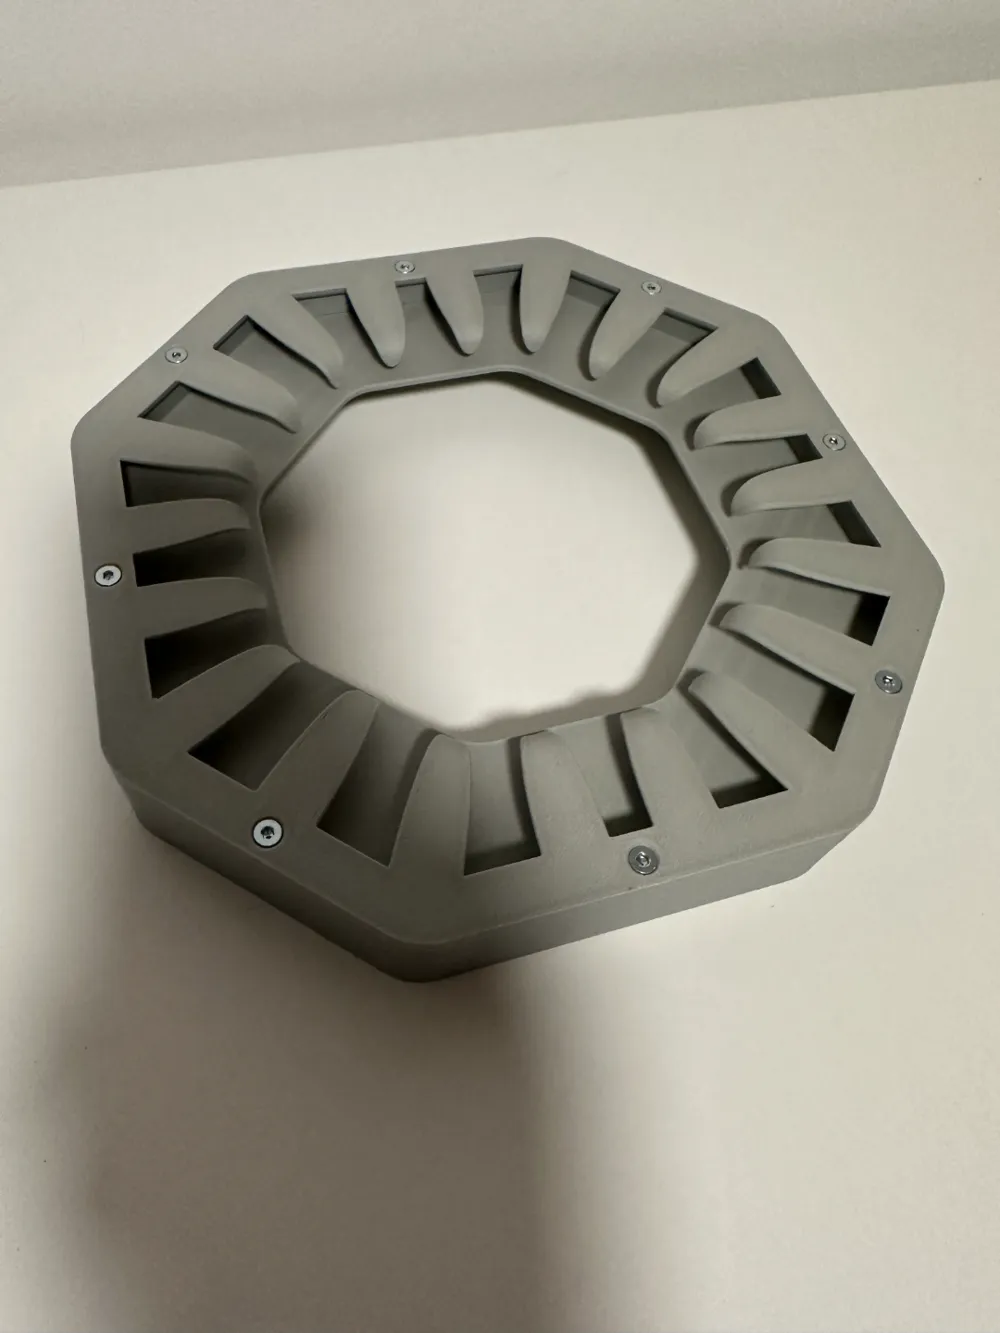
I added an extension to the trash can which is mounted between the bottom part and the trash can which gives bigger litter volume.
Intro:
I have two cats, and I love cat sitting around my area. As you can imagine, I like cats a lot. What I don't like is: poop 💩.
Everyone does it, and so do your cats. At least they do it in one place. 🚽
Cat owners tend to clean the litter box on a daily basis. Every day, you scoop out the waste, put the poop and used litter in a bag, and take it to the garbage bin.
OR
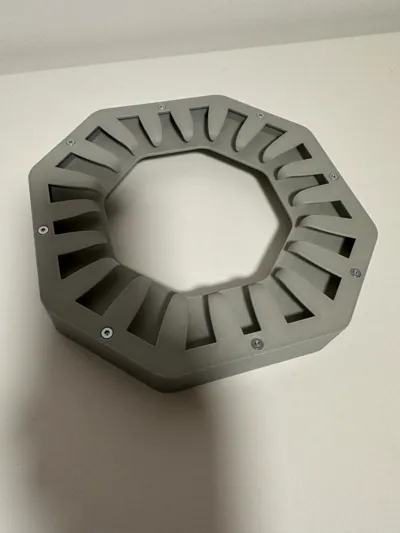
You bought one of those air-sealed litter trash cans. They’re pretty cool, right? They offer a funnel for easy disposal, eliminate odors, and come with built-in cartridges for waste bags.
BUT
They are expensive 🤑
Not the trash can itself, but the cartridges. It’s like printers—the device is cheap, but they make money on the ink.
Introducing LitterBuddy
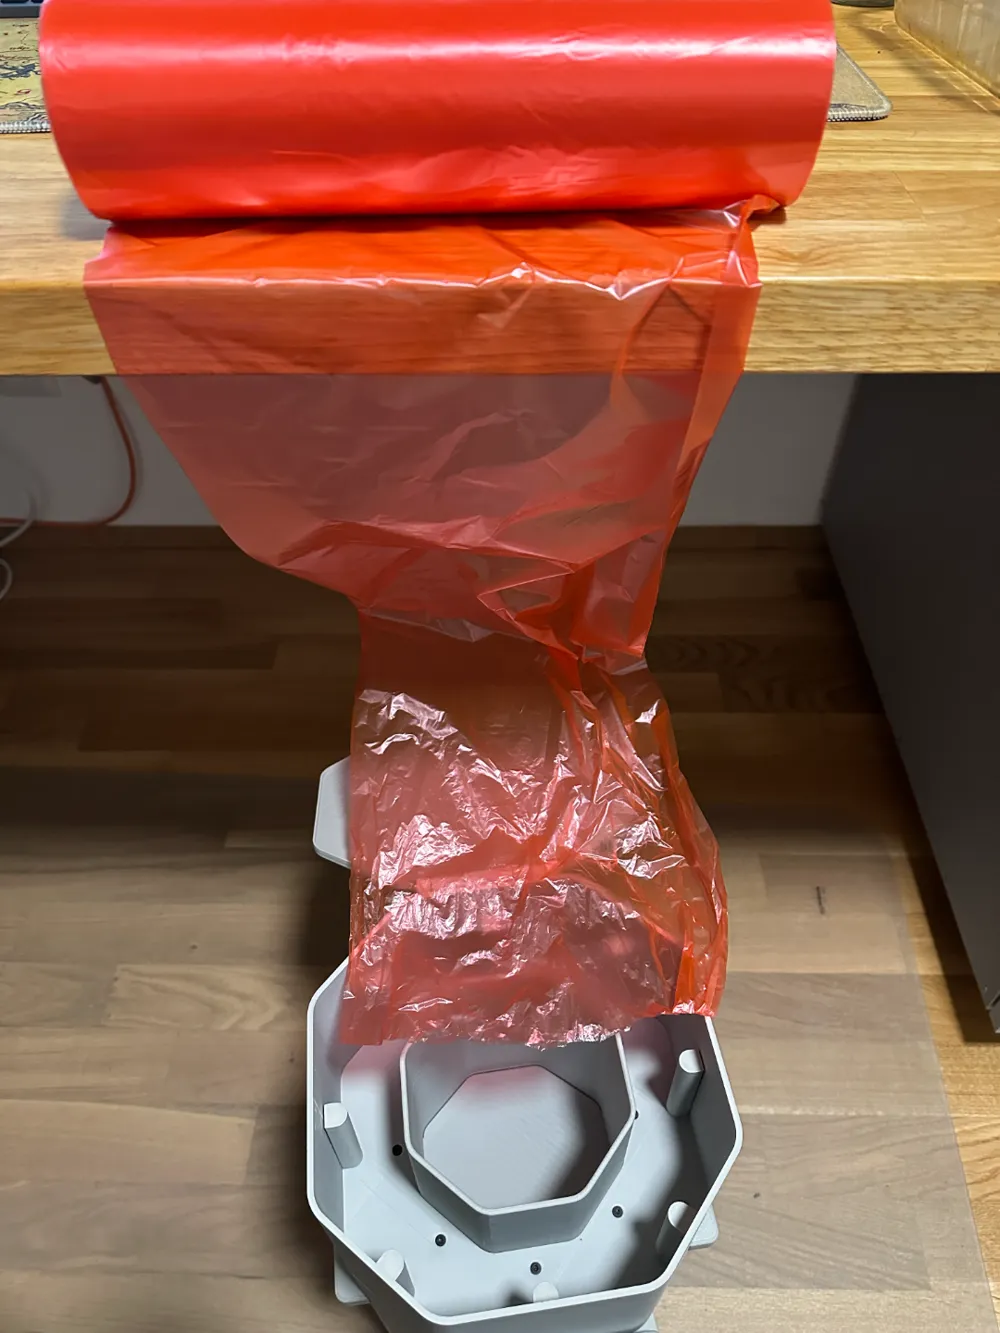
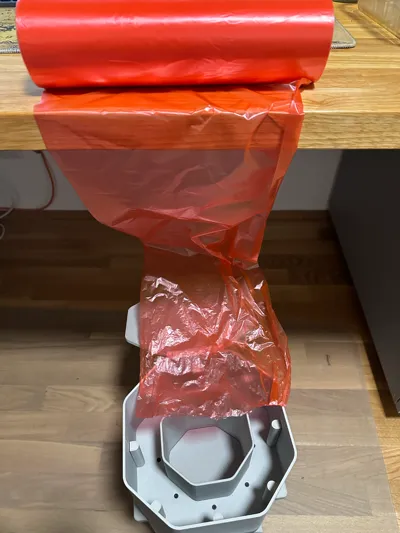
This is a litter trash can that allows you to buy waste bags in bulk, designed for systems like LitterLocker. You can find them online, for example, on Amazon: Germany
LitterBuddy works with bags that have a diameter of at least 13 cm (5 inches).
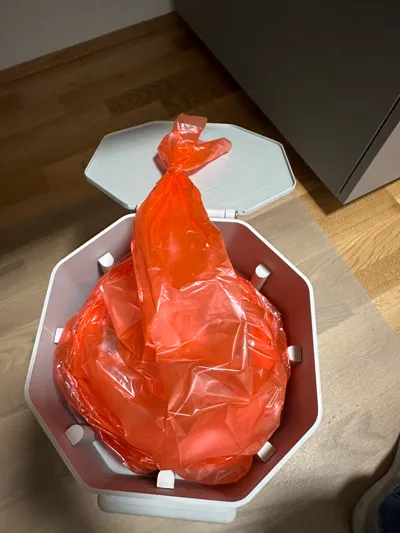
It offers massive storage space for months of waste bag supply. (Like a giant cartridge)
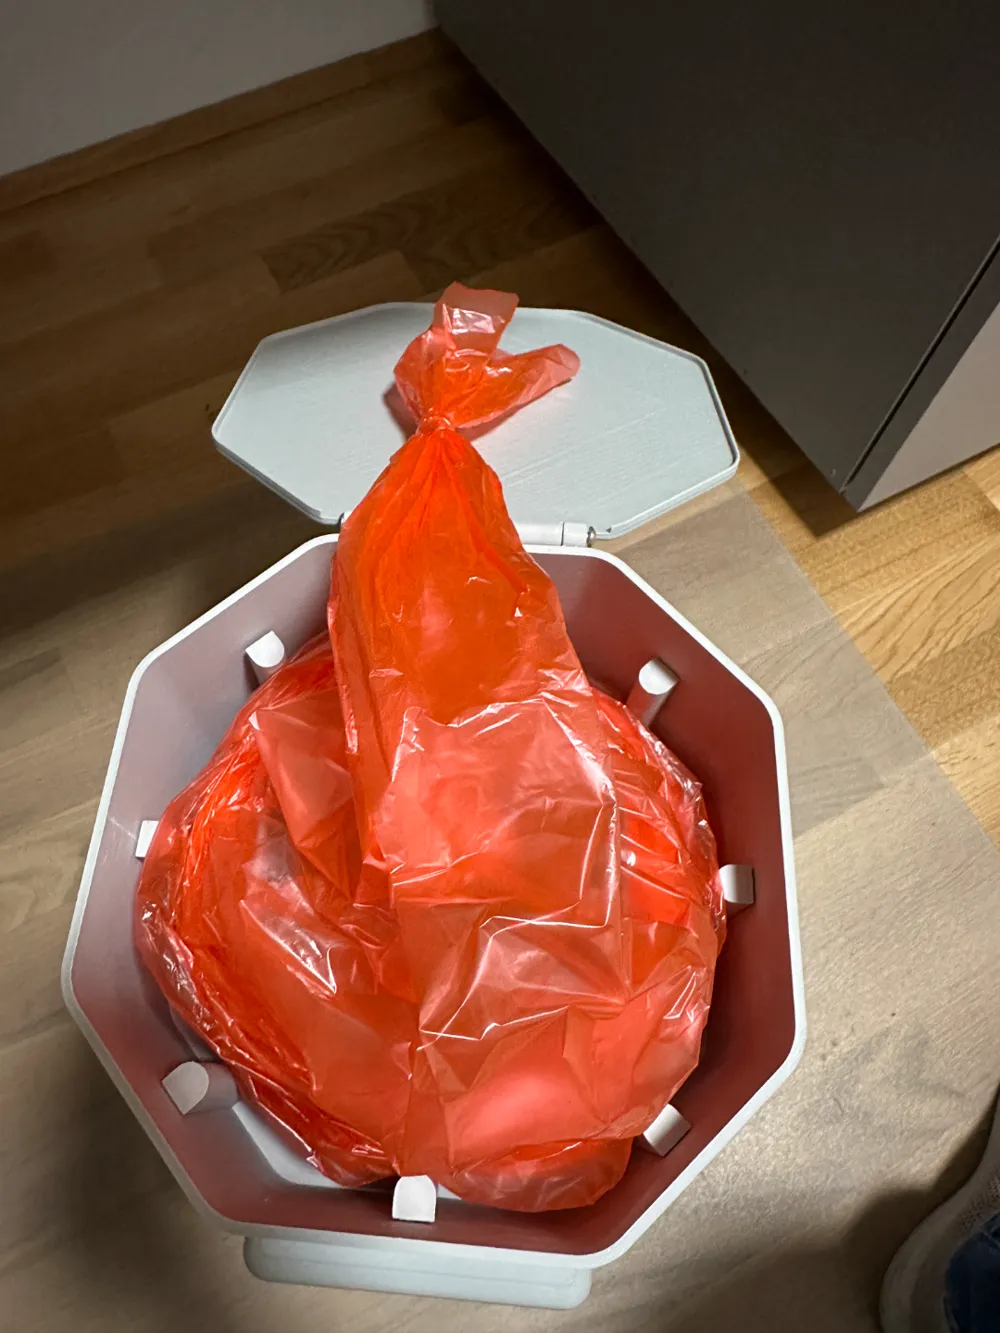
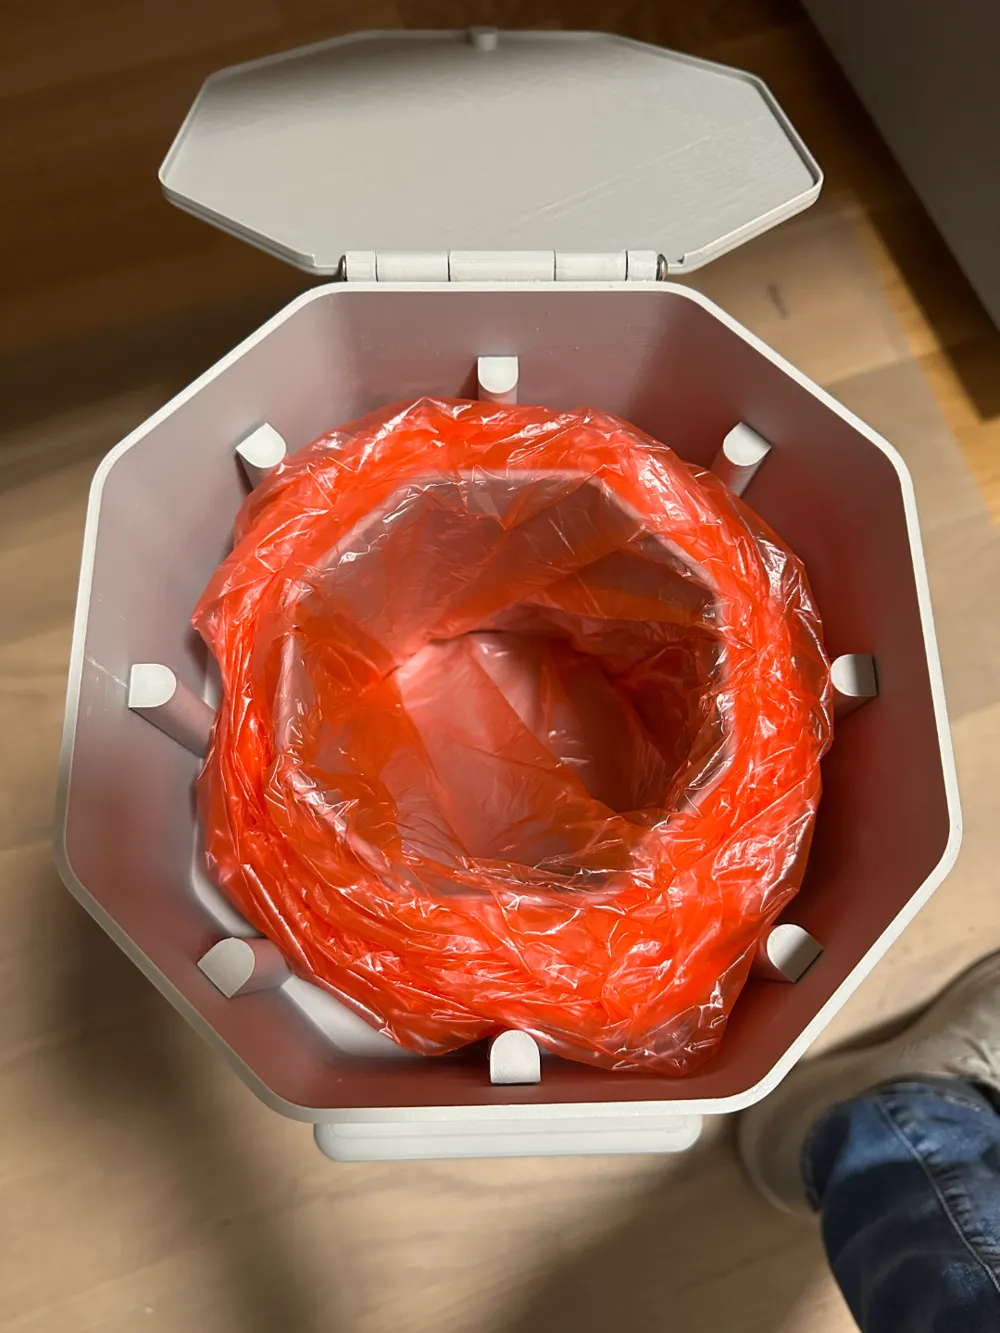
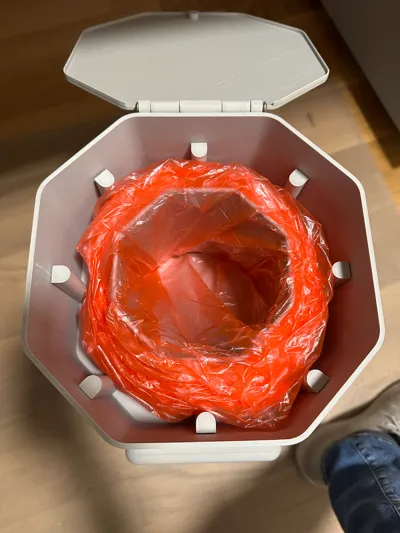
It offers a huge trash can area.
It is air sealed.
It's made for eternity, as everything can be repaired.
It saves a lot of money! (In my area one cartridge of LitterLocker lasts for 1,5 months for a single cat and cost 8€. The example waste bags from the provided link cost about 20€ and last for years.) You can also use pre-cut refills for LitterLocker, Litter Genie, and similar.
I faced the problem of broken original cartridges after I refilled them with third-party bags. Therefore I was forced to use an expensive original cartridge to have a fully-functional one for the next refill. LitterBuddy is the solution for this! In case anything breaks, it can be repaired.
Please follow the assembly instructions.
Please also have a look on the usage instructions. (Usage pictures are also shown in the slide show.)
Here is what you need:
Tools:
Hot iron/threaded insert press
Hot air gun/Hair dryer
Screw drivers
Optional Material:
8x Rubber feet (18mm diameter)
per Handle:
2x M4 (5.4x8mm) threaded inserts
2x M4x10mm screws
per Bag Cutter:
Bambu Scraper blade + included screws
2x M3x12mm screws
Documentation (2)
License

Comment & Rating (24)