
S.T.A.L.K.E.R. Gauss Rifle


Print Profile(1)
Description
STALKER Gauss Rifle
Pryvit Stalker,
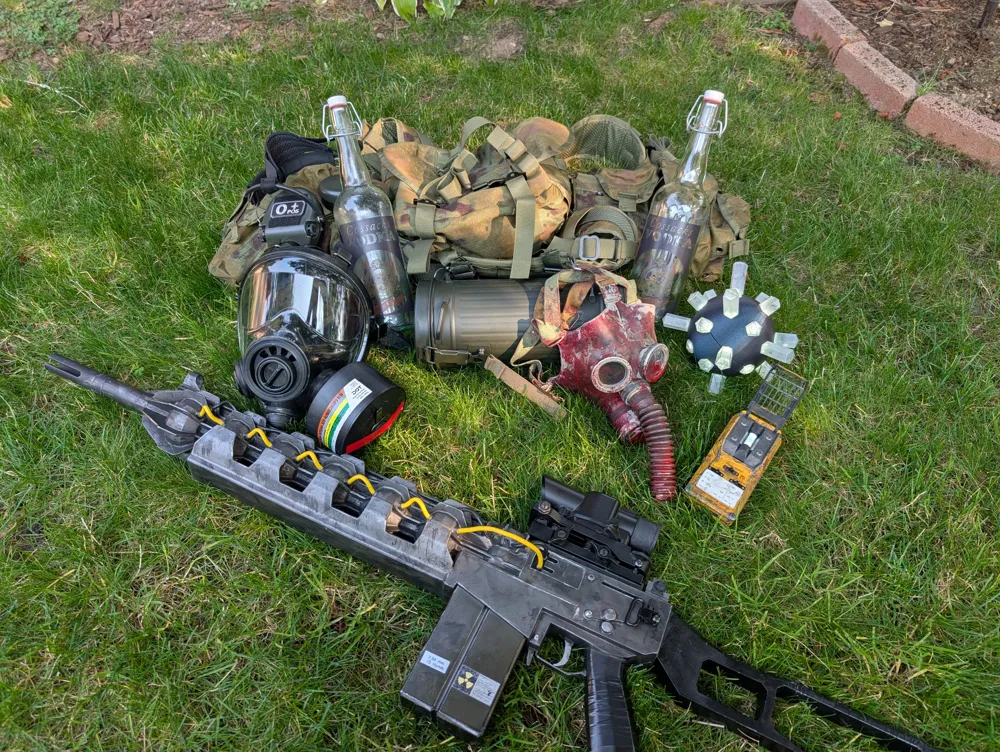
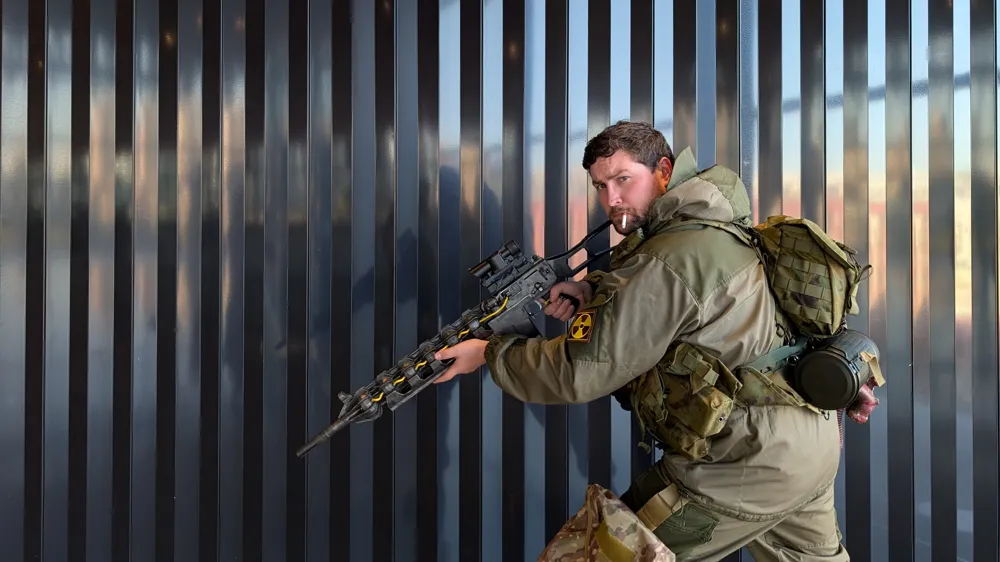
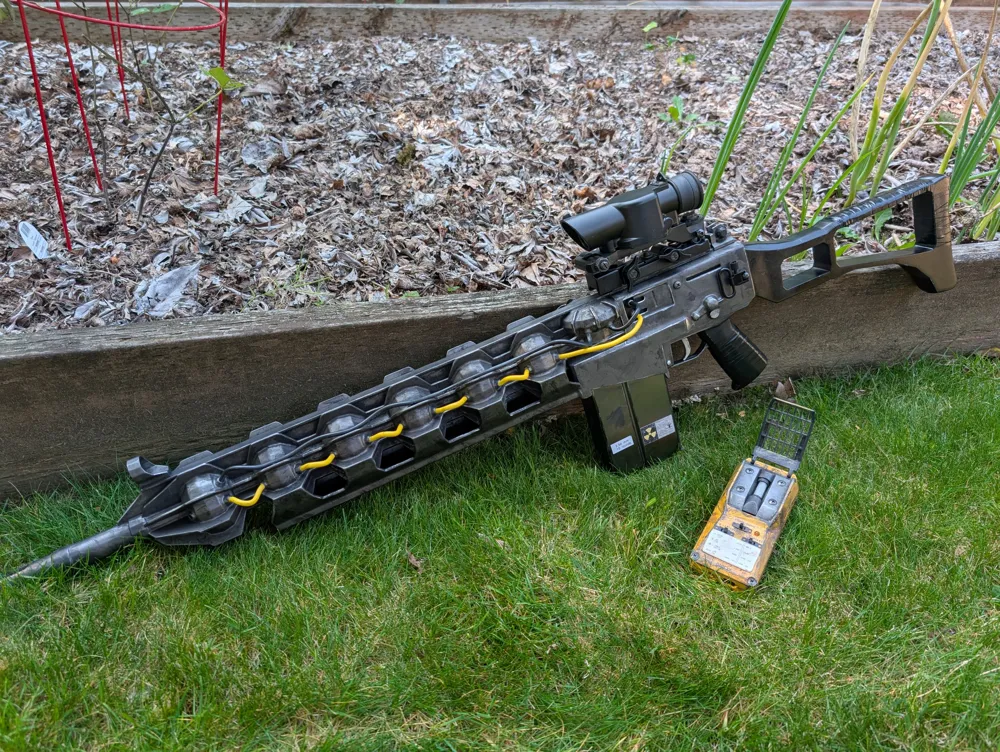
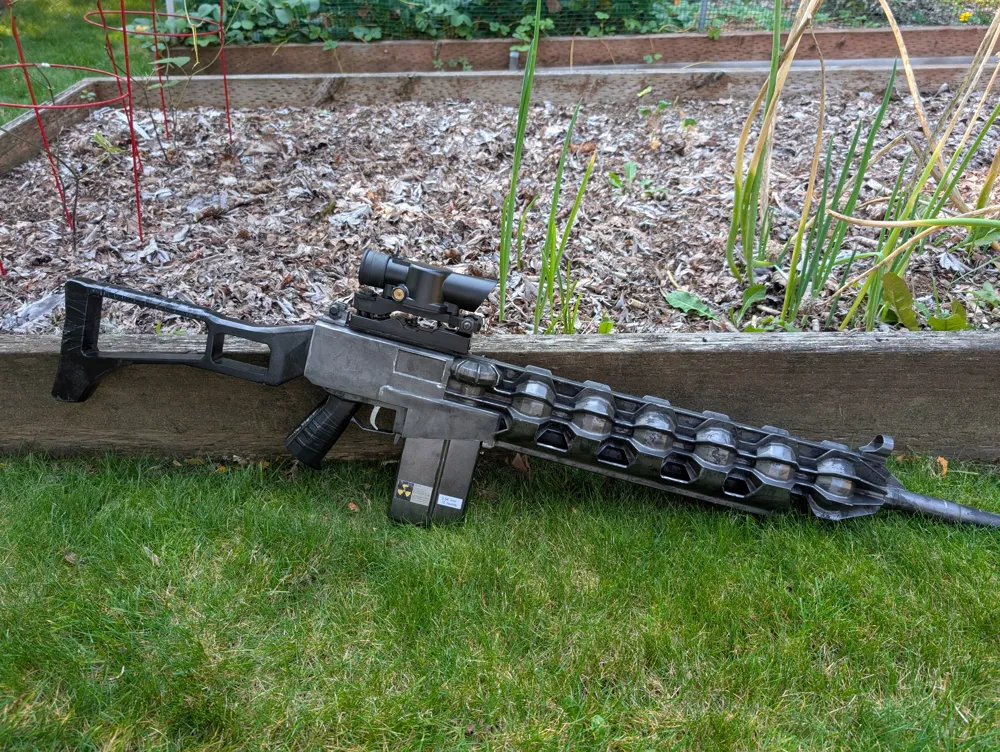
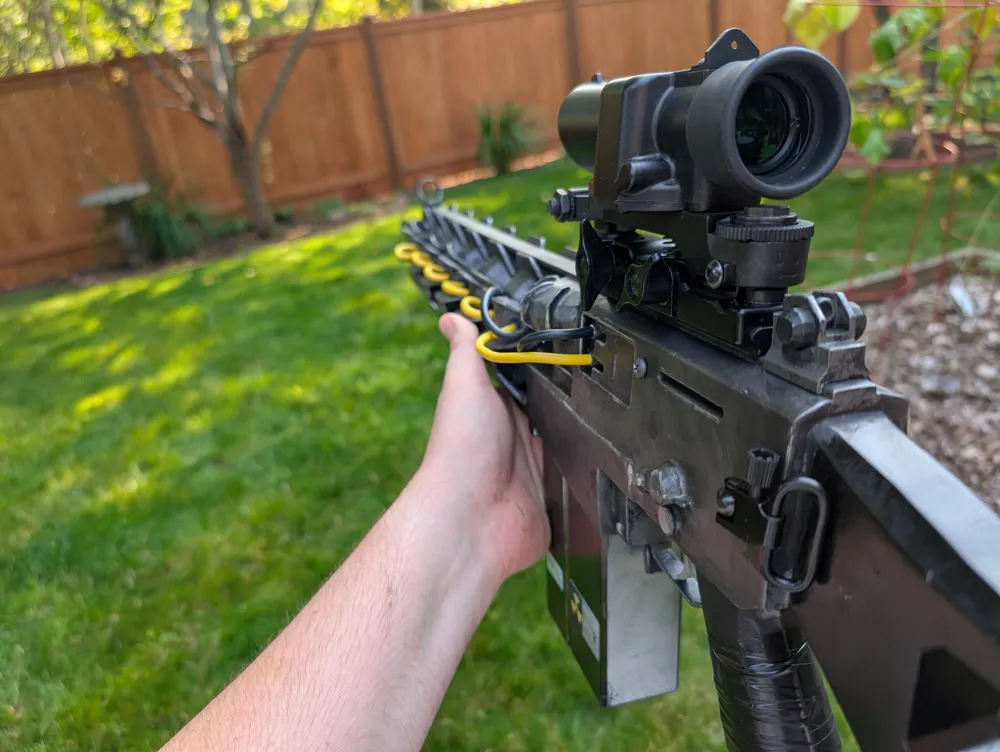
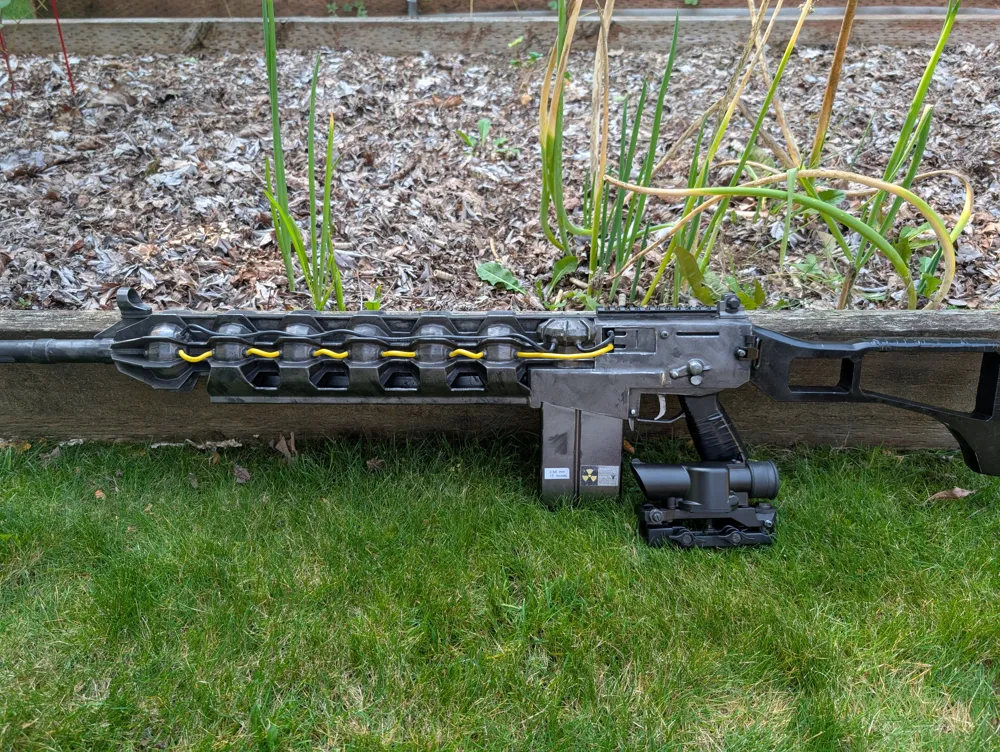
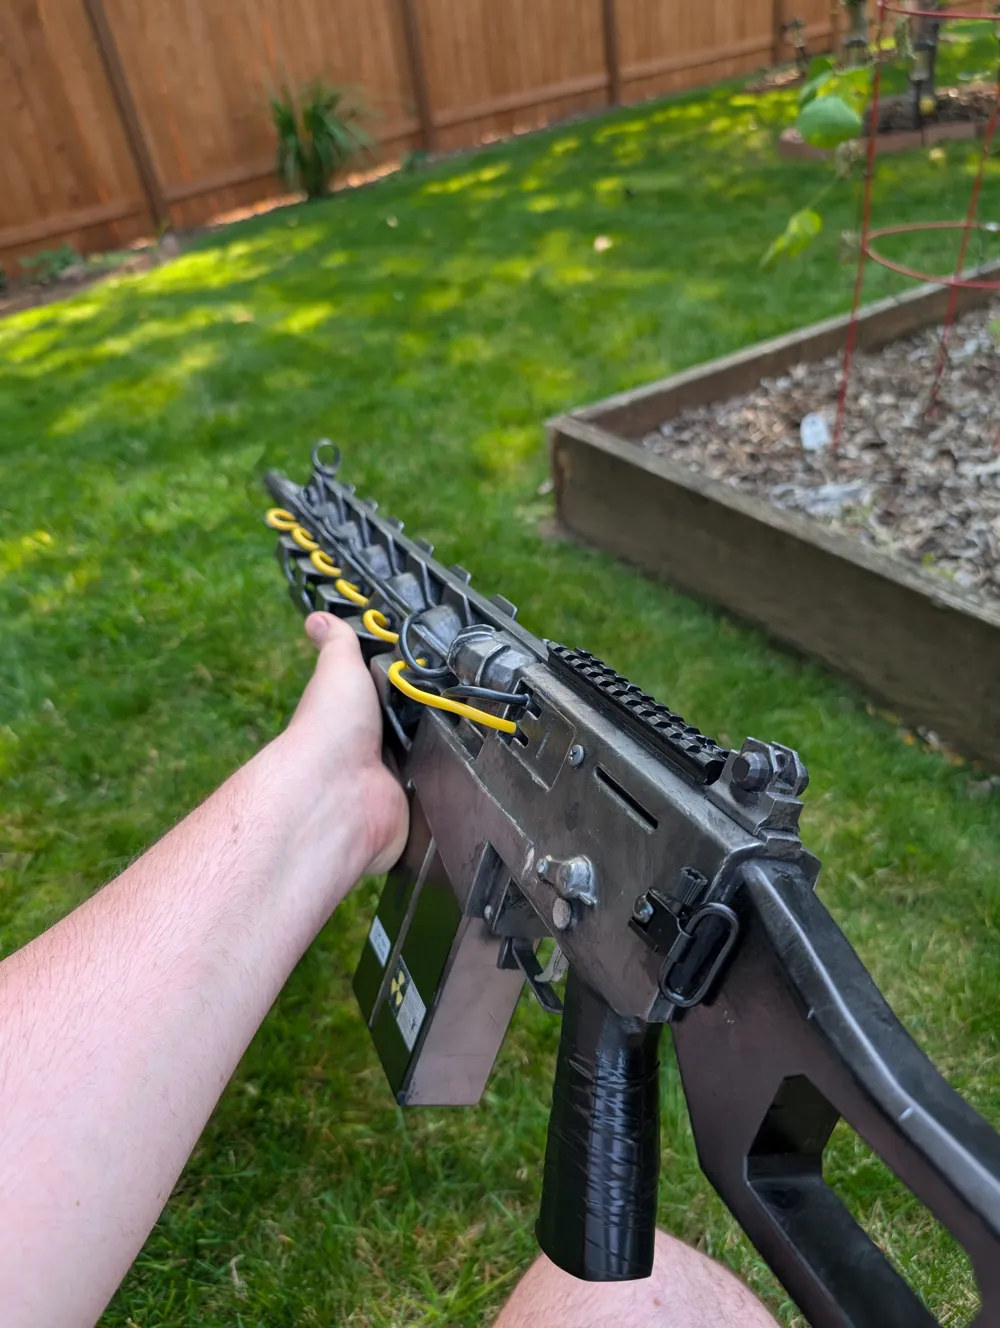
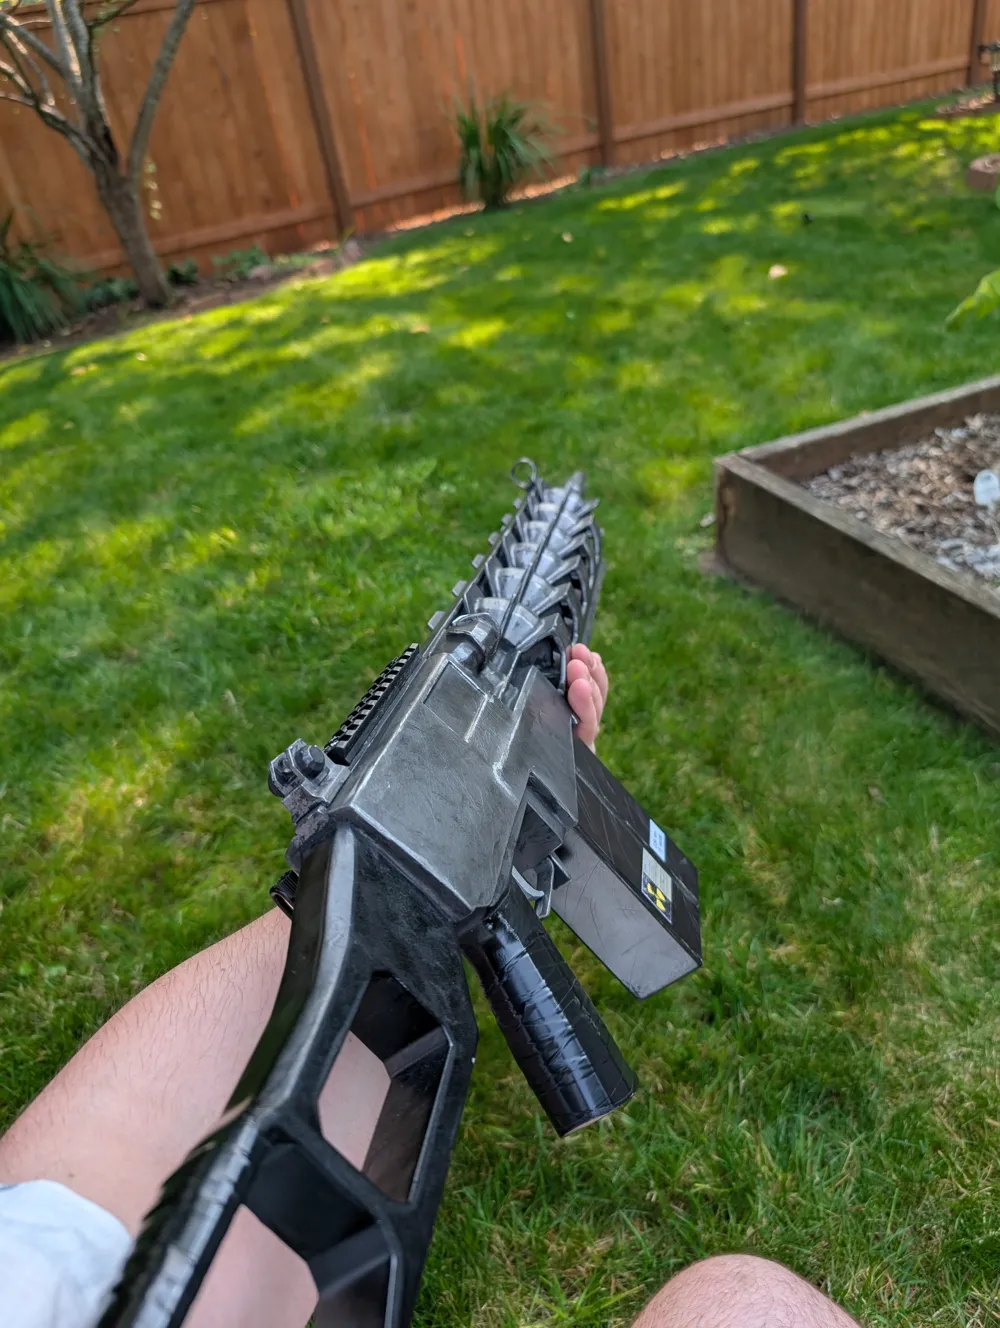
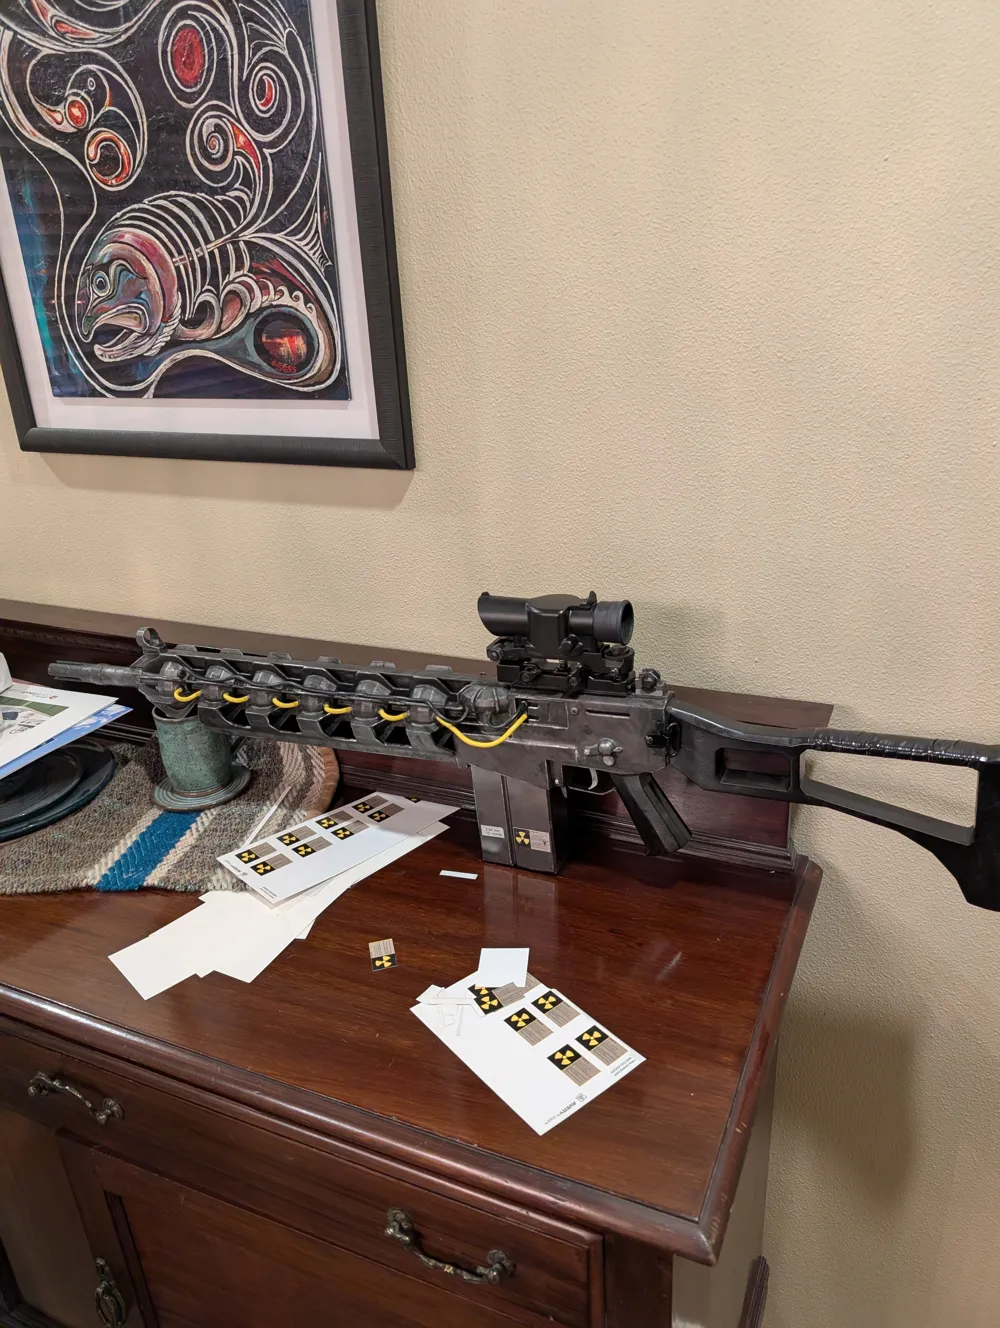
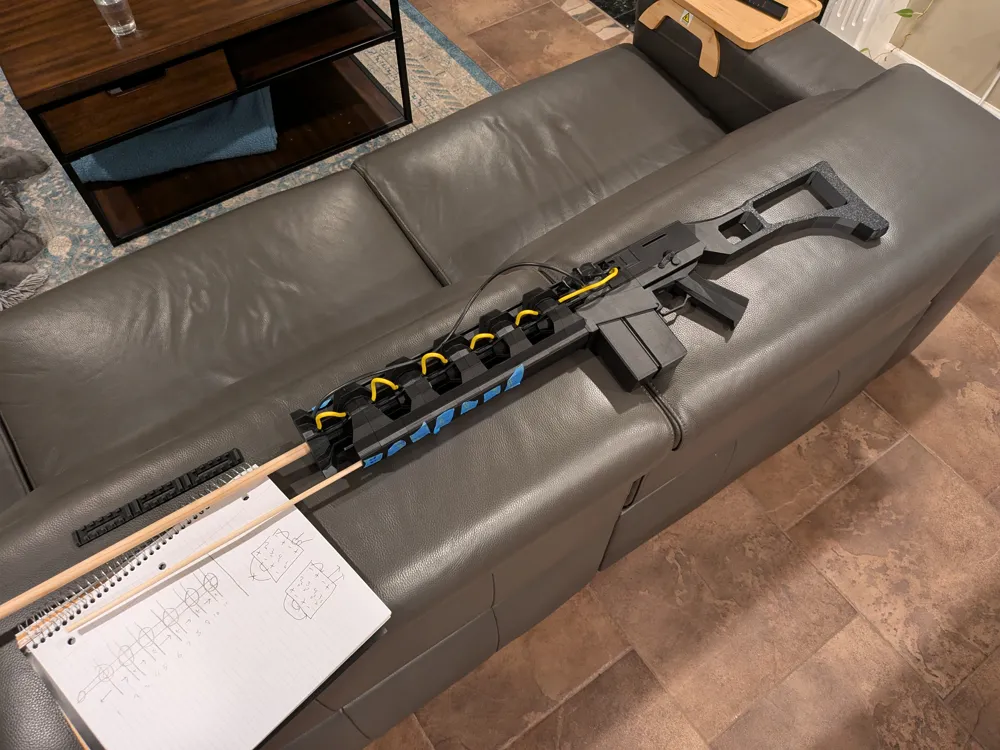
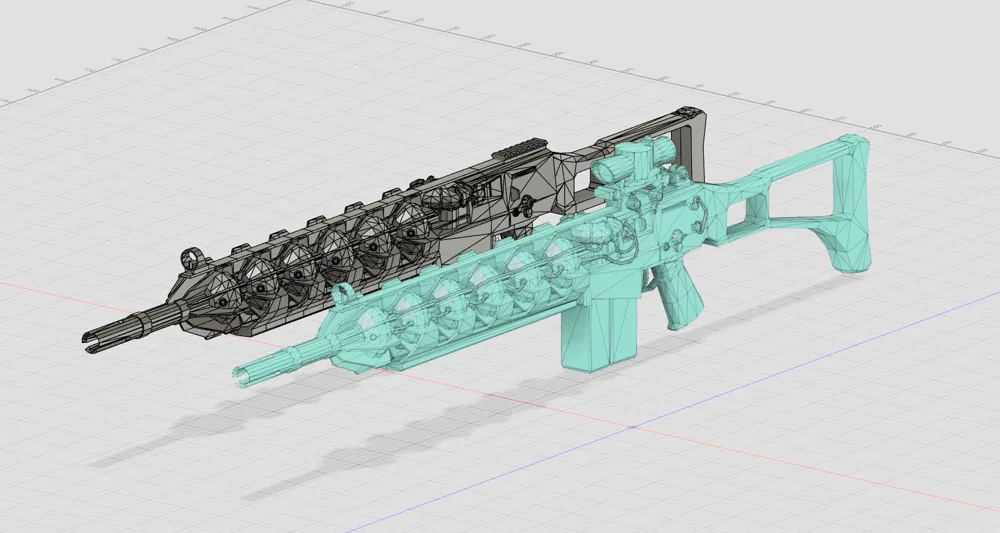
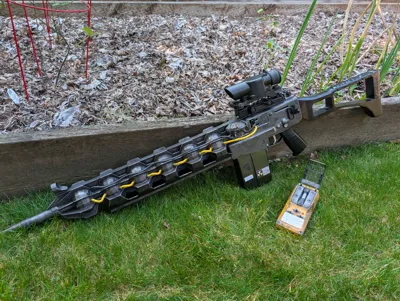
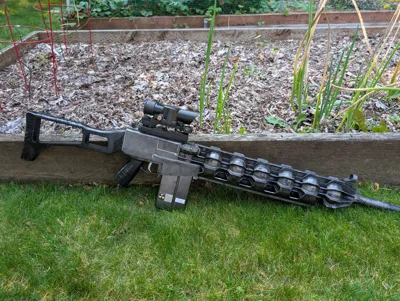
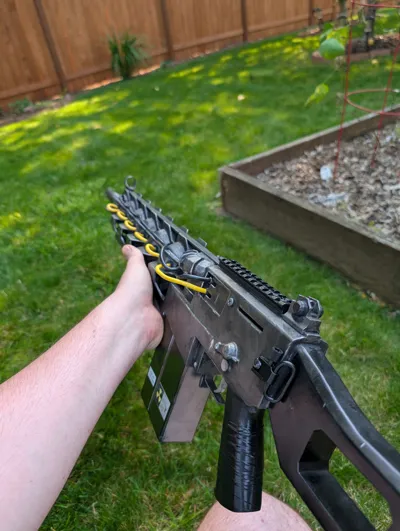
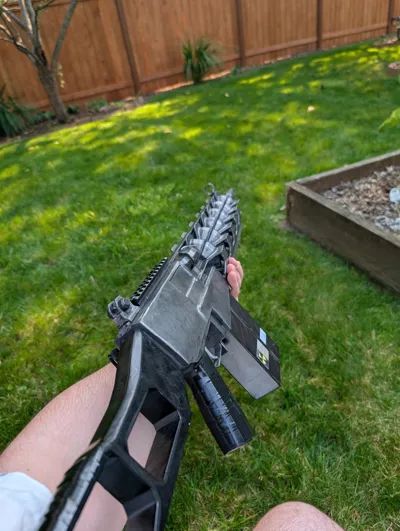
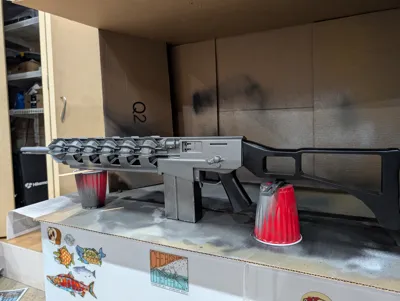
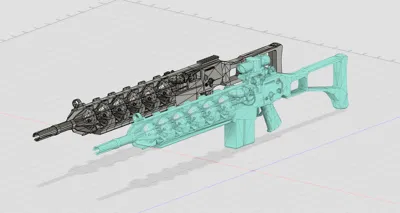
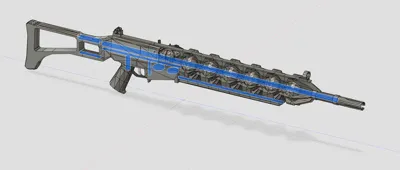
This is nearly a 1:1 copy of the original Gauss Rifle from the STALKER trilogy, with a few modern modifications to make your life in the zone a little bit easier.
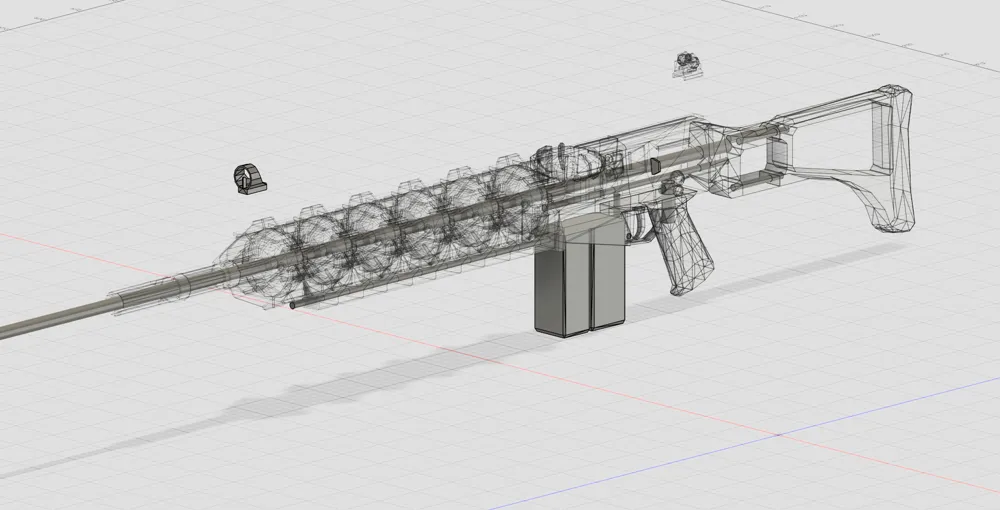
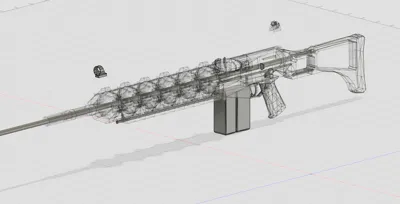
Using the Anomaly mesh files as reference, I painstakingly solidified the object to make it suitable for 3D printing. I then proceeded to make the following modifications:
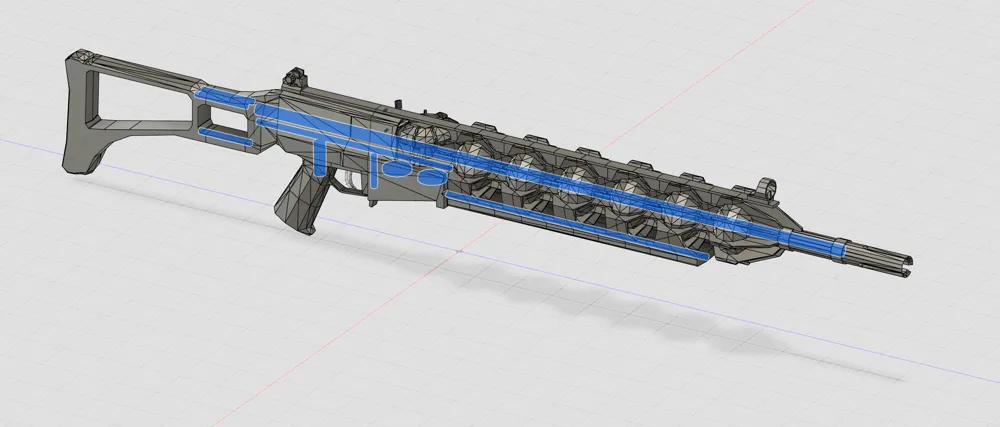
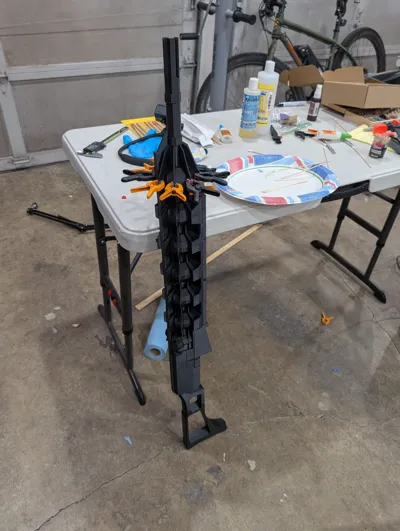
- I adjusted the geometry of various parts of the prop to accommodate wooden dowels, these significantly increase the strength of the prop.
- I extended the handguard at the front of the receiver (where the magazine well is), so it now sits flush against the receiver. I added a classy little wing to it so it looks original, but having this part slot against the receiver will hide the dowel and also give you a flat surface to epoxy against.
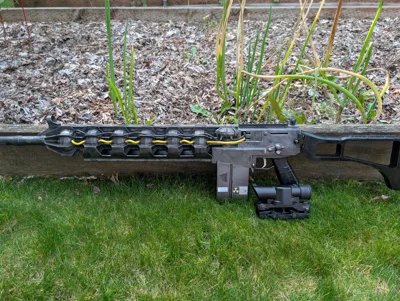
- There are two versions of the receiver files and magazines - with and without magnets. I printed mine with magnets, however I ended up just epoxying the magazine so it was fixed in place. Your use case may differ.
- There is also a standard "10 round" magazine, and an extended "15" round magazine. I personally think the "15 round" magazine photographs better, but the "10 round" is a true copy.
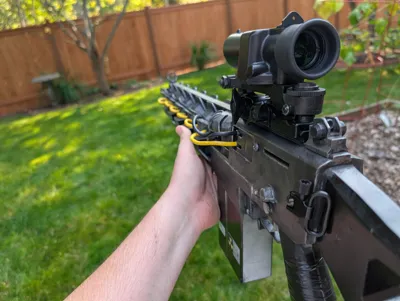
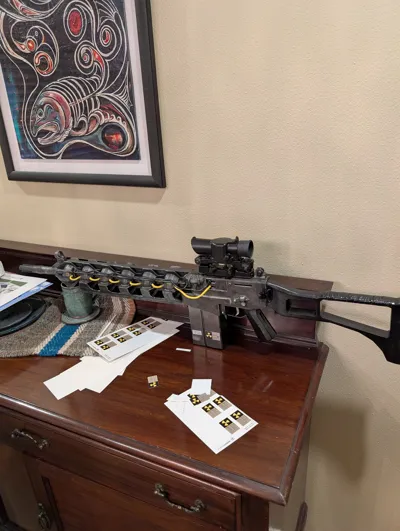
- I included a Picatinny/Weaver rail file that can be installed to the top of the receiver, however I would recommend investing in a metal optic rail if you are going to use a real sight like I did.
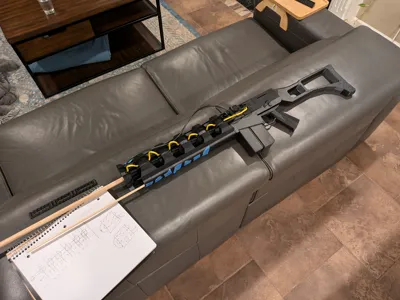
- I opened the wire holes on the barrel to support 4.5mm OD wiring. I would not recommend going larger than this.
All in all, it went together fairly well after I worked out the kinks! The original model was in pretty rough shape, so some compromises were made in what could be printed, and what could be accomplished in post-processing.
Good hunting, Stalker.
Printing Instructions
Recommended Filament / Settings
I highly recommend using PETG or PLA+.
I personally used black BambuLab PETG-HF at .16mm, 4 wall loops, and 15% gyroid infill.
Printing Order
Print all files with the following exceptions:
- Pick a version of Receiver_B, and what Magazine you'd like.
Assembly
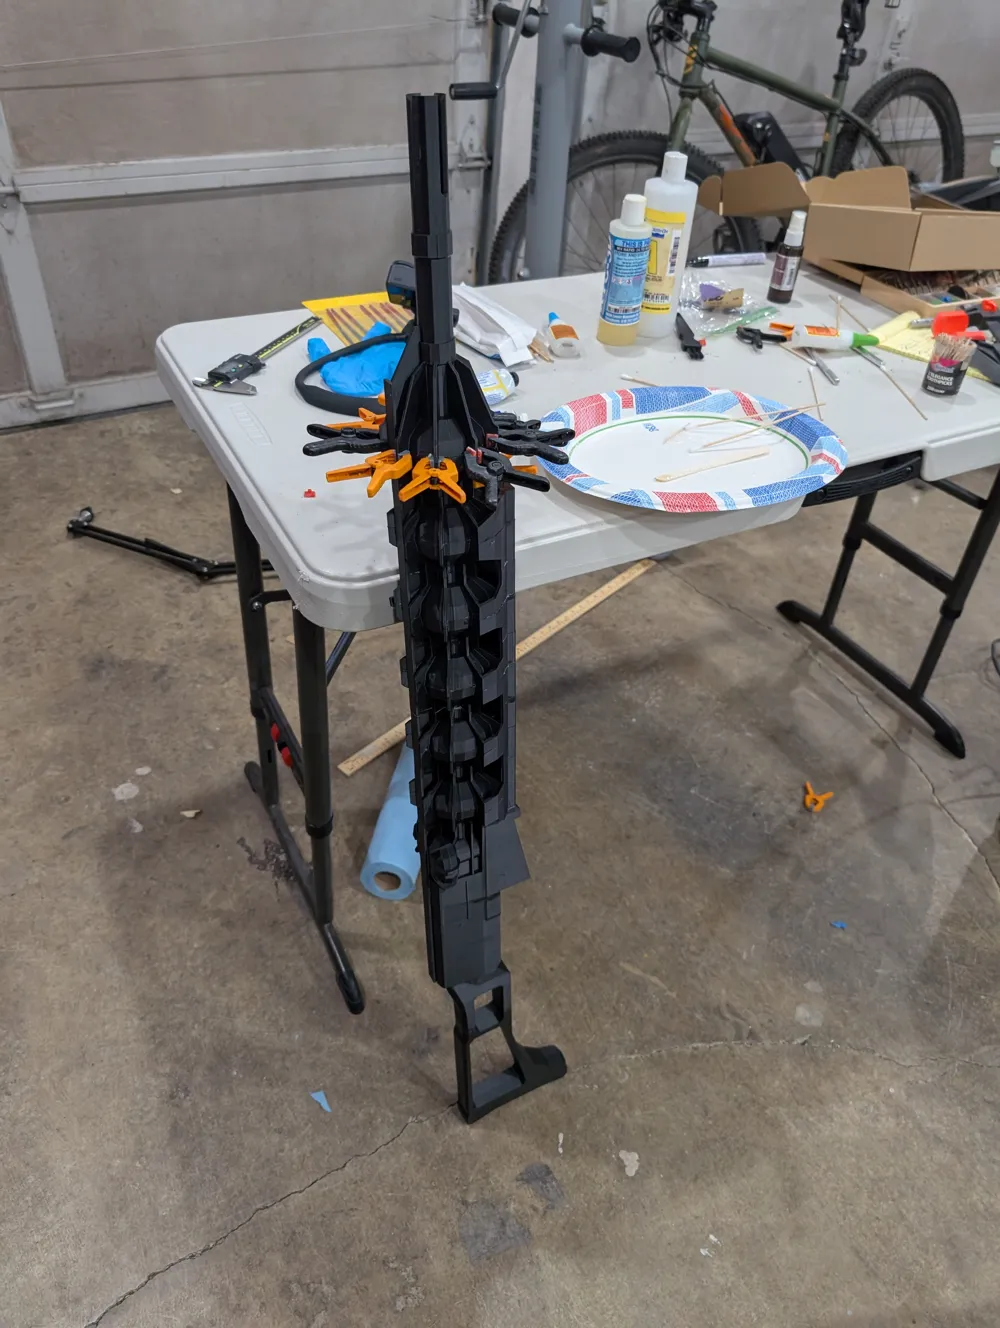
See below for materials list. Approximate assembly order should be as follows (adjust to your workflow)
- Attach Stock A to B w/ 3 dowels
- Attach Trigger Group to Receiver A w/ 2 Trigger Group Dowels
- Attach Receiver B to A to Stock w/ Main & Receiver Dowels
- Begin assembling Barrel, connecting Barrel_A1 to Receiver_B. Insert Handguard Dowel between Barrel_A1 and Receiver_B, but do not permanently attach until done.
- Begin stacking the barrel components. Barrel_A2 glues to Barrel_A1, B_1 to A_2, B_2 to B_1, etc.
- Barrel_E2 is the end of the handguard, permanently affix handguard dowel at this point.
- Finish build with Barrel_F1 and Barrel_F2.
I recommend using 2-Part epoxy instead of Super Glue since epoxy will have a little bit more "give", yielding a more functional prop. However, CA glue will work in a pinch.
Materials
Source the following wood dowels:
1/2" OD Wood Dowels:
- Main Dowel ~760mm
- Grip Dowel 1 ~40mm
1/4" OD Wood Dowels:
- Grip Dowel 2 ~40mm
- Handguard Dowel ~337mm
- Receiver Dowel ~250mm
- 3x Stock Dowel ~66mm
Lengths are approximate, and I recommend you double check dowel length before breaking the glue out. Sand dowels to fit depending on printer calibration or if you're in a part of the world that uses a normal measurement system. Press-fit is fine, but I'd recommend going looser so you can get more epoxy into the dowel holes.
Optional
- 4.5mm OD Black/Yellow wire for the practical wiring effect.
- 32x2mm Neodymium Magnets to taste
- A metal picatinny/weaver rail + appropriate screws
- Optic
- Sling loop if you want to attach a sling. Recommend screwing this into rear of receiver.
- Label maker for the magazine decals.
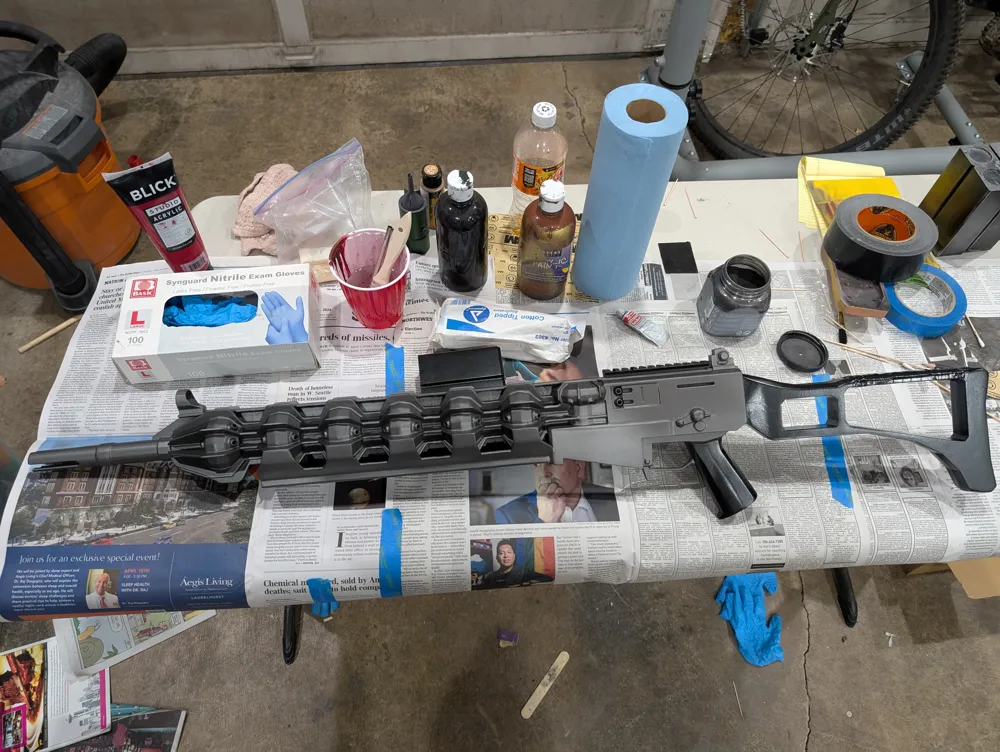
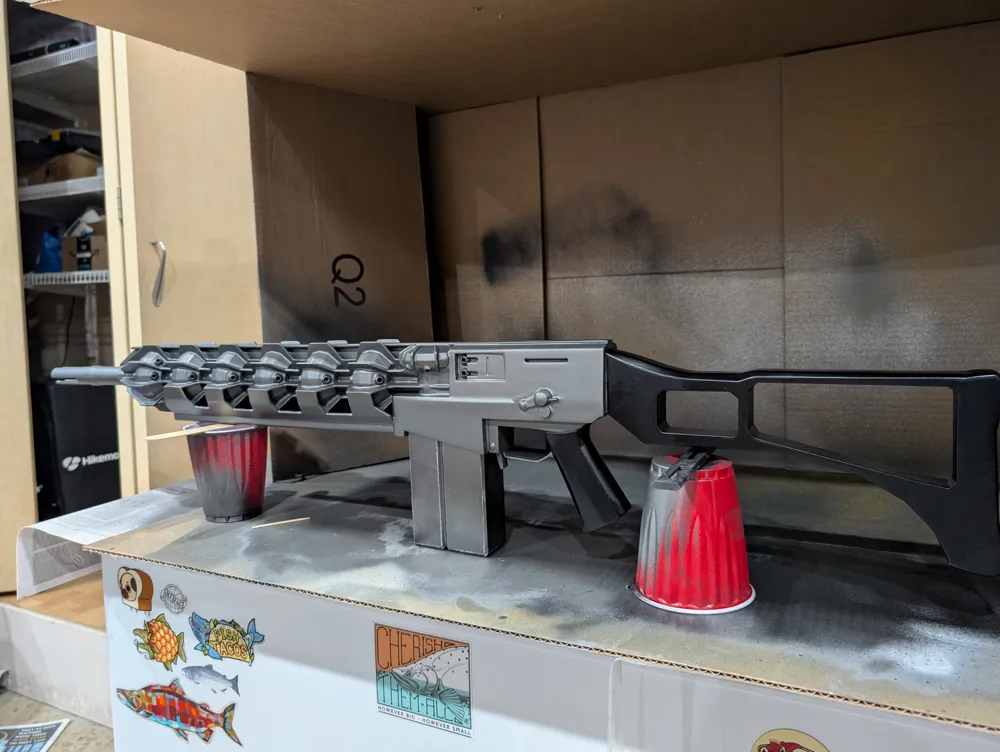
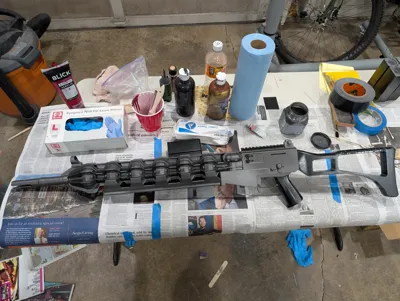
Finishing the Prop
I am working on a blog post for this, though there is no "right" way to do it. Feel free to use mine as inspiration!
Changelog
- 2024-09-06: Initial Release
TODO
- Finish remeshing the "original" SUSAT scope; there's a large floating section so I am having a hard time figuring out how to best deal with that in a practical and aesthetic manner. I continue to recommend just buying an airosft replica scope.
- Figure out how to build a wire bending jig to get the “magnet coil” look the gauss…balls?… are supposed to have. I skipped that step in post production.
Documentation (1)
License



Comment & Rating (21)