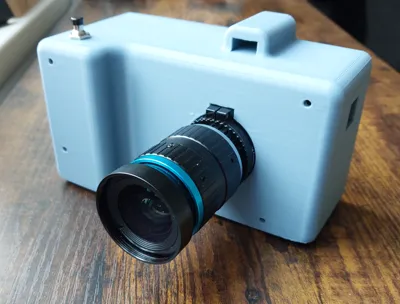
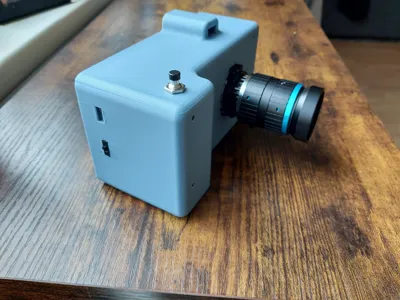
DIY raspberry pi camera


Print Profile(1)

Description
GitHub - penk/ruha.camera: 3D Printable Retro-style Raspberry Pi HQ Camera
got the idea from this but that screen does not work on my raspberry so I designed a body myself, see that site for electronics.
I used this screen:5.5inch HDMI AMOLED - Waveshare Wiki
The code that I used was this (still in progress)
from picamera2 import Picamera2, Preview
import time
from datetime import datetime
from gpiozero import Button
from signal import pause
# Initialize Picamera2 and GPIO button
picam2 = Picamera2()
button = Button(17)
# Configure the camera
camera_config = picam2.create_still_configuration(
main={"size": (1920, 1080)},
lores={"size": (640, 480)},
display="lores"
)
picam2.configure(camera_config)
def capture():
print("Starting preview...")
picam2.start_preview(Preview.QTGL)
time.sleep(1) # Give the preview time to initialize
picam2.start()
print("Waiting 2 seconds before capture...")
time.sleep(2) # Delay to allow framing
timestamp = datetime.now().isoformat()
image_path = f'/home/pi/{timestamp}.jpg'
print(f"Capturing image and saving to {image_path}")
picam2.capture_file(image_path)
print("Stopping preview and camera...")
picam2.stop_preview()
picam2.stop()
# Assign the button press event
button.when_pressed = capture
# Keep the script running
pause()
Comment & Rating (0)