
IS - 7 1:35 Tank - Heavy


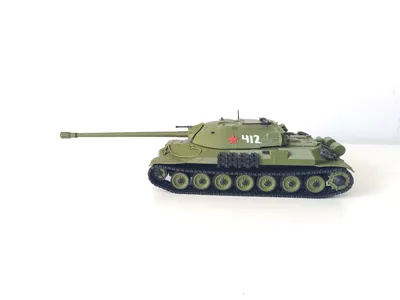
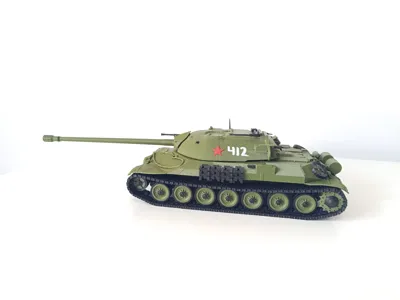
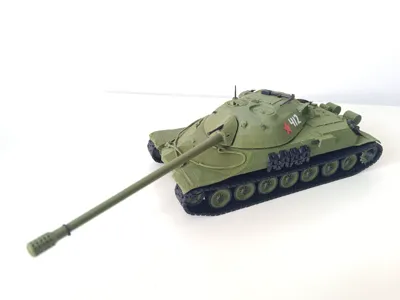
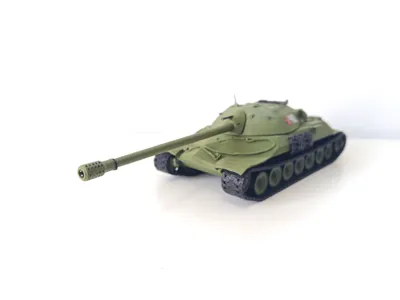
Print Profile(2)


Description
Hello there!
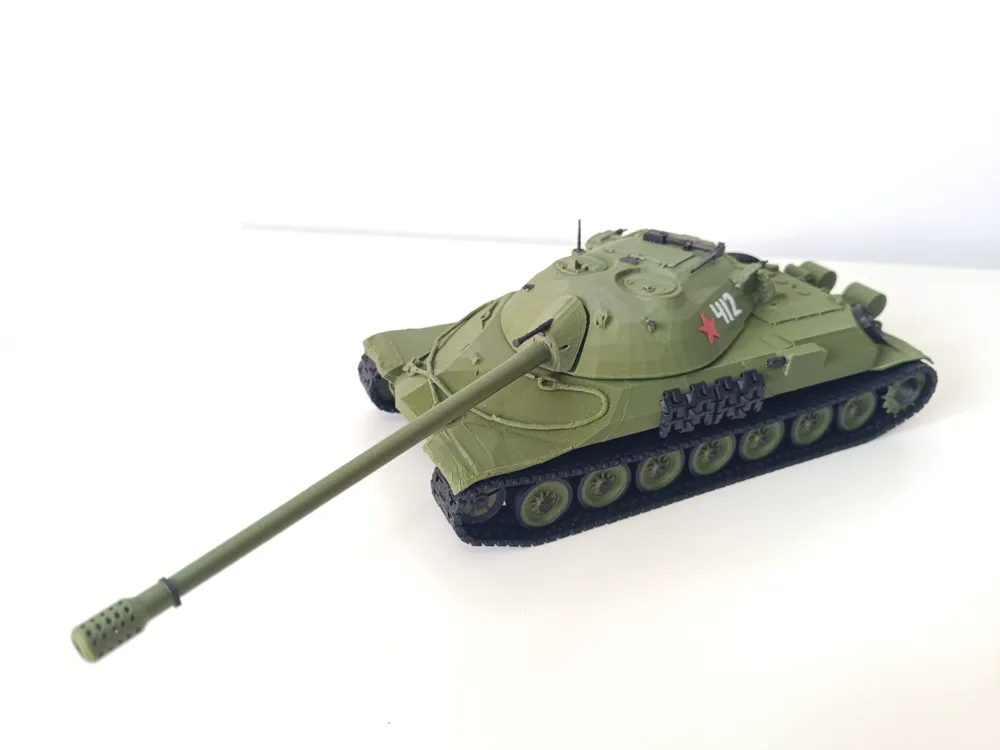
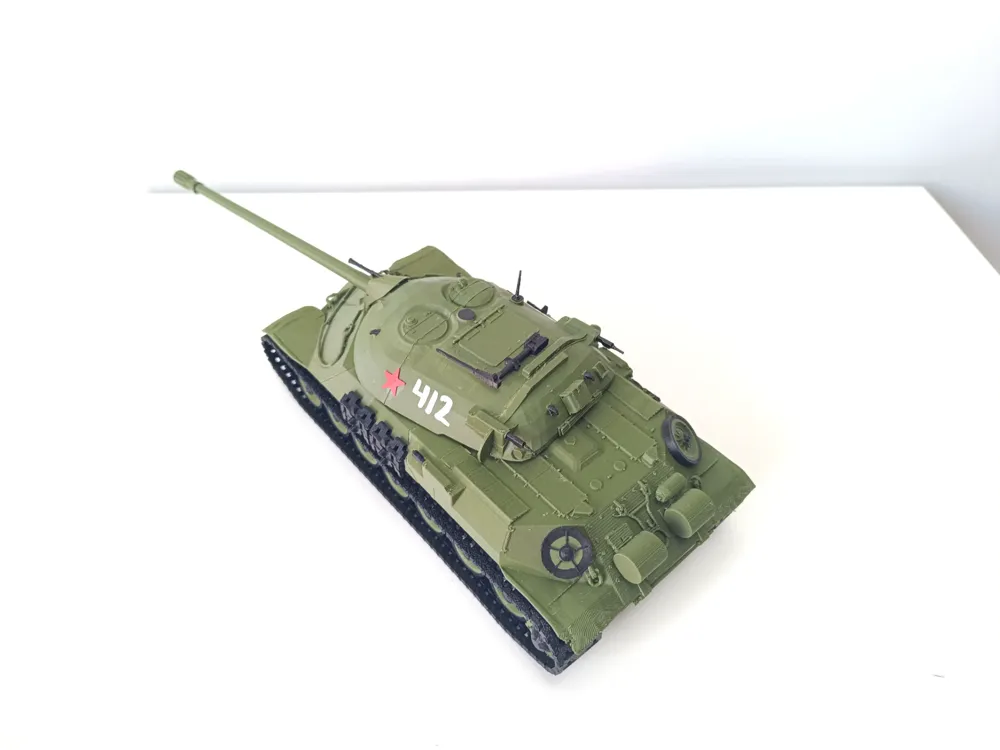
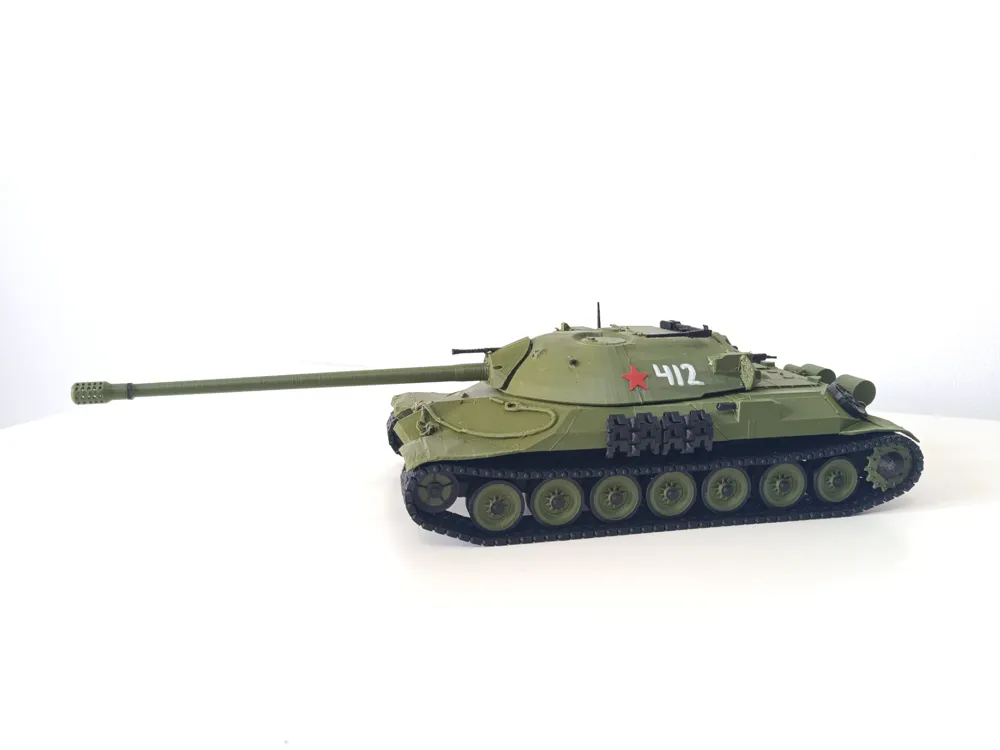
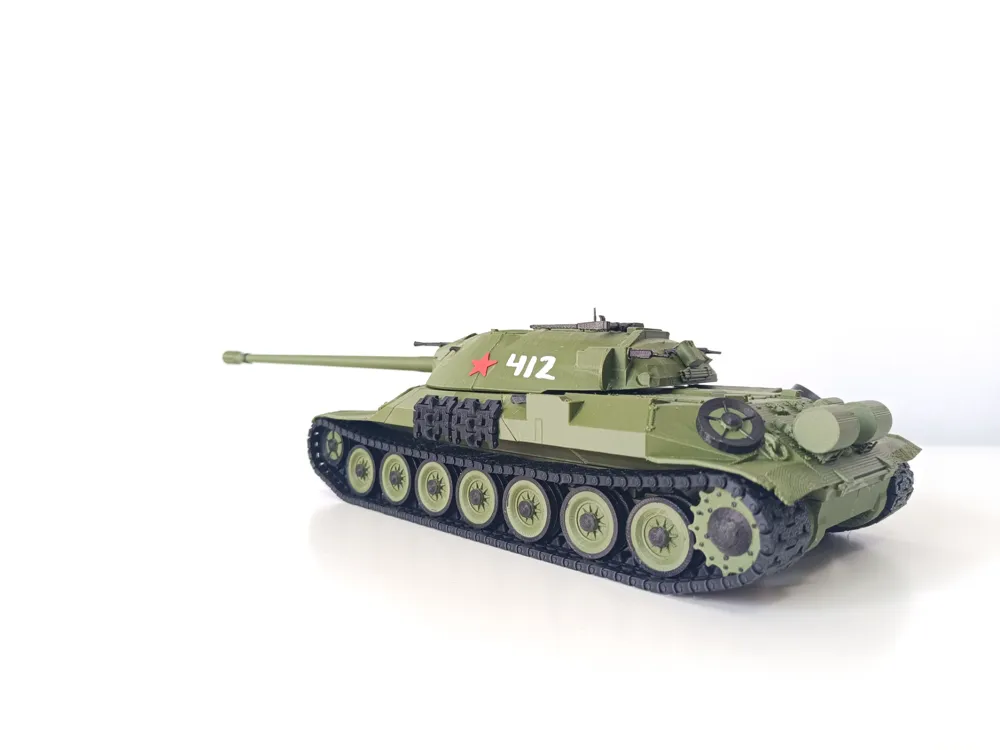
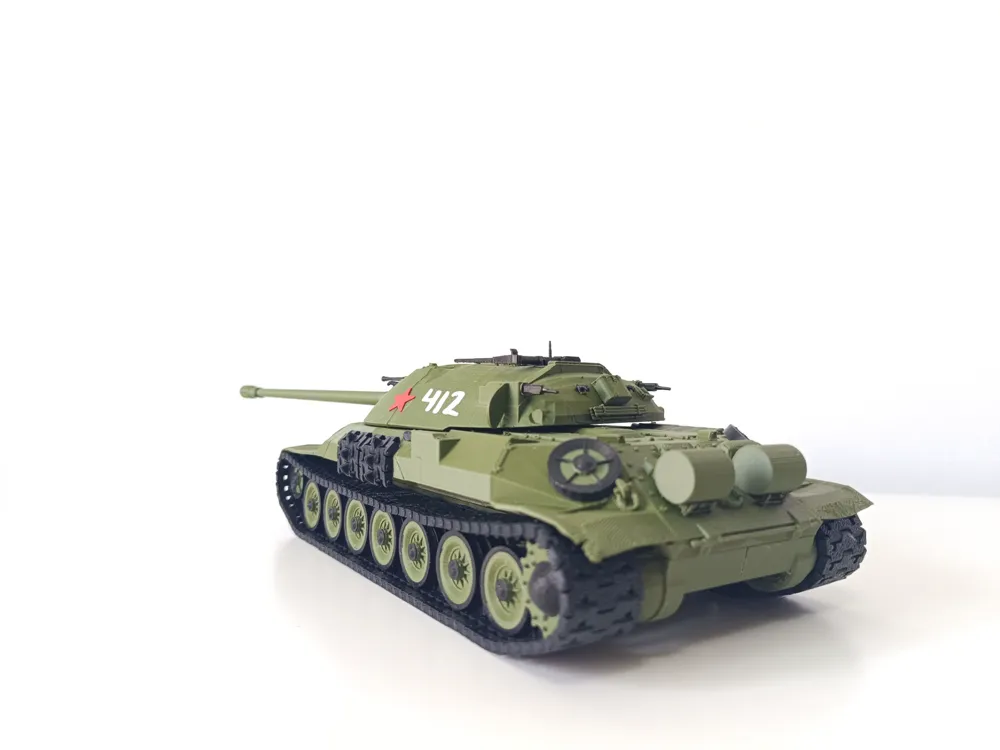
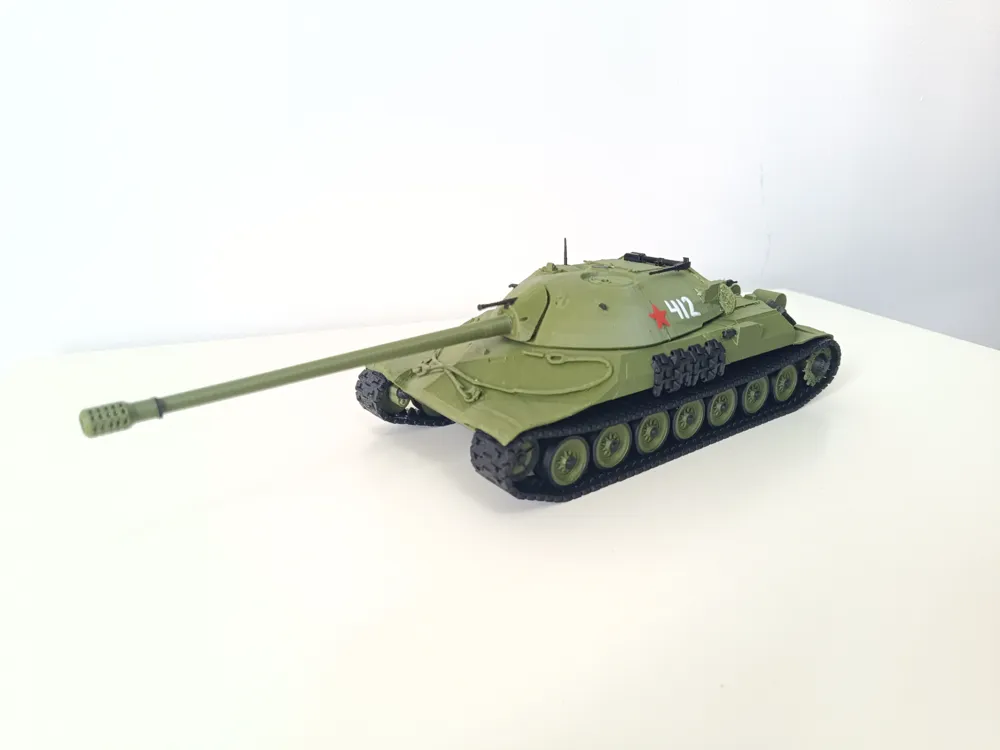
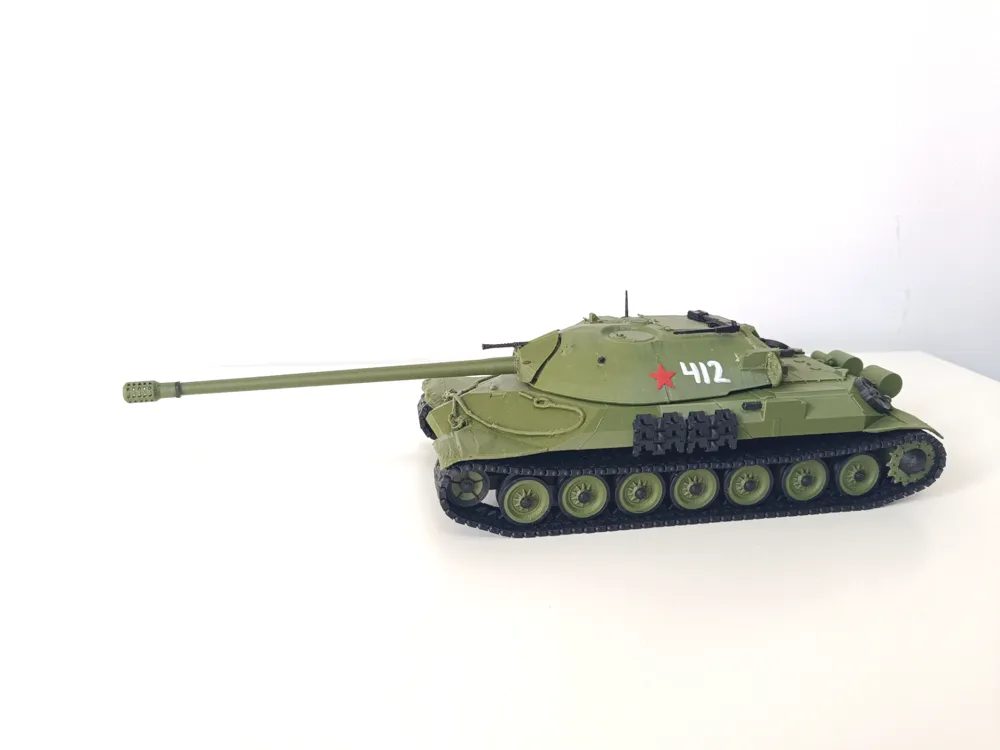
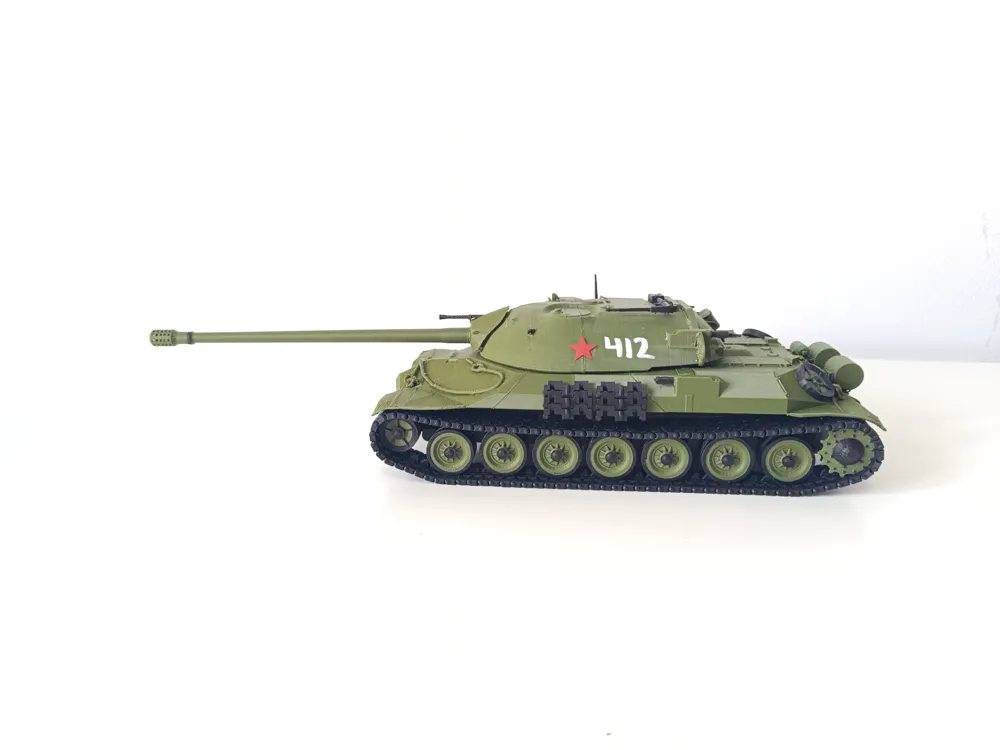
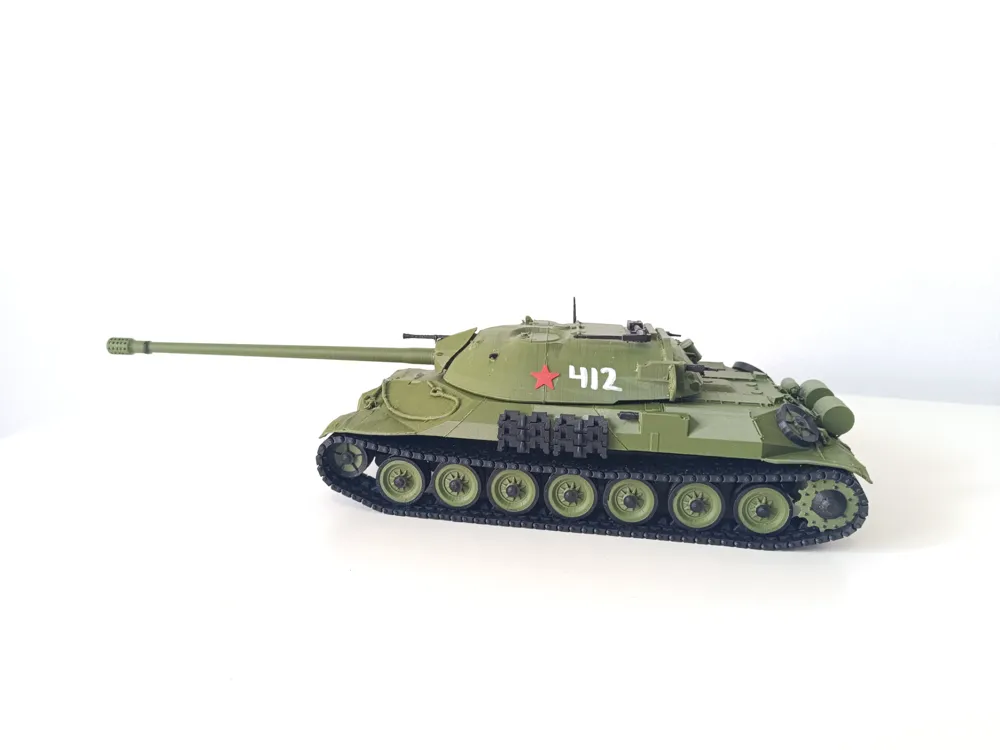
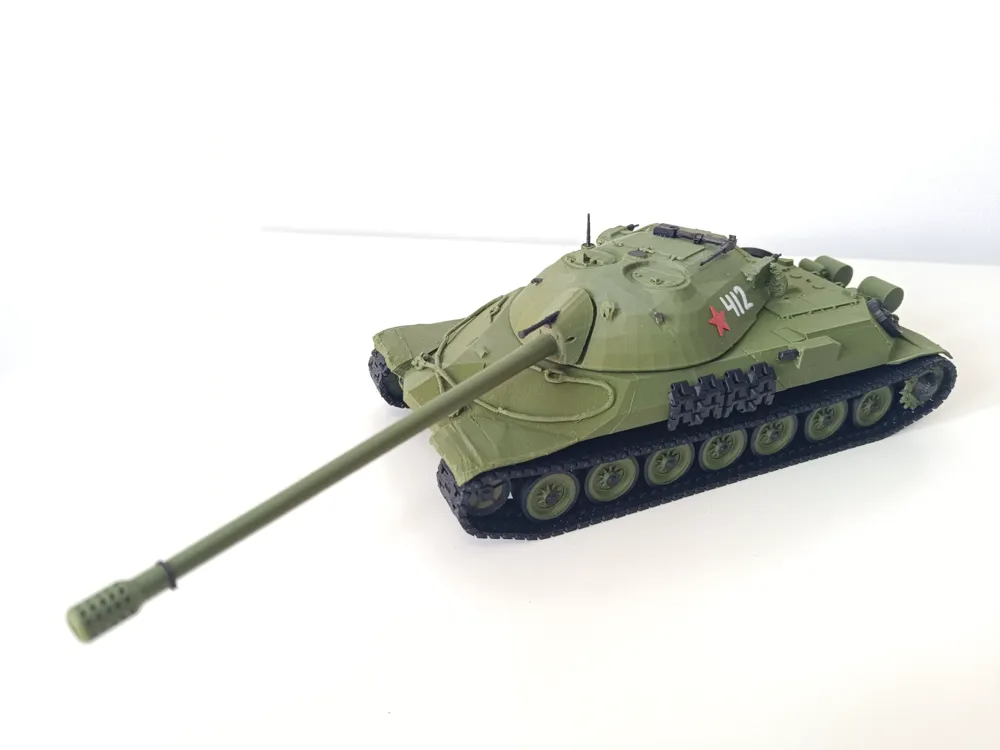
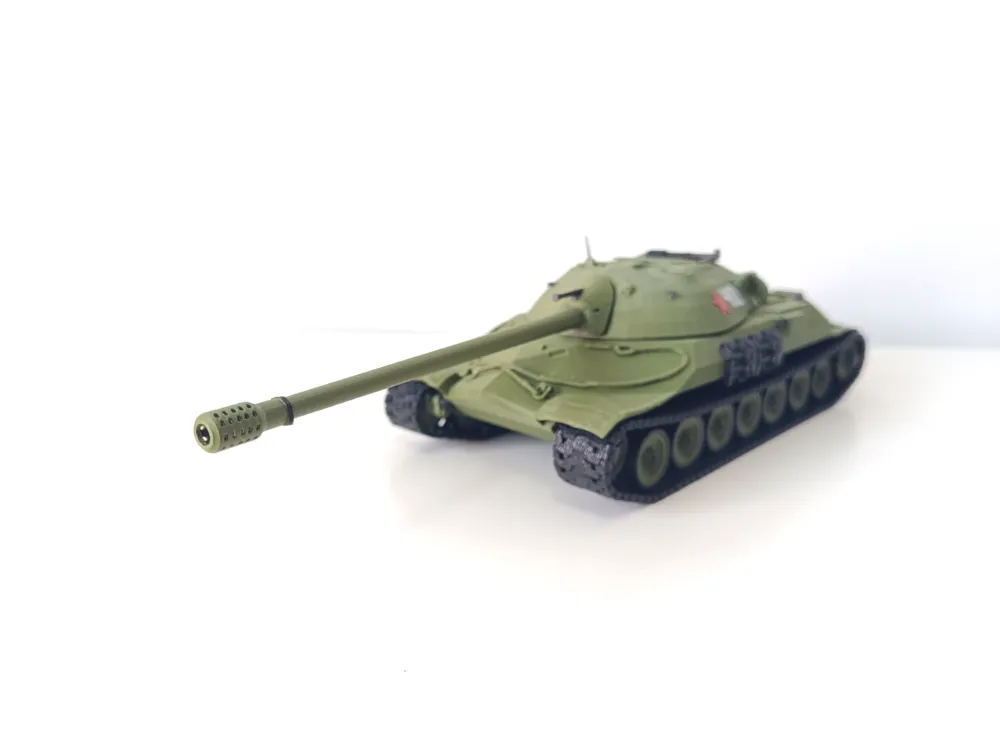
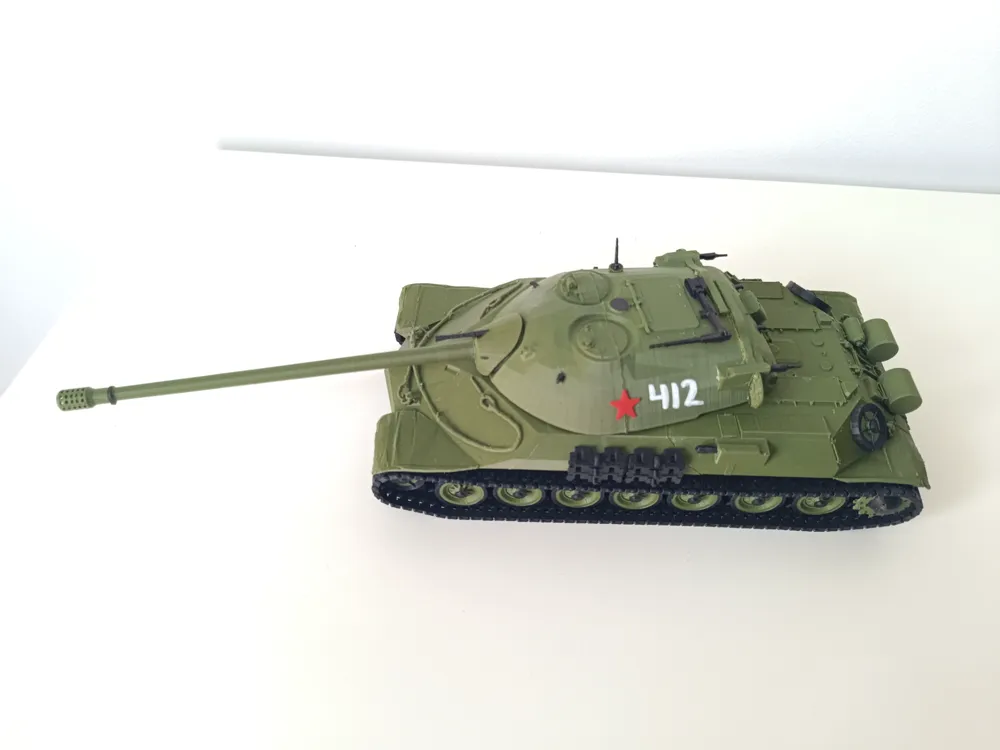
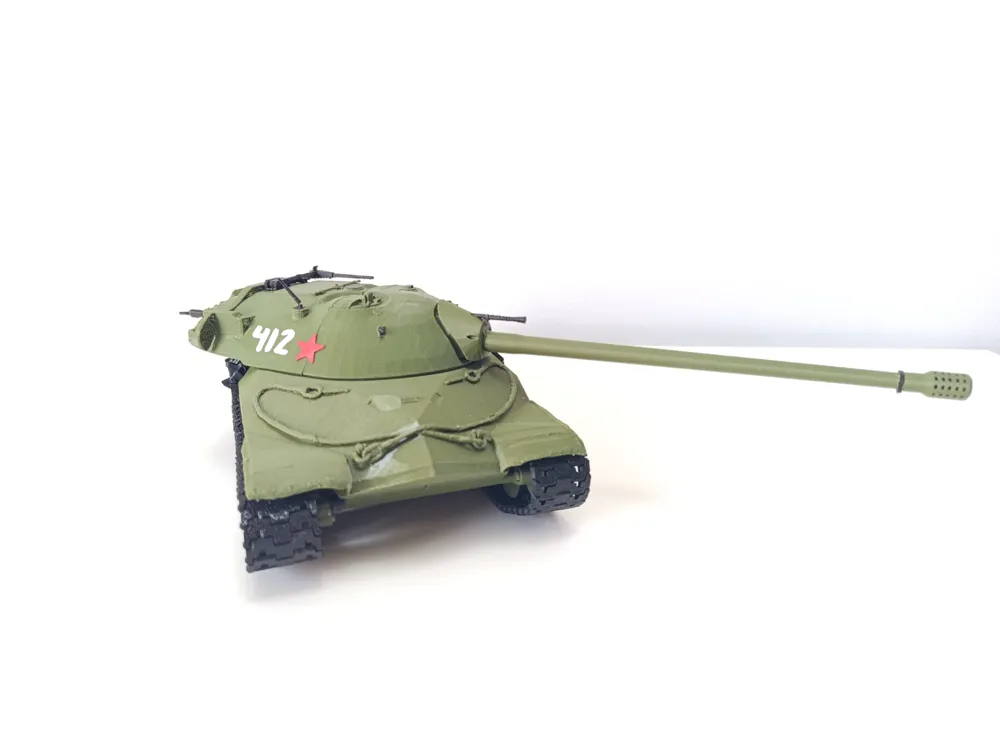
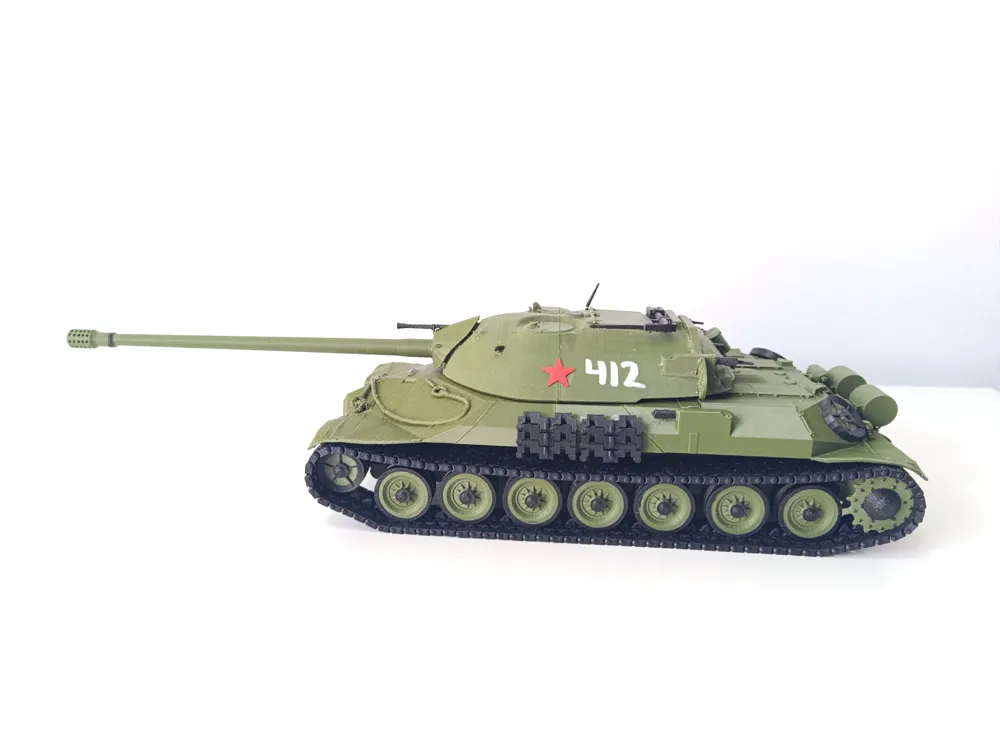
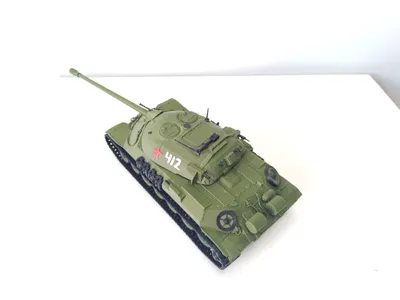
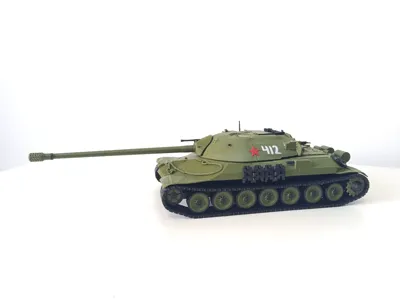
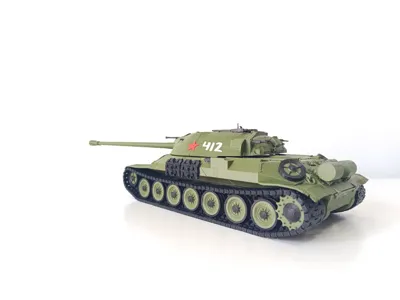
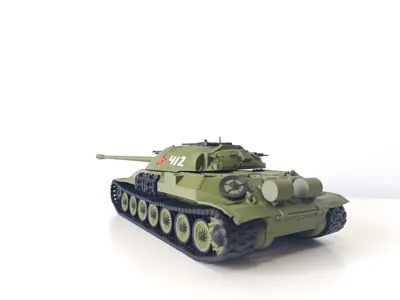
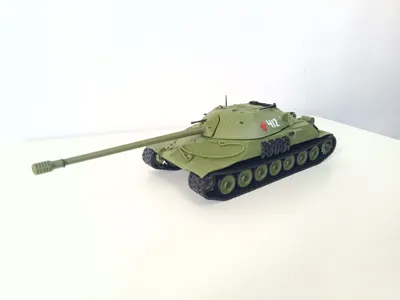
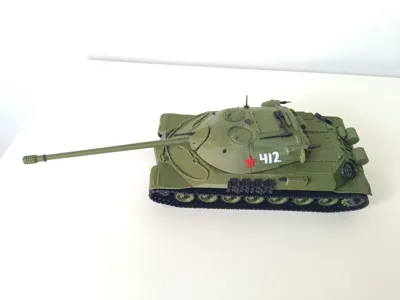
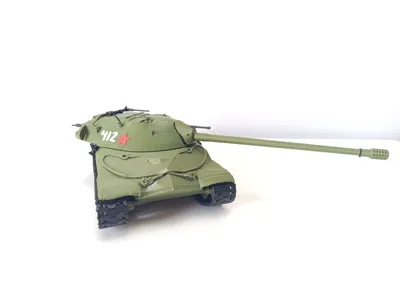
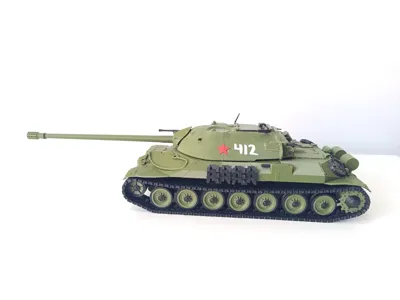
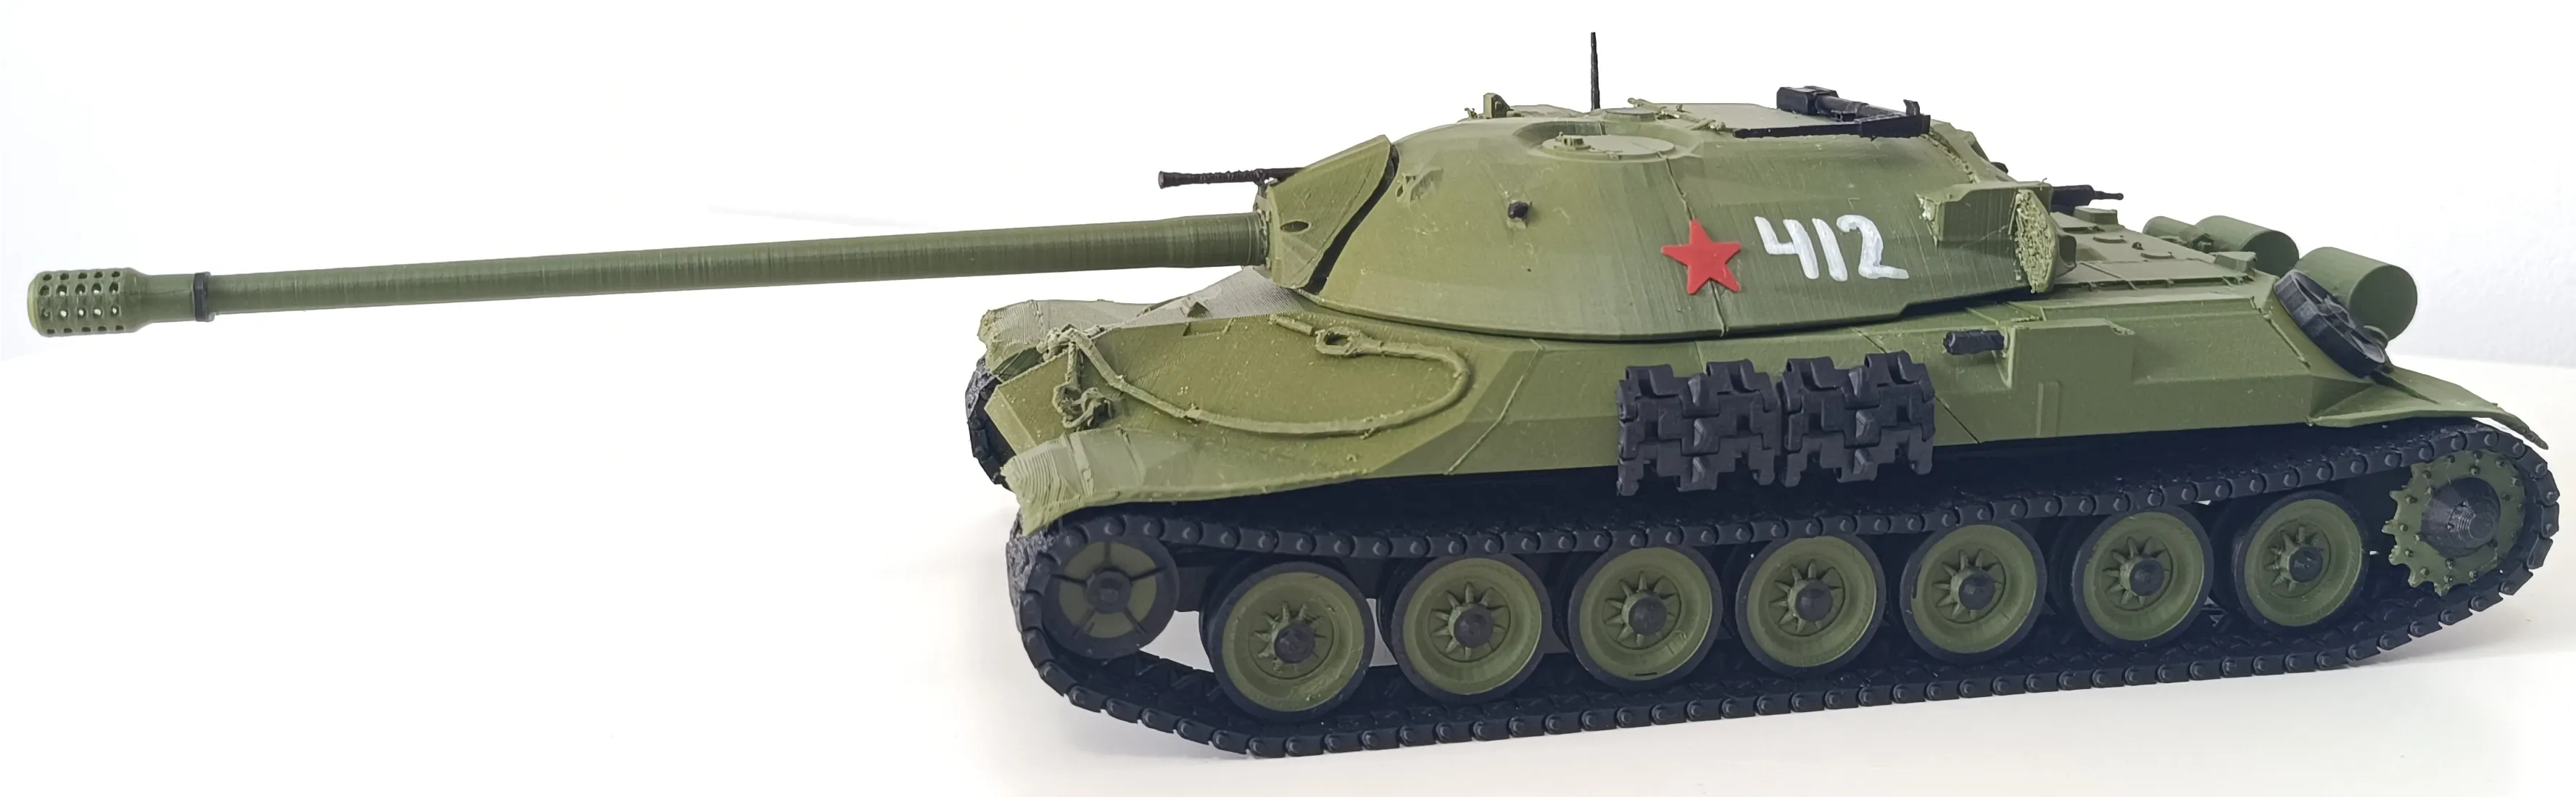
I would like to present a model of a very iconic tank Soviet's IS-7!
“The IS-7 model 1948 variant had a weight of 68 metric tons and was armed with the 130 mm S-70 naval cannon (7020 mm long barrel) with autoloader and stabilizer, infrared night scopes, 8 machine guns, armor from 220 to 300 mm thickness', and 60 km/h roadspeed.”
Design
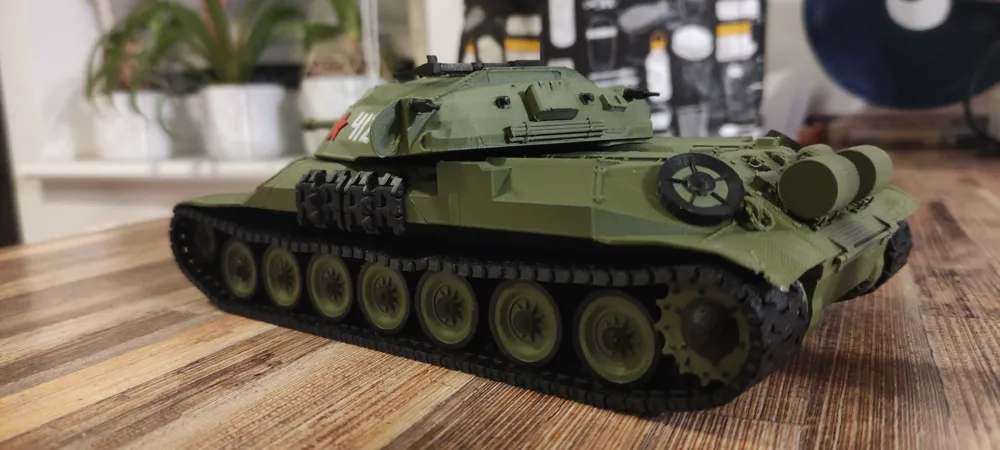
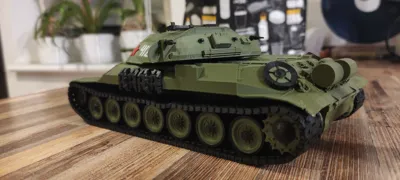
The attached file is prepared for printing with great attention to detail. Each individual wheel is movable and rotates as in a realistic tank suspension. The drive wheel cuts into the tracks as in real life with its teeth. Offcourse it results that tracks are fully moveable. To get the design of the wheel shafts right, I performed 16 iterations and tests.
The tank's tracks were designed to fully replicate the real thing - to fall down under gravity and to make the joint durable at the same time. To get the right tolerances I made and tested as many as 10 different variations, but the end result pays off. After printing, you can see that despite printing with PLA, you can bend the entire path as if it were printed with TPU.
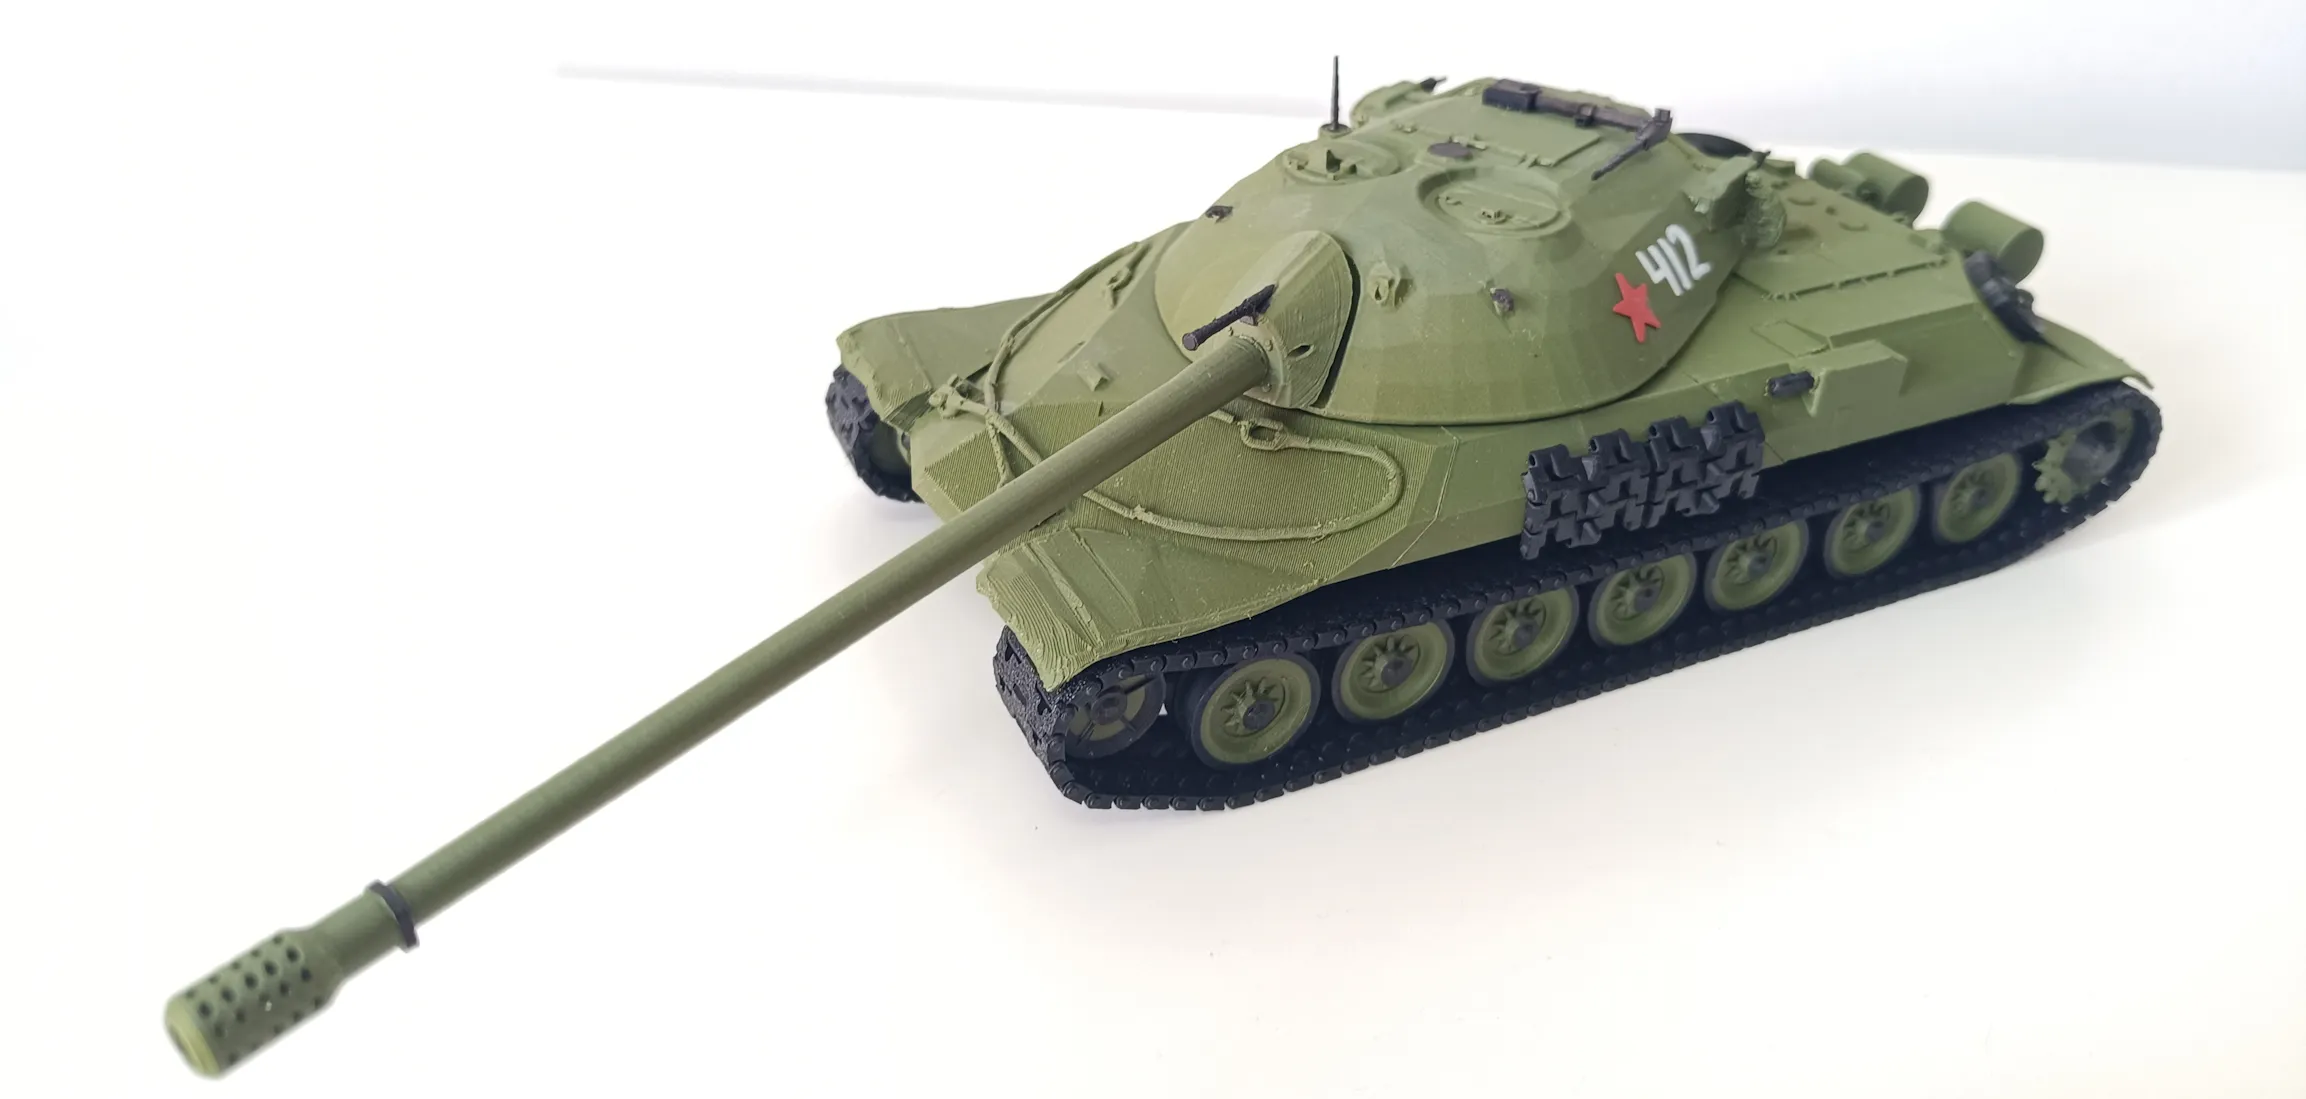
Turet also rotates as in real.
Printing tips
The model is complicated. The parameters I chose were tested, and my model was printed on them. Printing time is, of course, significant, however, you need to be aware that speeding up the printing time will result in a deterioration of print quality.
*Extremely important is the printing of the cannon. If the printing speed is too high, the print may be completely ruined.
*Also printing tracks are very sensitive, please wash your adhesion plate before printing to get proper first layer adhesion.
Also note that the prints were made on two different plates - Deconstructed PEI to get the texture on the tracks, smooth PEI to make the glued parts of the models fit together better.
Quick Assembly tips
The assembly of the suspension looks like the following. The drive wheel is pressed onto the spindle. The passive wheels should be assembled on the shaft beforehand. and then with the set of wheels in place, the entire shaft is pressed into the suspension mount.
*When assembling the wheels, add some glue.
The first wheel on each side is the smallest passive wheel.
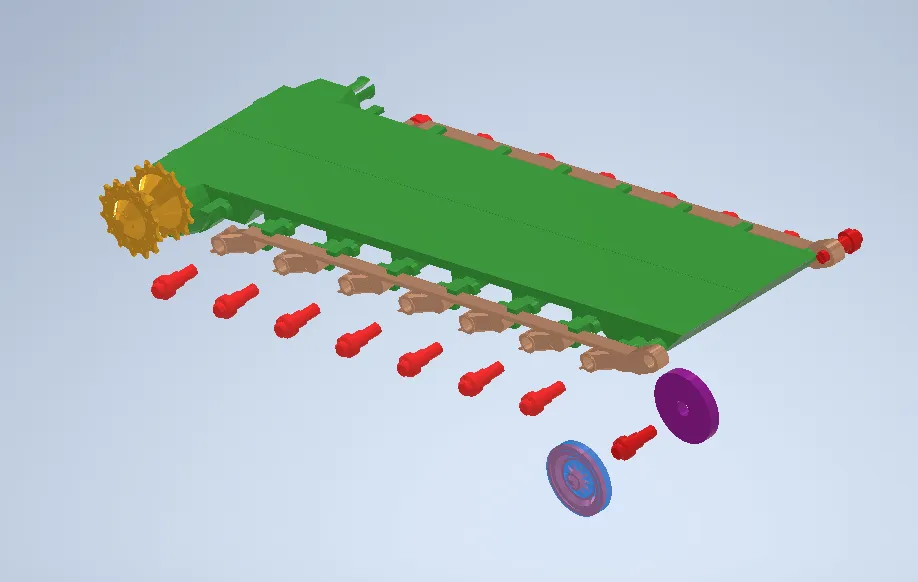
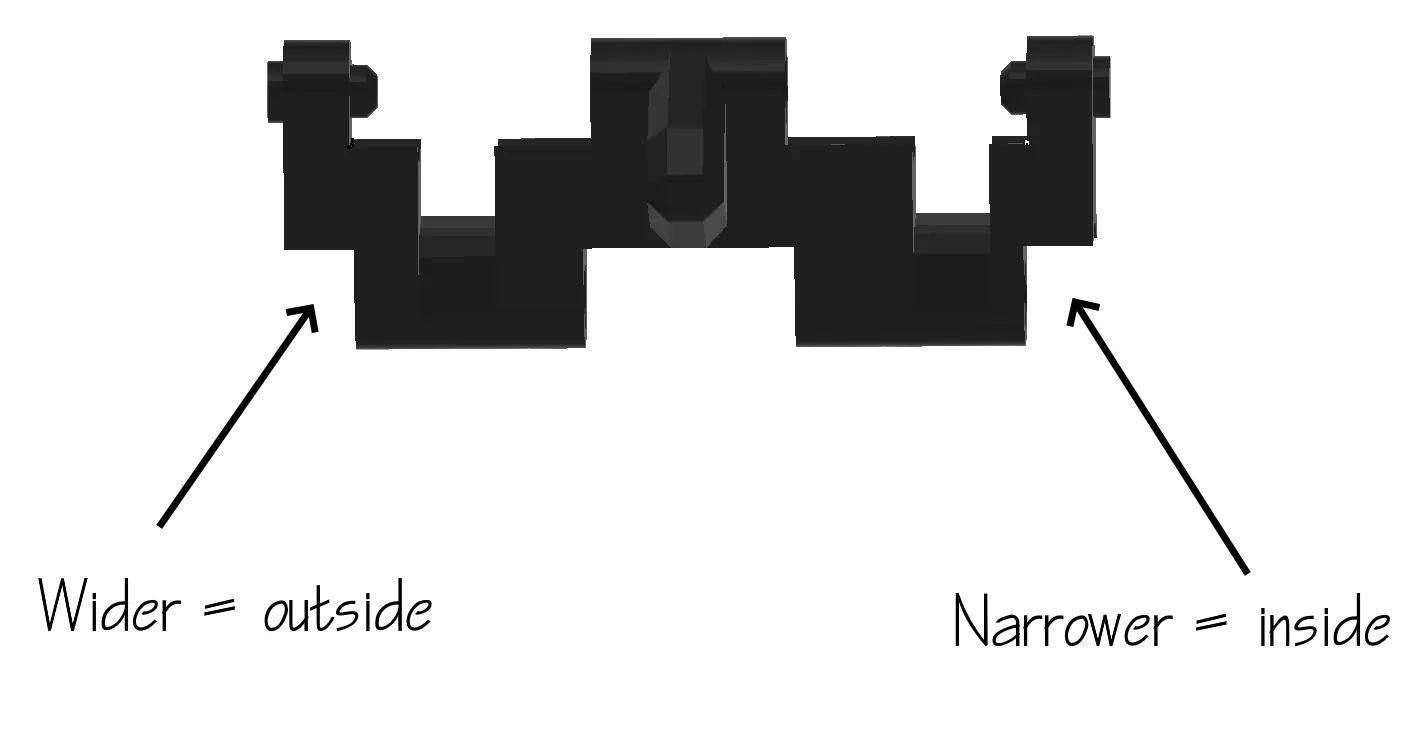
The tracks are not symmetrical, so separately there are links for the left and right sides. The track should be attached with the wider side to the outside of the vehicle.
Coloring
Personally, I use acrylic markers. with a flexible tip, and I sincerely recommend this solution. It is fast and cheap. Professional modelers can bet on acrylic paints and AMS fans on multicolor printing.
About me
As you can see in my bio, I am a happy young dad. However, this causes me to have extremely little time. The featured project is the result of staying up all night for the past month. If you like it please consider supporting me, if only with a good word!
License

You shall not share, sub-license, sell, rent, host, transfer, or distribute in any way the digital or 3D printed versions of this object, nor any other derivative work of this object in its digital or physical format (including - but not limited to - remixes of this object, and hosting on other digital platforms). The objects may not be used without permission in any way whatsoever in which you charge money, or collect fees.


Comment & Rating (115)