
Orbit B Hyve XD 4 Hose Timer Bracket
Print Profile(2)


Description
I originally found this model and a remix on Printables.
The original by PaulPhillips is here: https://www.printables.com/model/506863-b-hyve-dx-4-smart-hose-timer-mounting-bracket
The remix by numbermess is here: https://www.printables.com/model/587537-b-hyve-dx-4-smart-hose-timer-mounting-bracket-remi
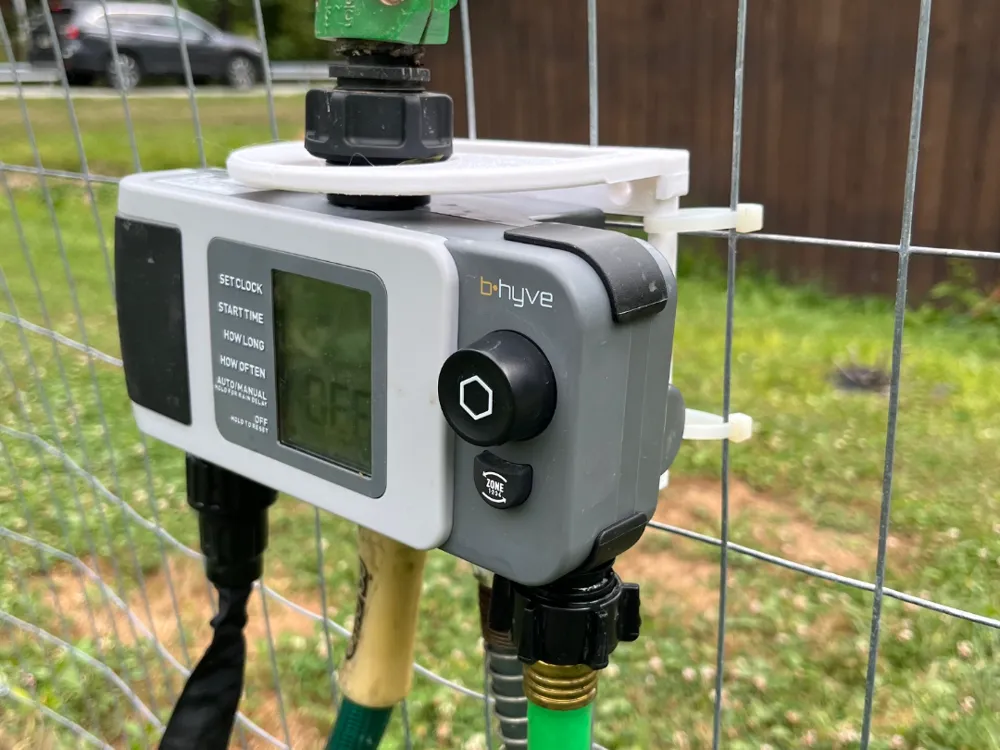
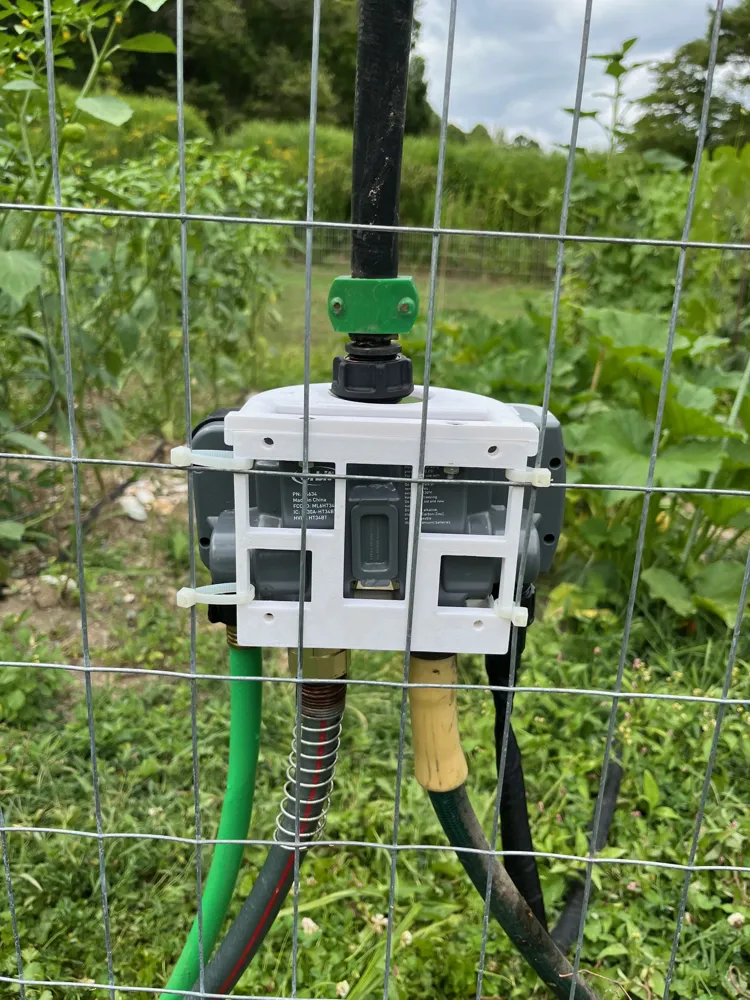
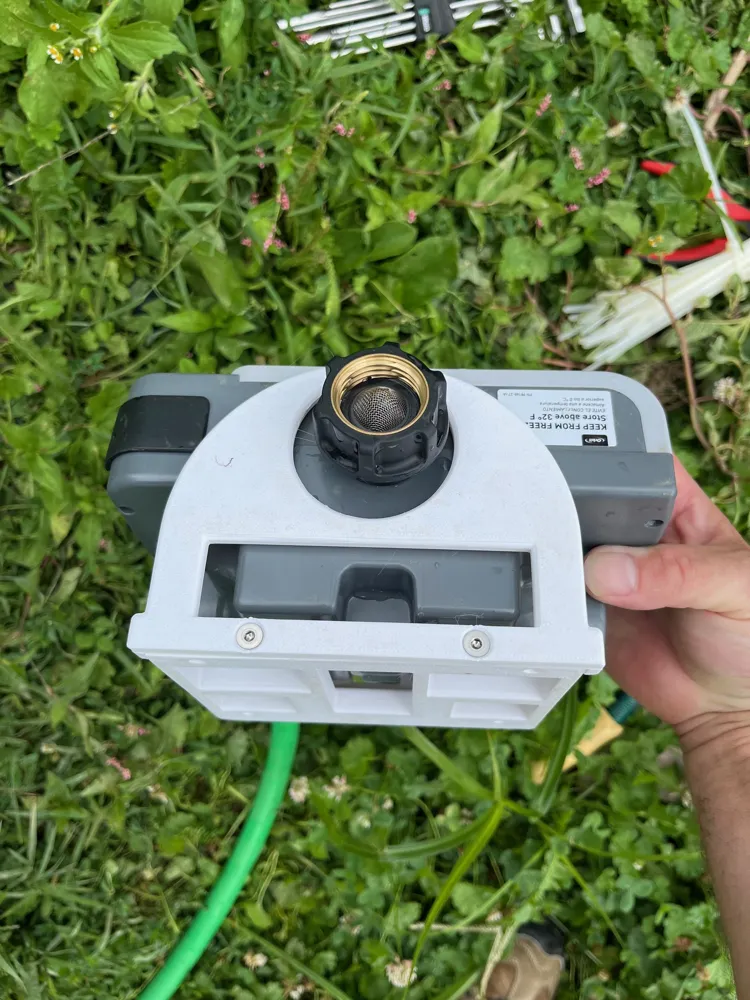
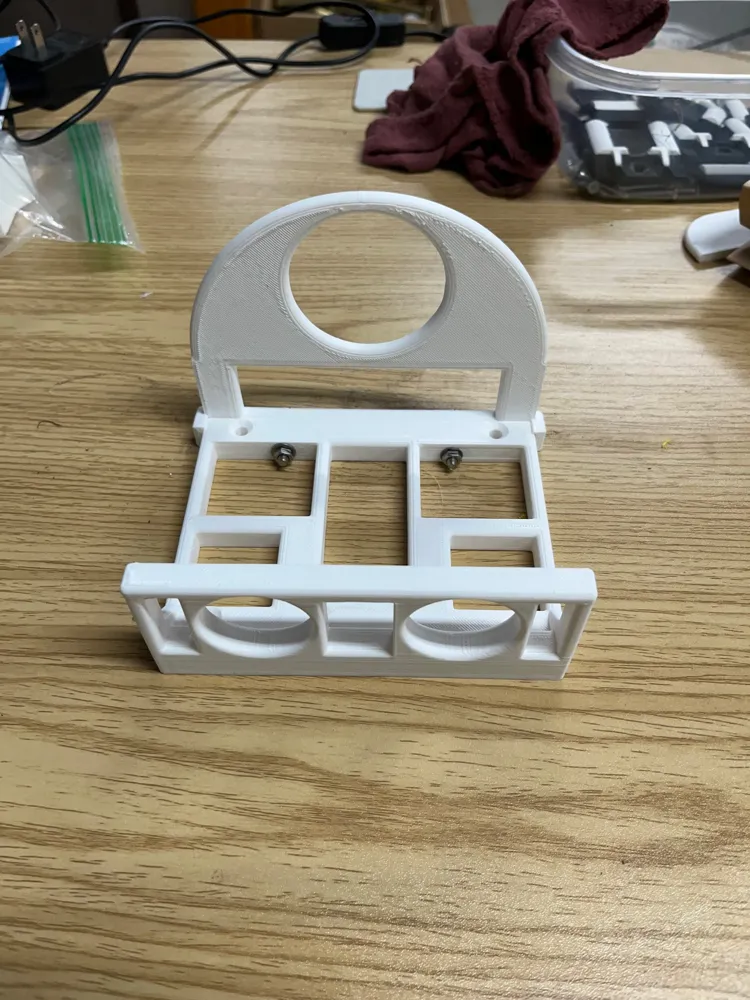
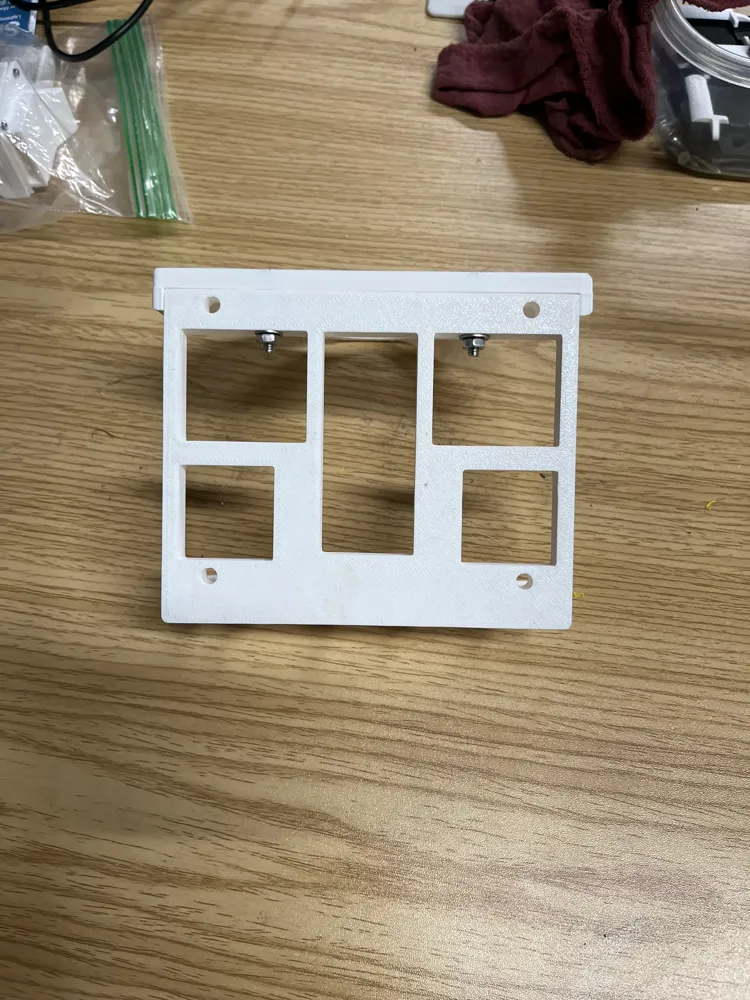
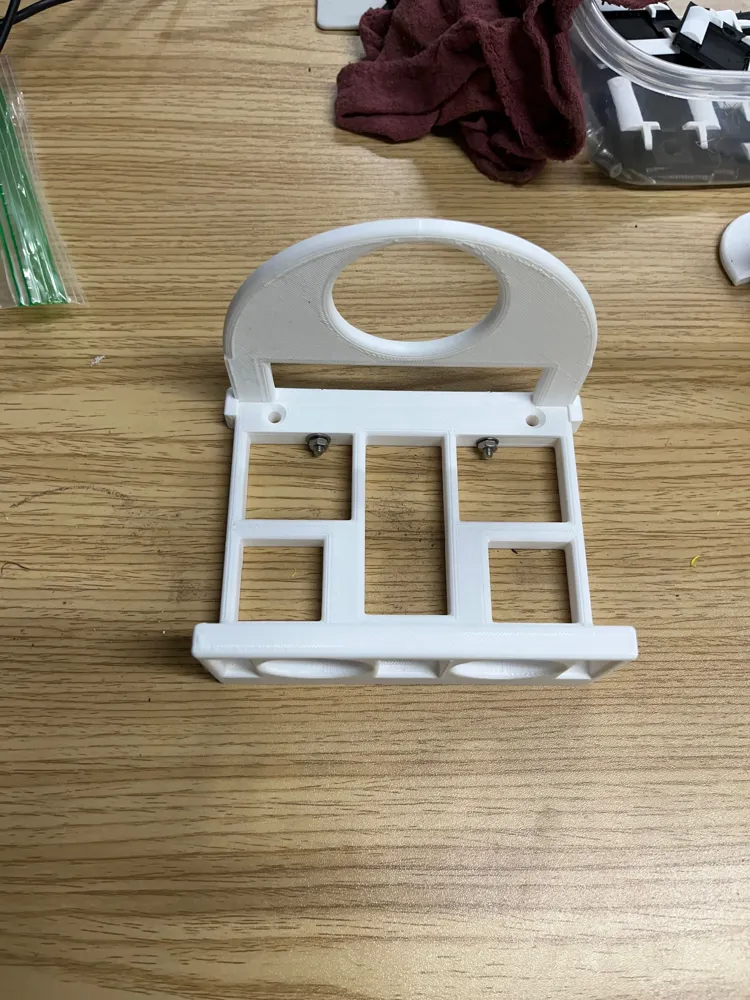
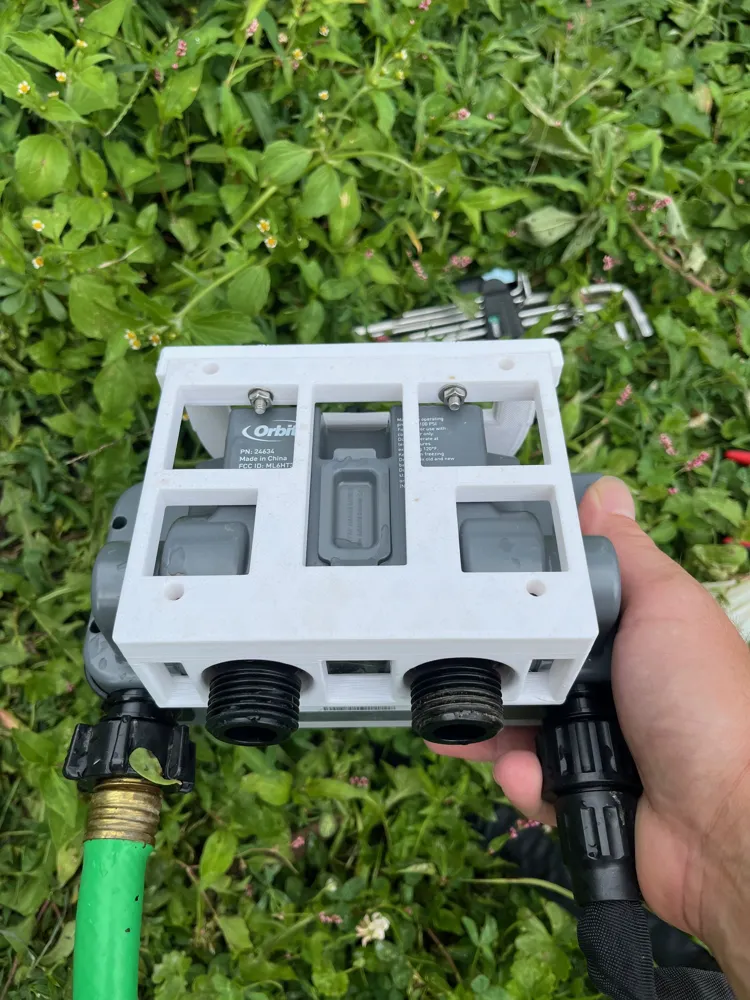
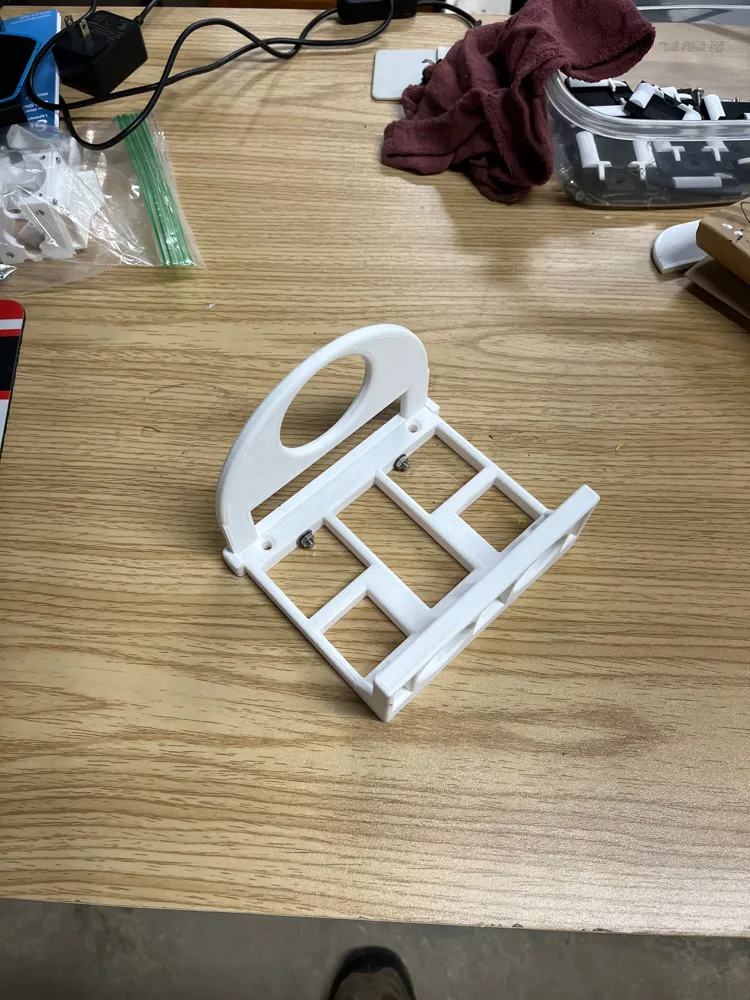
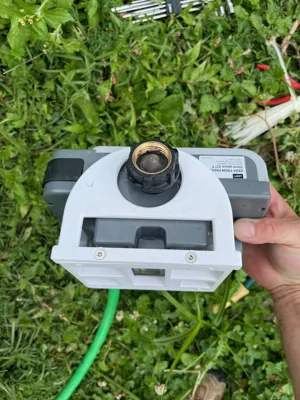
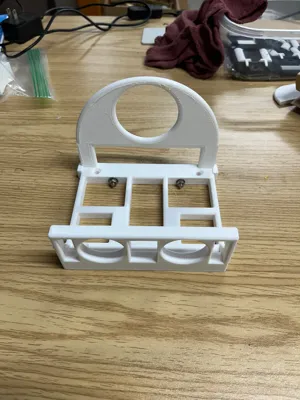
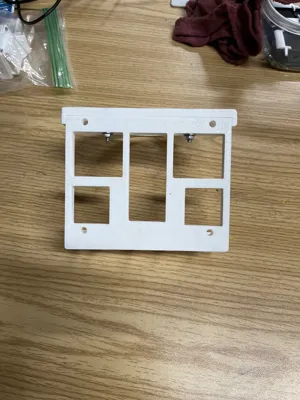
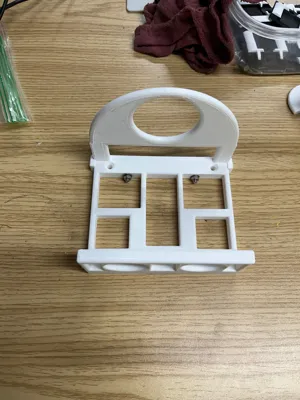
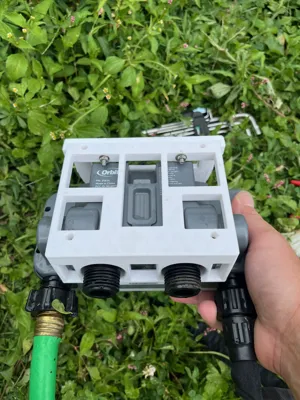
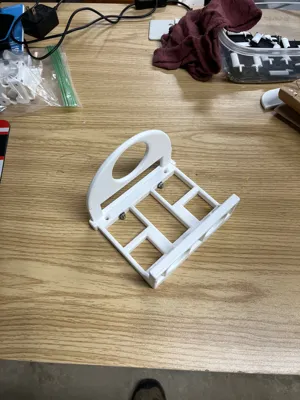
I redrew the entire assembly in Fusion360. This allowed me to thin the parts out as well to save some filament since the original parts are plenty thick. By redrawing it, the unused closed off holes in the remix are gone too. For the 2 piece models, there are guide tabs for the top plate to help keeps things aligned. Its not necessary but I think alignment features are a nice-to-have.
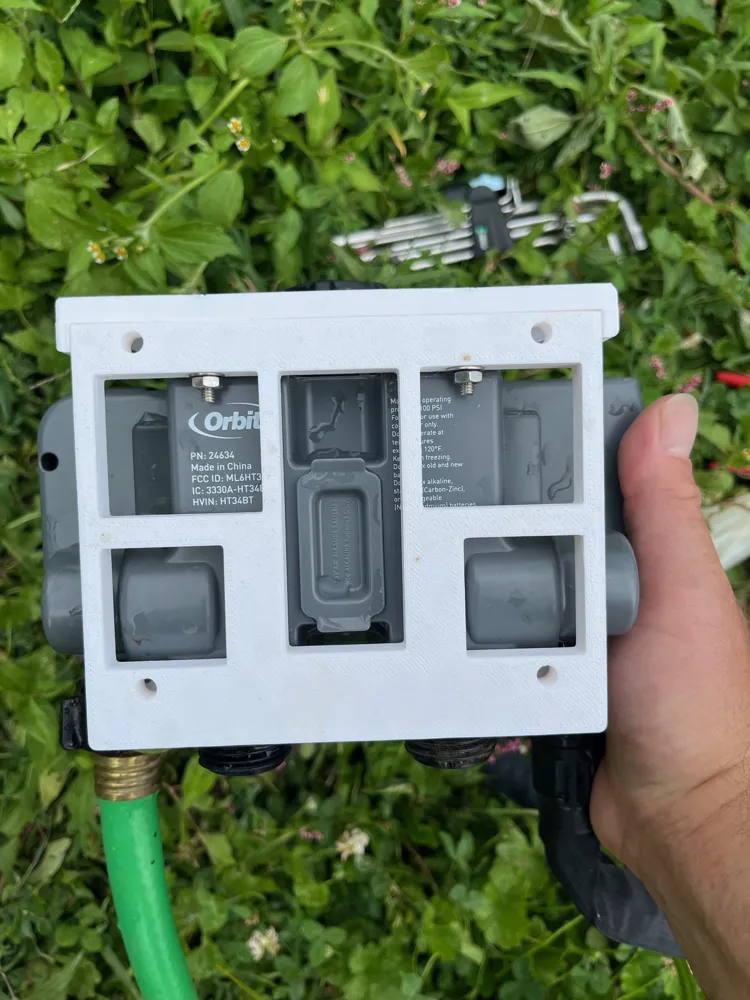
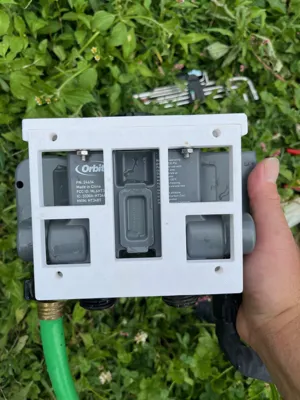
The parts normal parts are 10 mm thick. The thin parts are 6 mm thick. There are 2 piece and 1 piece models. I did not make a normal (10mm) top plate. I don't think its necessary. The plate isn't supporting the weight of the unit and hoses like the back and bottom do. The 2 piece models are the back/base plate and top plate. In either situation, (even the thicker models) the original design allows for enough flex to install the unit by simply popping in the lower 4 ports then flexing the top up over the inlet threaded ring.
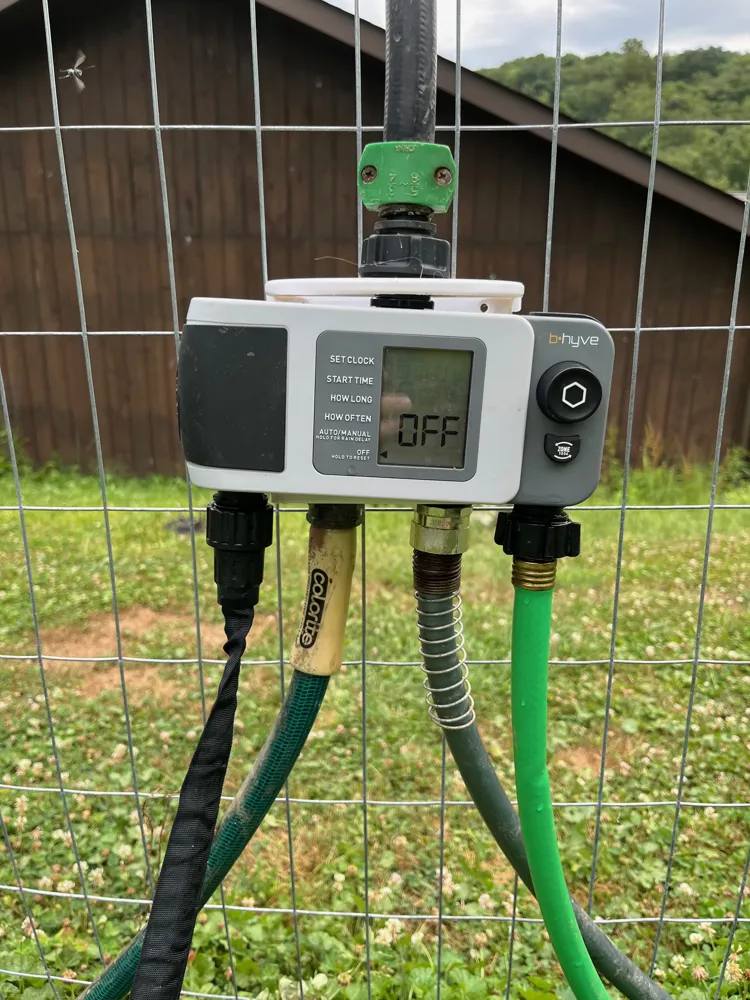
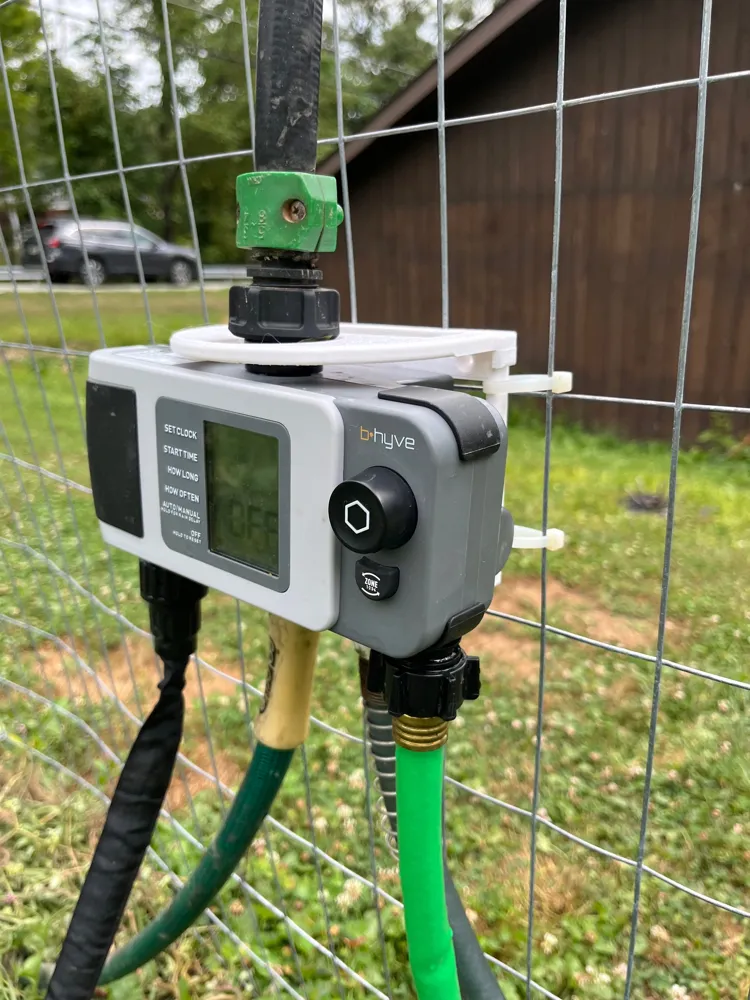
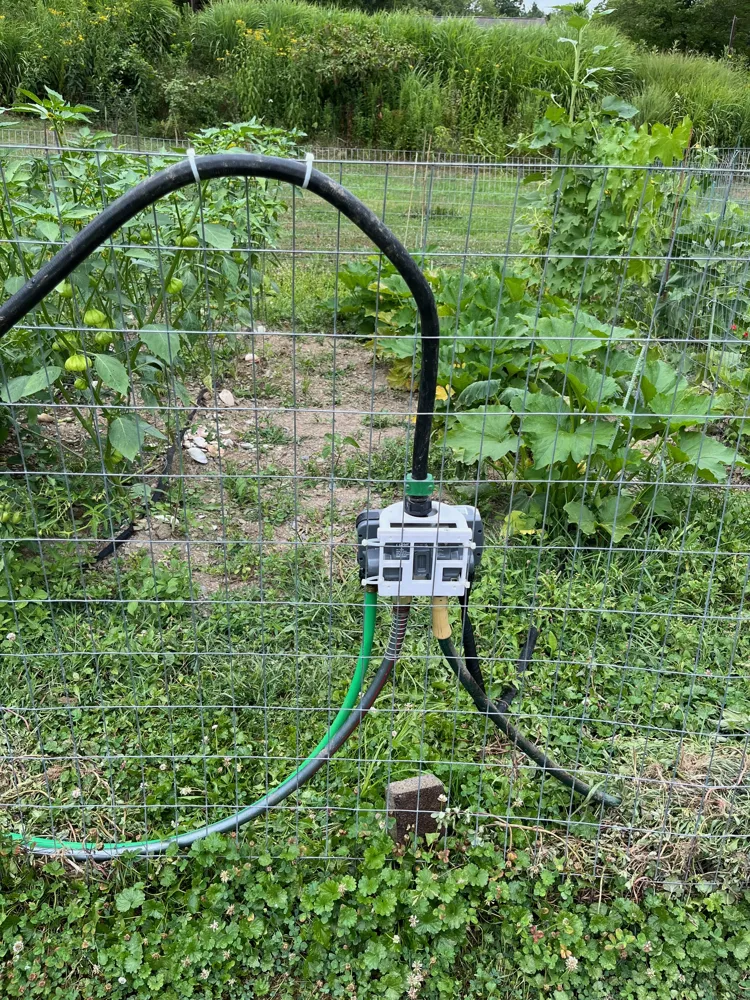
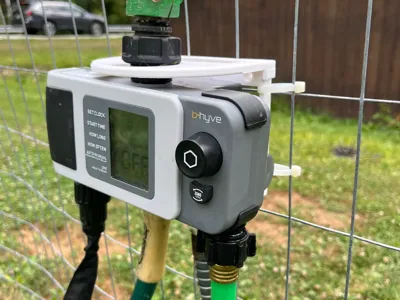
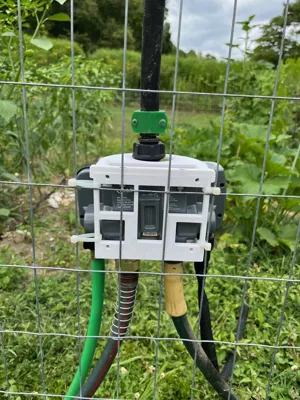
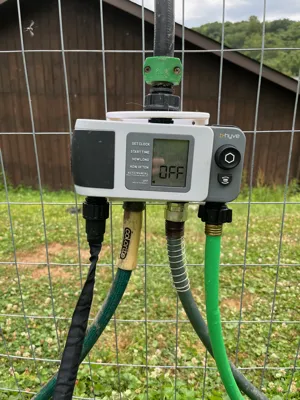
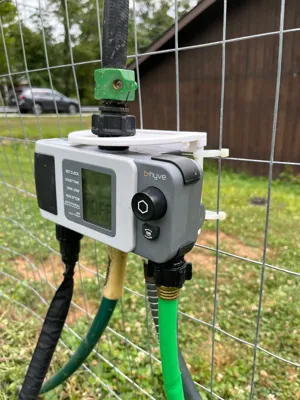
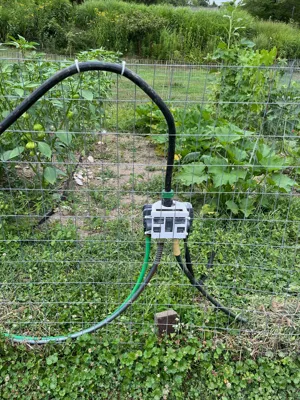
I chose to install these onto a welded wire fence using cable ties. I kept the screw holes in case you want to go that route. It may be necessary to use the 2 piece model if you want to screw mount it. The holes to mount the top and back plates are for M4. The nearest King/Queen's English/Imperial/antiquated measurement threads would be 8-32.
I personally printed a normal back/base with a thin top as well as a full thin part (we have 2 timers) They have been up for over a month in full sun with no issues.
My normal print settings are:
.2 layer height
3 walls
3 top and bottom layers
15-25% infill - adaptive cubic or gyroid
Supports are suggested because of the long bridges on the bottom/back plate. Same goes for the 1 piece part if you so choose.
PETG or other outdoor resilient filament if this will be used as such.
This remix is based on

License



Comment & Rating (5)