




Print Profile(5)




Bill of Materials
- DOME x 1: https://amzn.to/4bvFAKS
- BOTTOM-WINDOW x 1: https://amzn.to/4mG6jYq
- CHEAPER-DOME x 1: https://amzn.to/4q9j4eg
- 8"/200mm DOME x 1: https://amzn.to/3NIyfOd
Description
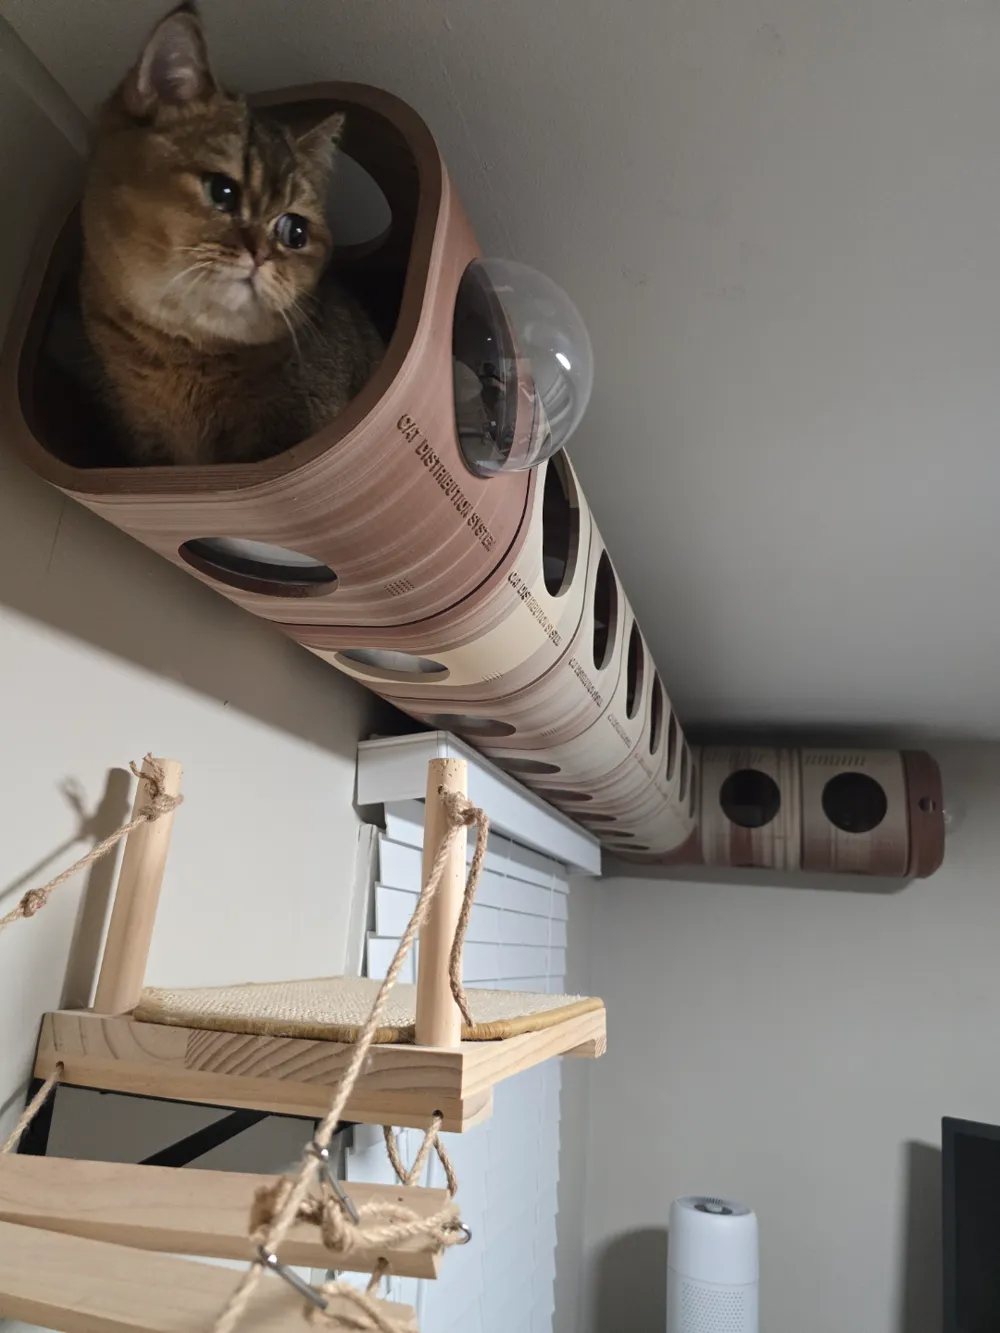
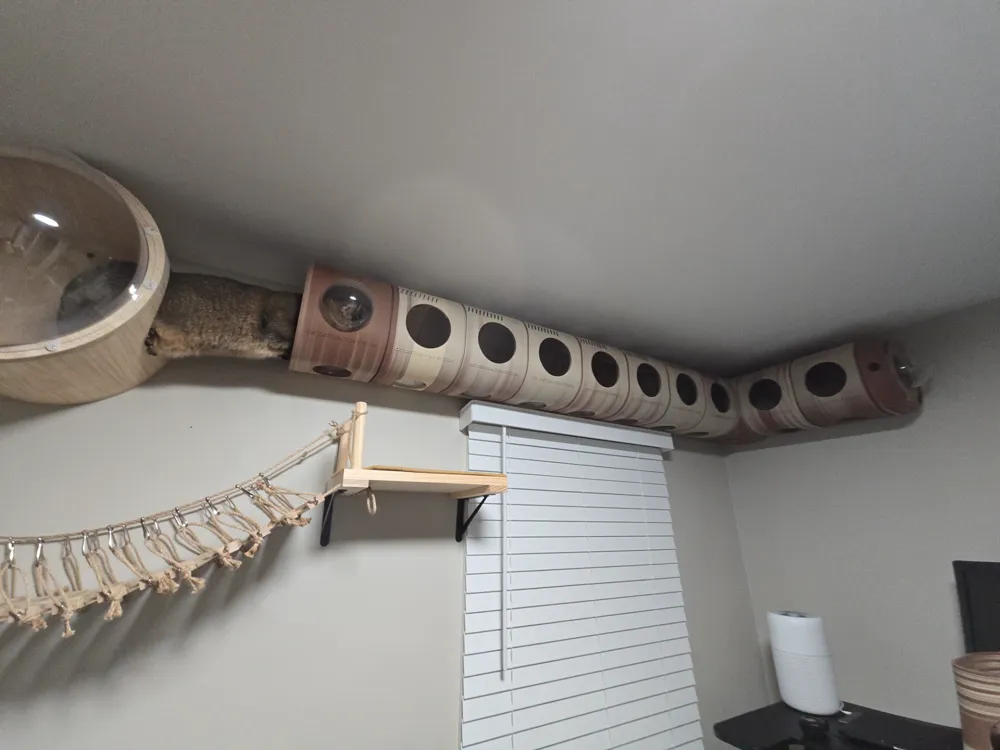
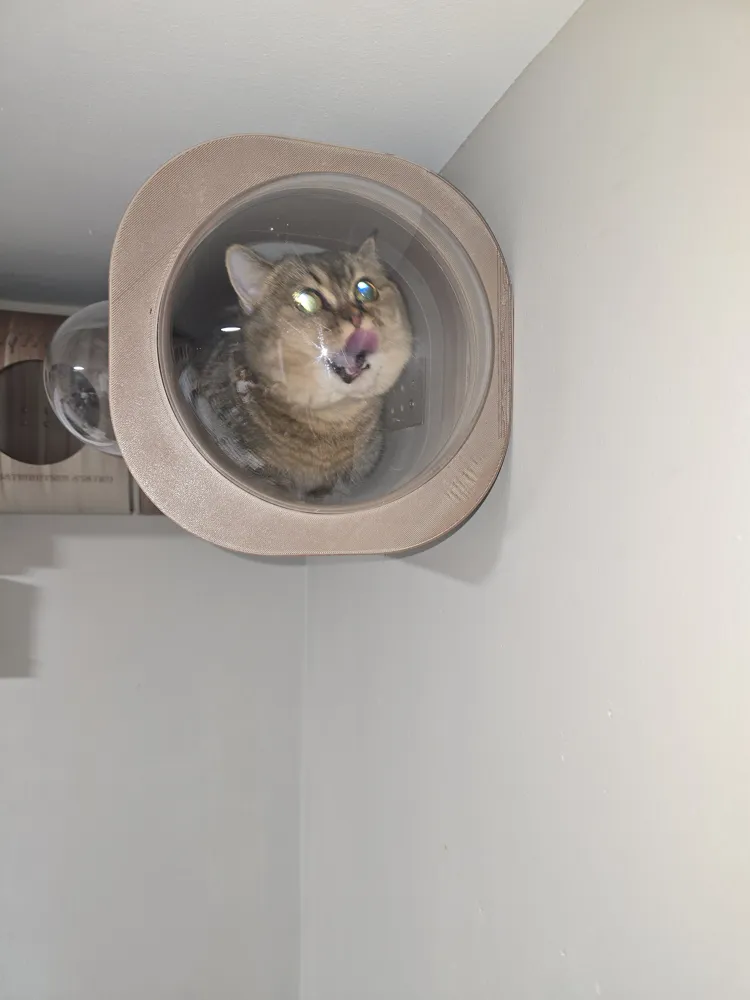

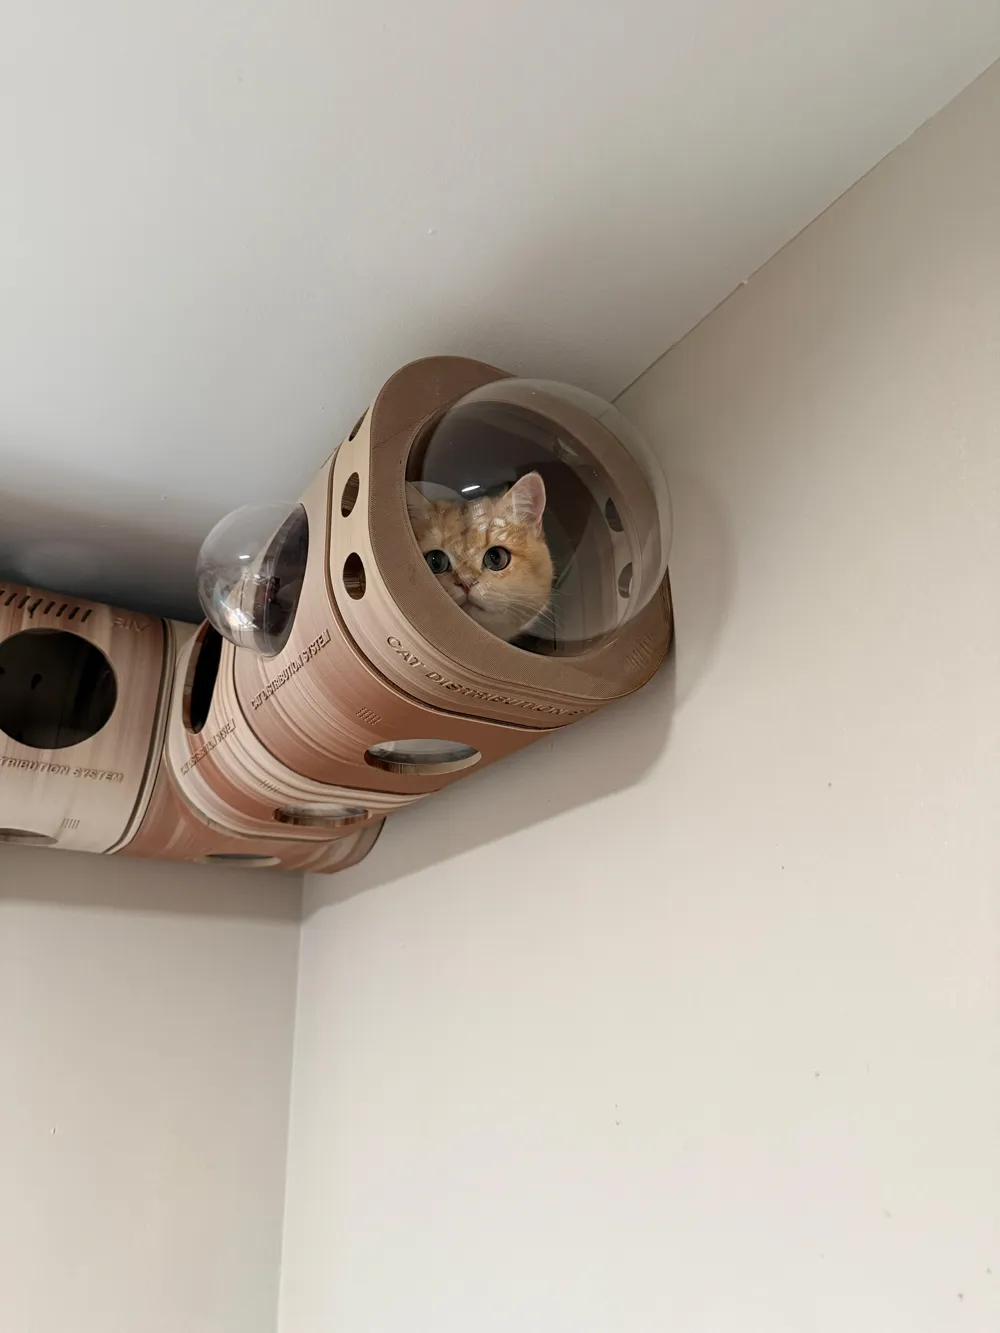
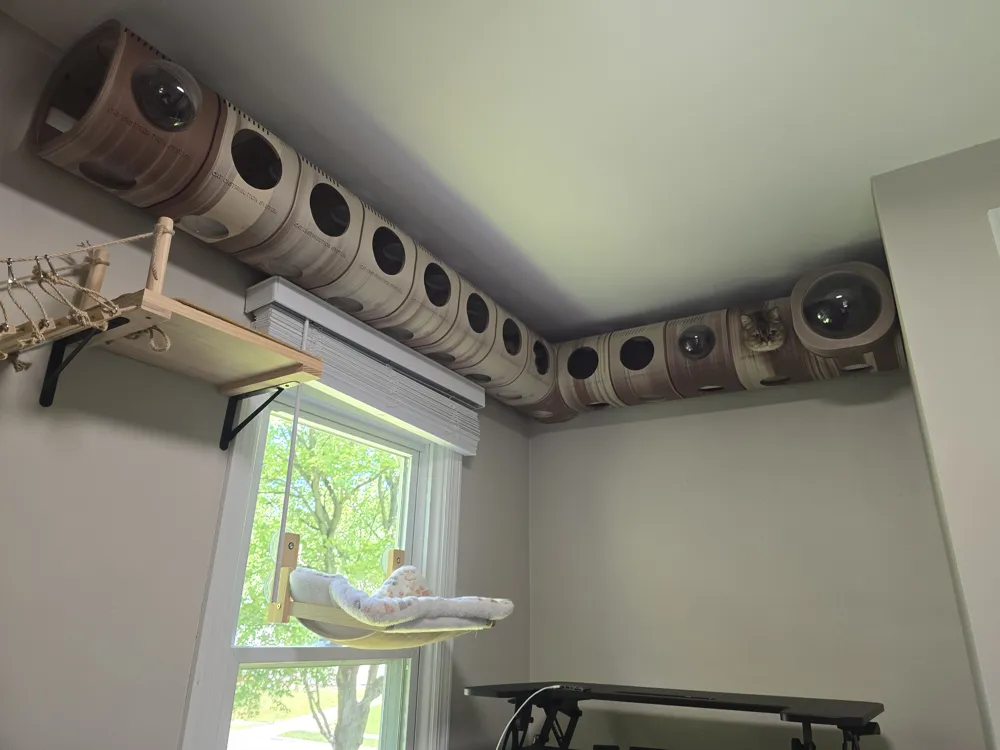
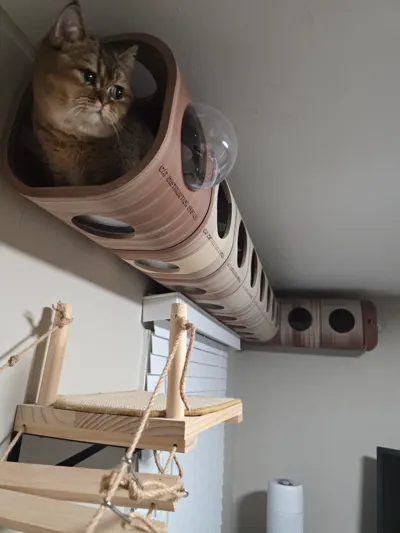
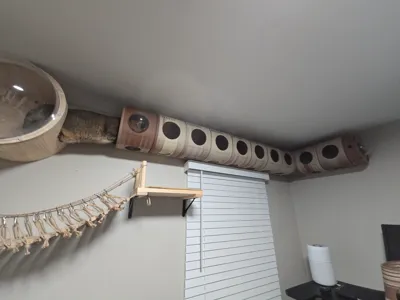
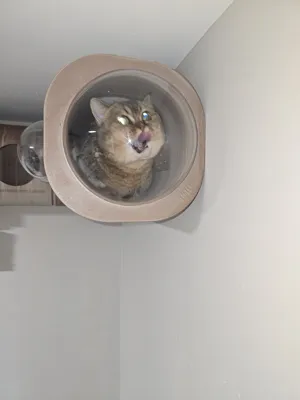
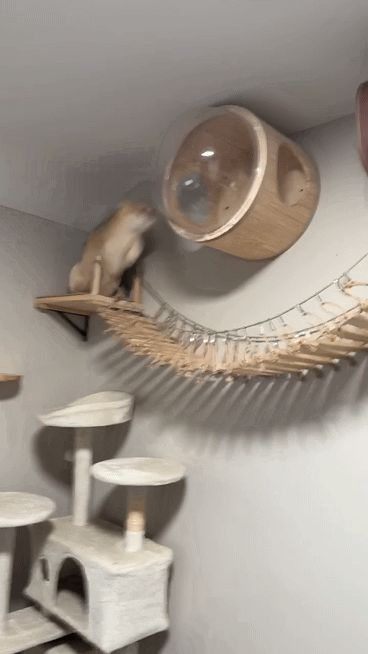
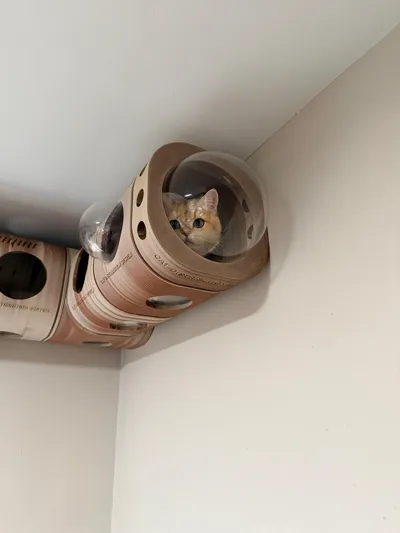
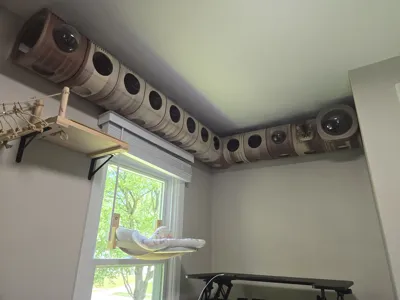
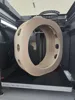
A modular wall-mounted cat tunnel.
Insta
UPDATE:
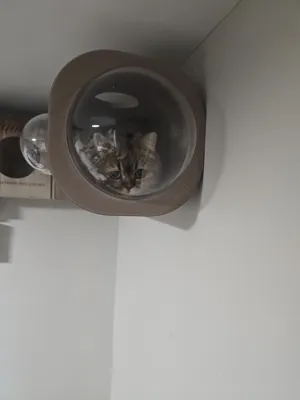
NEW 8" DOME END SECTION
NEW MAIN TUBE: I have added a new main body section incorporating the mounting holes for better stability. You can choose to print the original main body with the separate mounting bracket or the new main body with mounting holes incorporated. All pieces remain compatible.
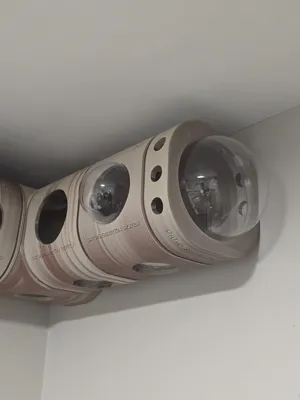
NEW CORNER SECTION: I have added an inner wall corner section that works for both left and right inner wall corners. You must print the new coupling to connect the corner section to any main section. Print and install corner pieces first.
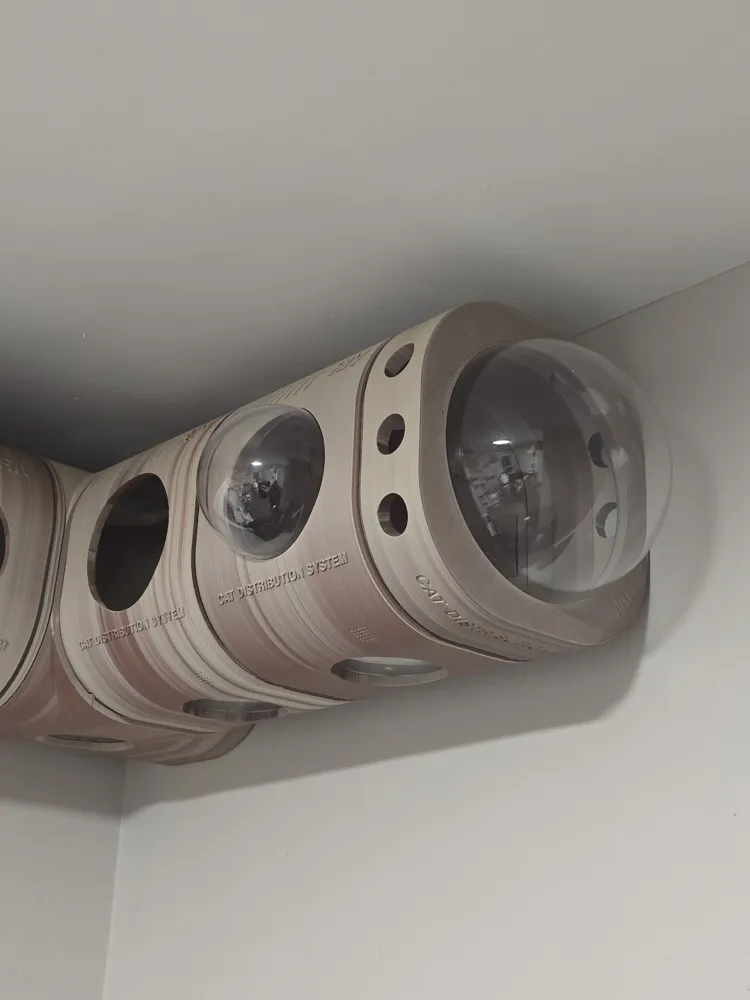
NEW END SECTIONS: one flat and one rounded end section. I will be adding a new end section for a larger dome piece.
Instructions:
Note: I'm aware that the flat disk windows that I have referenced in the description have a loose fit. If there is enough interest or requestes i'll release a fitting to make them fit better but I've noticed my cats like to poke their heads out of the openings so I've decided to forgo using them.
The material used in my photos/examples is YOUSU Dual Color Wood PLA Filament sourced from Amazon.com (https://amzn.to/3QWSadE). Its much softer then regular pla (which is more comfortable for your kitties) and supports come off much easier. I recommend using 3 outer wall layers for wood pla but 2 walls or the standard pla setting by Bambu Labs slicers are still sufficient. The more units you use, the stronger the system gets. Increase z top distance for easier pla support removal (from .2 to .3-5mm) under the support section.
After printing is complete, use pliers to remove supports. I recommend hitting each large support first with a blunt object, then insert pliers at the end of each large support to pry it off. Most supports will come off cleanly, but for any difficult supports (specifically the large vents in the front), I recommend using a utility knife. Wedge the utility knife in between the main body and the support. Do not score the knife. Then, use pliers to remove the excess support material.
- Print and install all corners with couplings first, then the main body. Followed by any additional bodies as needed.
- Mount each body with the small rectangular mount with 6 holes. You do not need to use all 6 holes to mount. I recommend using only to hole vertically. If you're mounting multiple units, I recommend just securing every other unit. Make sure to use anchors if not mounting on wood studs. Screw holes are designed for 3" x #10 screws.
- I recommend printing and installing at least 2 or 3 modular units if installed independently from any other cat wall furniture.
- Print the accessory end units, for the start and end of the overall tunnel, even if it's only one, two, three, or as many bodies as you decide to print, to reduce the risk of injury for your kitty due to the sharp edges.
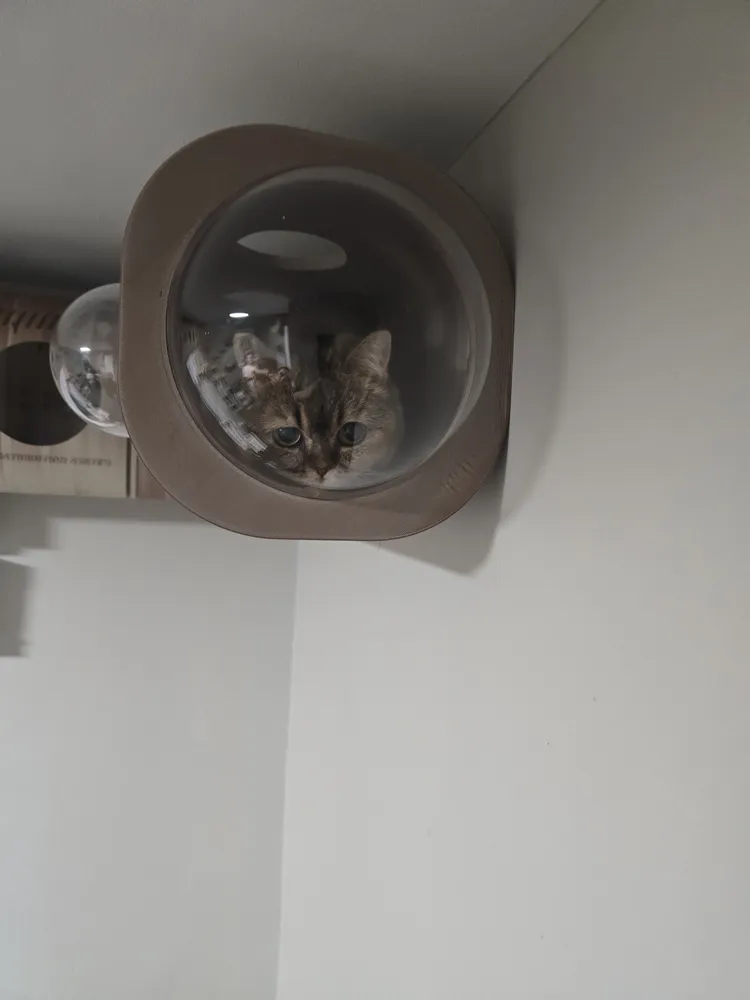
- Links to the domes, which can be installed in front of the main body and the disk, which can be installed at the bottom floor of the main body. You can install any 5" diameter circle or dome in the front up to 1/8" thickness. You can install any 4" diameter circular disk up to 1/4" for the bottom hole insert but to achieve a flush finish with the bottom hole and body, the disk must be ¼" in thickness.
You can assemble as many units as you like to achieve your desired length. Make sure to install end units at the beginning and end of the entire tunnel (not per each body).
NONE 3D PRINTED PARTS
FILAMENT:
https://amzn.to/3QWSadE
DOME: https://amzn.to/4qQ8FFk
BOTTOM-WINDOW: https://amzn.to/4mG6jYq
CHEAPER DOME: https://amzn.to/4rrs0Nb
8"/200mm DOME: https://amzn.to/3NIyfOd
License

You shall not share, sub-license, sell, rent, host, transfer, or distribute in any way the digital or 3D printed versions of this object, nor any other derivative work of this object in its digital or physical format (including, but not limited to, publishing derivative works outside the Makerworld platform or hosting on other digital platforms). The objects may not be used without permission in any way whatsoever in which you charge money or collect fees. Subject to the above restrictions, derivative works may be published only within the Makerworld platform, and all such derivative works must be licensed under the same SDFL‑C license, without modification or additional terms. You may download the digital versions of this object, 3D print it, and display images, videos, or usage demonstrations of 3D printed versions of the object on personal social media platforms or Makerworld official channels, provided that no digital versions of the object are shared or distributed.


Comment & Rating (252)