
Hermes 3000 v2 Typewriter Platen Knobs
Print Profile(1)

Description
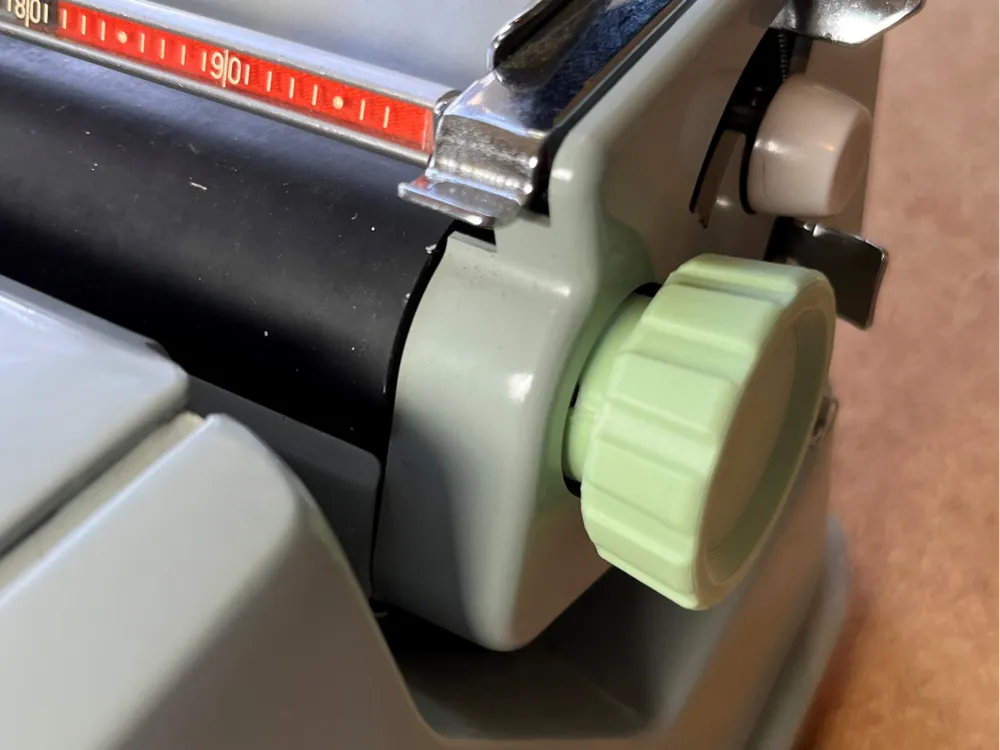
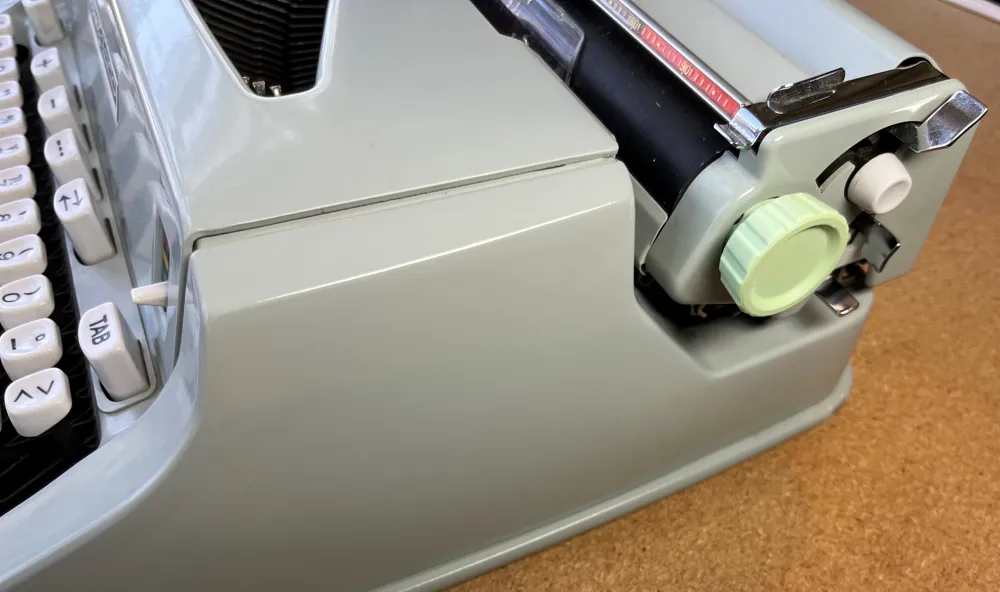
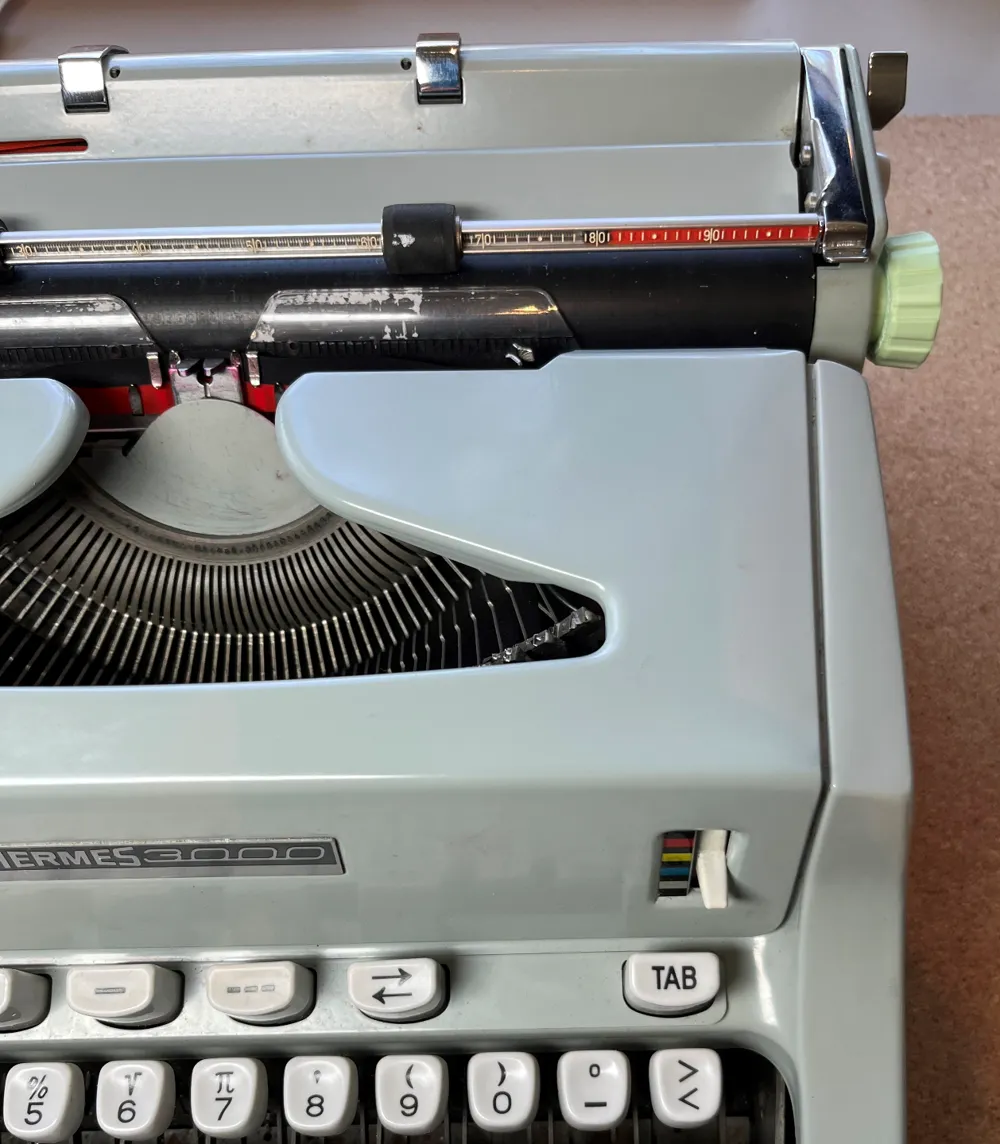
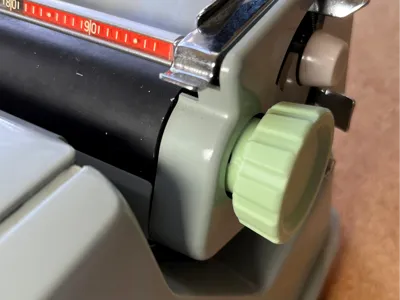
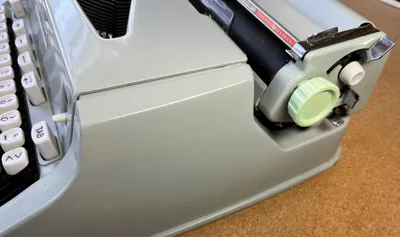
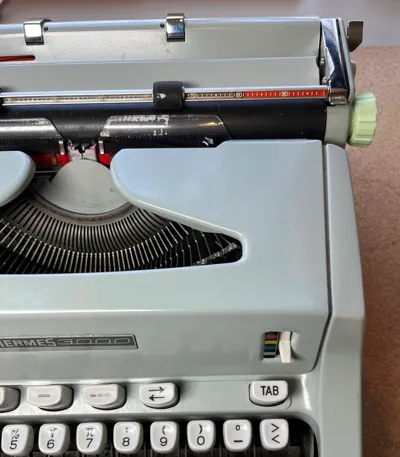
These are replacement knobs for the Hermes 3000 manual typewriter. This is a classic manual typewriter from the 1960's, much-loved by many for the Swiss precise mechanism. Please note that there were three distinct models of this typewriter - the first was the rounded metal shell, the second was the squarer metal shell, and the last was a plastic angular 70's looking shell. These knobs are for the second type, although they may also work on the others - I have not tried them and don't at all guarantee it. Mind you, I don't guarantee anything!!
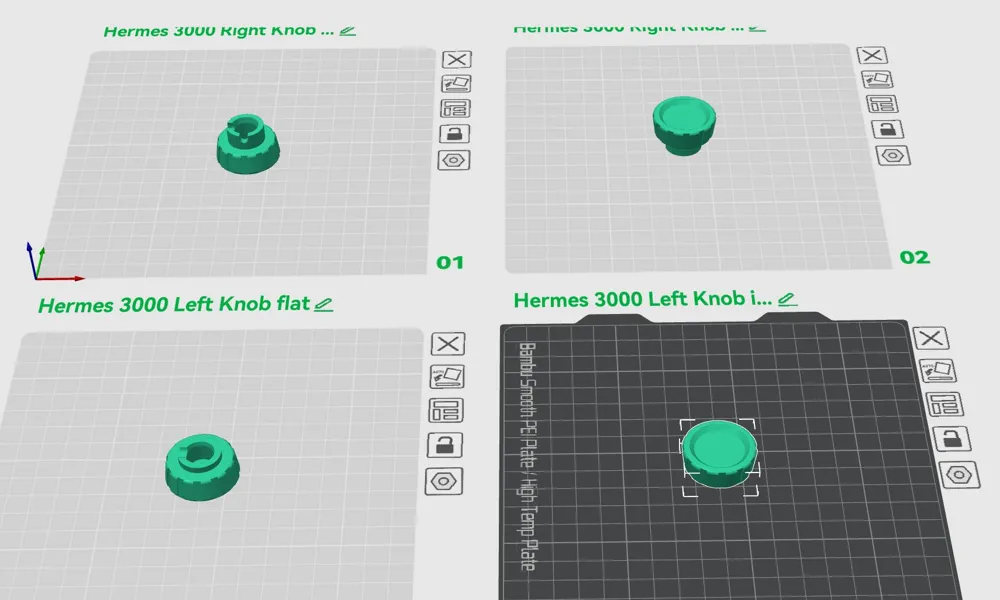
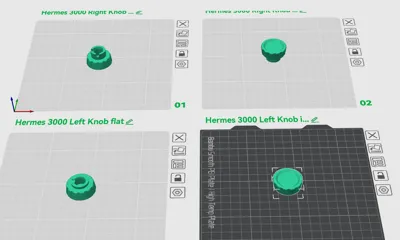
I have included LEFT and RIGHT models, which are different due to the screws on the right. Also, there are two variants -
- Flat top. This is easier to print, and has a solid side.
- Indented top. This is perhaps a little more authentic a shape, but needs support to print well.
They are all designed to pressure fit snugly - but please read all of the installation instructions carefully.
Printing
This clearly looks best with a light green ("Seafoam green" technically) filament! I used a thrid-party PLA filament and it is fairly close. It is quite a hard colour to match, another option is to go a light grey or black. I print with a 0.4mm nozzle, using Bambu Labs PLA “Tough” filament with 0.20mm standard extrusion. I have found that 2 walls and 15% grid infill is plenty strong enough for this. So, pretty much default settings for most printers will work. I would avoid any filament that is brittle. Your mileage may vary, but I would expect most standard PLA or PLA+ to be suitable. This is assuming you don't leave it out in direct sunlight for hours. The specific instructions for the flat / indented variants vary as follows --
- Flat ended knob The flat end should be on your print bed, and will take its texture. No supports needed, and this should look very neat and tidy.
- Indented ended knob You can print this two ways -
- With the knob end on the bed This will make the indented part of the knob as an overhang print. You can see how that goes, but my experience is that it looks a bit rough that way. You could use supports which might help.
- Standing up like a mushroom. This will need support on the underside/inside edge of the knob. It will look a tiny bit messy as a consequence, but that edge is not really seen once the knob is installed. This gives the inset face the cleanest look, and what I would suggest as the best option of the two.
Attaching to your typewriter (please READ)
Warning! If you use excessive force on your typewriter carriage you can damage the escapement mechanism which will destroy the machine! Please be VERY careful. Seriously, think there is an egg in there when it comes to sideways pressure. Do not just hammer the knob on!
Firstly, clean the shaft of any glue or residue. I recommend that you enable the carriage LOCK mechanism (right hand side of carriage, lower metal lever). Then, for safety, press and hold the carriage release button during installation, and brace the carriage from that side. Note that the plastic end caps of the carriage are fairly flimsy things, try not to push too much on them either.
For the right knob, align the two small cutouts on the knob with the screws further inside the machine. For the left knob, align the cutout with the single screw on the shaft. Then, and with the carriage release still active, gently push the new knob on the shaft. You may need to tap it gently to advance in, and always with the carriage release button still being held down and you pushing from the other side.
If, for whatever reason, it just doesn't seem to want to go on, don't force it - there may be an issue with scale or dimensional accuracy of your printer. Potentially you can go back to your slicer and scale the model up a very small percentage, reprint, and the hole will be bigger. I don't think you will need to do this, but keep it in mind.
Safety, Liability and Distribution Rights
I do not accept any liability for the use or misuse of this item. No guarantee or warranty is expressed or implied. If you do not wholly accept all risks yourself, do not use this item. Please read the instructions on how to install fully before starting.
This is free to use for non-commercial purposes (licensed under Creative Commons – Attribution – Non-Commercial – Share Alike). Please contact me if you have commercial uses in mind.
Final Thoughts
- I have other typewriter parts and non-typewriter things too, check out my other stuff!
- Please leave a like & comment if you think this is cool, thanks!
- I do have a tipjar at paypal.me/saulysw if you really want. Big thanks if you do that.
License



Comment & Rating (4)