
Daft Punk - Guy Manuel Helmet

Print Profile(3)


Bill of Materials
- Plexiglass x 1: 50cmx50cmx2-3mm
Description
Boost Me (for free)
Want to see more designs? feel free to give me a boost, It helps me to create more designs and improve others!
Membership
Curious about my commercial license? Join my membership to get access to all my models!
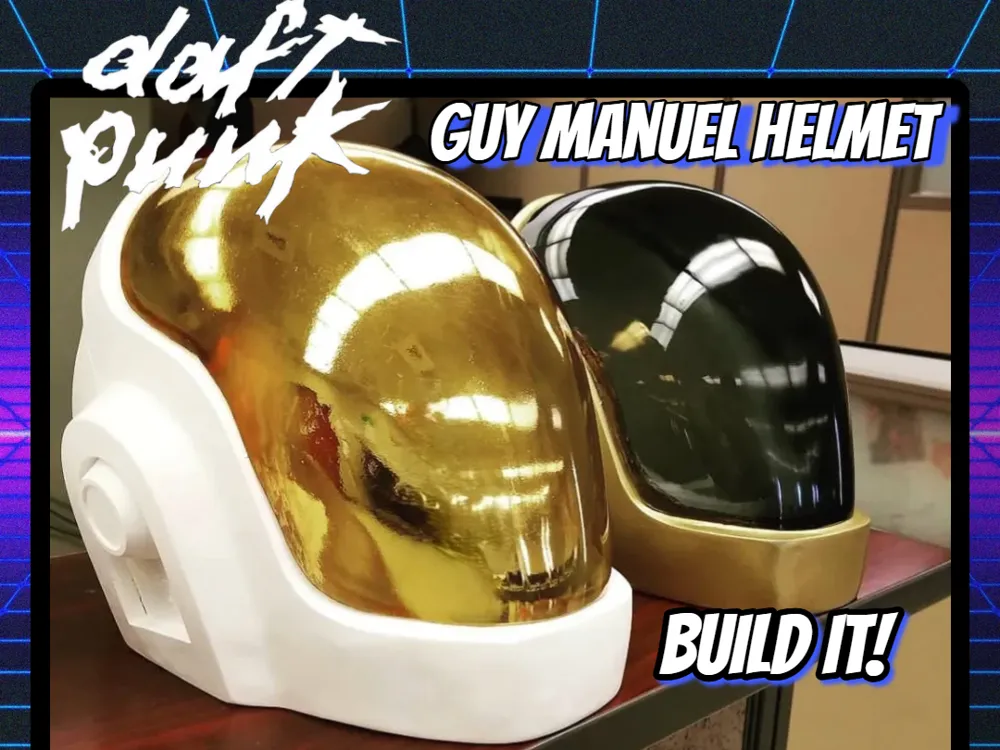
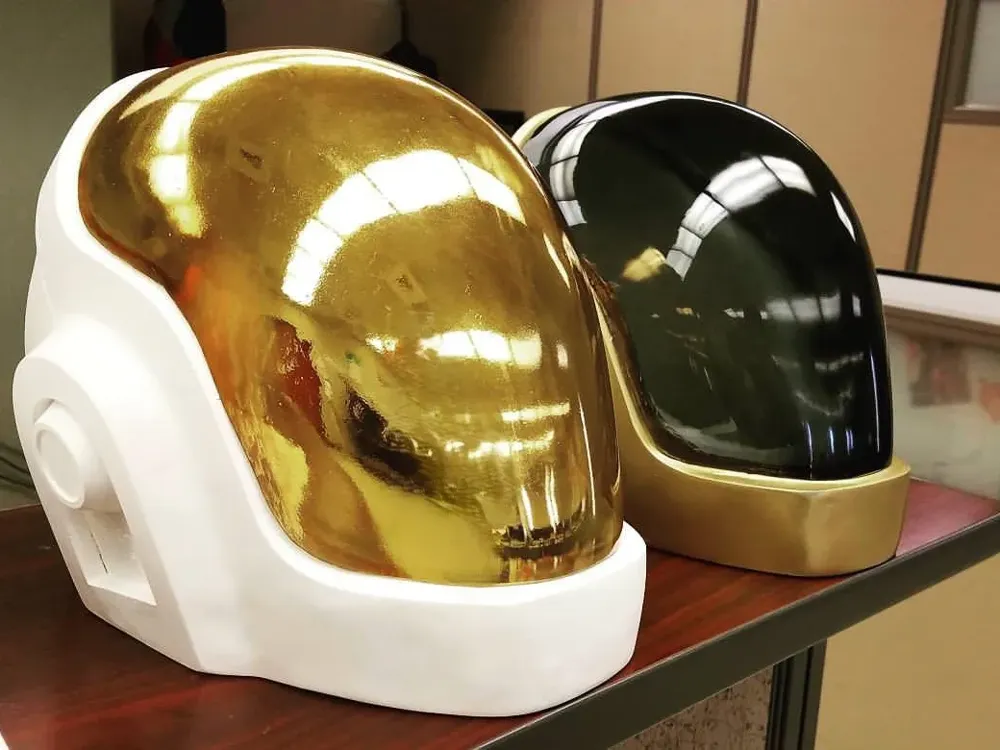
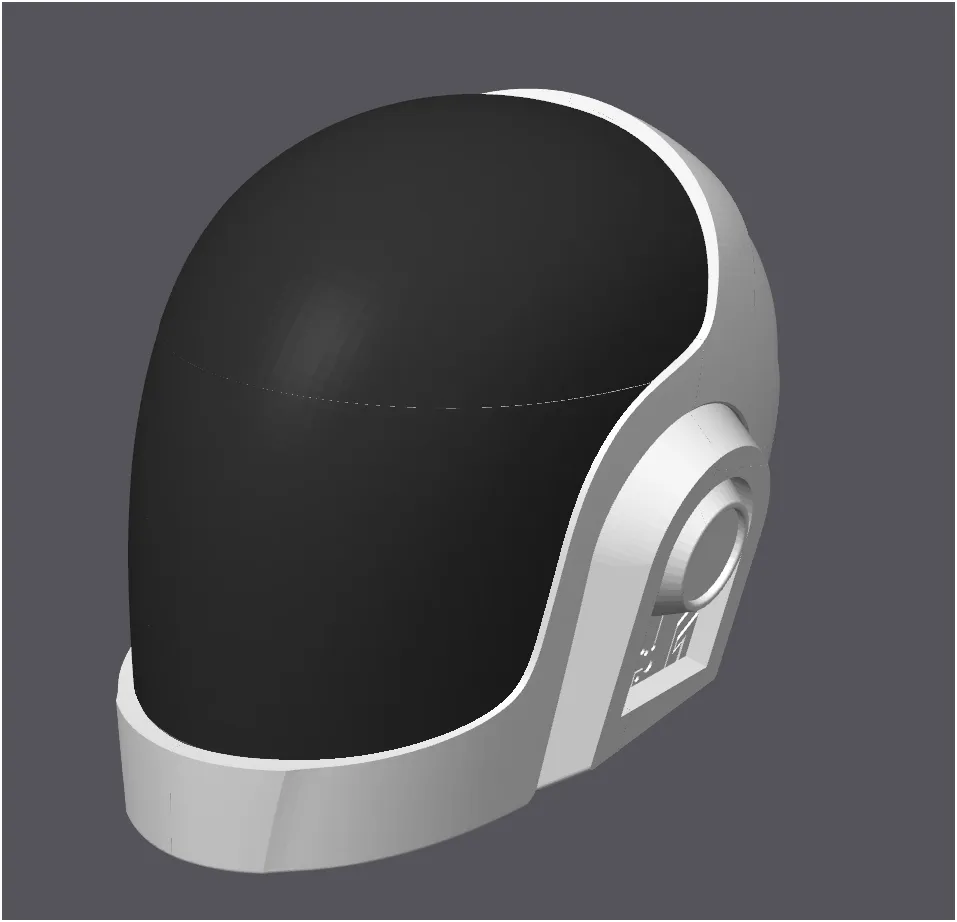
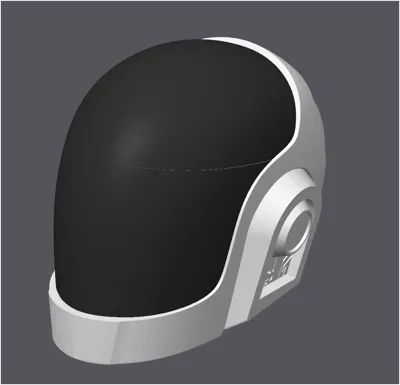
Daft Punk - Guy Manuel's Helmet
– Update 10/3/2024 -
I Modified the 0.6 nozzle print profile to ad
d a brim to help with bed adhesion, this will help with any issues of the print popping out of the print bed. Also modified the support parameters.
Uploaded a 0.4 nozzle print profile.
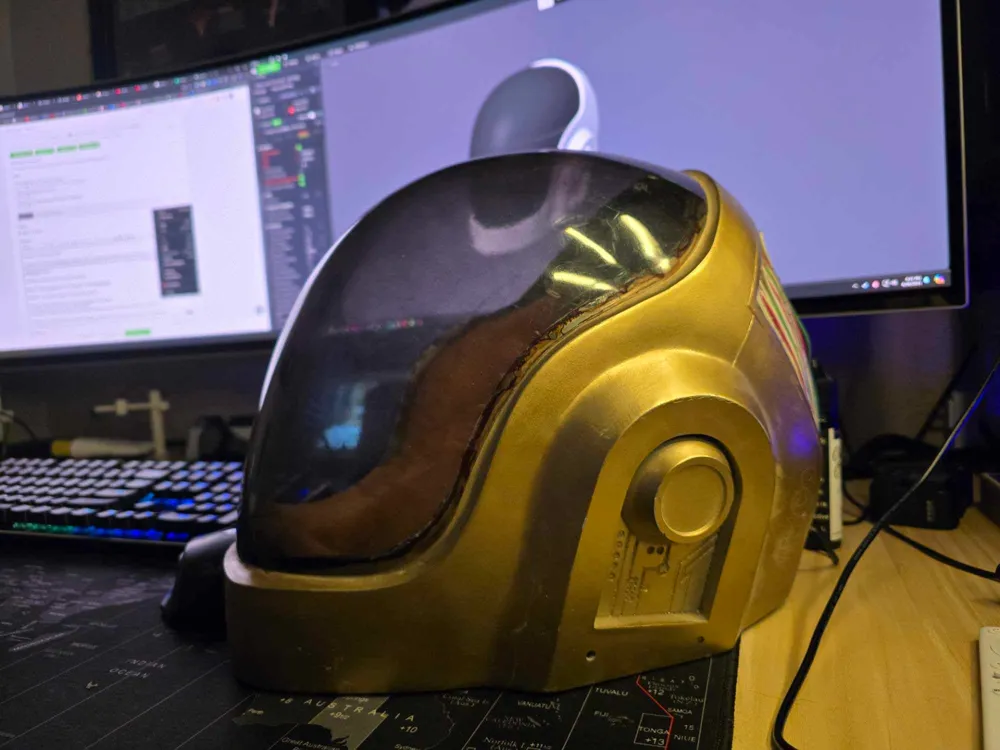
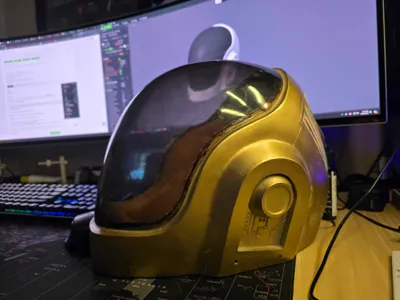
A friend and I created this model back in college in 2018 for an engineering design class (yeah not related to engineering at all) but the engineering part was the electrical and LED controls inside the visor. Now that I have my own printer I decided to upload this old model for other people to enjoy! As proof, check the image on this model (showing my monitor) it has survived the last 6 years!
If possible, Print with a 0.8 or 0.6 nozzle to save time
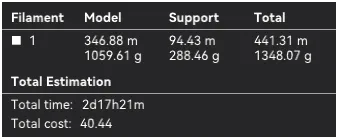
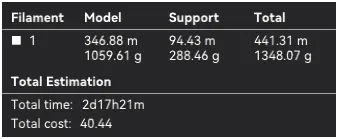
With a 0.4 Nozzle, it takes 2 days 17 hours, and 21 minutes approximately.
MAKE SURE TO TAKE MEASUREMENTS OF YOUR OWN HEAD FIRST AND COMPARE TO THE MODEL
WARNING - Total filament usage is 1.6 kg including supports for the 0.6 mm profile and 1.36kg for the 0.4 nozzle
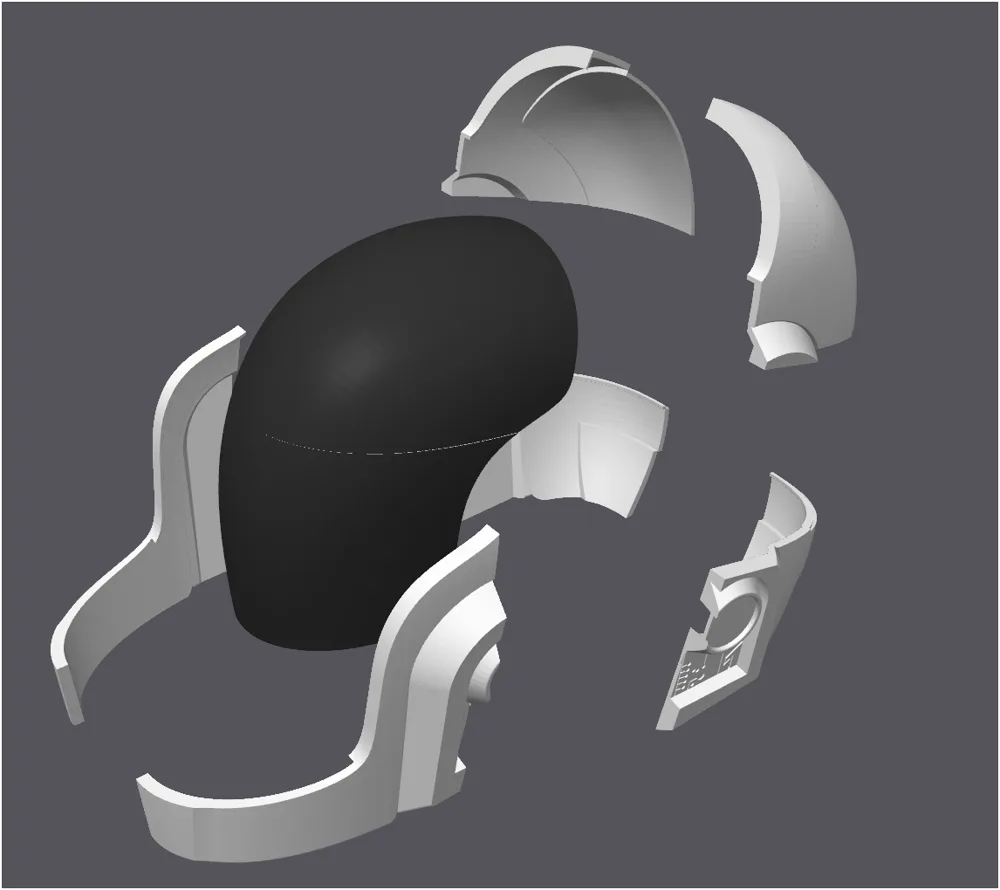
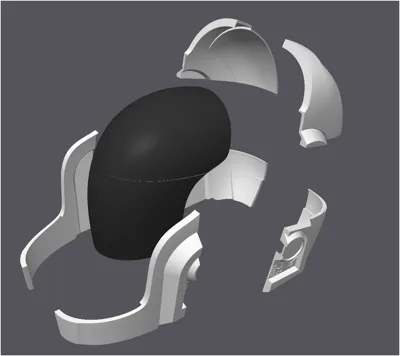
The Plate includes all parts cut out to fit the A1, simply glue them together.
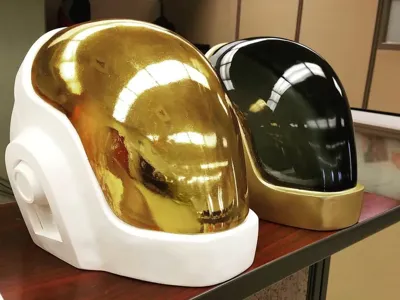
for finishing, use Bondo or any other surface primer
Visor shape on the plate, print, and use to form the 50CMx50CMx2mm Thick Plexiglass. Then glue it to the helmet.
It is best to print all in PETG (Visor too since the plexiglass will need to be heated and formed using it. PLA might deform.
For reference on how to form the acrylic/plexiglass
License

You shall not share, sub-license, sell, rent, host, transfer, or distribute in any way the digital or 3D printed versions of this object, nor any other derivative work of this object in its digital or physical format (including - but not limited to - remixes of this object, and hosting on other digital platforms). The objects may not be used without permission in any way whatsoever in which you charge money, or collect fees.


Comment & Rating (72)