Search models, users, collections, and posts

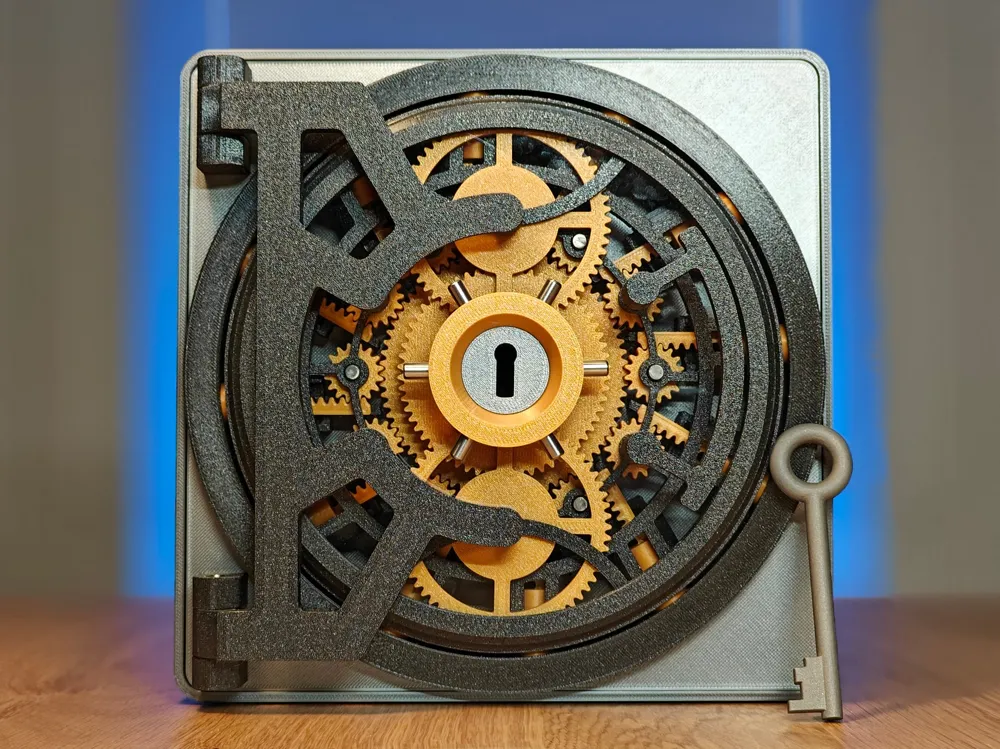
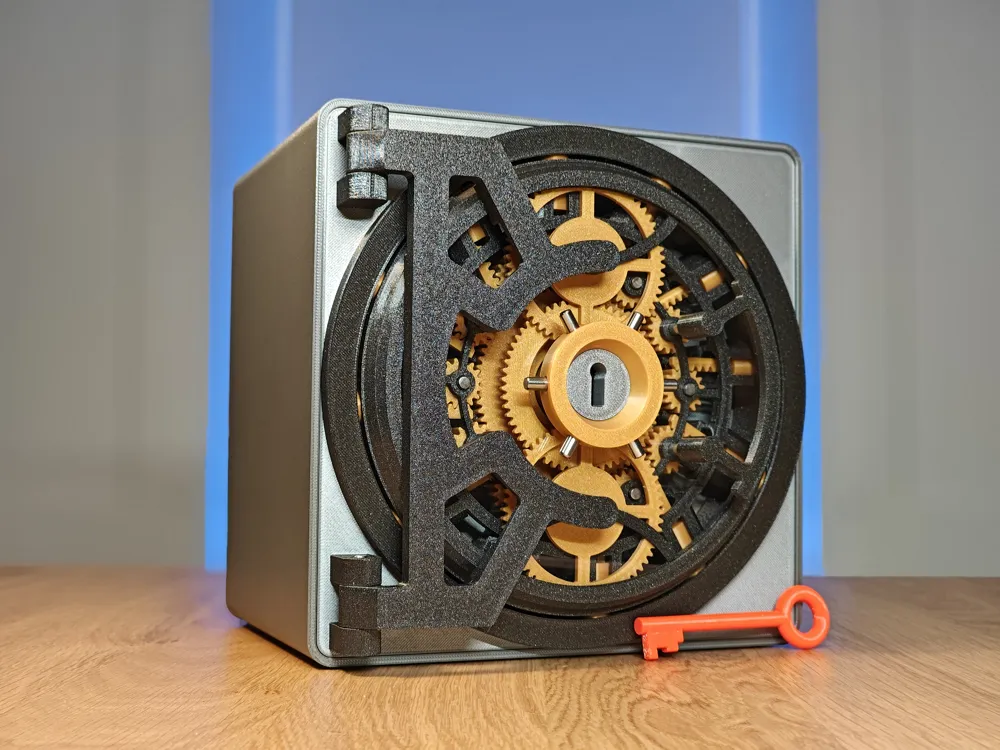
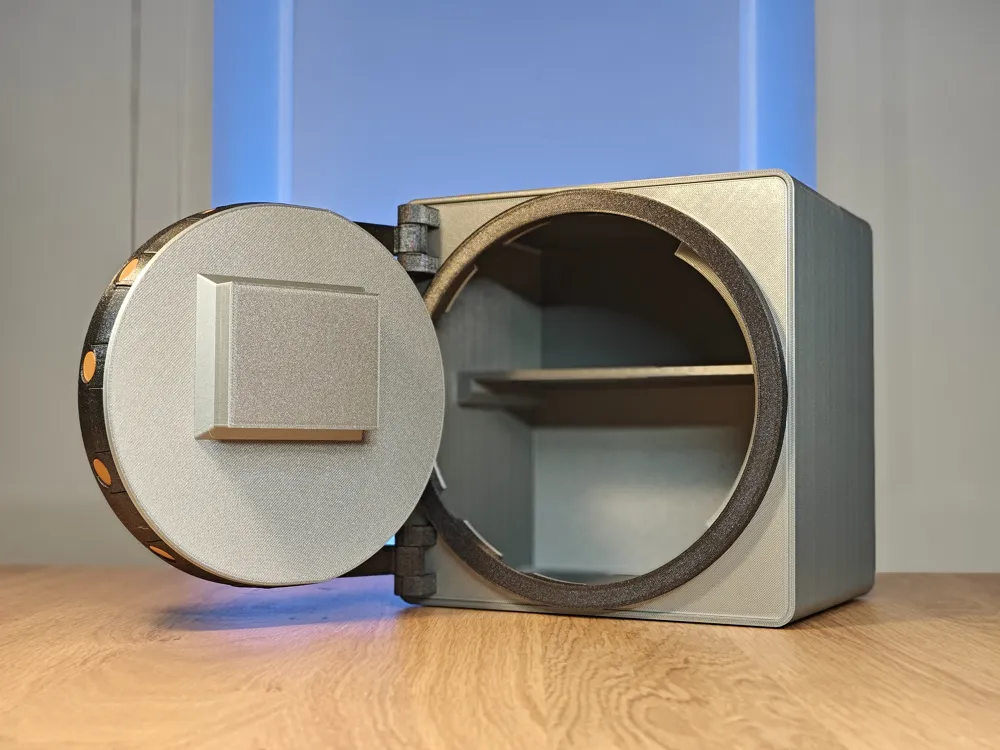
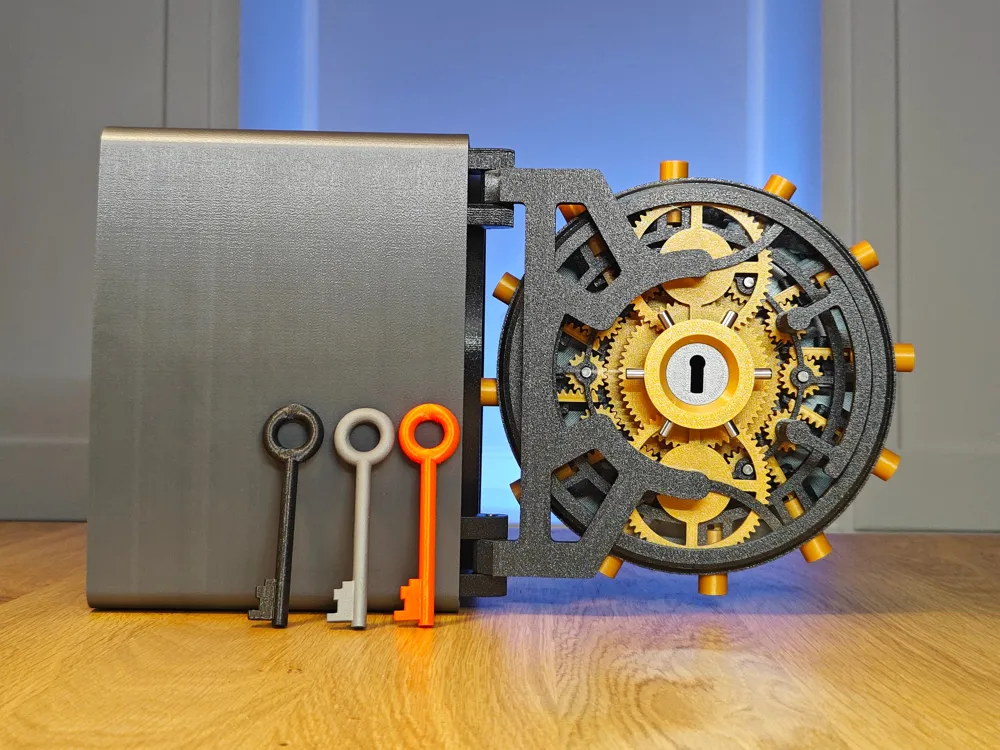
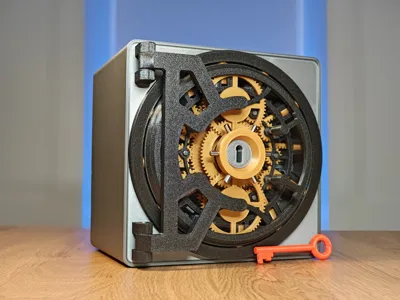
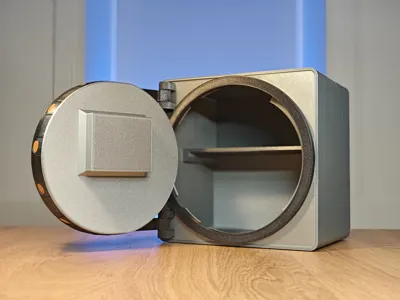
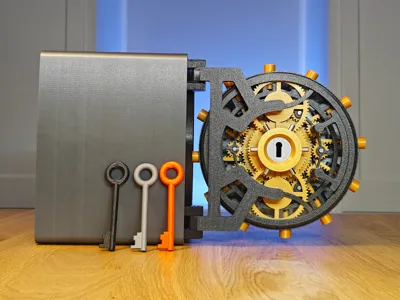
Vault with Lever Tumbler Lock
IP Report
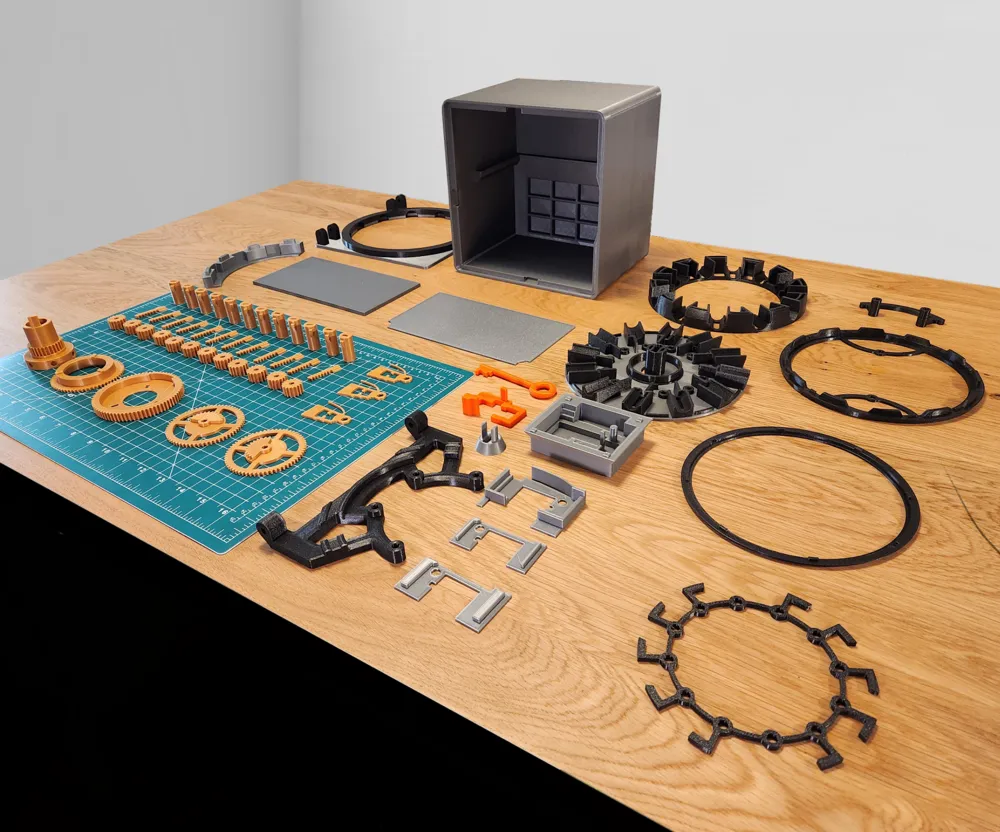

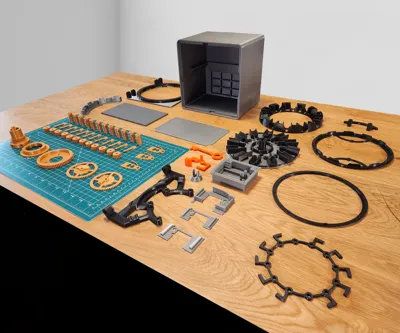
Print Profile(4)

Standard,No Acrylic,Box-Simple

37.5 h
13 plates

Vertically Printed Key (custom support settings)

38 min
1 plate

False Wall to Hide Wheel Weights

1.1 h
1 plate
0.16mm layer, 2 walls, 100% infill

39 min
1 plate
Open in Bambu Studio
Boost
2480
5763
188
286
2.7 k
547
Released
Bill of Materials
Maker's Supply Kits and Parts
Select all

Description
Bill of Parts:
- Required Parts:
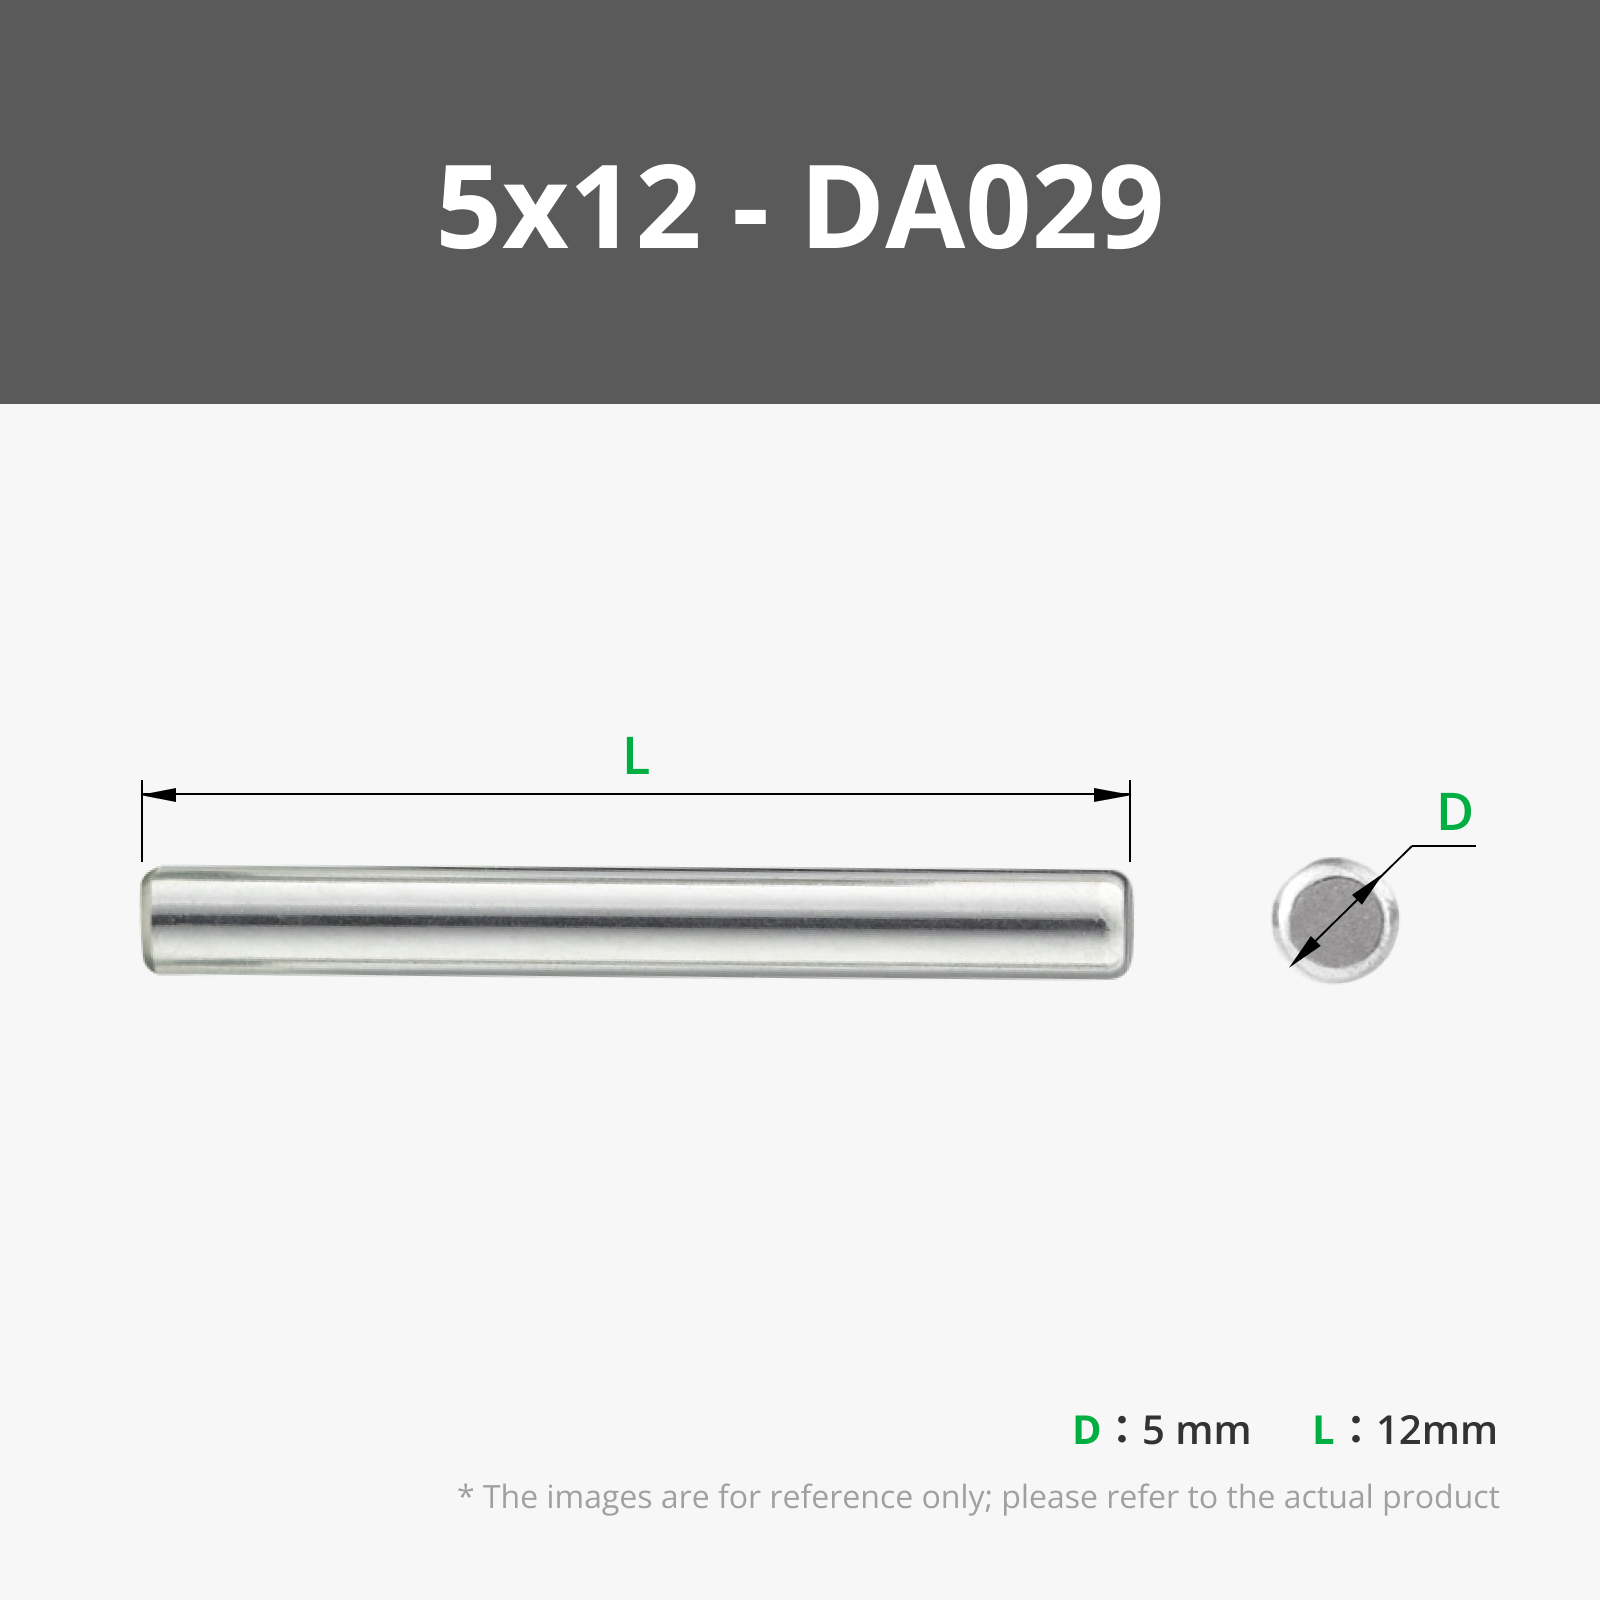
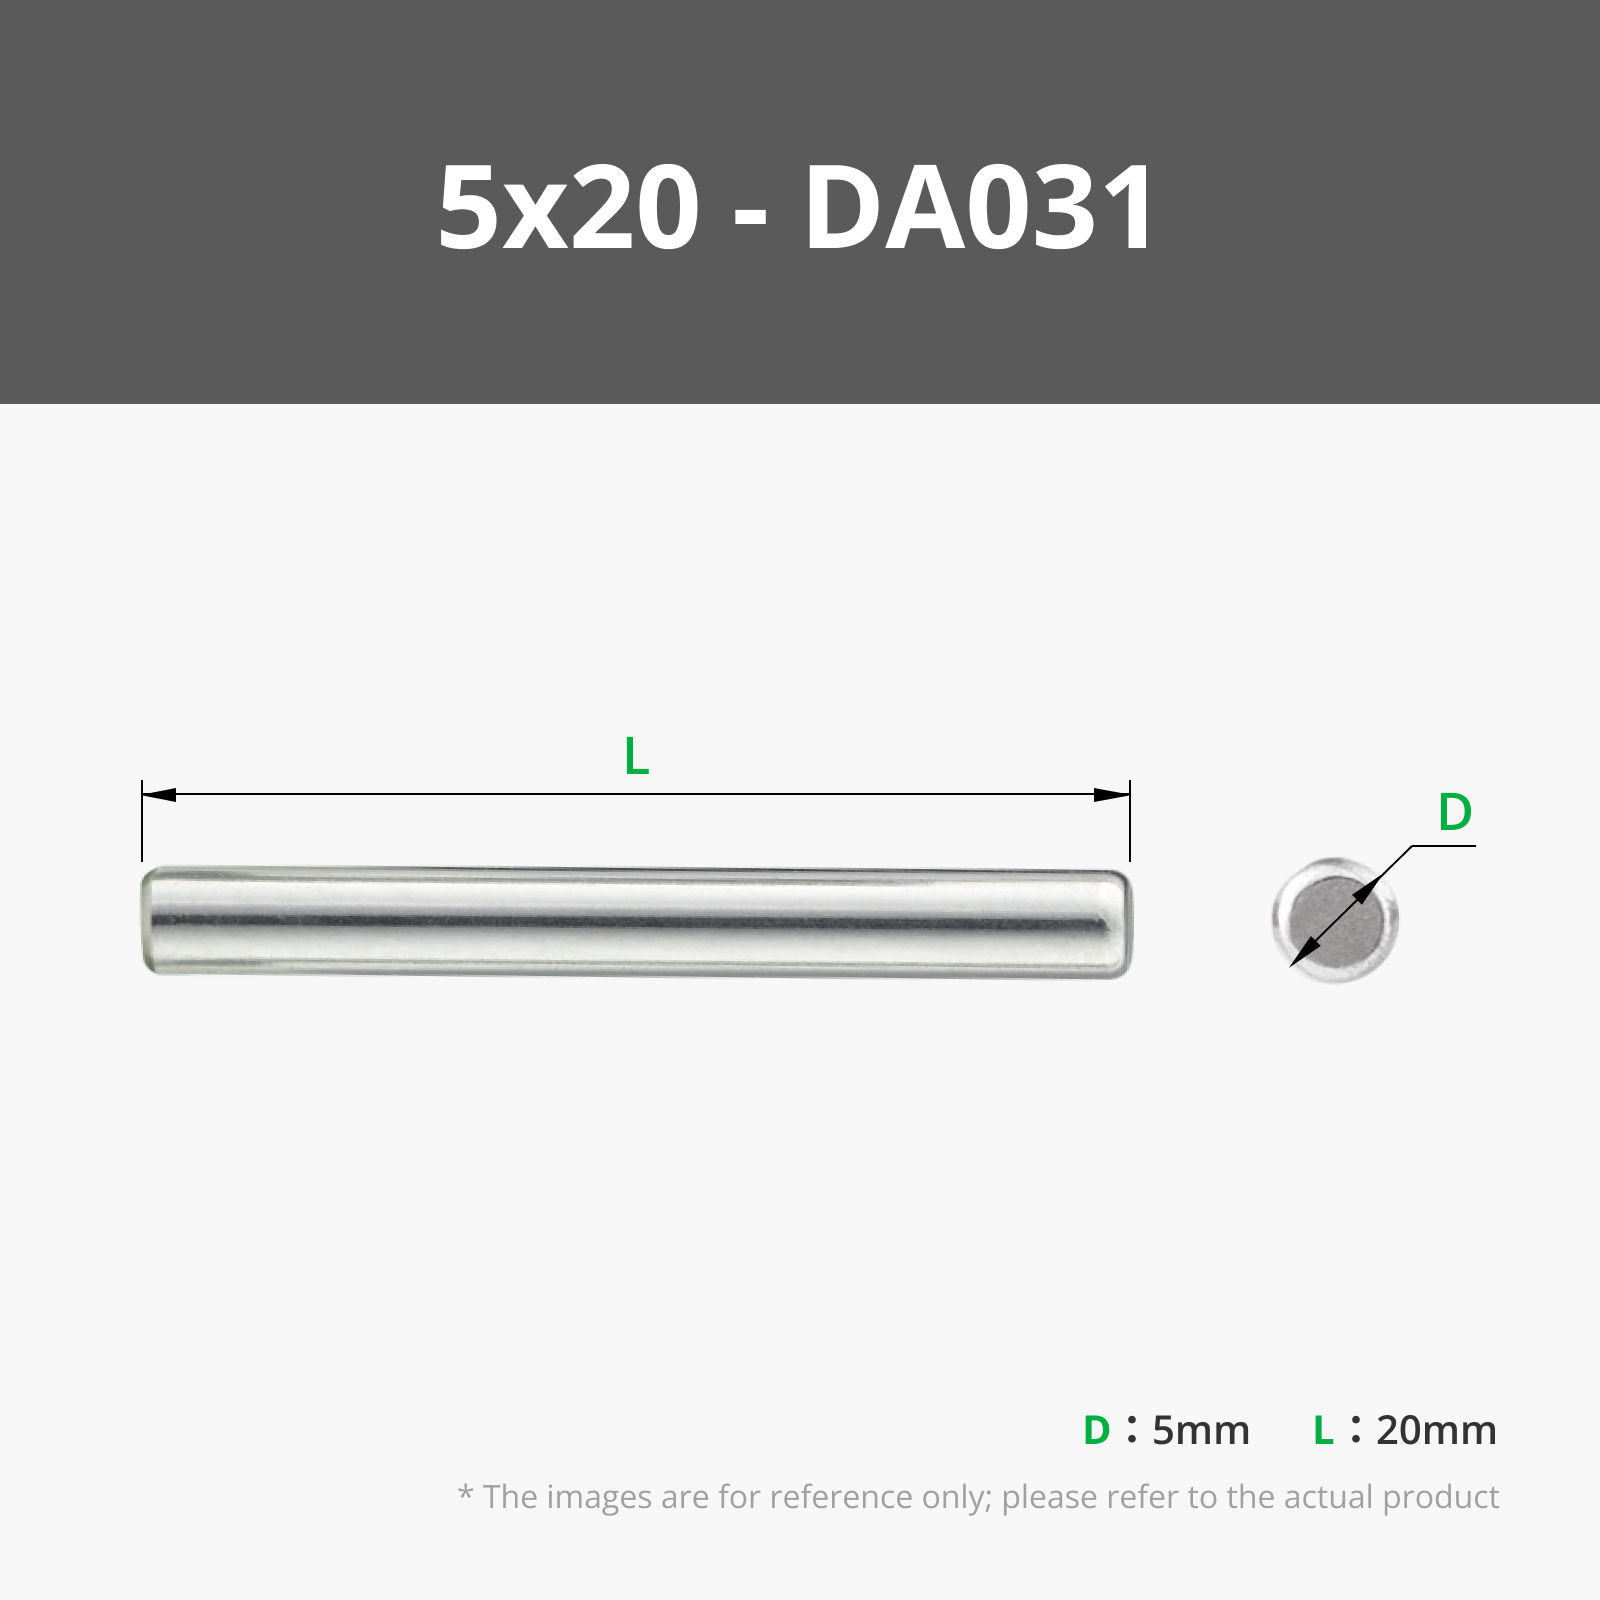
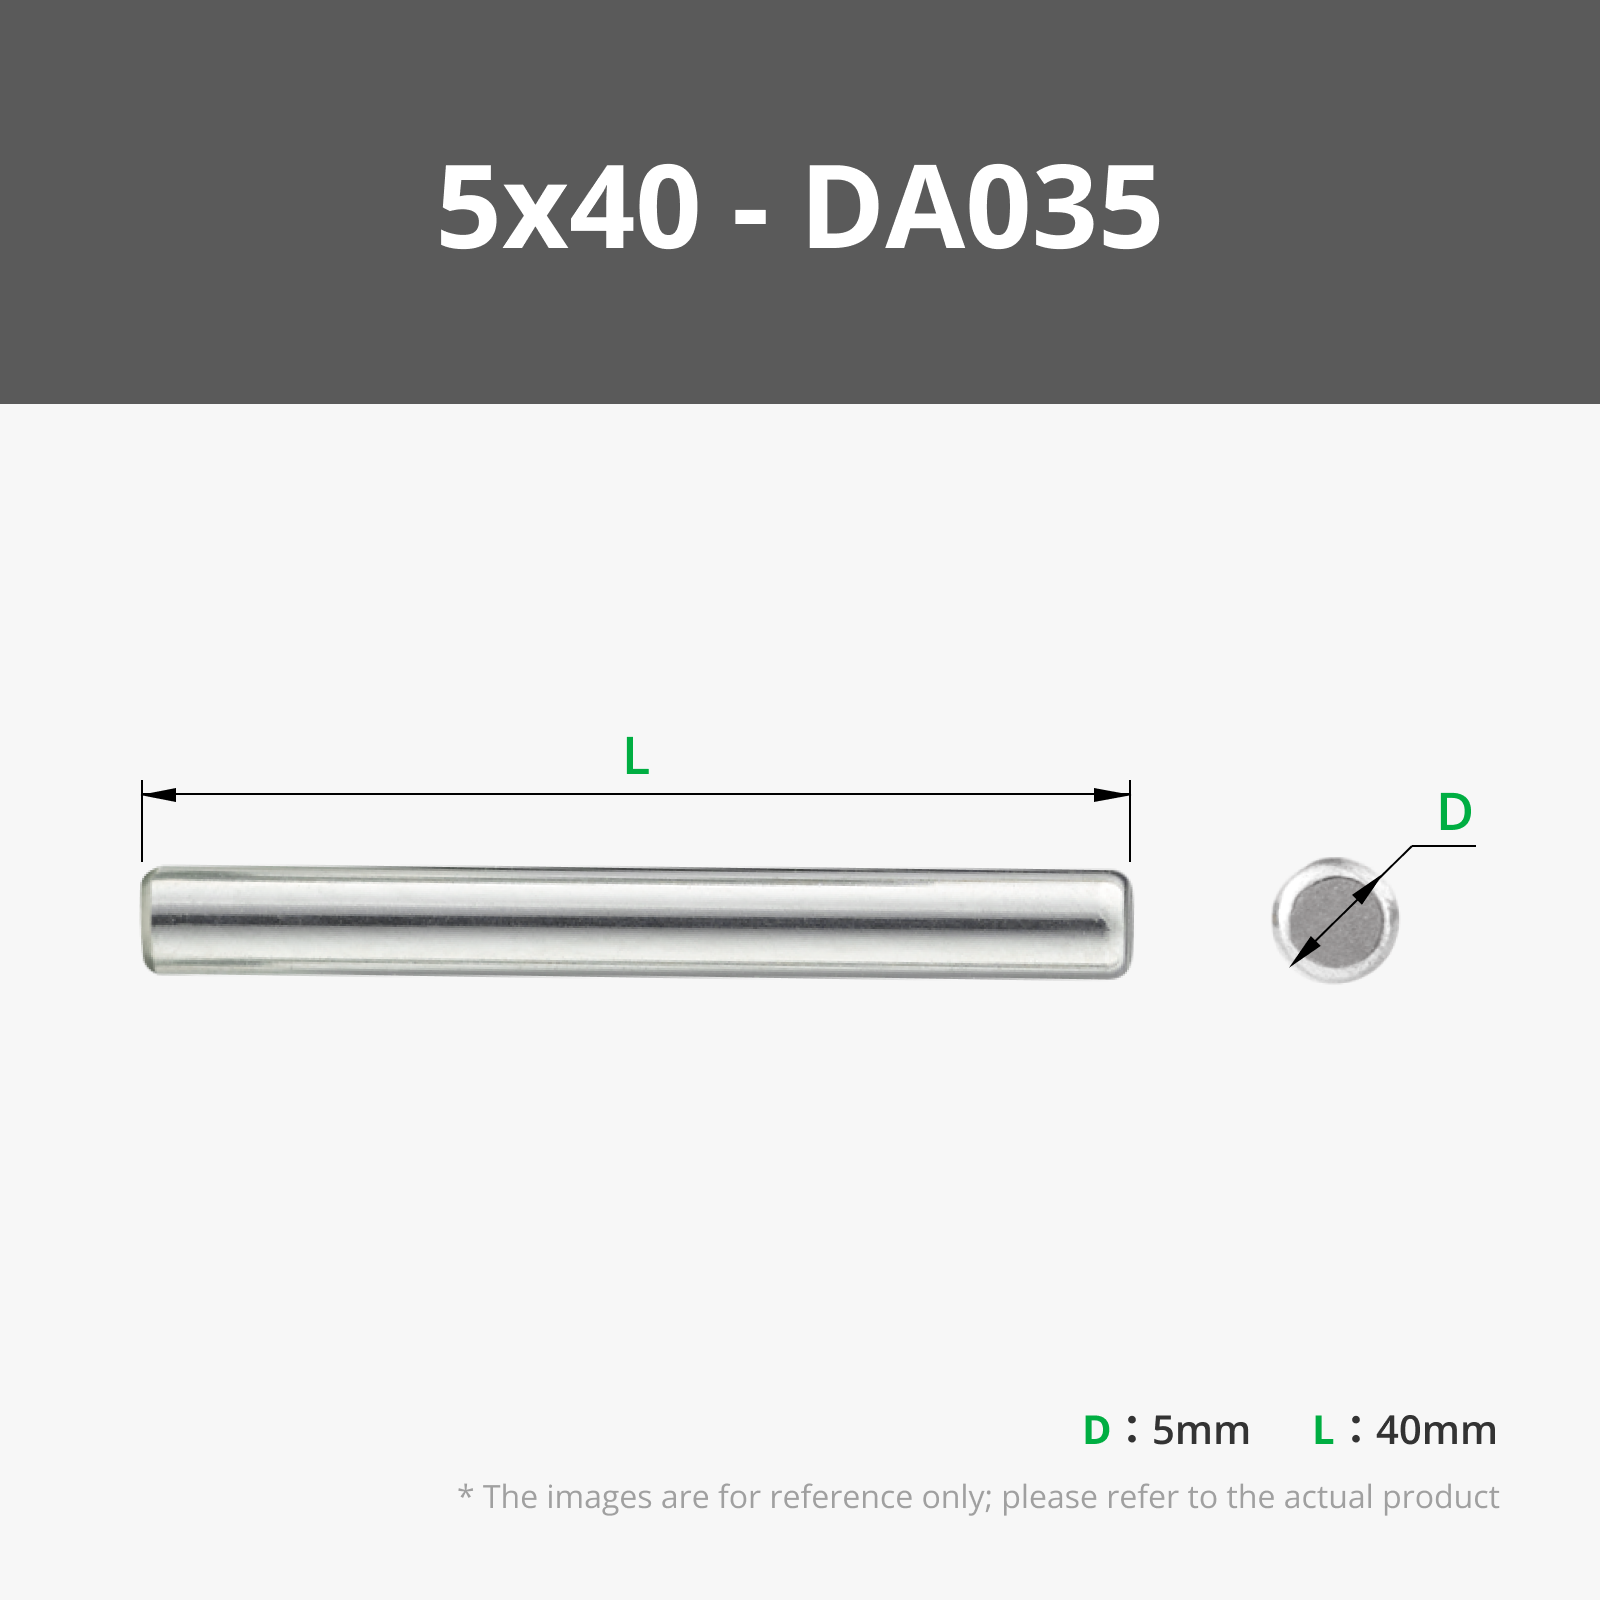
- Metal Dowels - https://www.amazon.com/dp/B07F3T5FKL?ref=ppx_yo2ov_dt_b_fed_asin_title
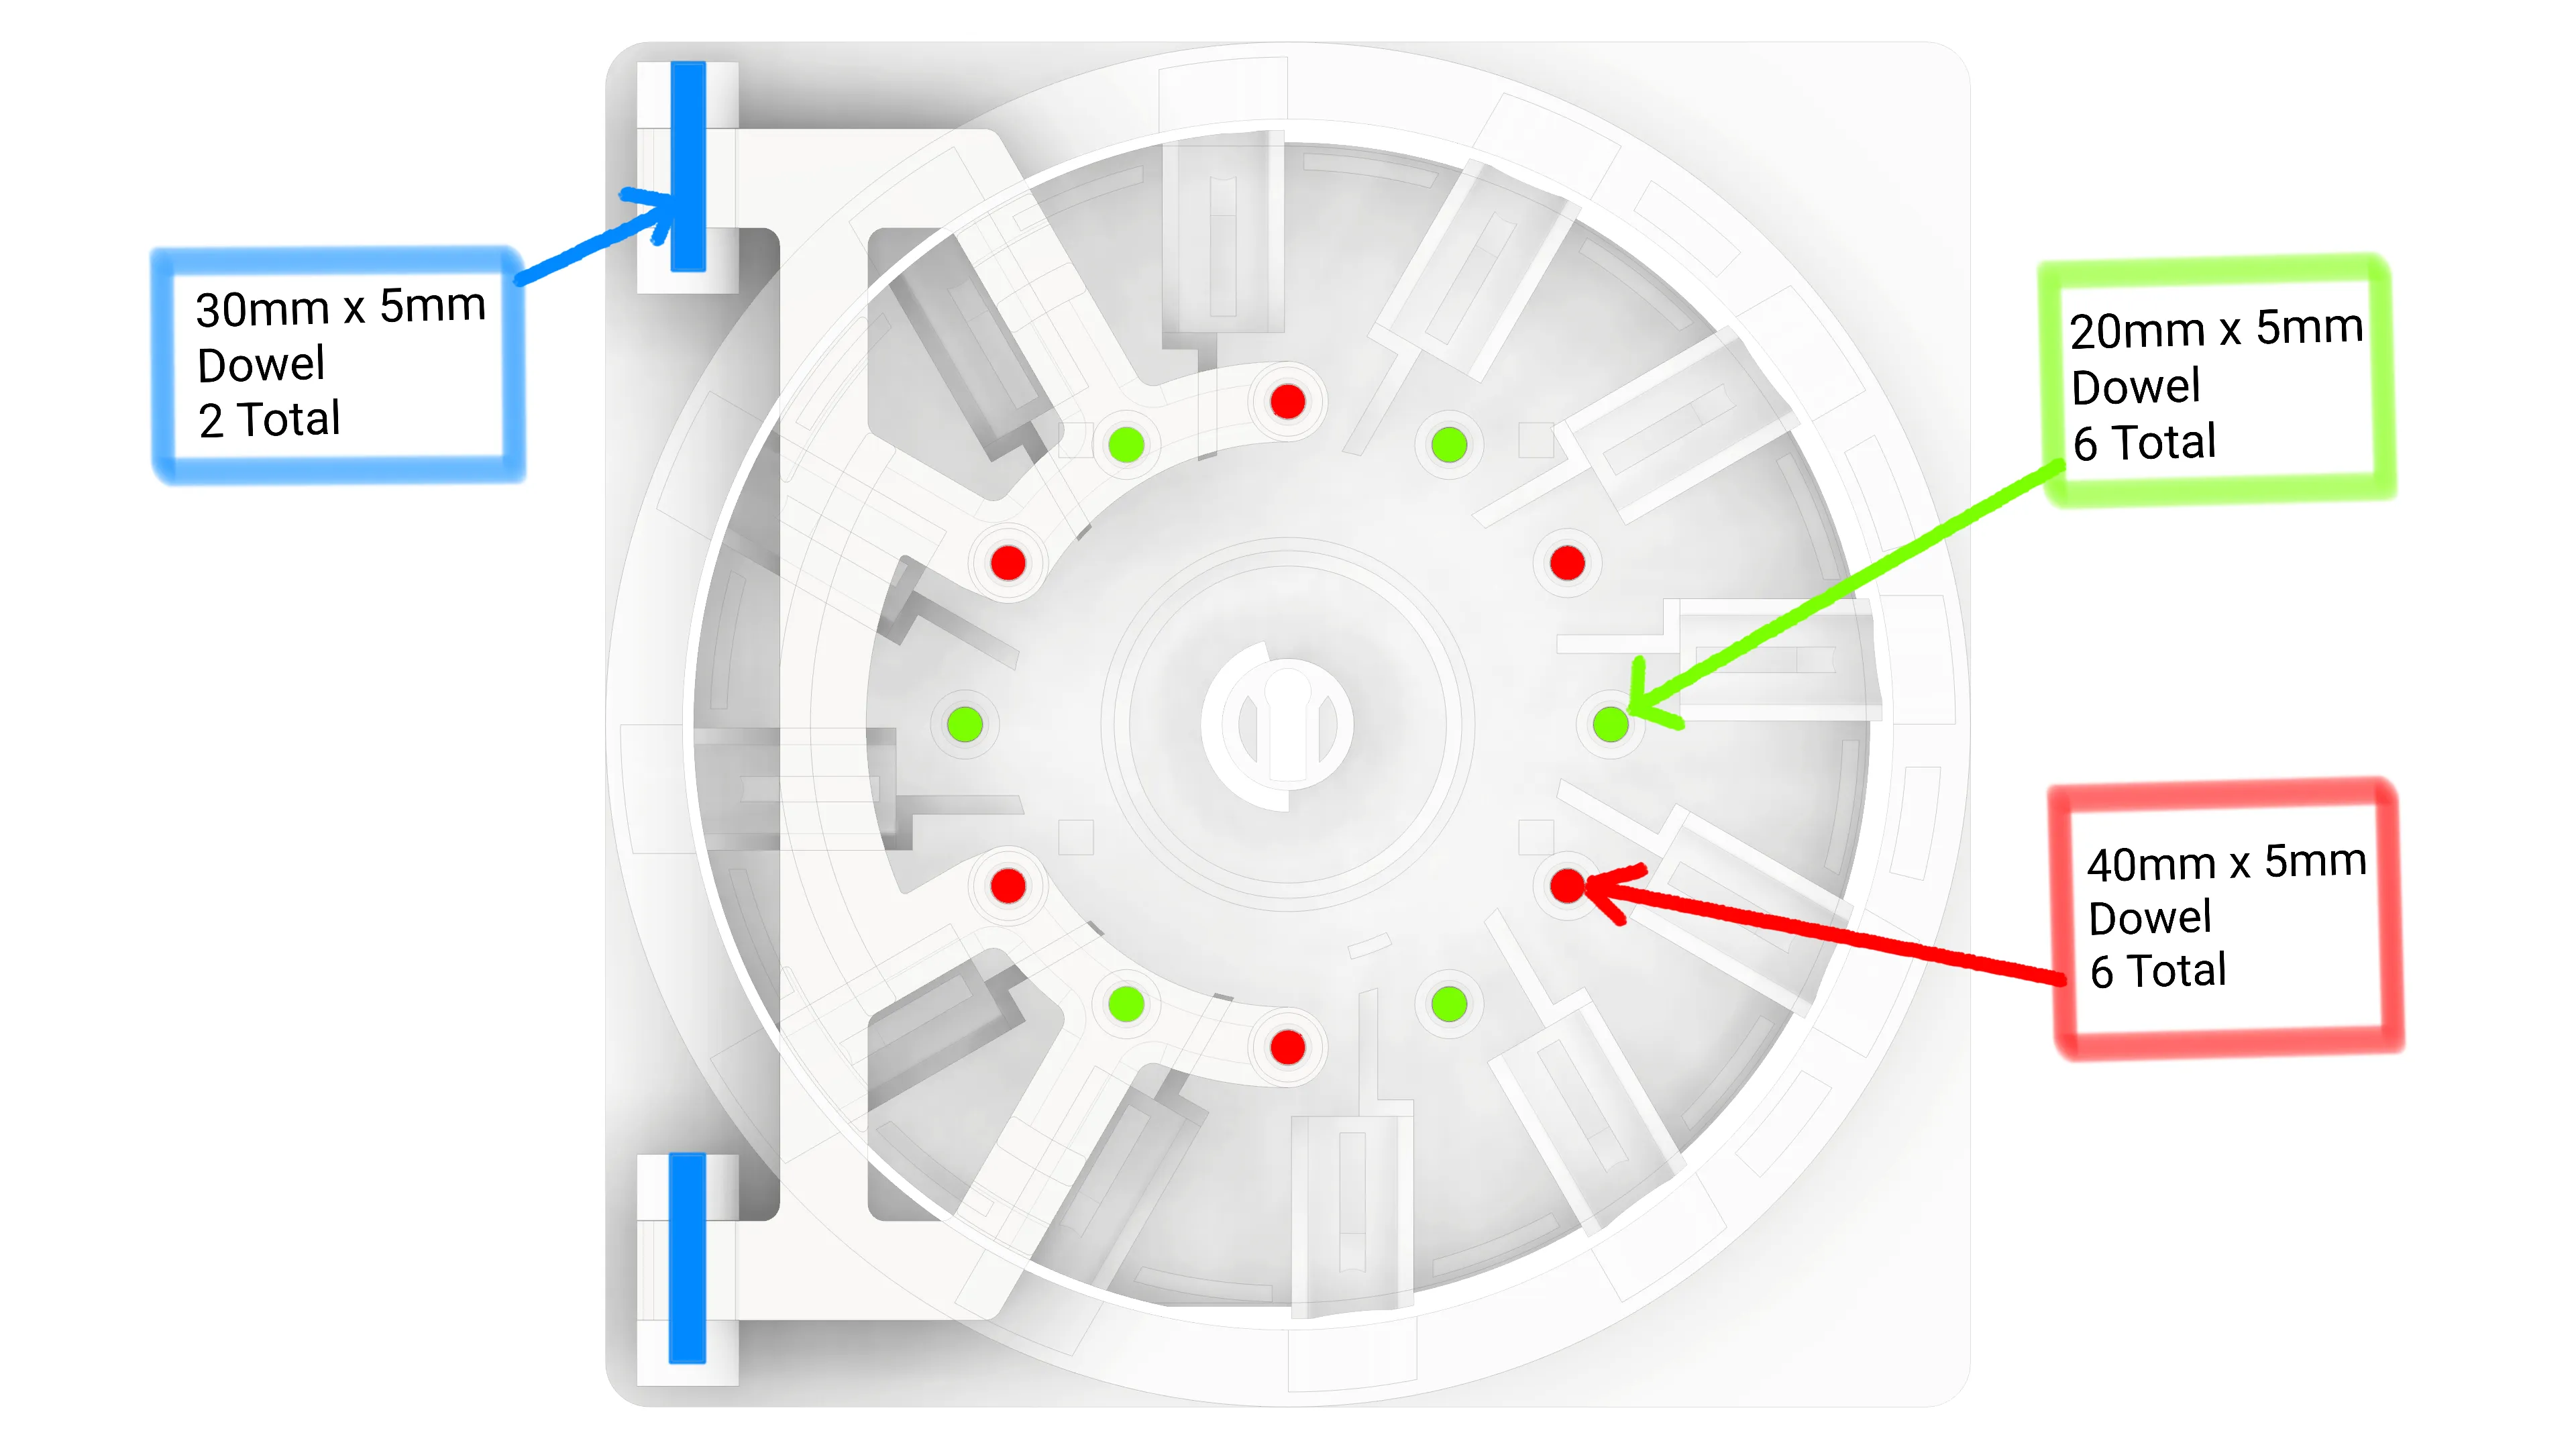
- (6) 20mm x 5mm - Door Frame
- (6) 40mm x 5mm - Door Frame
- (2) 30mm x 5mm - Hinges
- (6) 12mm x 5mm - Handle/Center Gear - other sizes work
- Bearing - https://www.amazon.com/dp/B09D2XDT95?ref=ppx_yo2ov_dt_b_fed_asin_title
- Metal Dowels - https://www.amazon.com/dp/B07F3T5FKL?ref=ppx_yo2ov_dt_b_fed_asin_title
- Optional Parts
Instructions for Downloading/Printing
- There are 2 sets of files with different tolerances. Pick either:
- Standard - these are the original design files
- Loose Tolerance - Loosened tolerances on gears and interlocking parts
- I recommend printing a copy of “Spur Gear - 16teeth” from both the Standard and Loose options and try to place a 5mm metal dowel through the hole. You want the gear to spin freely, but with as little wiggle as possible. Use the files from whichever version works better for you
- There are 2 Options for the door front cover for each tolerance level (4 Total). Print the files from only one of the following:
- No Acrylic - This has the front cover, hinge and handle for a vault door without Acrylic
- With Acrylic - This has the hinge, handle and front covers for a vault with the Acrylic front panel
- There are 3 Options for the box itself for each tolerance level (6 Total). Print the files from only one of the following:
- Box-Standard - This is the box used in the video. It has recesses in the back of the box to add steel weights
- Box-Smaller - This is the same as ‘Standard’ but it's 1" shorter, so it prints faster but the interior volume is smaller. This option also has recesses in the back of the box to add steel weights
- Box-Simple - This box has no recesses for weights. If you do not plan on adding weights to the vault, this is the box to use. It is the same size as ‘Box-Standard’
- If multiples of a file are required, the file name ends with “-X#” with the number indicating how many should be printed
- For Example: "Bolt-X12" means to print 12 Bolts
- I recommend printing the following files in PETG:
- LockSpacer1
- Lever1
- Lever2
- Lever3
- I recommend printing ‘Hinge’ with extra walls and higher infill for added strength. I think I used 6 walls and 50% infill
Instructions for Assembly - INCLUDES DETAILS NOT INCLUDED IN VIDEO
- Watch the entire video before you begin, and follow the assembly order as shown in the video (and like, comment and subscribe to my Youtube channel, if you're so inclined)
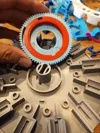
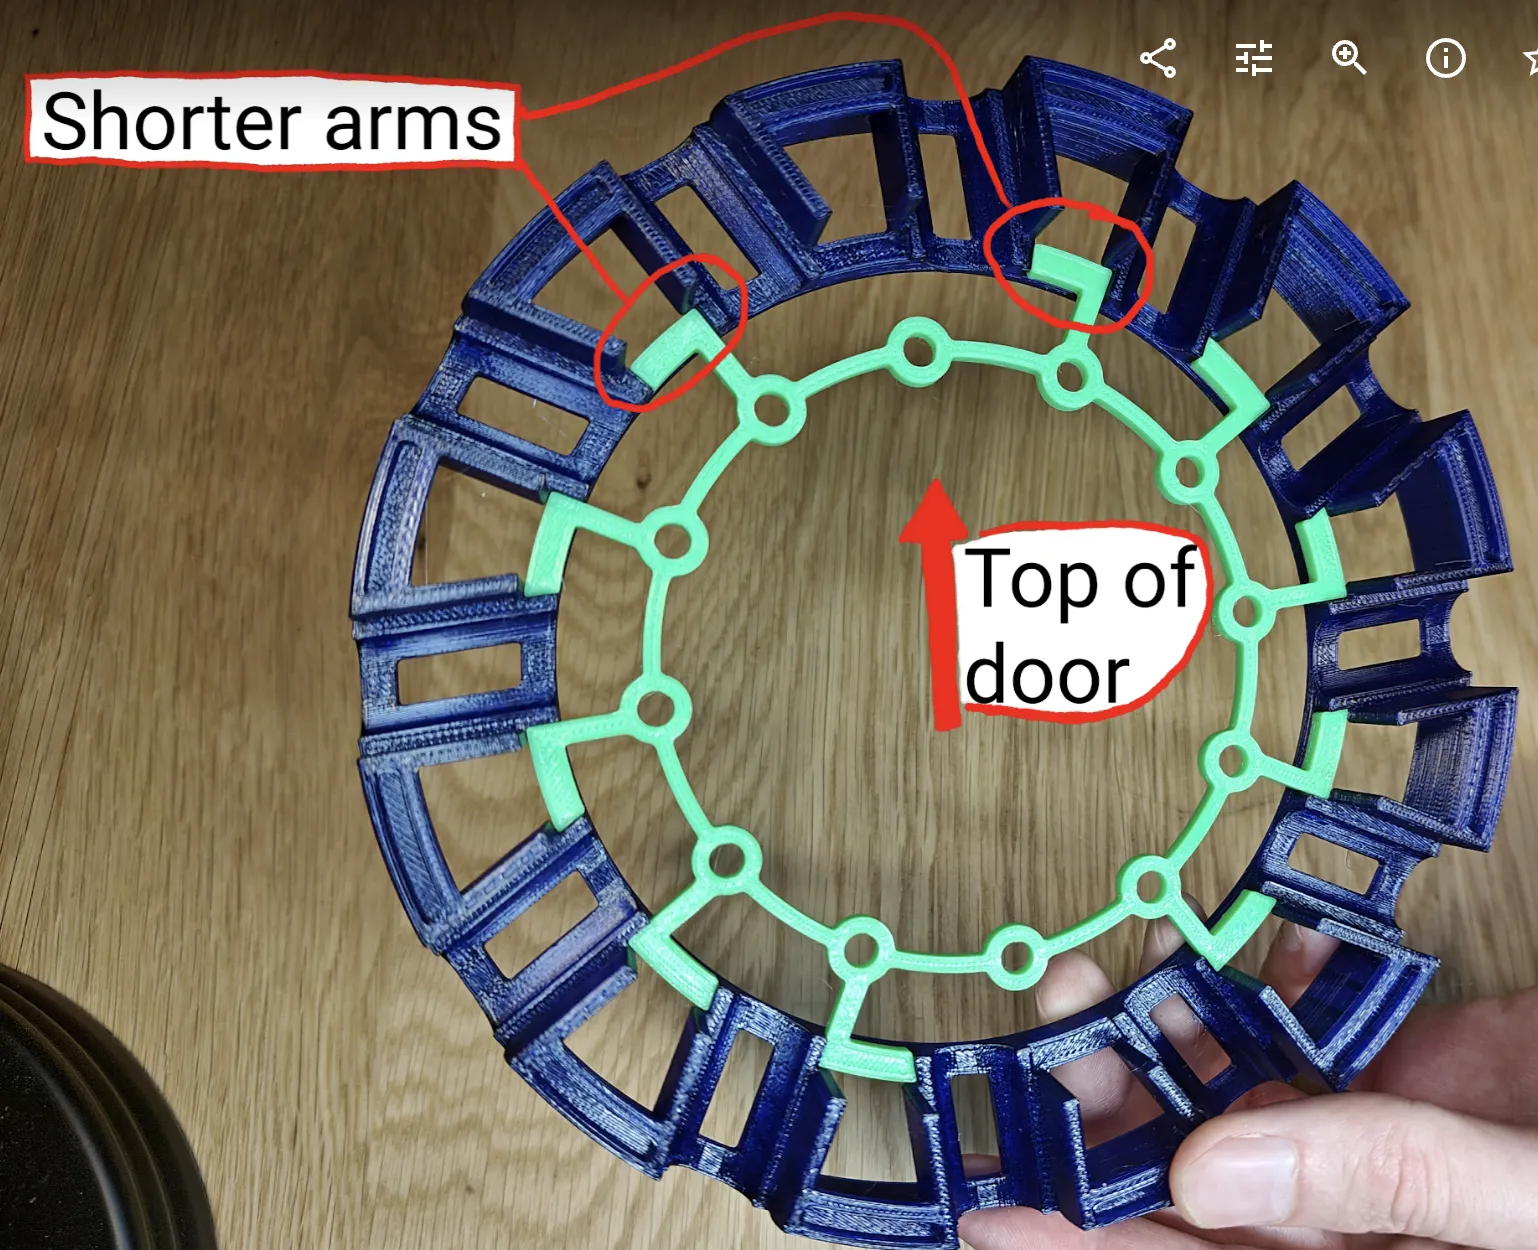
- The ‘Ring Frame’ needs to be glued to the ‘Bolt Frame’. It can only be inserted in one orientation, which can be tricky. The Ring Frame has 10 arms and 2 of them are sligtly shorter. Make sure the orientation matches the photo below:
- Here is a diagram of dowel layout:
- I used JB Weld Plastic Bonder in the video
License

This user content is licensed under a
Creative Commons Attribution-Noncommercial-Share Alike


Comment & Rating (188)