
Modular 3D-printer (A1 & A1 mini) enclosure V.2


Print Profile(2)


Bill of Materials
- Glueorsolvent x 1:
Description
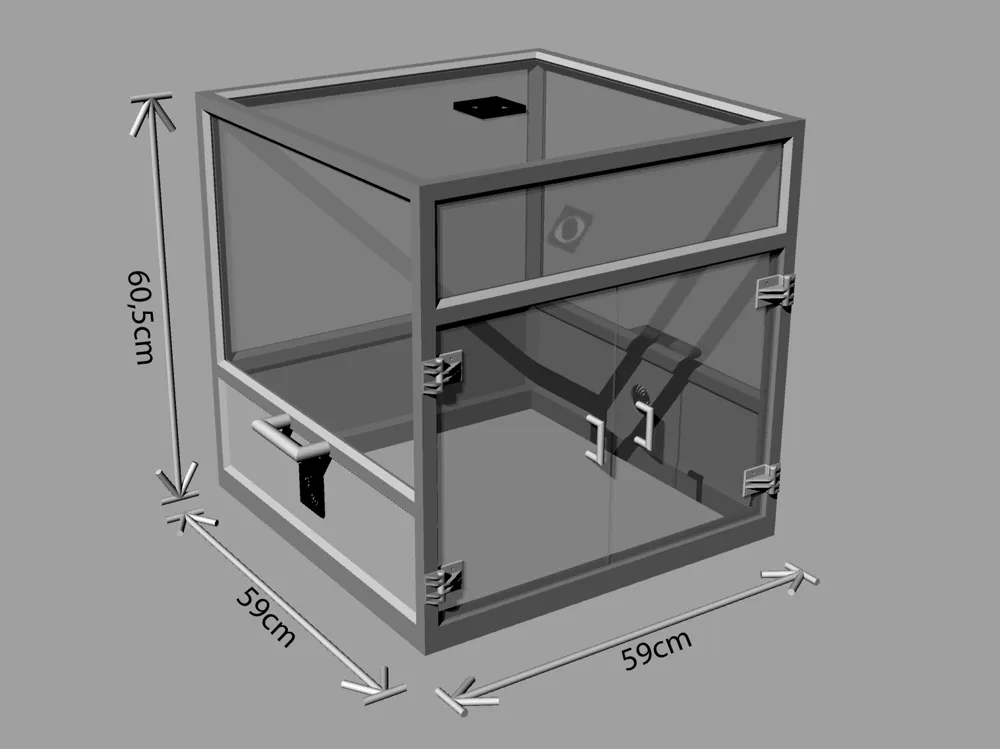
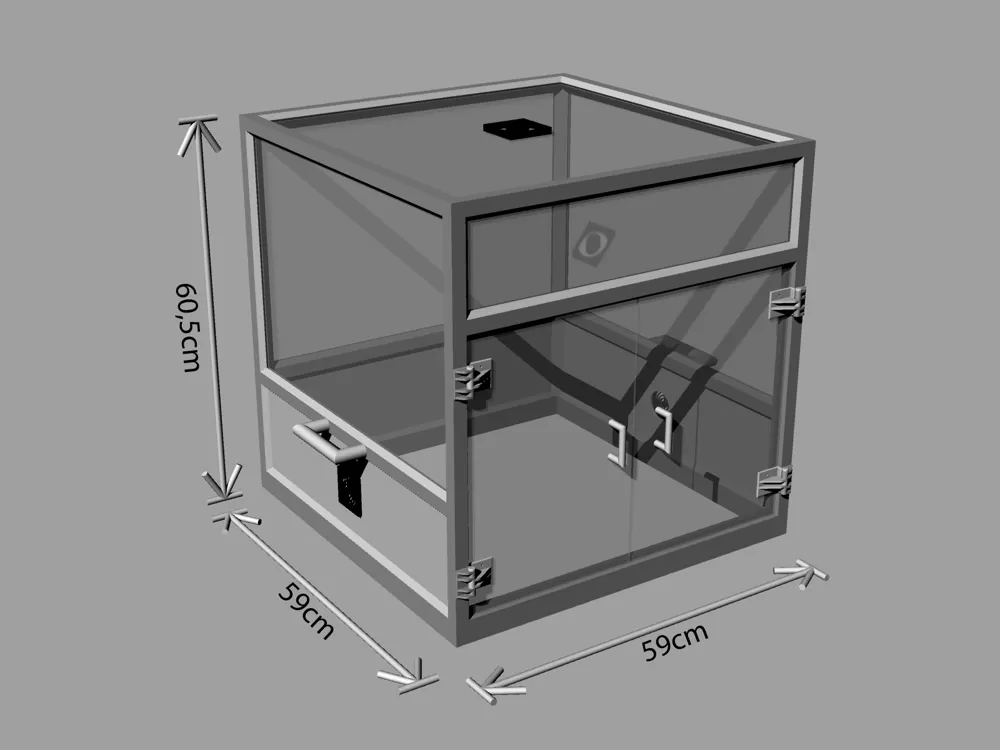
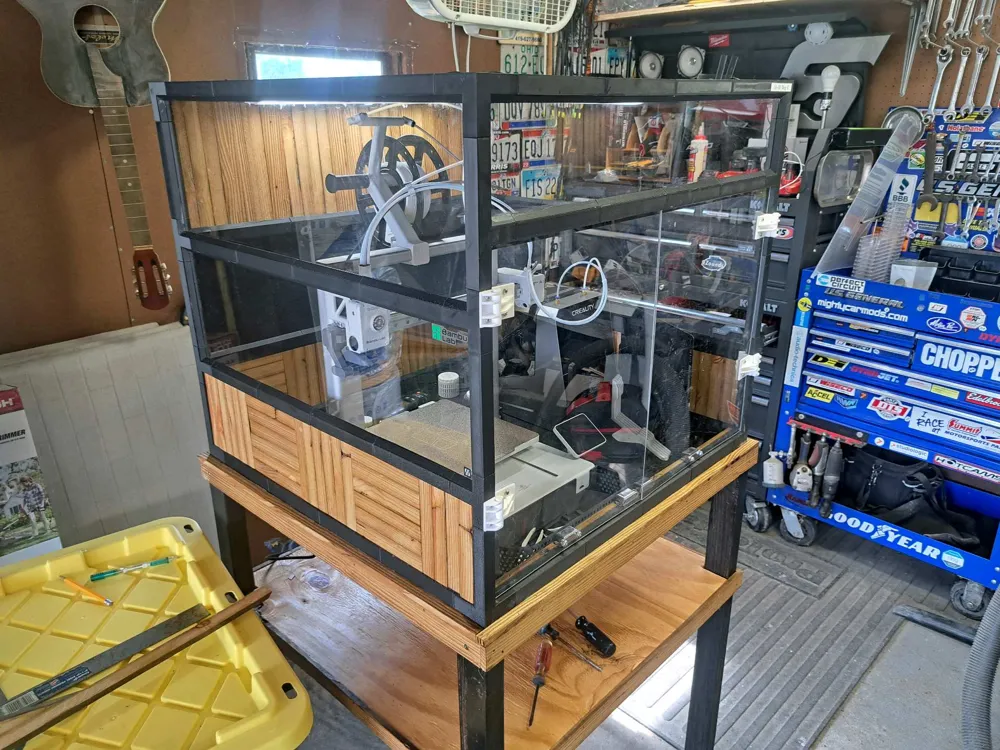
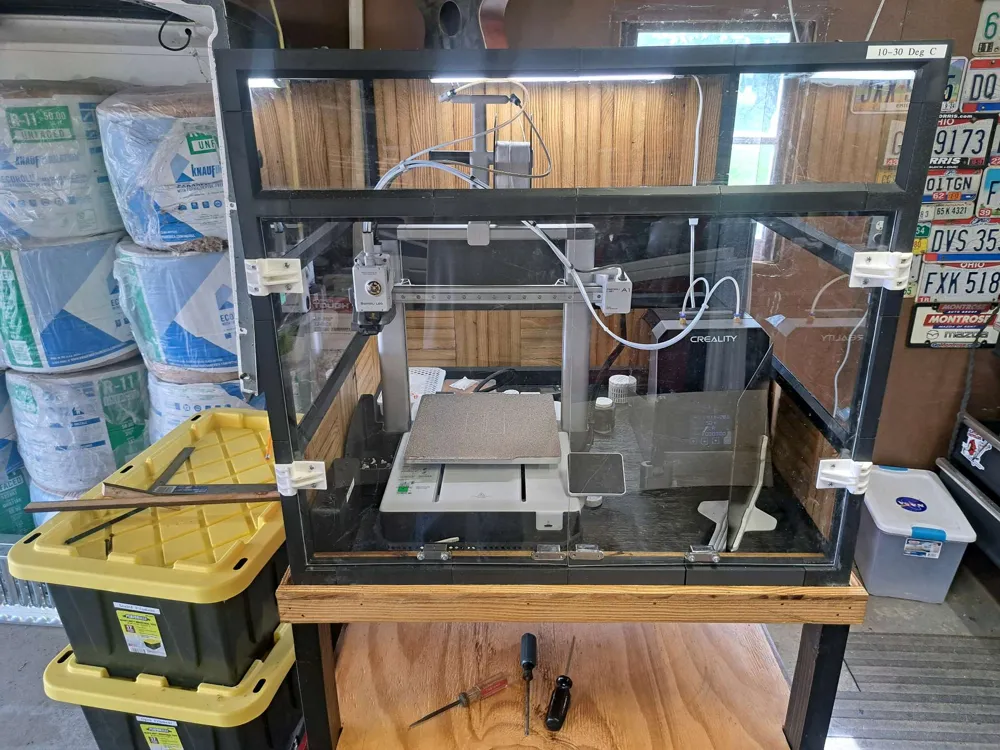
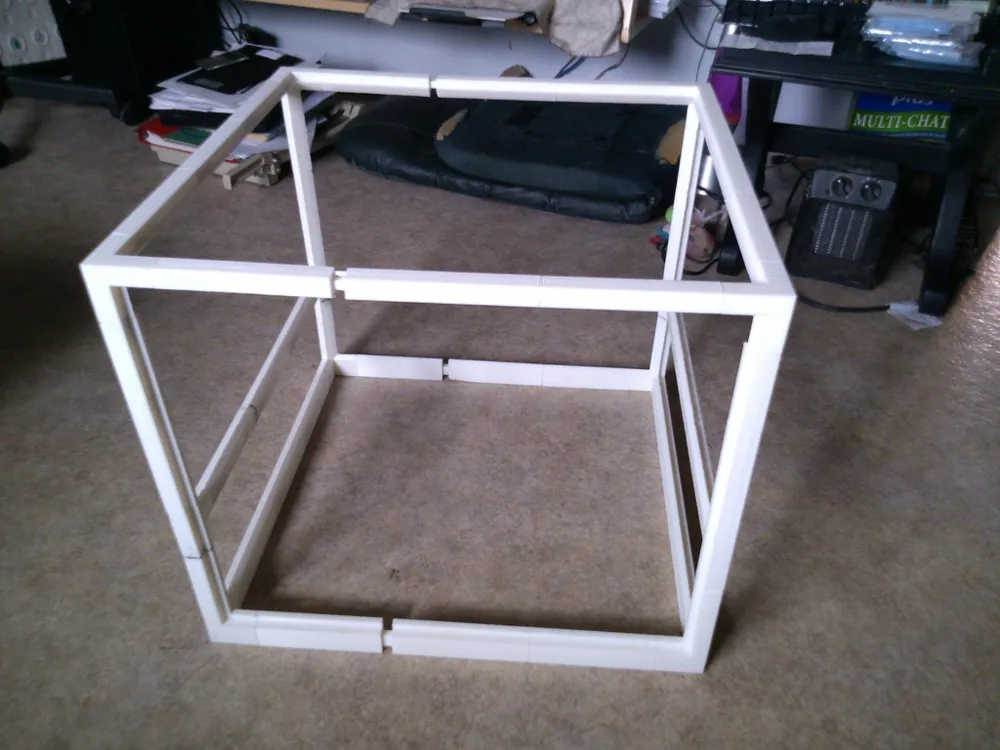
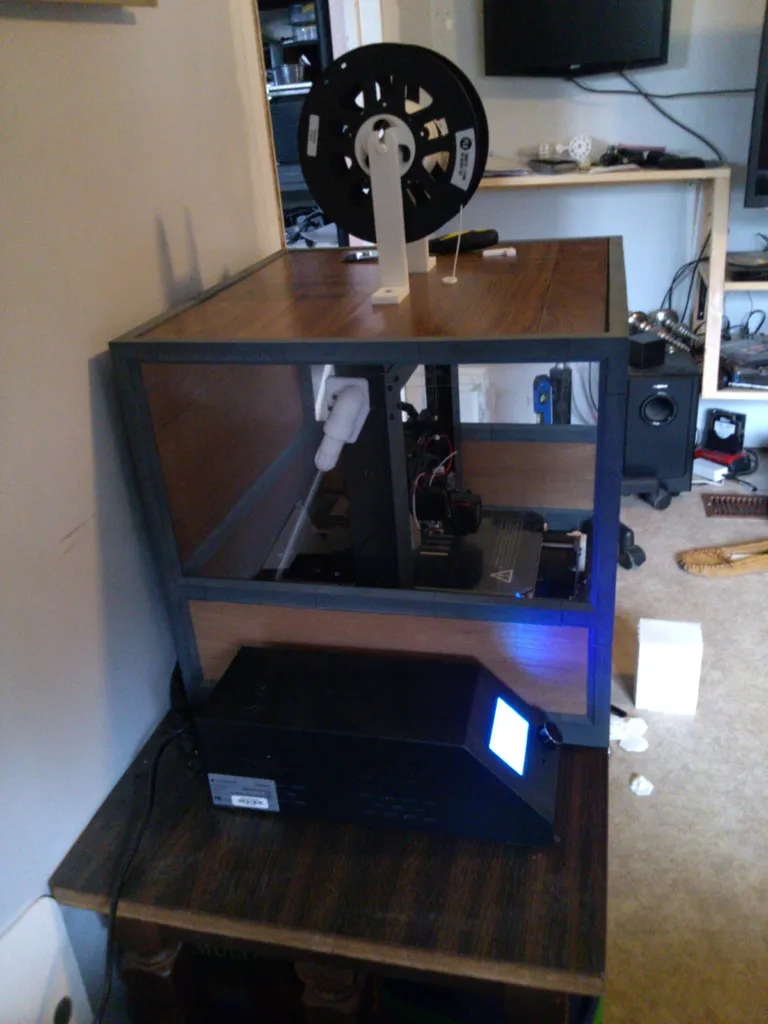
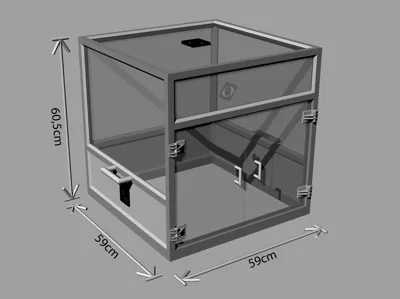
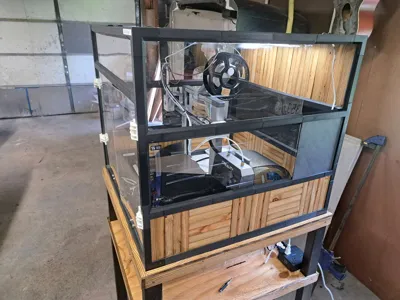
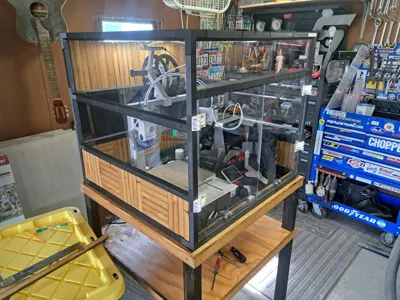
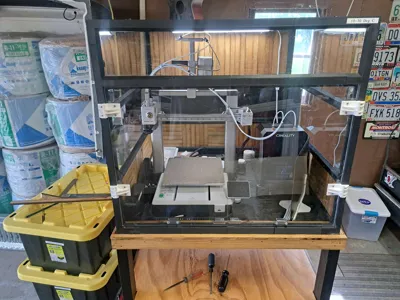
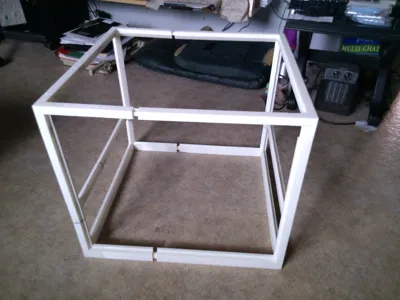
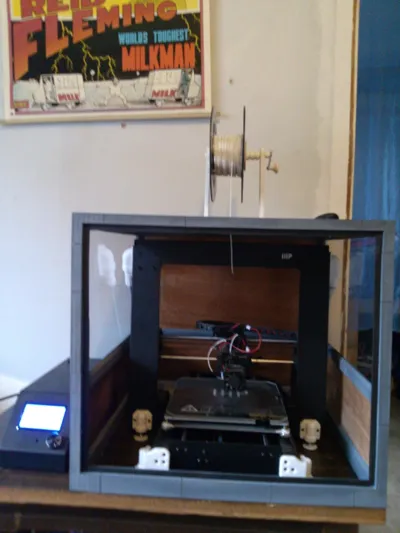
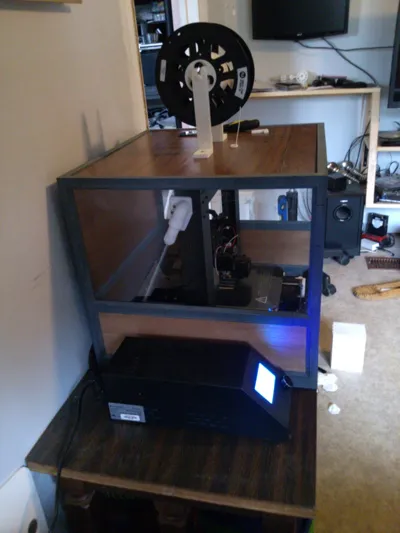
You can build your own 3D-printer enclosure with this printable and modular frame. The standard dimensions are 59x59x60,5cM. You can expand the dimensions by simply add some extra parts in between. So you can choose for yourself to make the frame wider, longer
or higher.
On the bottom of the frame is some free space available to fit in a standard 10x2mm steel or aluminum strip for extra stability.
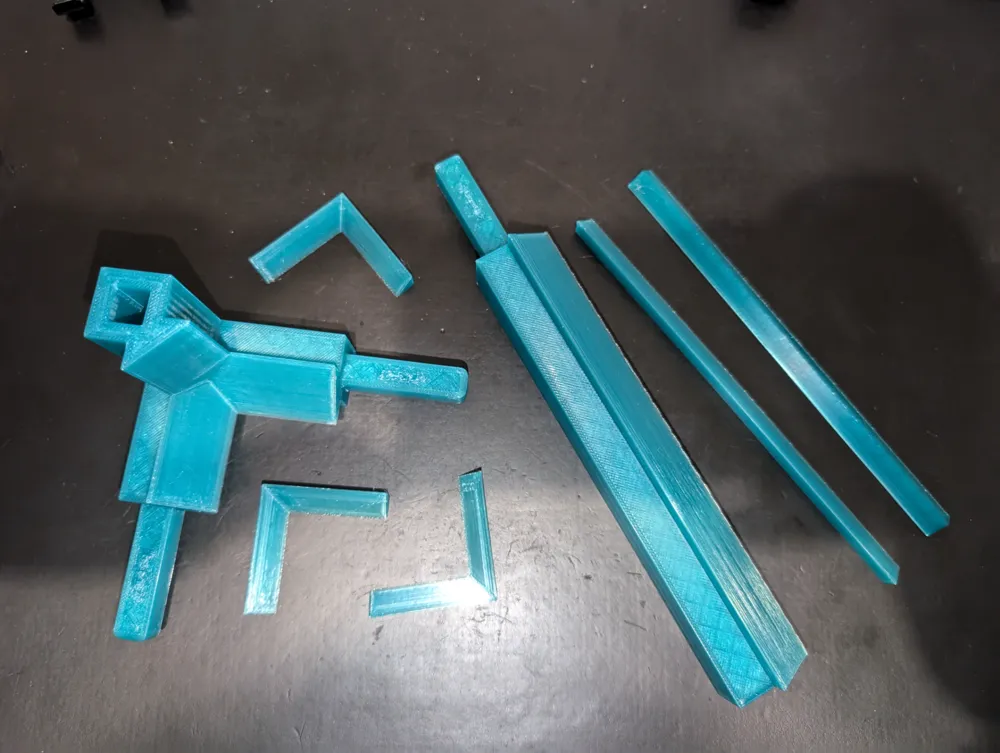
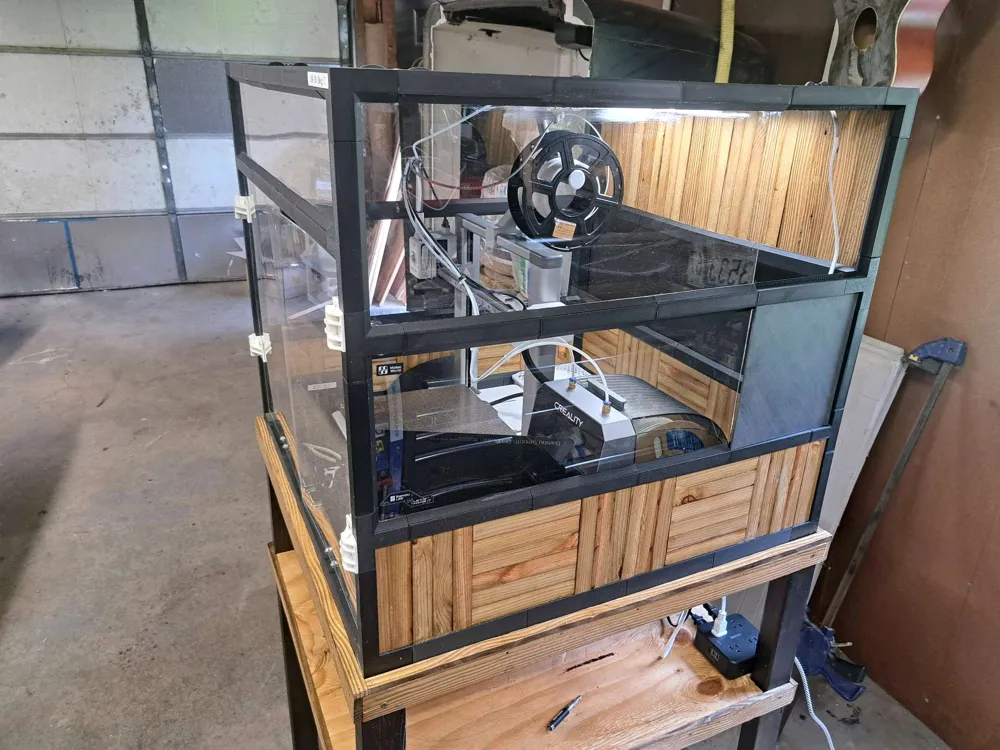
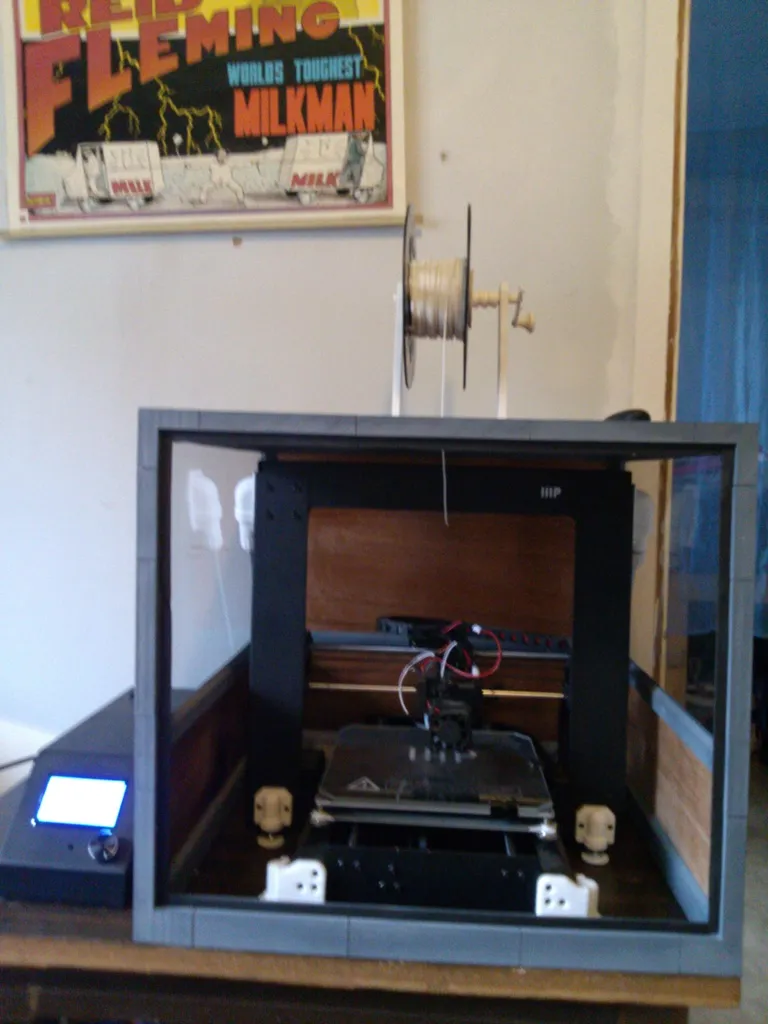
You only have to add some (acrylic) plates/sheets to finish the enclosure. The frame is designed for 4mm acrylic or plastic sheets. You can glue the fitting sheets into the frame and finish it nicely with the included strips, which can glued or (solvent) welded to keep the sheets in place.
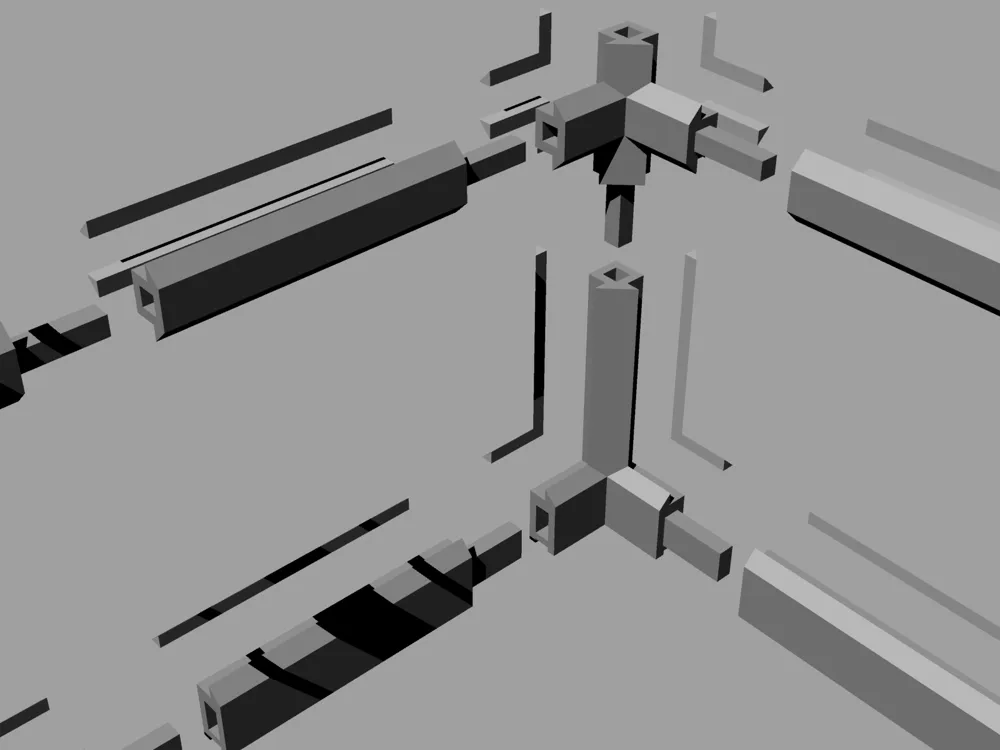
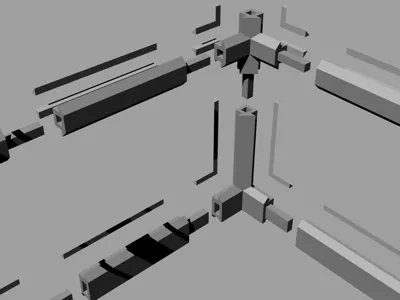
All the parts will fit together, and it's advised to glue or (solvent) weld them together. Or you could use some screws or bolds straight
through the connection parts.
Boost Me (for free)
Boosts are always appreciated :)
You can print and build your own 3D-printer enclosure with this frame to keep your printer protected from dust etc. and create a more optimal printing climate for your prints. You can also add some extra fans for air regulation or a fan/filter in the top to get rid of ABS fumes for example.
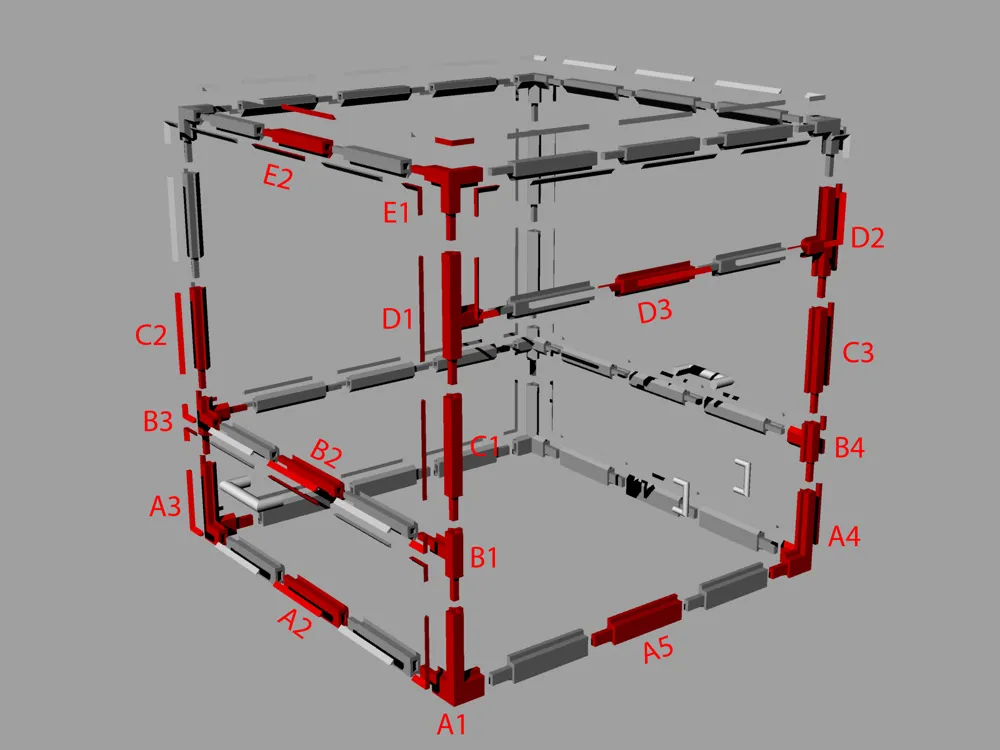
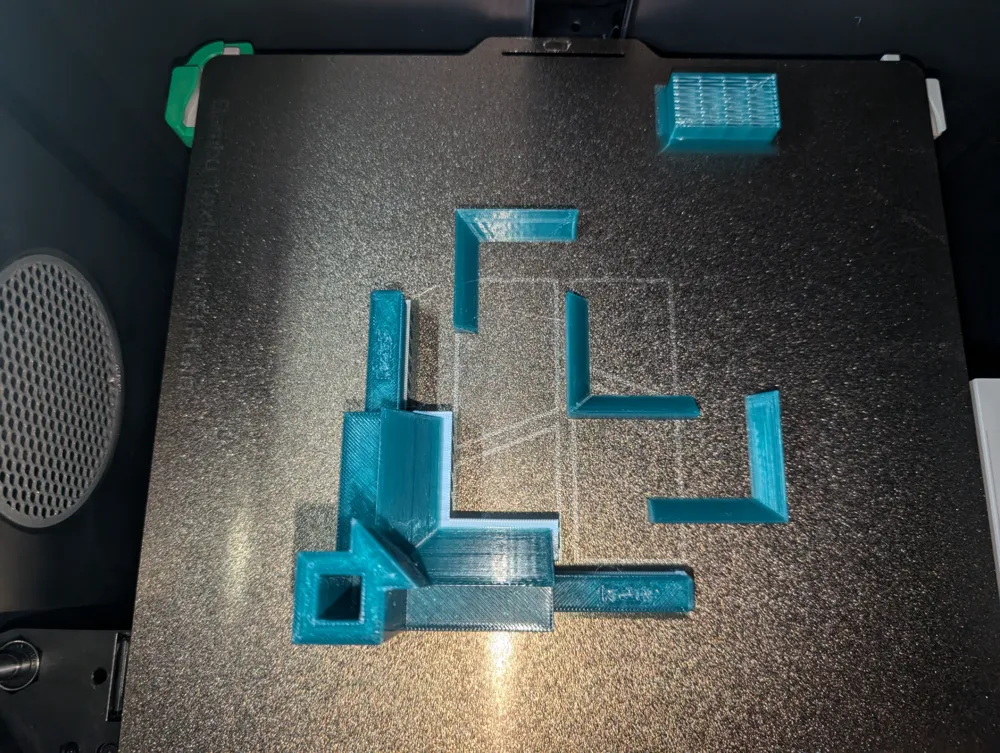
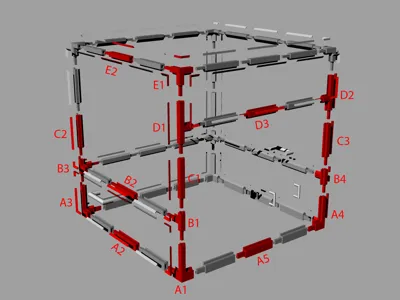
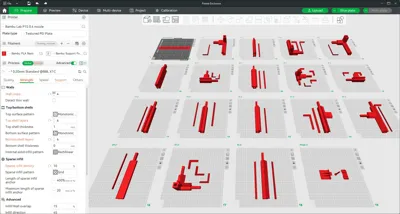
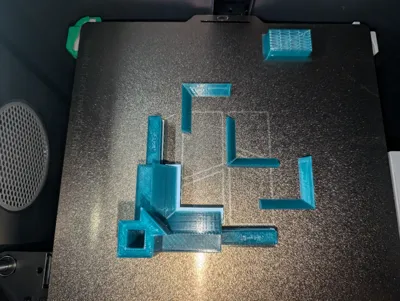
The highlighted red parts are included, and are all that you will need to print this frame.
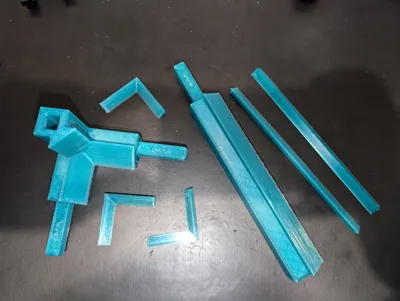
To make the displayed enclosure with the mentioned size, you'll need the following parts (see picture exploded view):
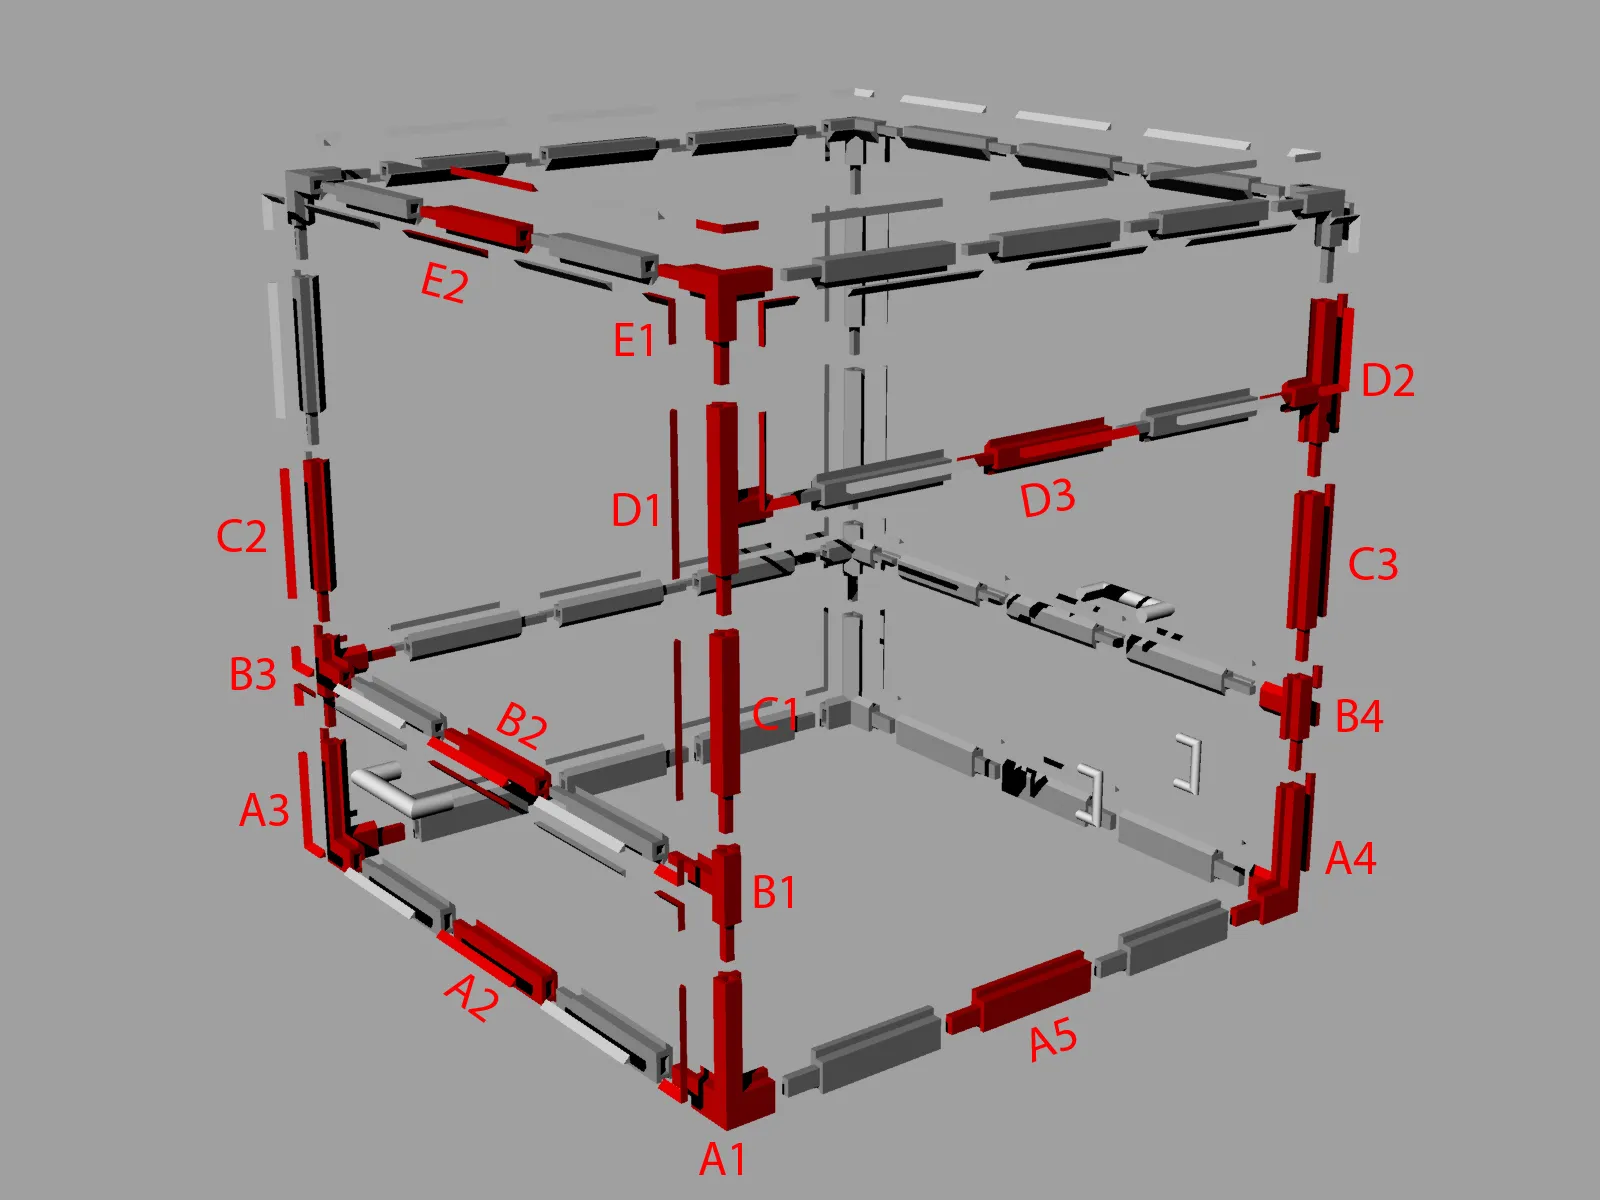
- A1 1x
- A2 9x
- A3 2x
- A4 1x
- A5 3x
- B1 1x
- B2 9x
- B3 2x
- B4 1x
- C1 1x
- C2 2x
- C3 1x
- D1 1x
- D2 1x
- D3 3x
- E1 4x
E2 12x
Add some extra pieces of A2, B2, C2, E2 or A5 and D3 to expand the dimension of the frame if needed.
PS. The “male connectors” are already scaled, but it might still be a tight fit. for that I've increased the walls and bottom layers a bit, so you might have a bit of “flesh” to file a bit off for easier assembly.
I might advise first printing to small parts to see if they will fit well and how they fit together after filing a bit when needed.
License

You shall not share, sub-license, sell, rent, host, transfer, or distribute in any way the digital or 3D printed versions of this object, nor any other derivative work of this object in its digital or physical format (including - but not limited to - remixes of this object, and hosting on other digital platforms). The objects may not be used without permission in any way whatsoever in which you charge money, or collect fees.


Comment & Rating (177)