Search models, users, collections, and posts

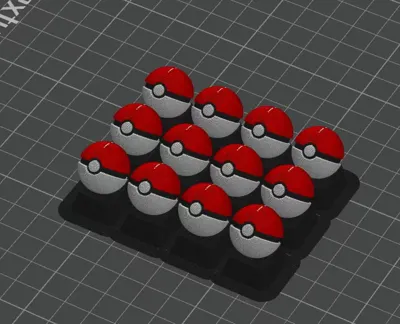
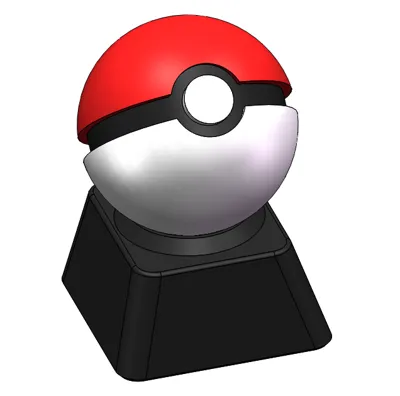
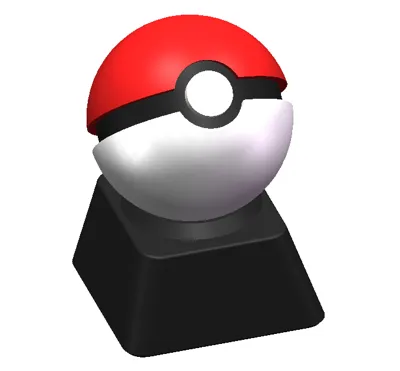
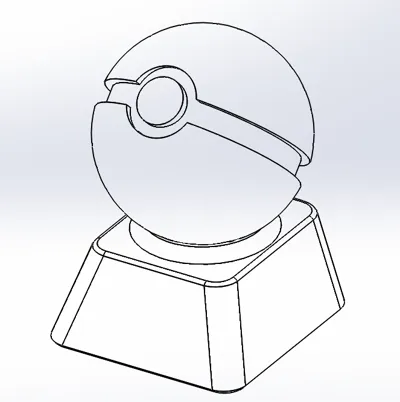
Pokeball Keycap without support

Print Profile(2)

All
P1S
P1P
X1
X1 Carbon
X1E
A1
A1 mini
H2D
H2D Pro
H2S
P2S
H2C
X2D
A2L

0.2mm layer, 2 walls, 15% infill
Designer
11.5 h
2 plates
4.8(13)

45 degree less colour changes 0.2mm layer, 2 walls
4.1 h
2 plates
5.0(2)

Open in Bambu Studio
Boost
666
1745
27
14
829
243
Released 

Description

Hi everyone ~ 😊


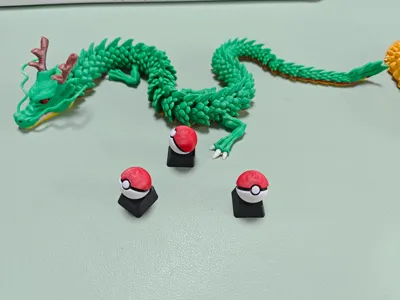
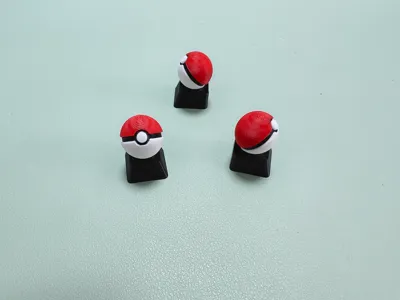
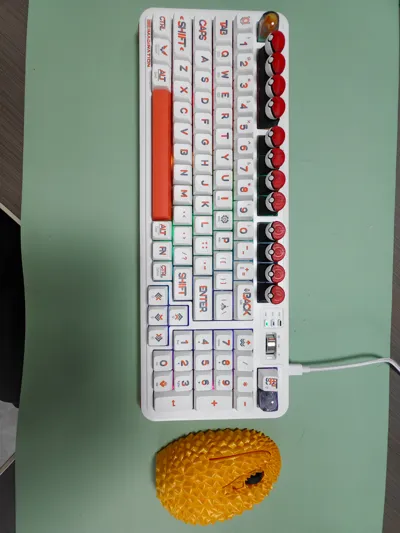
I used solidworks to design a pokeball keycap that can be installed into your mechanical keyboard.
I adjusted the dimensions to maximize the sphere of the pokeball without affecting the installation


Easy to print, no support required.

AMS required:Black Red White PLA

You can use the variable height Settings to optimize the effect of the top.

You can also write any text you need in bambu studio, such as F1~F12.


I look forward to your comments and suggestions and don't forget to share with me pictures of your keyboard.

Comment & Rating (27)

(0/1000)

Nice! Printed with the A1 Mini using PLA and PLA+ Silk in white and black. I decided to print with two colors because using four colors would take too long to finish. So, I applied acrylic paint for the black lines and the top yellow and red details. Love it!
designer
3
Reply
Great print! Angle causes extra flushes. Change flush volumes if you print. Thank you.
designer
1
Reply
Print Profile
0.2mm layer, 2 walls, 15% infill
print came out great and keyboard fit is awesome.
profile
1
Reply
Great print. Supports came off easy. Used a 0.4mm, PLA and painted
0
Reply
Boosted
Print Profile
45 degree less colour changes 0.2mm layer, 2 walls
super model, dużo odpadu. trzeba drukować cała tackę najlepiej
0
Reply
Nice print. Printed at .08mm with my P1S for perfect detail. 45° and poorly calibrated purge volumes create an excessive amount of waste.
0
Reply
Print Profile
45 degree less colour changes 0.2mm layer, 2 walls
0
Reply
You may want to add brim to the print directions 😅 tried a test print on a single keycap and the middle part failed right away :-\ gonna post pics of my finished one when its done!!!
The designer has replied
designer
1
Reply
Thank you It is better to spray PVA on PEI; I did not add brim in the middle because I was worried that when I removed brim, it would remain and affect the installation
designer
2
Reply
Replying to @user_3056537537 :
turned out perfect with a brim! just need to clean out that part at the bottom with a blade!
designer
1
Reply
can you make one for a Razor keyboard? (Razor is the brand name btw)
The designer has replied
0
Reply
Aren't the keycaps of Razer keyboards installed in a cross shape? I will try Is there a brand called Razor? Shouldn't it be Razer?
0
Reply
that is a lot of pokeballs
designer
1
Reply

License

This user content is licensed under a
Creative Commons Attribution-Noncommercial