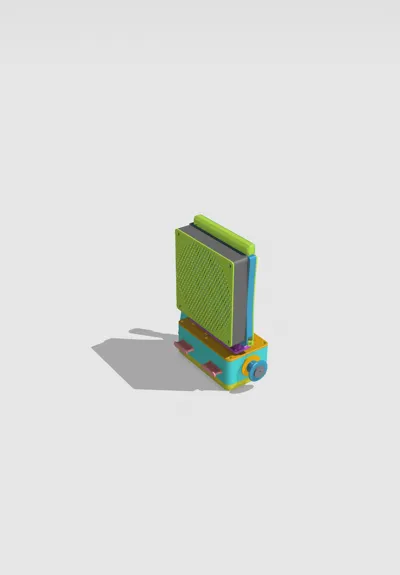
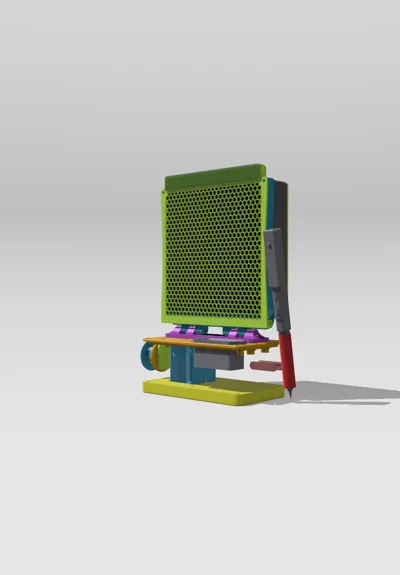
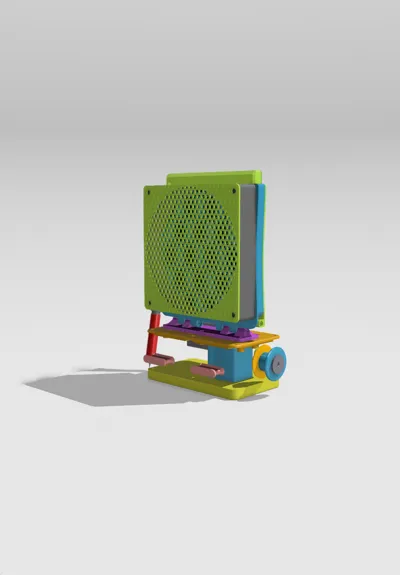
Soldering Station Fume Extractor Ryobi and T101


Print Profile(1)

Description
Boost Me (for free)
please support my projects, it's free :)
- **Fume Filtration:** Utilizes the widely available Weller WSA350F carbon filter to mitigate fumes.

- **Power Supply:** Powered by USB PD, capable of powering soldering irons like the TS80P, TS101, or Pinecil.
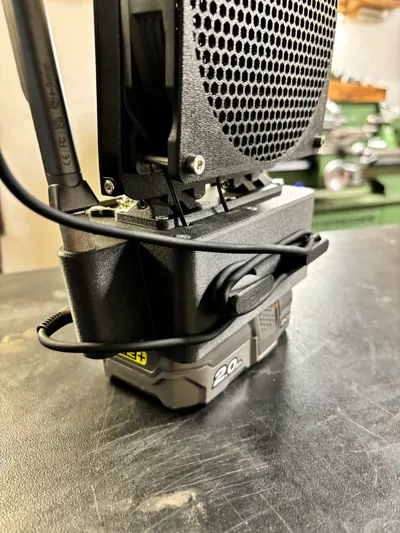
- **Cordless and Rechargeable:** Uses the commonly available Ryobi ONE+ 18V battery packs as a cordless, rechargeable power source.
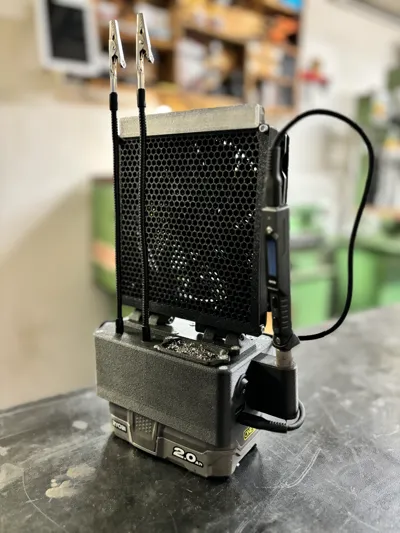
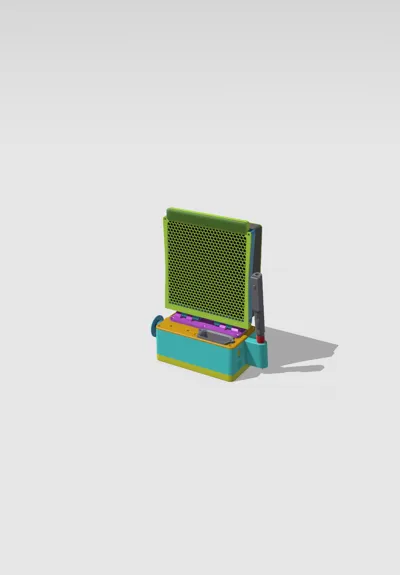
- **Stabilizing Base:** The Ryobi battery doubles as a stabilizing weight to serve as the fan’s base.
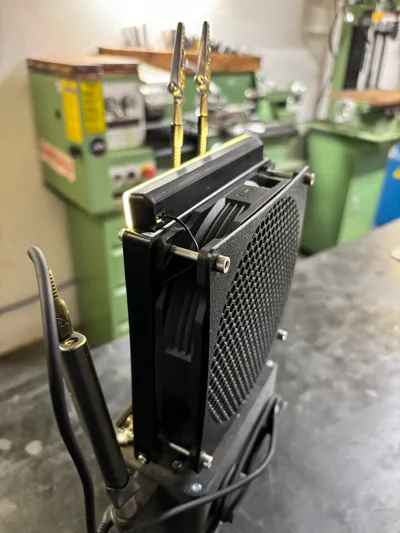
- **Adjustable Fan Positioning:** A large hinge allows the fan to tilt for optimal placement.
- **Easy Filter Replacement:** The filter housing is designed to open easily, enabling quick replacement of the carbon filter when necessary.
- **Stylish and Safe Design:** A hexagon grid pattern provides both aesthetic appeal and functionality, with the small hexagons serving to protect tiny fingers.
**Materials Required:**

- ~200g ASA Filament
- 1x 140mm Computer Fan (12V) – Noctua NF-A14
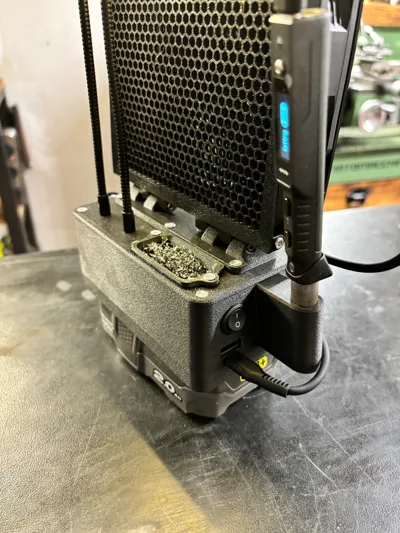
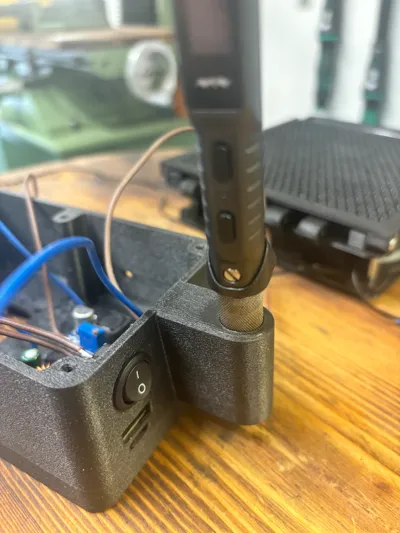
- 1x Round Switch 16mm ( You have to grind the contacts down )
- 1x Carbon Filter – Weller WSA350F
- 2x Cell Leaf Spring – Keystone 209
- 1x USB Type C PD Adapter – ACEIRMC 60W PD 3.0 Adapter
- 1x DC-DC Buck Converter for stepping down 20V to 12V – LM2596 DC-DC Buck Converter
- 1x Ryobi ONE+ 18V Battery
- ~2 ft Wire – 14 ga two-conductor silicone
- Assorted M3 Screws: 8mm, 10mm, 15mm, 20mm, 40mm, 50mm
- 2x M3 Lock Nut – uxcell Nylock Hex Nuts
-Miniware TS101 Soldering Iron ore Ts100
- Led Stip 12V

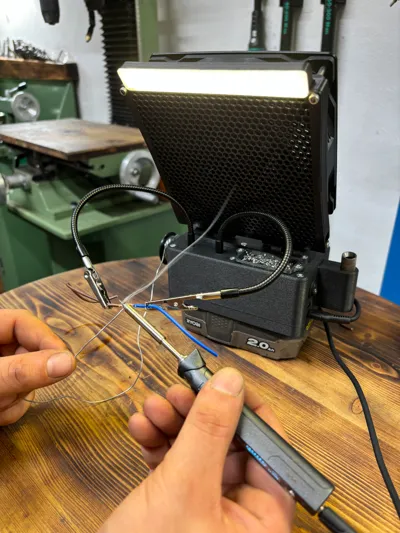
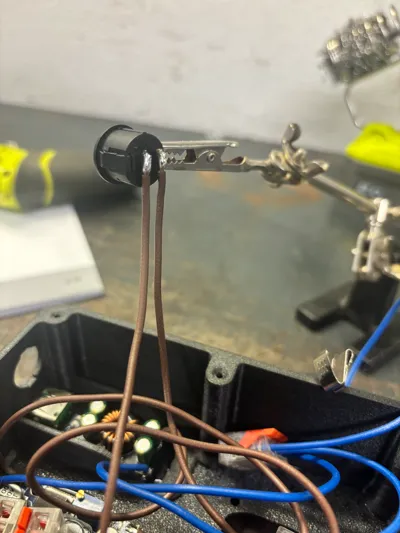
Slide the cell leaf springs into the slots for the Ryobi battery connector housing, ensuring the red (+20V) matches + and black (GND) matches -.
**Test and Calibrate Electronics**
1.Adjust and set the buck converter to output 12V before connecting the fan to the rest of the components. To do this:
2. Place the battery connector housing onto a Ryobi ONE+ 18V battery and press down gently so the leaf springs make contact with the battery terminals.
3. Verify the voltage output by probing the leaf springs with a multimeter, which should read around 20V DC.
4. Connect a multimeter to the “OUT+” and “OUT-” terminals of the buck converter and monitor the voltage while adjusting the screw potentiometer on the buck converter until it reads 12V.
License
You shall not share, sub-license, sell, rent, host, transfer, or distribute in any way the digital or 3D printed versions of this object, nor any other derivative work of this object in its digital or physical format (including - but not limited to - remixes of this object, and hosting on other digital platforms). The objects may not be used without permission in any way whatsoever in which you charge money, or collect fees.
Comment & Rating (9)