


Print Profile(5)


Bill of Materials
Description
Boost Me (for free)
Thanks for your support!

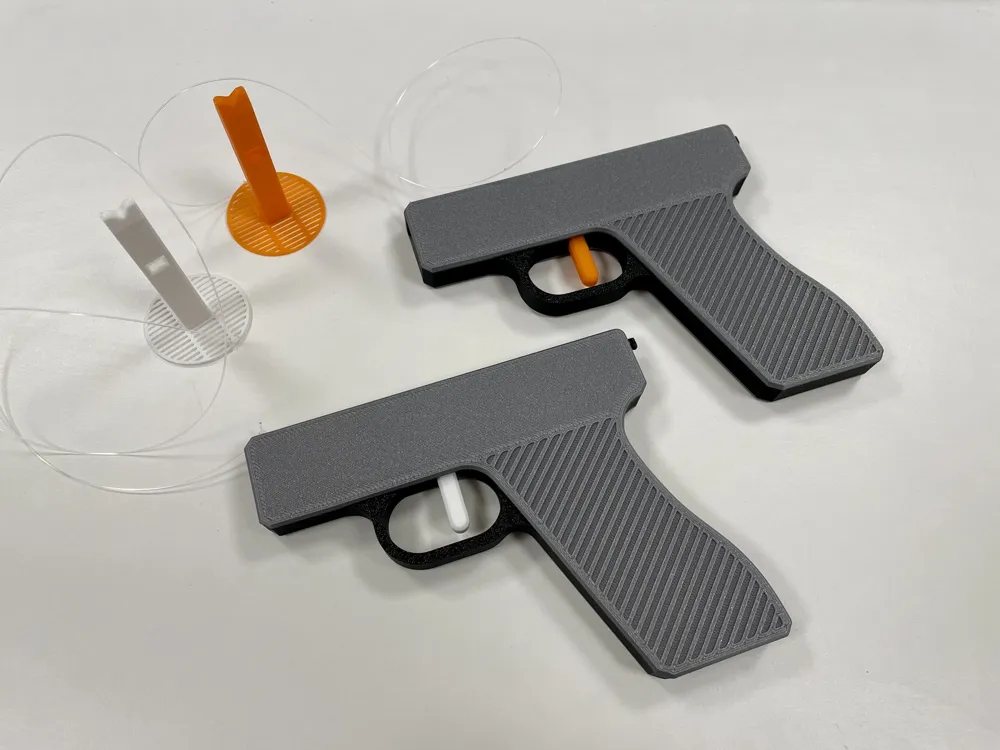
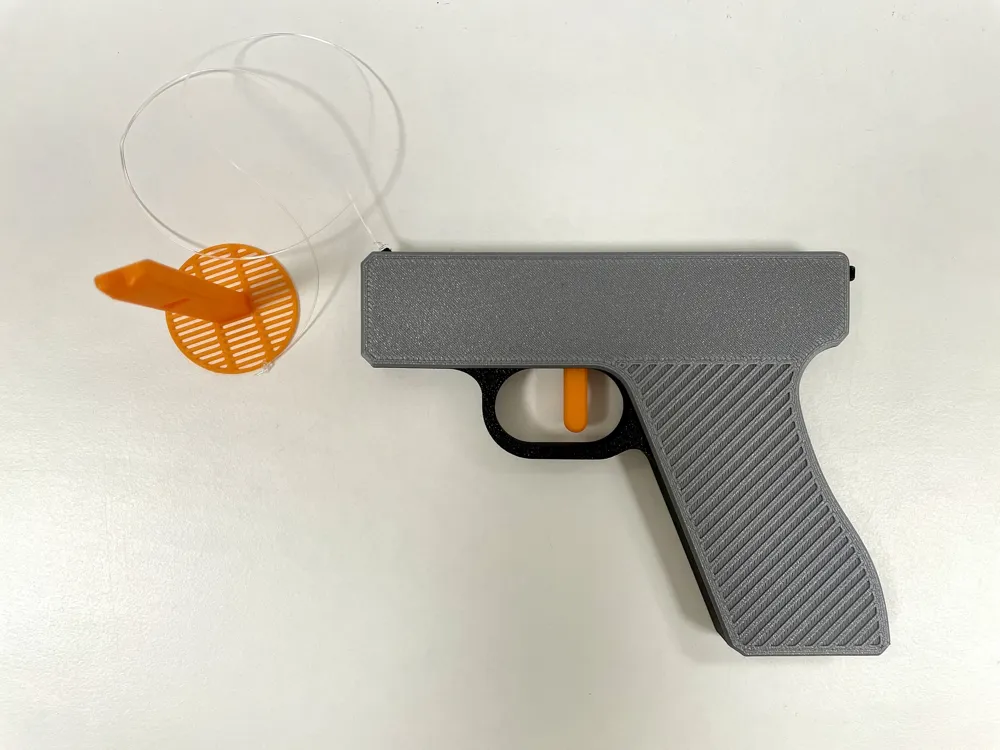
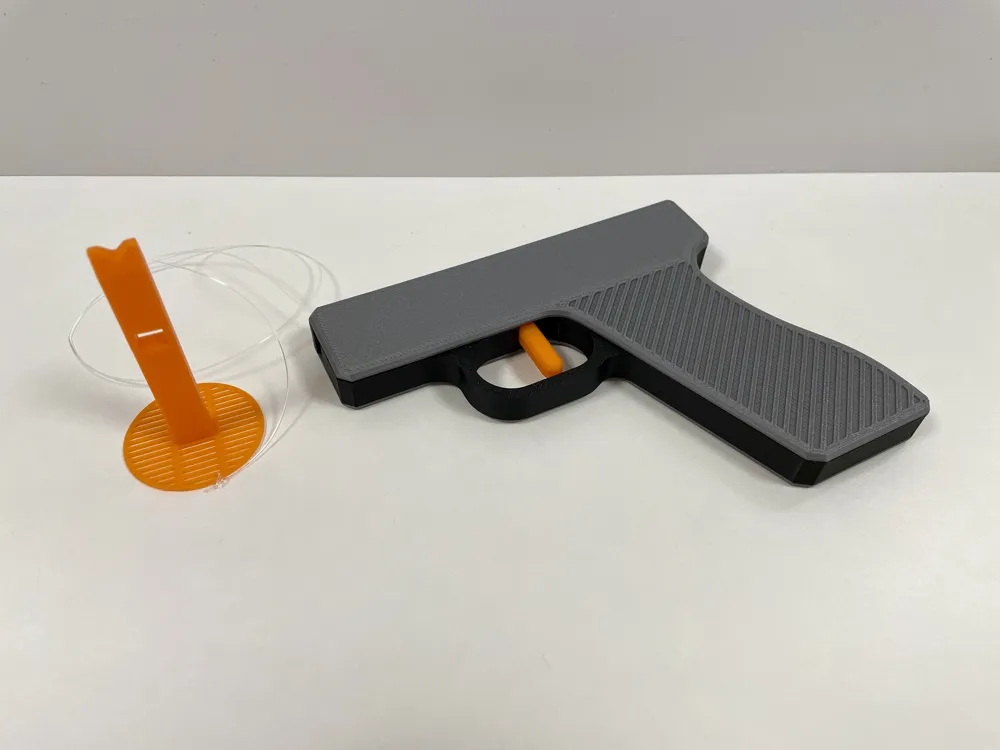
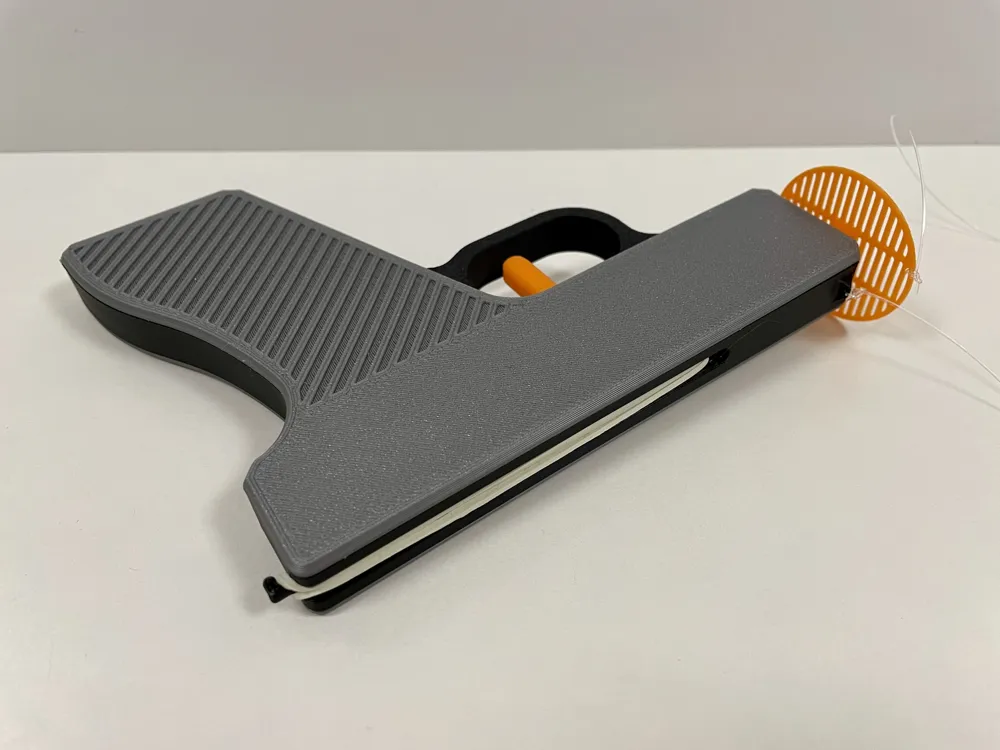
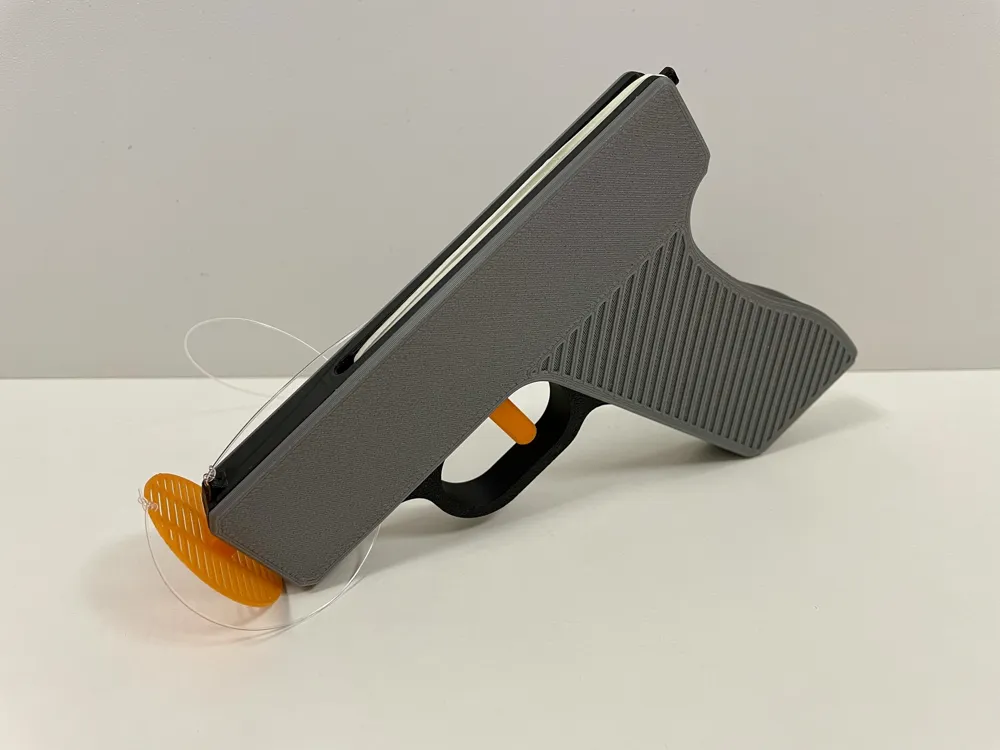
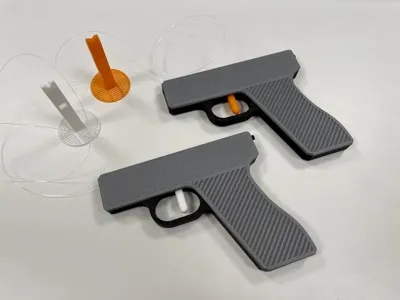
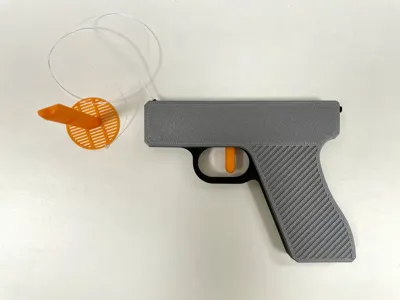
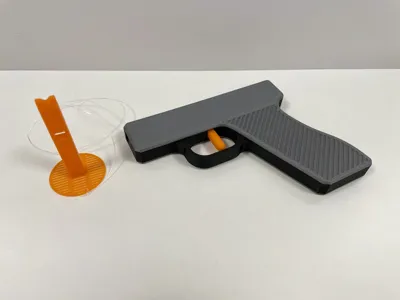
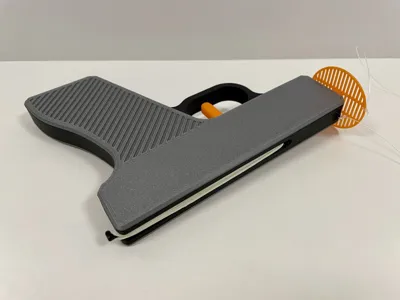
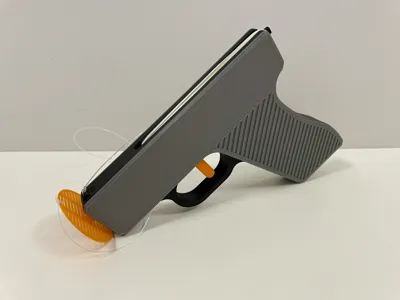
Introducing the fly swatter gun. Hunting flies has never been so much fun :D
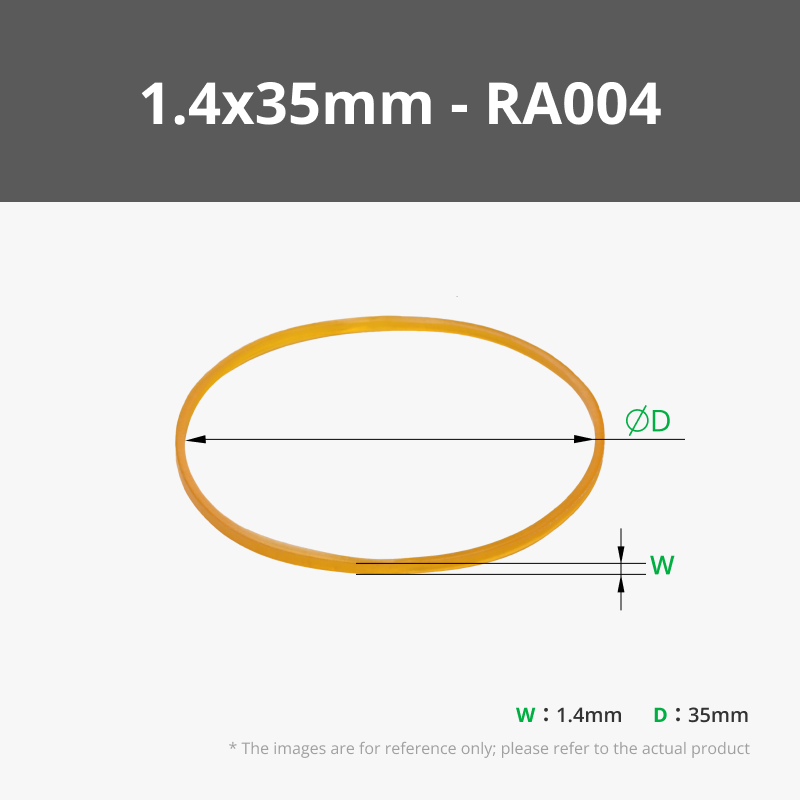
Easy to assemble. Simply press the parts together and add a rubber ring with a diameter of about 35mm and a thickness of 1.4mm. A nylon thread can also be attached to ensure that you don't have to pick up the swatter after shooting.

If possible, shoot at the fly at a right angle with a distance of approx 20cm. The trigger must be pressed a little bit to insert the swatter. As soon as it is snapped in, the trigger remains clamped by itself. Do not store when tensioned so as not to wear out the rubber.
Changelog:
- 24.08.2024: Trigger reinforced to prevent it from breaking (part: Trigger V2)
- 25.08.2024: Trigger contour optimised. Less force is needed to shoot (part Trigger V3)
- 25.08.2024: Swatter slightly optimised (part Swatter V2)
- 25.08.2024: Swatter with thicker panel added (1,2mm instead of 0,8mm)
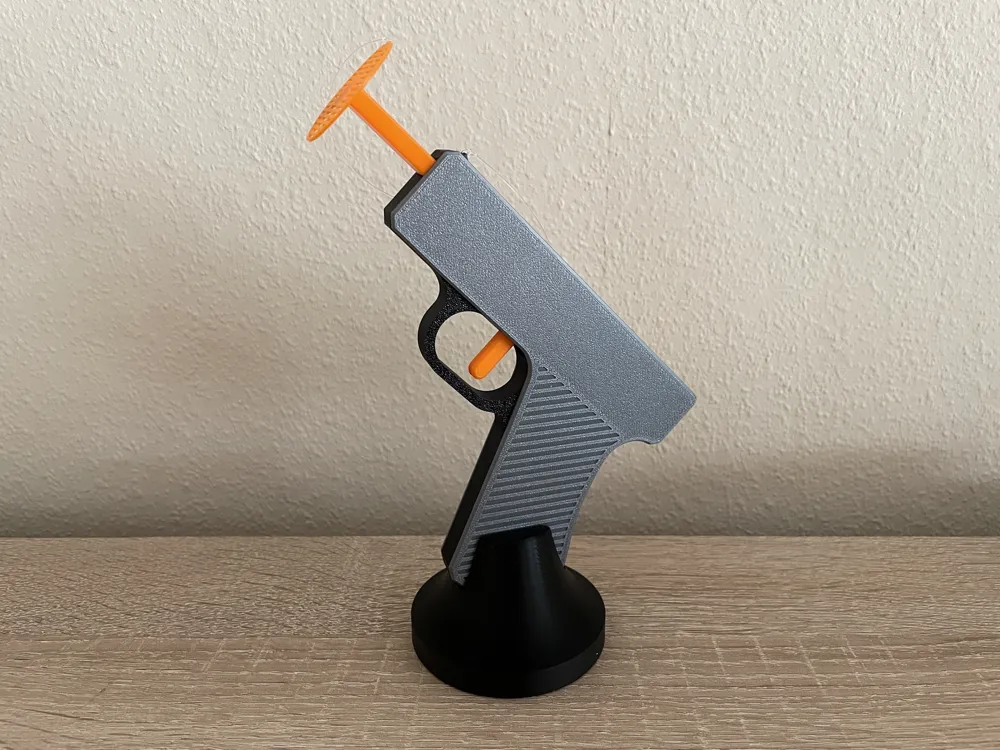
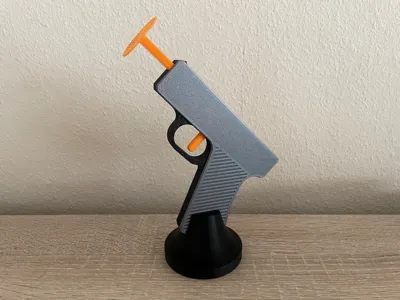
- 28.08.2024: Stand added
Assembly:
Part overview:
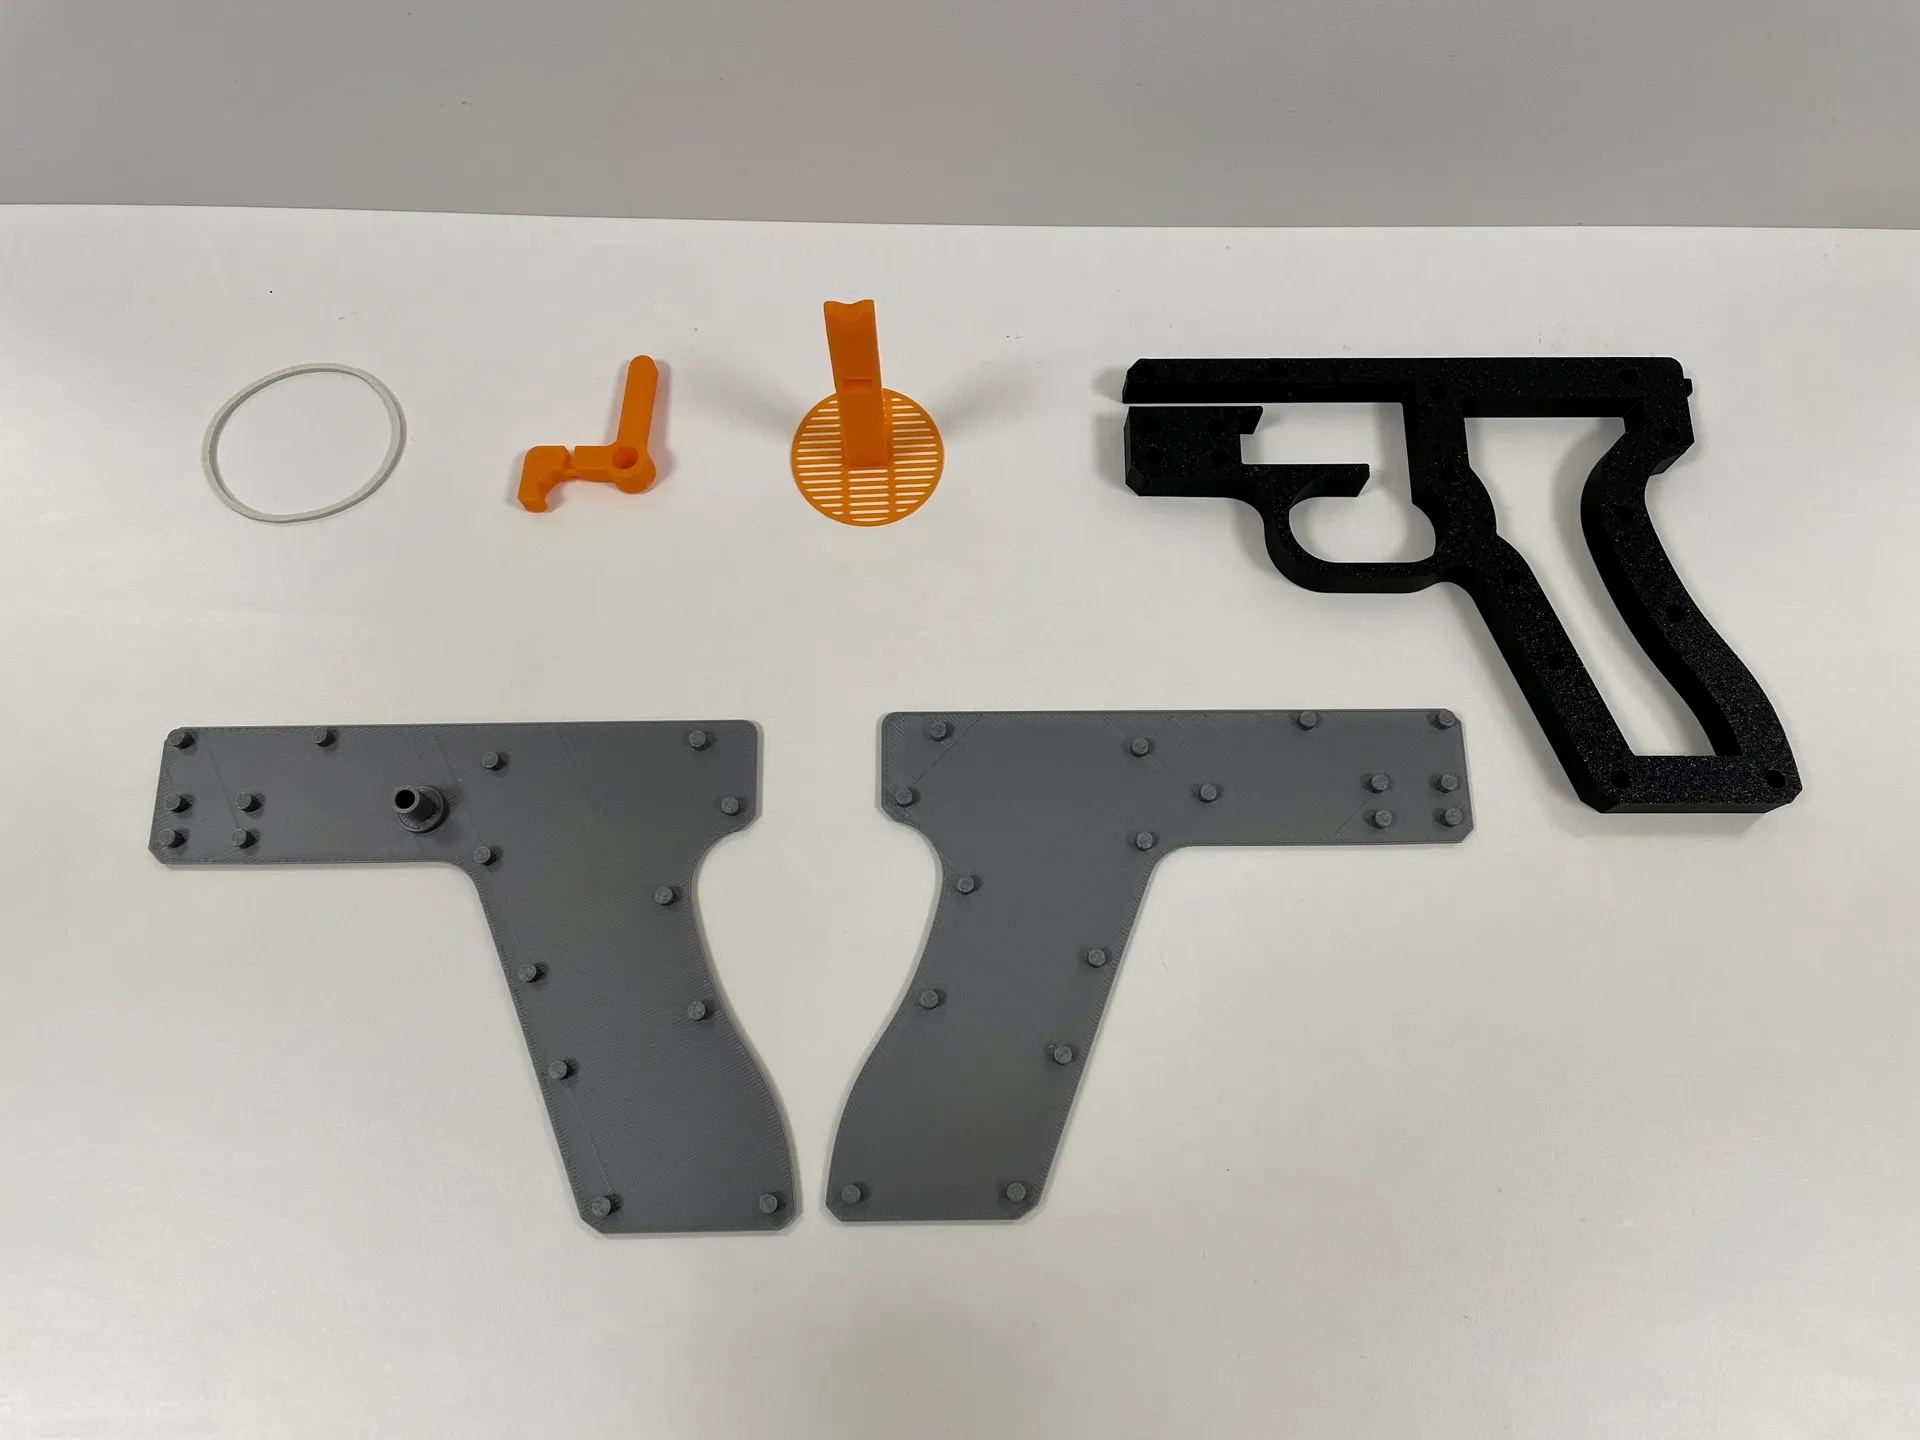
1. press the middle frame onto the rear panel:
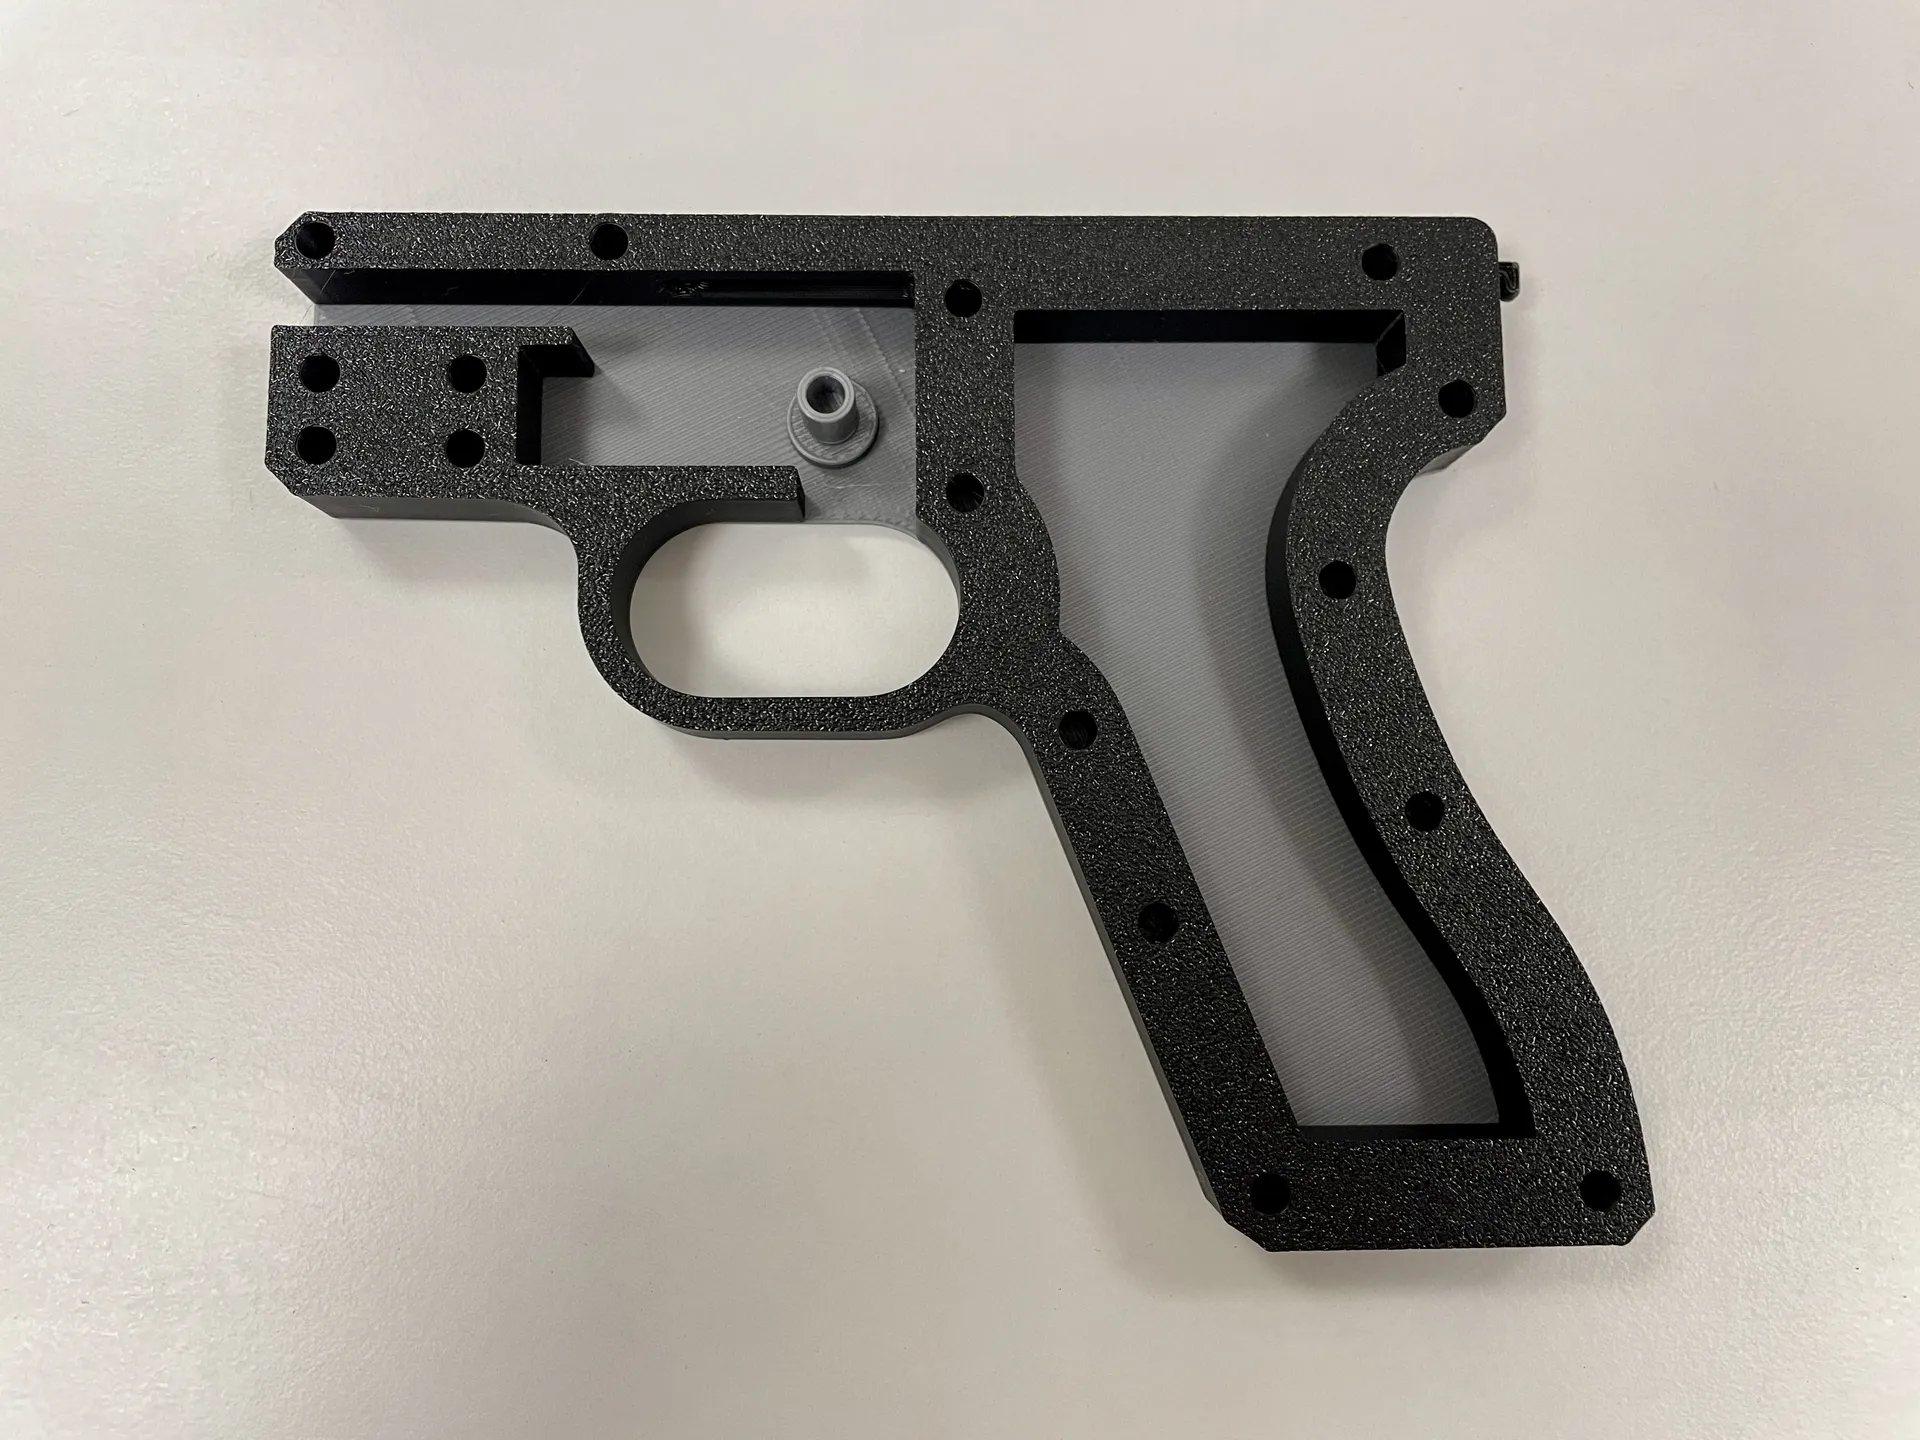
2. push the rubber ring (approx Ø35mm/1.4mm thick) through the upper hole:
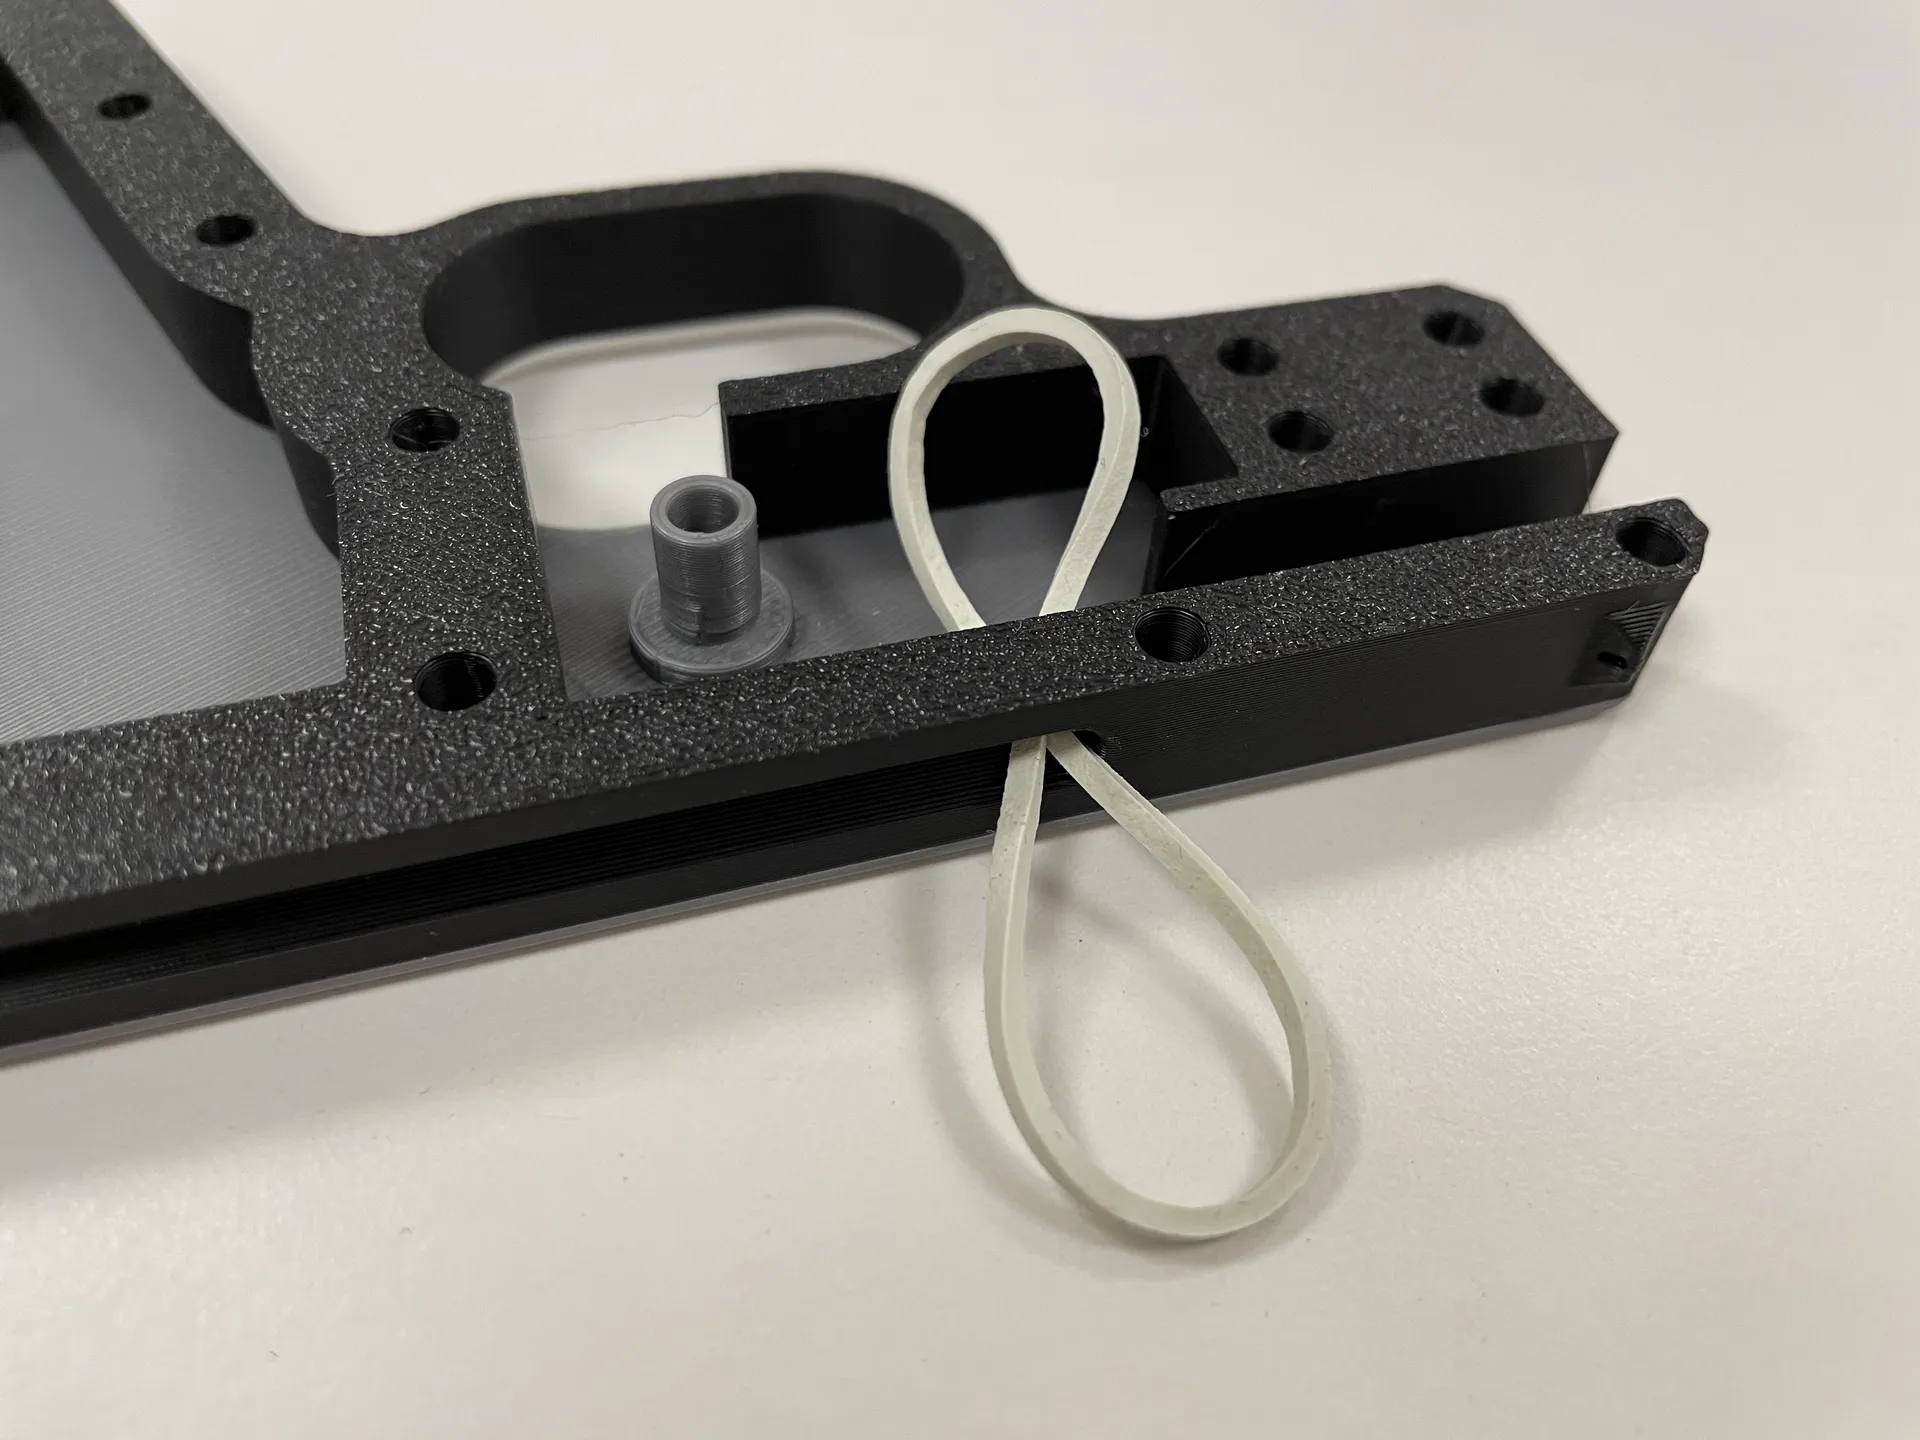
3. place the trigger on the shaft and attach the rubber ring to it beforehand:
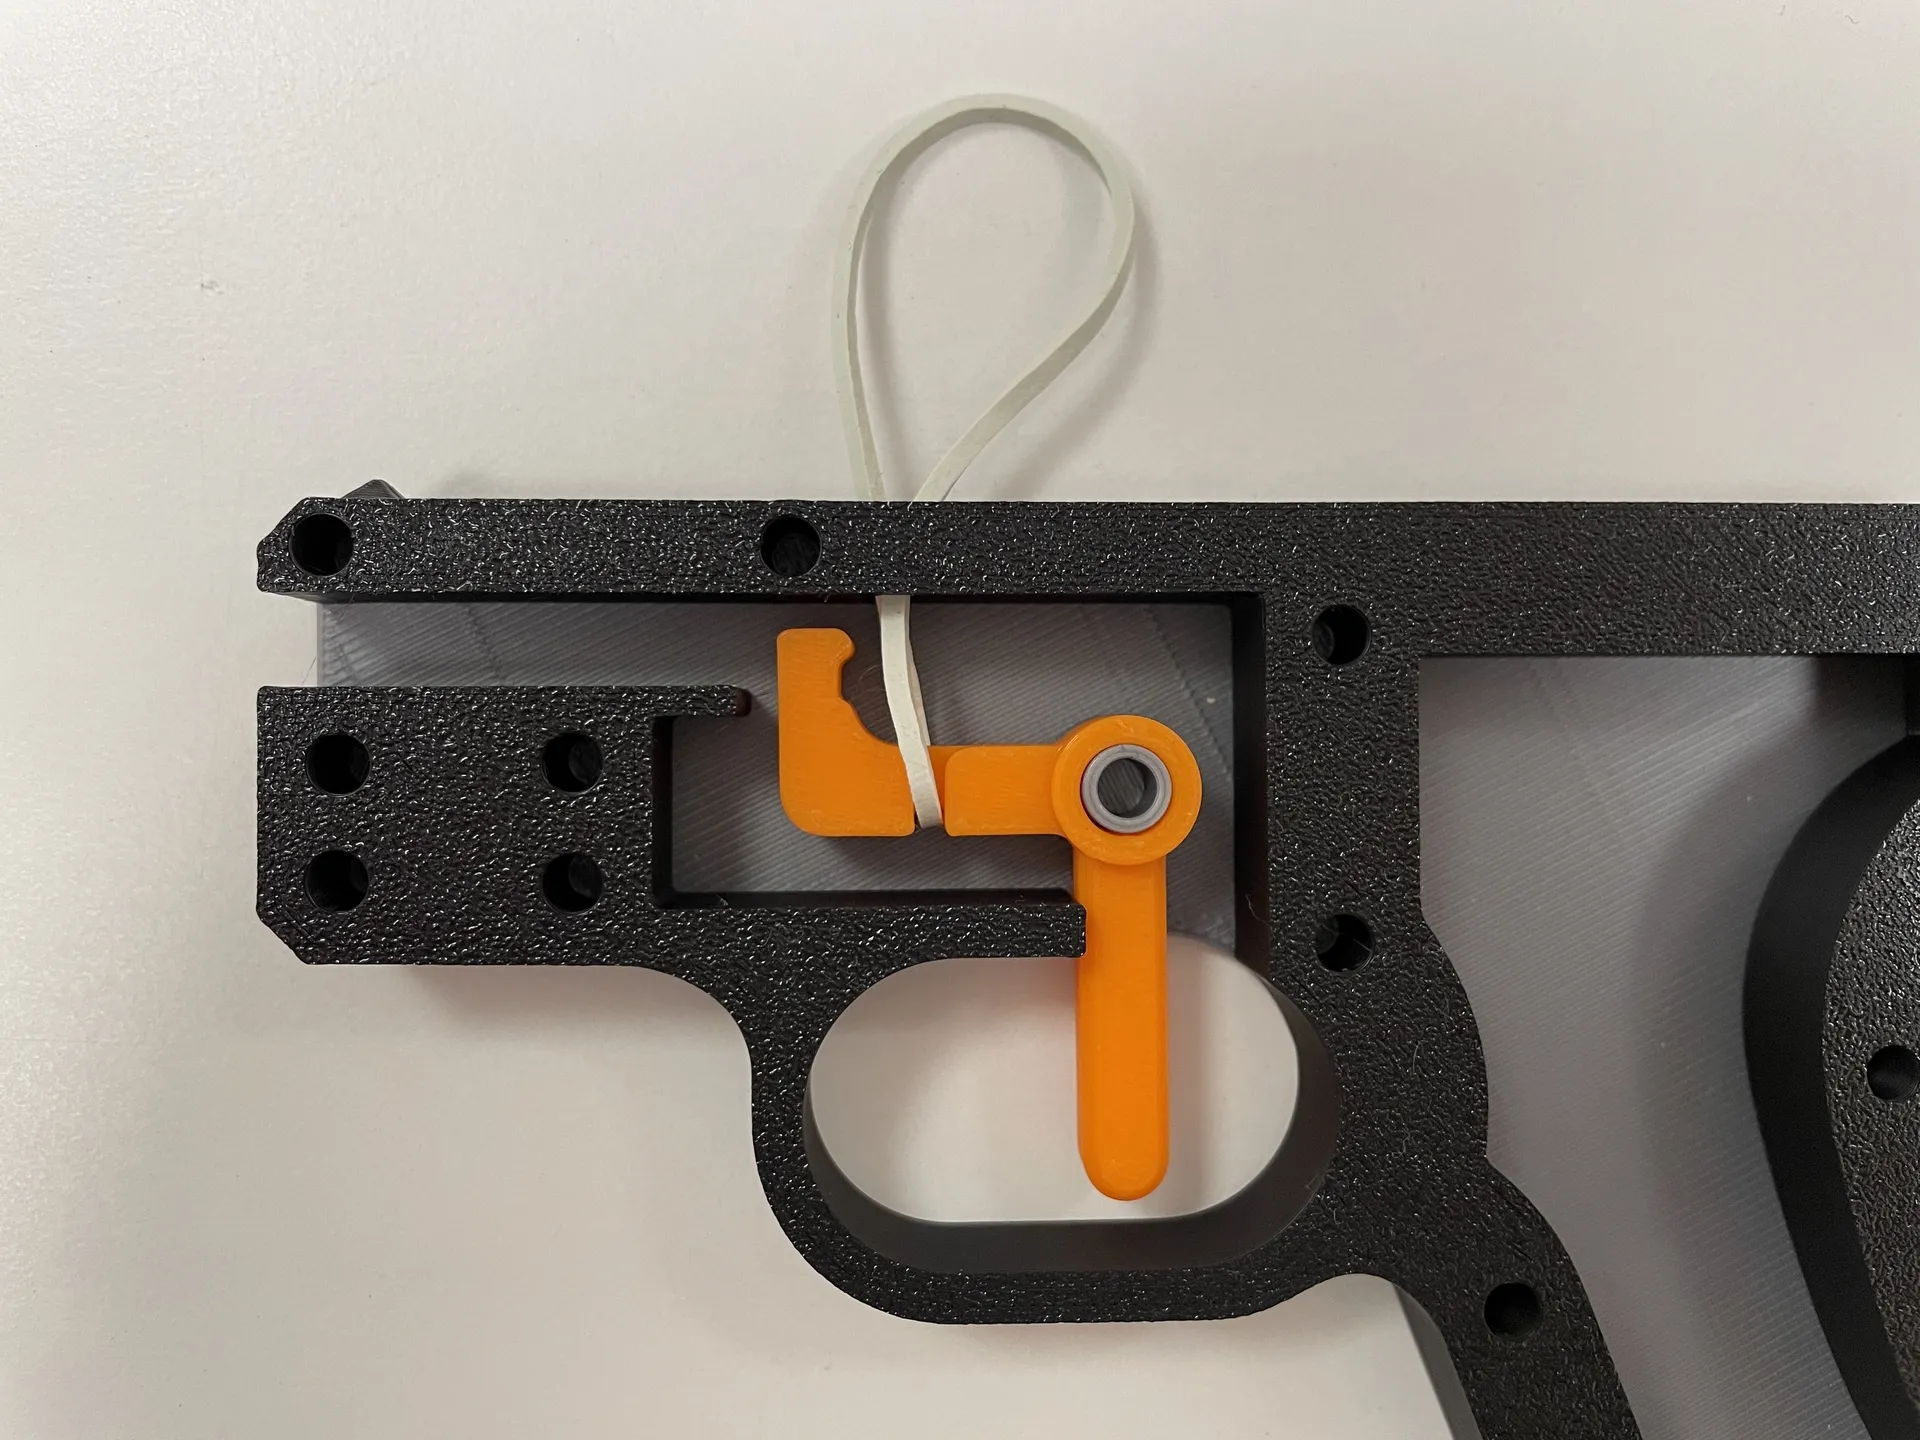
4. tighten the rubber ring:
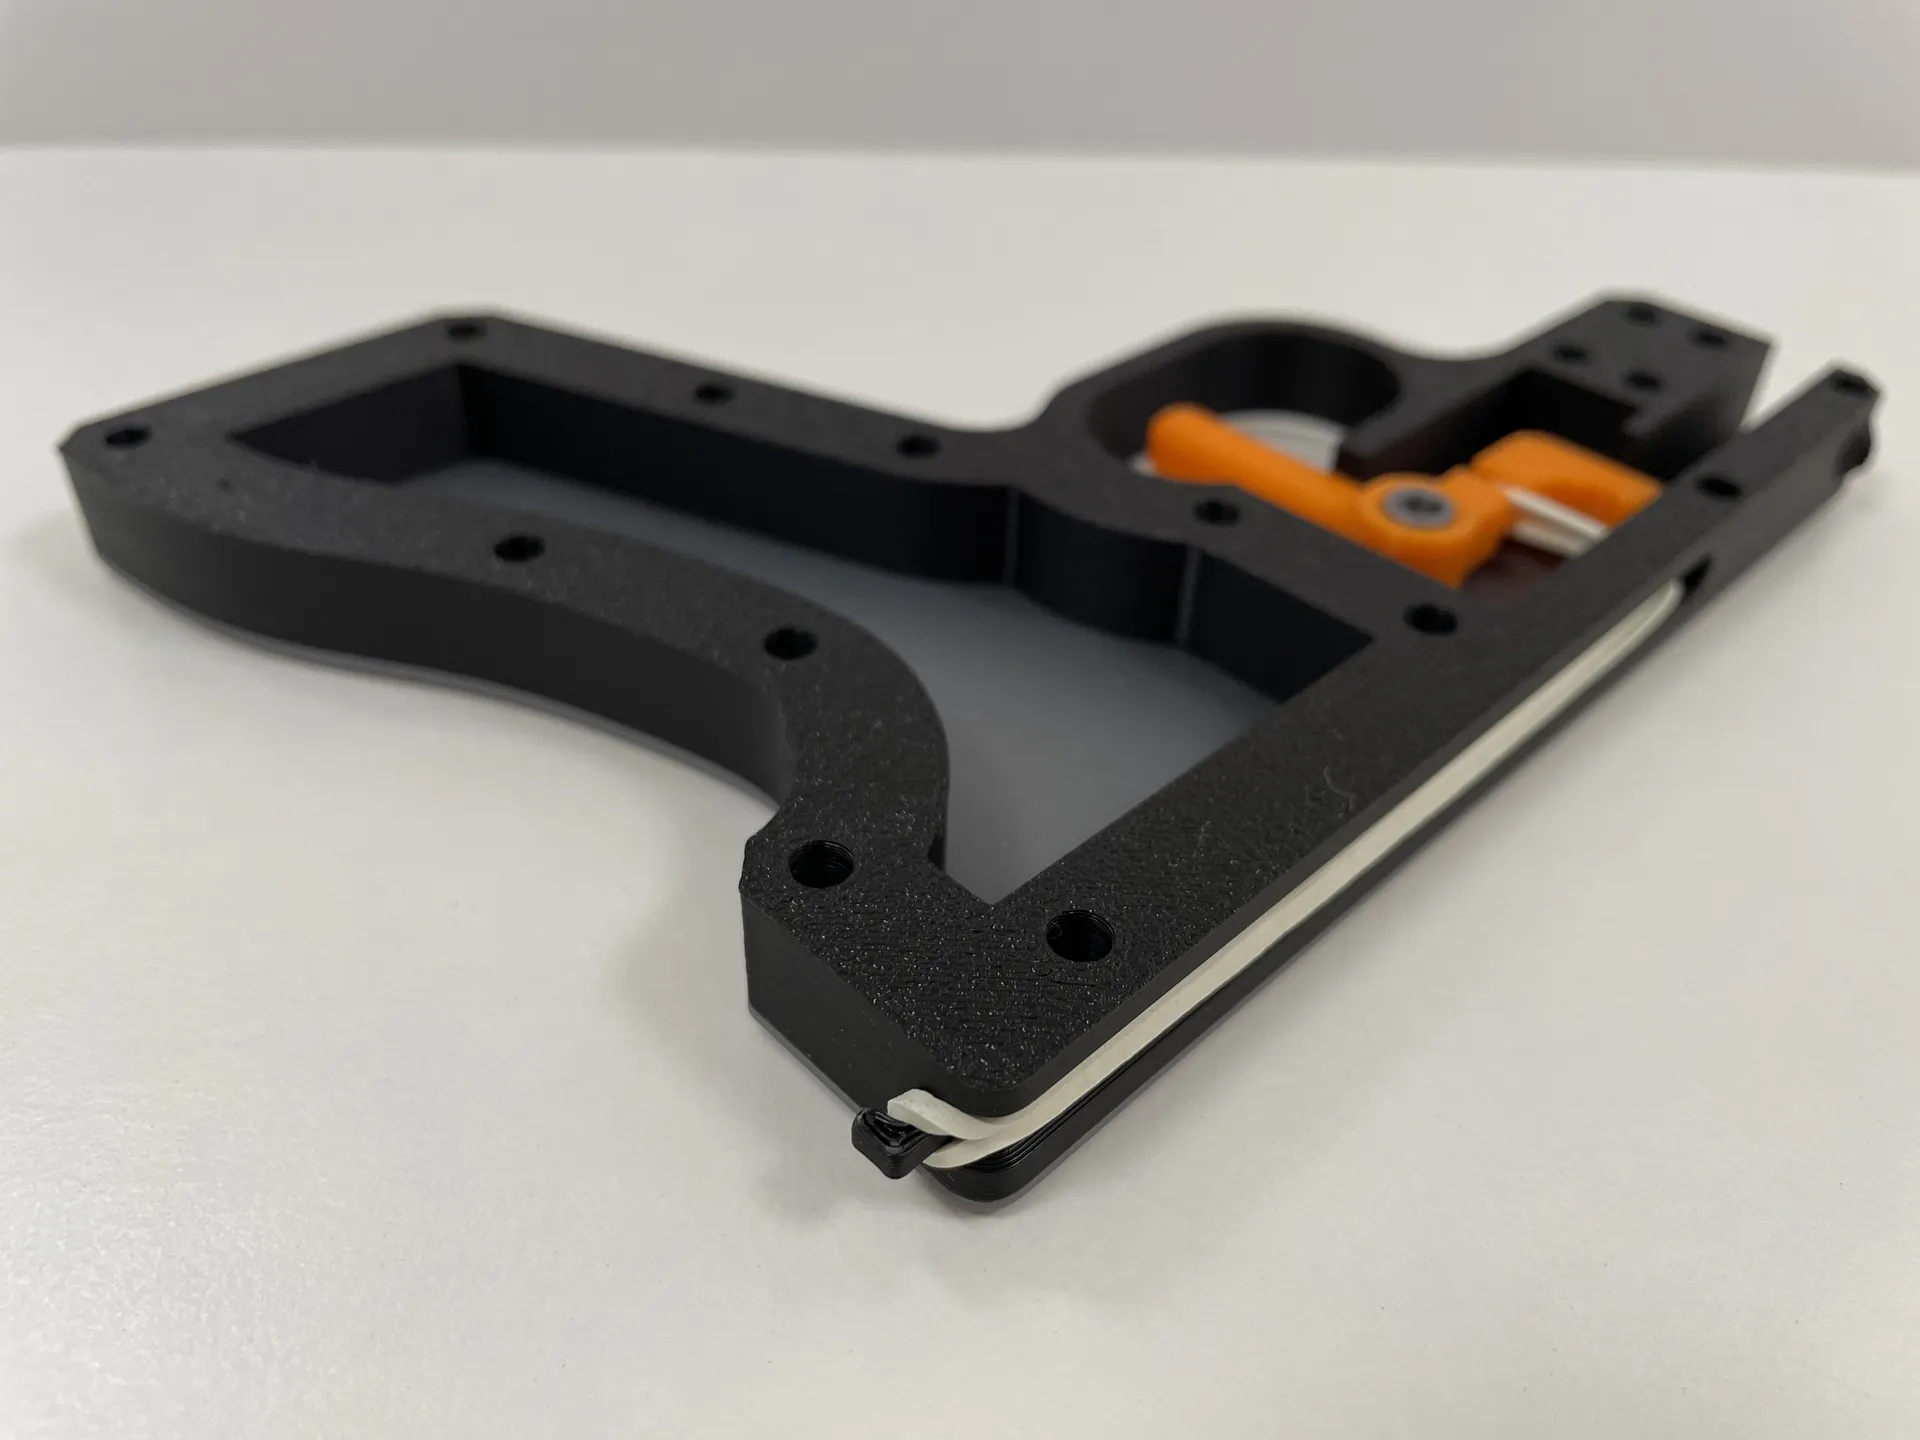
5. Check if the loading/shooting works well:
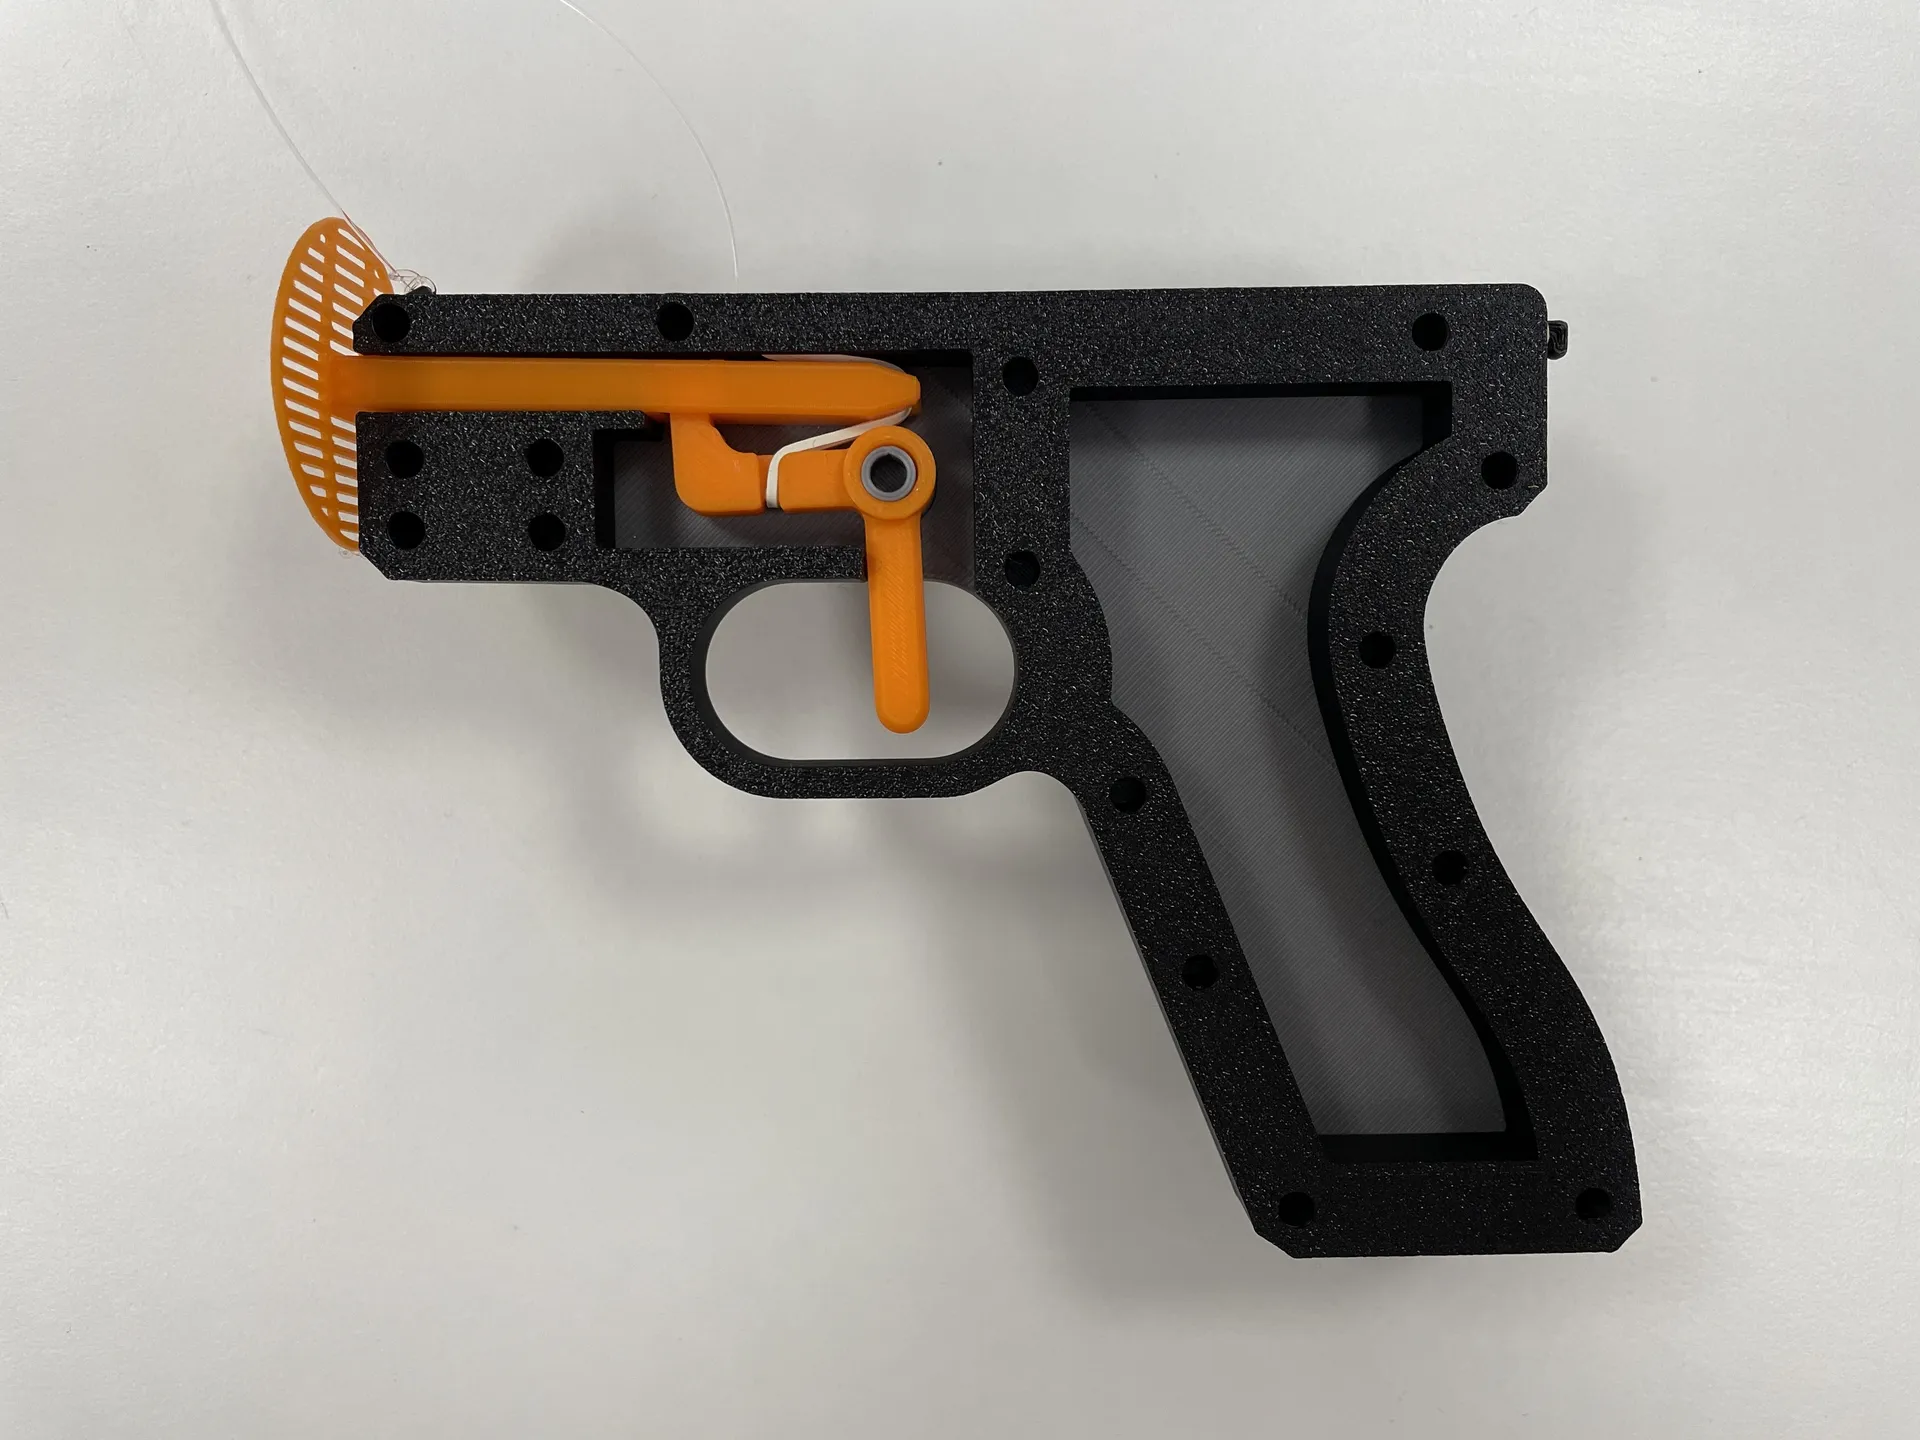
6. Press the front cover on the middle frame. Do not glue the front cover to be able to change the rubber ring if needet:
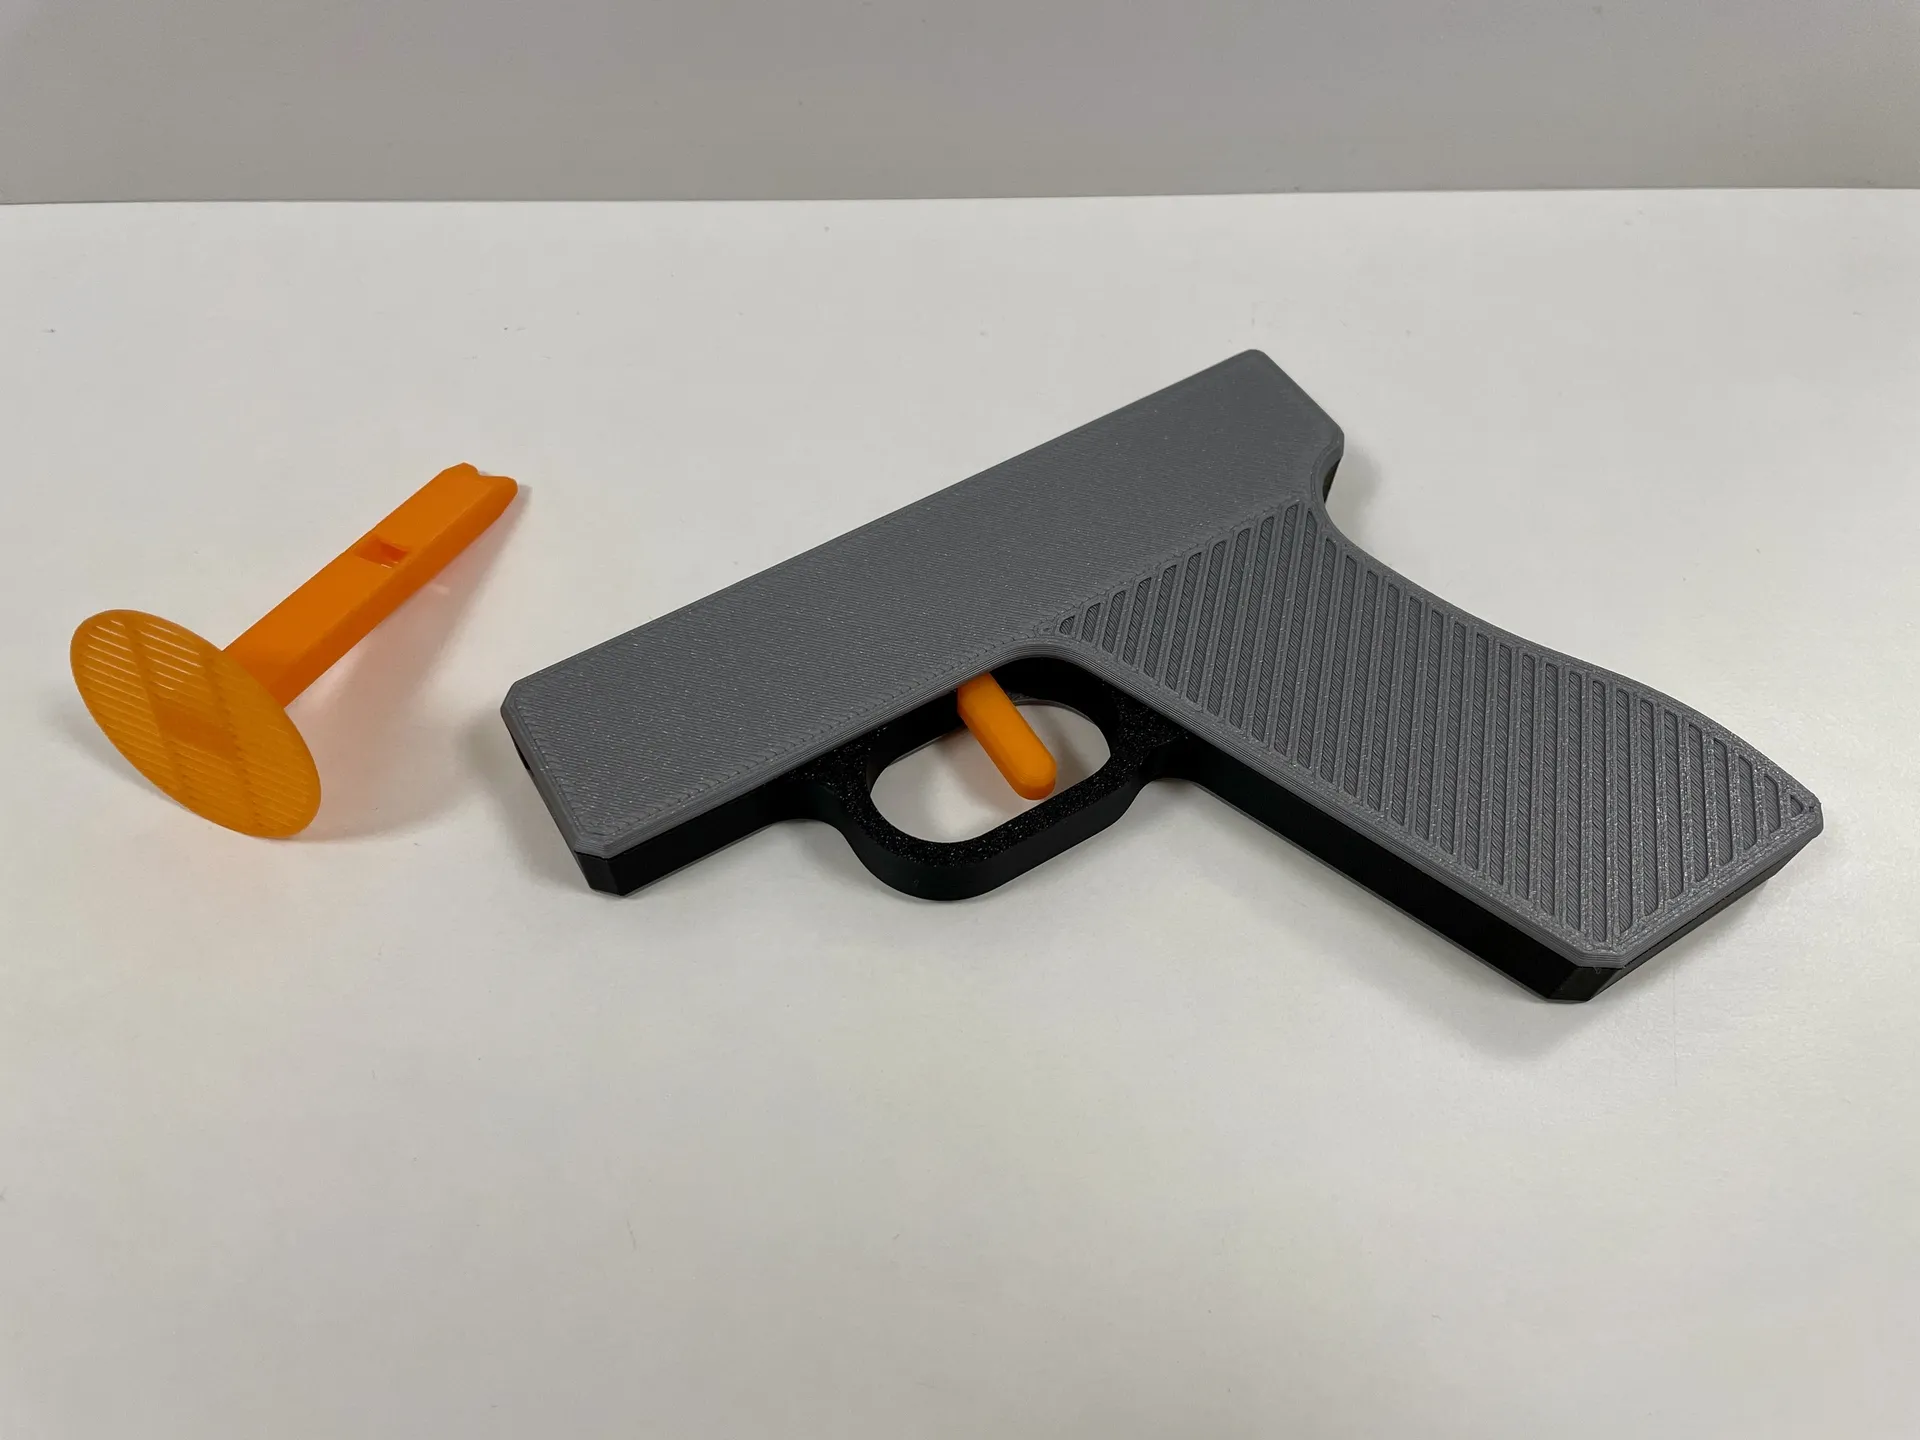
Have fun with it =)

License

You shall not share, sub-license, sell, rent, host, transfer, or distribute in any way the digital or 3D printed versions of this object, nor any other derivative work of this object in its digital or physical format (including - but not limited to - remixes of this object, and hosting on other digital platforms). The objects may not be used without permission in any way whatsoever in which you charge money, or collect fees.


Comment & Rating (356)