
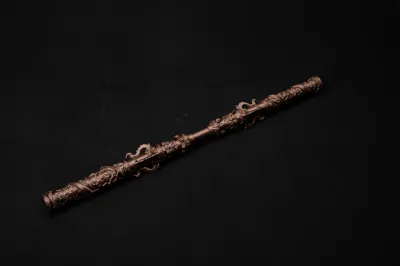
Telescopic Ruyi Jingu Bang Wukong Staff Weapon

Print Profile(10)


Description
8.30 V3.0 Update:
Thank you all for your support of Ruyi Jingu Bang! We received a lot of valuable feedback from makers after its release, which can be summarized as follows:
- Difficulty in pulling out the telescopic component;
- Easy breakage along the Z-axis;
- Too many supports;
- Long printing time;
- The carved parts are a bit sharp to the touch.
Based on the feedback, I've worked to bring you an improved version 3.0, using segmented printing to effectively address these issues.
[Telescopic Component]
The difficulty in pulling out the telescopic component is mainly related to the filament. I recommend Bambu PLA Metal - Copper Brown Metallic for more accurate sizing.
In the segmented printing version, if you encounter difficulty inserting the telescopic component or if it's too tight/loose, you can adjust the X and Y dimensions of the component independently.
Steps:
- Select the telescopic component;
- Click "Scale";
- Deselect "uniform scale";
- Slightly adjust the XY dimensions of the telescopic component according to your needs. The reference range is 99%-101%.
[Model Strength]
Regarding the issue of breakage along the Z-axis, after switching to segmented printing, you can try using a more flexible filament for the telescopic component or increase the wall loops and infill to improve structural strength. Additionally, if any part gets damaged, you can simply replace the damaged segment, which is more filament-efficient.
There is an auxiliary connection structure between the two telescopic components. Carefully use a blade to remove this auxiliary connection part as shown in the image below.
[Carved Design]
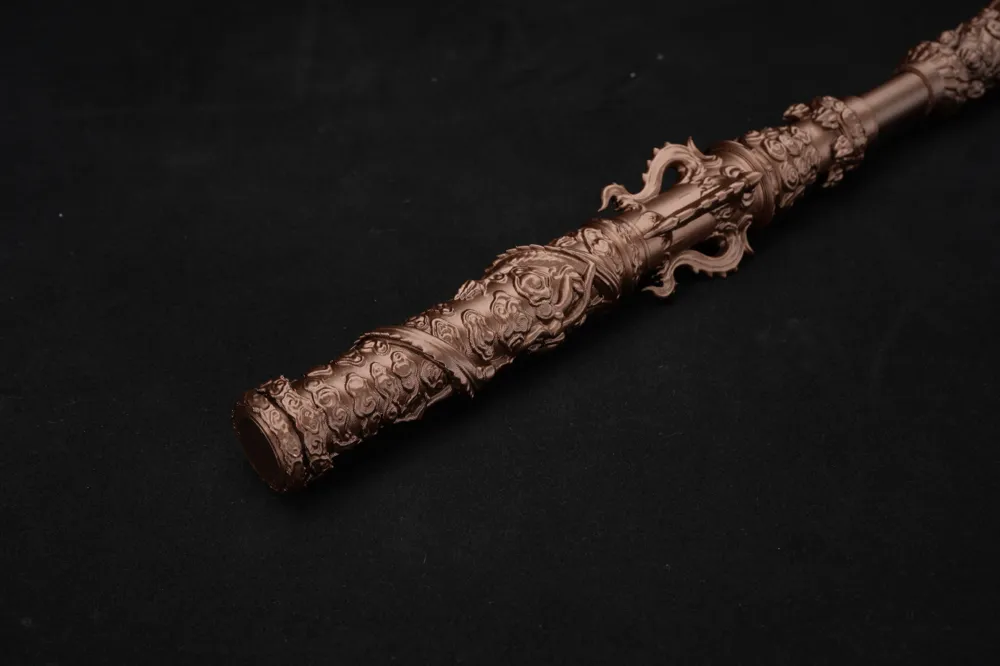
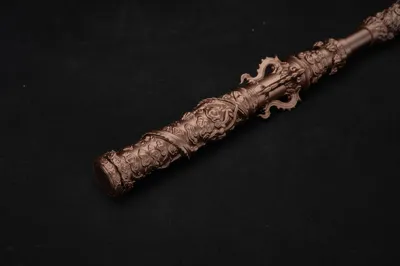
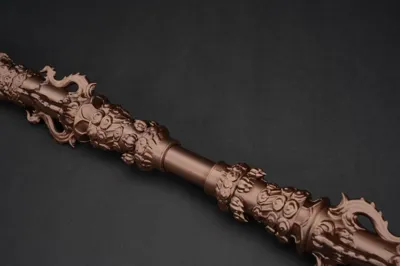
The carved design has been optimized for easier printing. With segmented printing, the need for extensive support structures has been eliminated, greatly reducing printing time and filament waste.
[Printing Tips]
Due to the reduction of supports, there is a slightly higher risk of collapse. It is recommended to apply glue to the bed to enhance the adhesion of the first layer.
[Child-Friendly Design]
Considering the use by children, I have rounded all sharp corners to ensure safety during play.
If you have any suggestions, feel free to leave a comment. Thank you all for your support!
8.26 V2.0 Update:
- The A1 mini version is added, featuring a printing height of 178mm and a telescopic length ranging from 370mm to 640mm.
- The sharp edges of the model are rounded, making it safer for children to play with.
- The telescoping gap is adjusted for more flexible extension and retraction of the components.
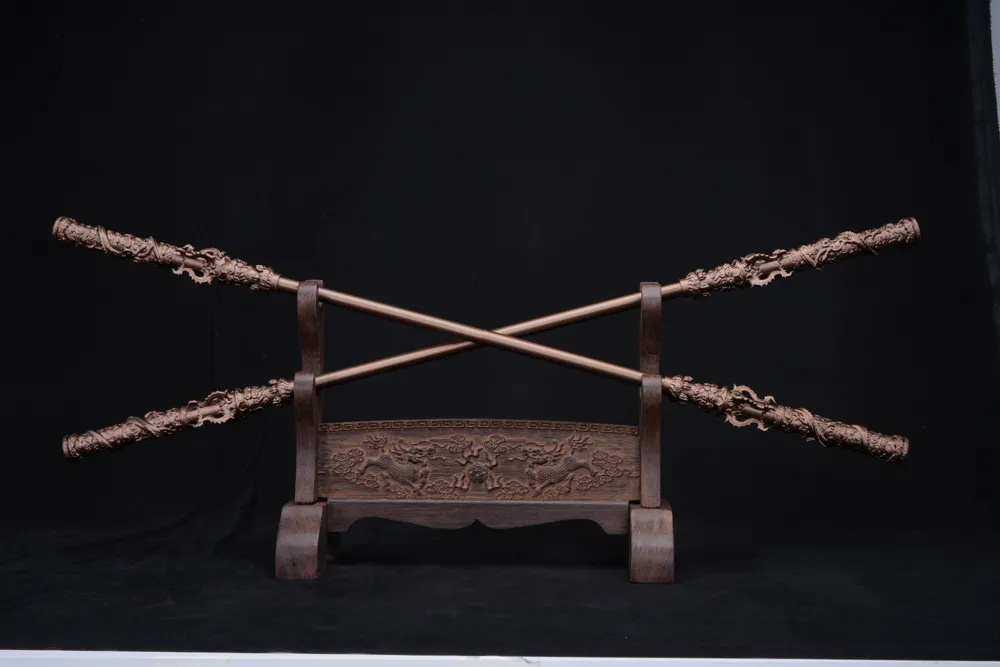
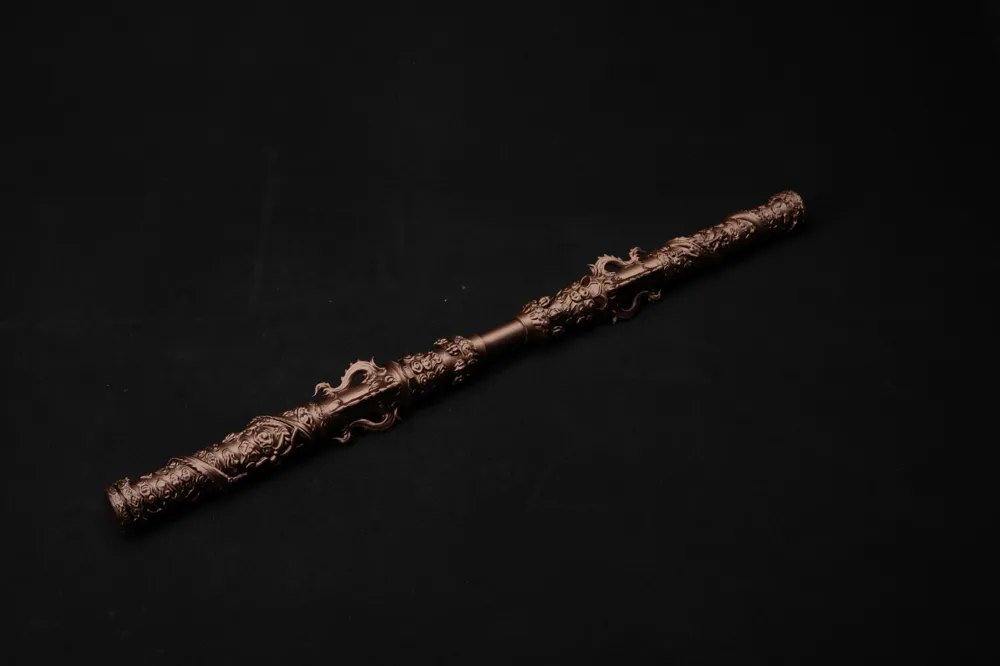
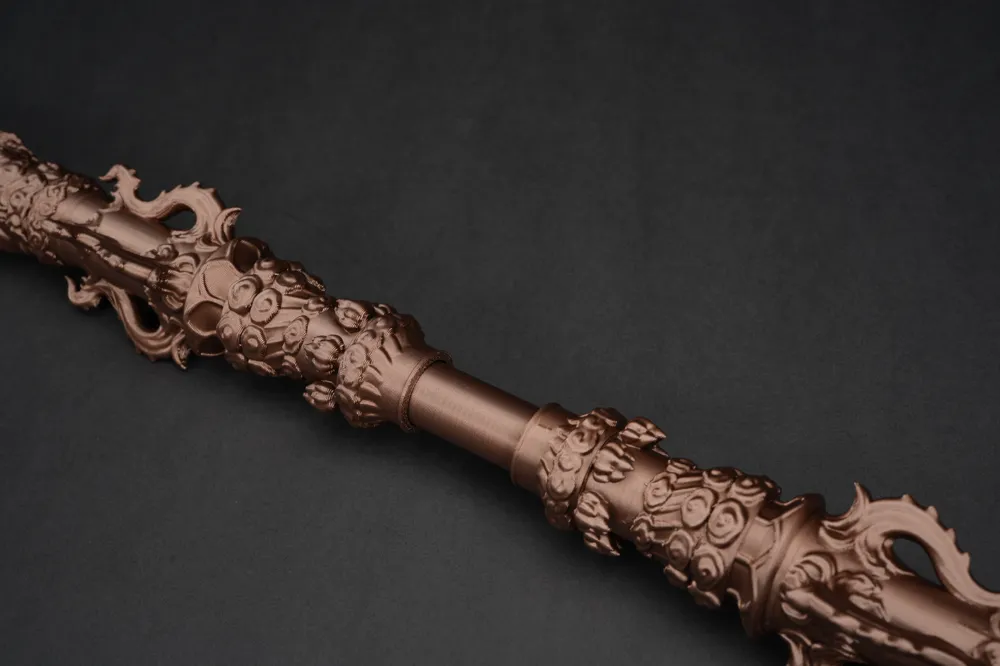
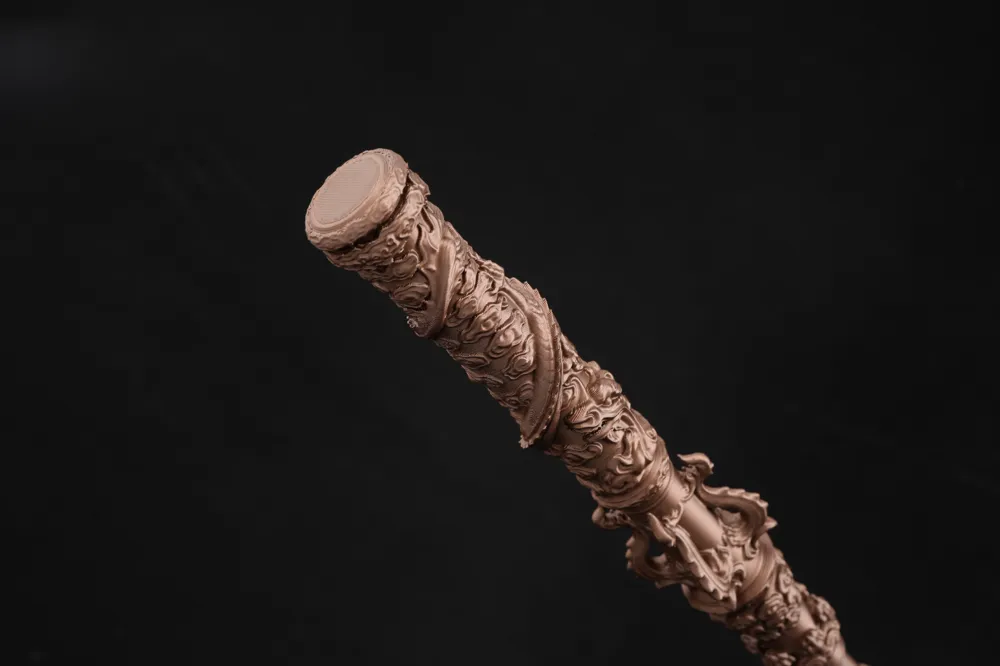
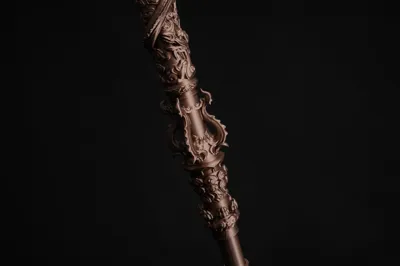
This telescopic Ruyi Jingu Bang is inspired by the legendary Ruyi Jingu Bang from the classic Chinese novel Journey to the West and incorporates the visual style from the recently released Chinese AAA game Black Myth: Wukong. After several revisions, the design was finally completed.

3D printing telescopic toys are incredibly fun. Previously, various telescopic swords became quite popular, so I thought about whether I could learn from and improve some of the structures to create a telescopic Ruyi Jingu Bang.
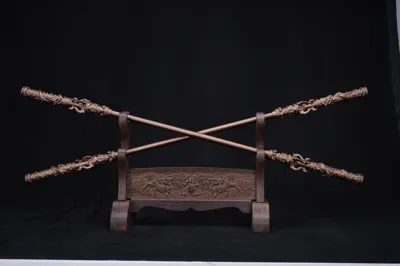
This Ruyi Jingu Bang extends from both ends, so it needs to be printed in two separate parts, but no additional accessories are required. Since the strength of the connecting parts is usually a concern, I conducted numerous stress tests to reinforce these areas. As a result, the overall strength should be quite good now, and you don’t have to worry too much about it breaking during play.

The most ingenious feature of this Ruyi Jingu Bang is its self-locking mechanism when extended. There's no need for manual adjustment; with a flick, both ends automatically lock in place and won’t retract, making it very elegant. Just imagine if the Monkey King had to repeatedly adjust his Ruyi Jingu Bang every time he summoned it—it would be too awkward and have to be avoided.
Highlights:
- Telescopic Mechanism: Utilizing 3D printing technology, we've created an integrated, freely expandable structure that mimics the magical transformation of the Ruyi Jingu Bang.
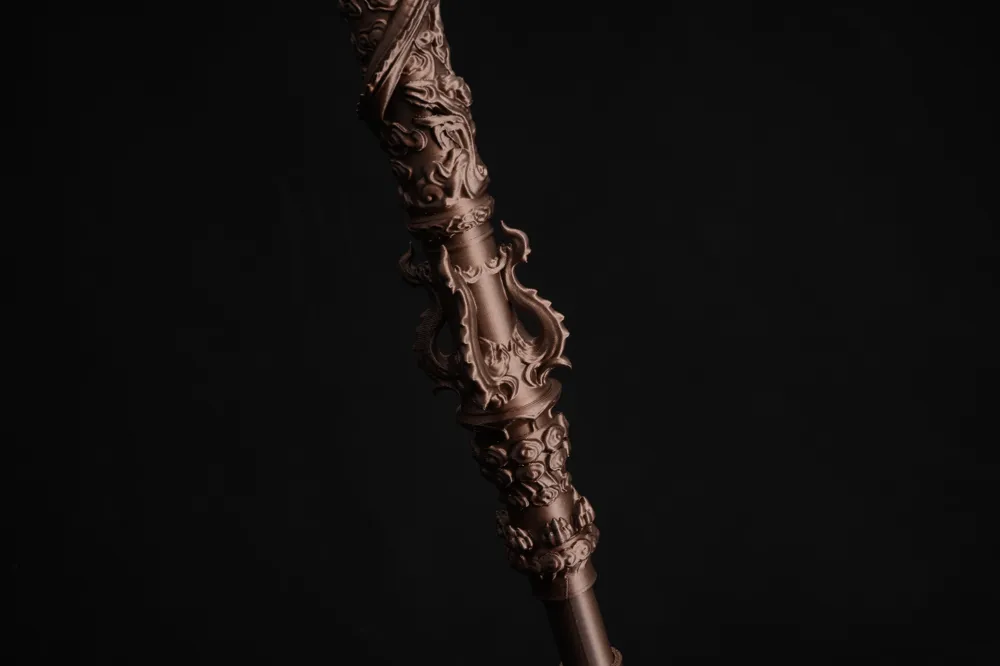
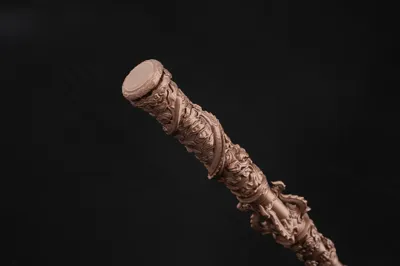
- Artistic Style: Incorporating elements from Black Myth: Wukong, the intricate carvings on the Ruyi Jingu Bang reflect a rich traditional cultural heritage.
- User-Friendly Design: Easy assembly without the need for extra tools, allowing for effortless extension and retraction of the Ruyi Jingu Bang.
Applications:
- Game Interaction: Enhance gaming immersion by allowing players to experience the thrill of wielding the Ruyi Jingu Bang in the real world.
- Education: Serve as a teaching tool to help students better understand the cultural significance of Journey to the West.
- Collection Value: The exquisite carvings make it an ideal collectible for gaming enthusiasts.
- Cosplay: Lightweight and portable, with easy retraction and extension, adding fun to Cosplay events.
Printing Instructions:
I’ve designed two versions of the slicer with different telescopic gaps. It is recommended to use the standard telescopic gap slicer for the best results.
However, if your printer lacks flow calibration or the filament you’re using has high shrinkage, the telescoping components might not detach smoothly. In such cases, you could use the slicer version with increased telescopic gaps to address the issue.
Instructions:
Printed Modules: Two end rods, connecting screws, and a connecting sleeve.
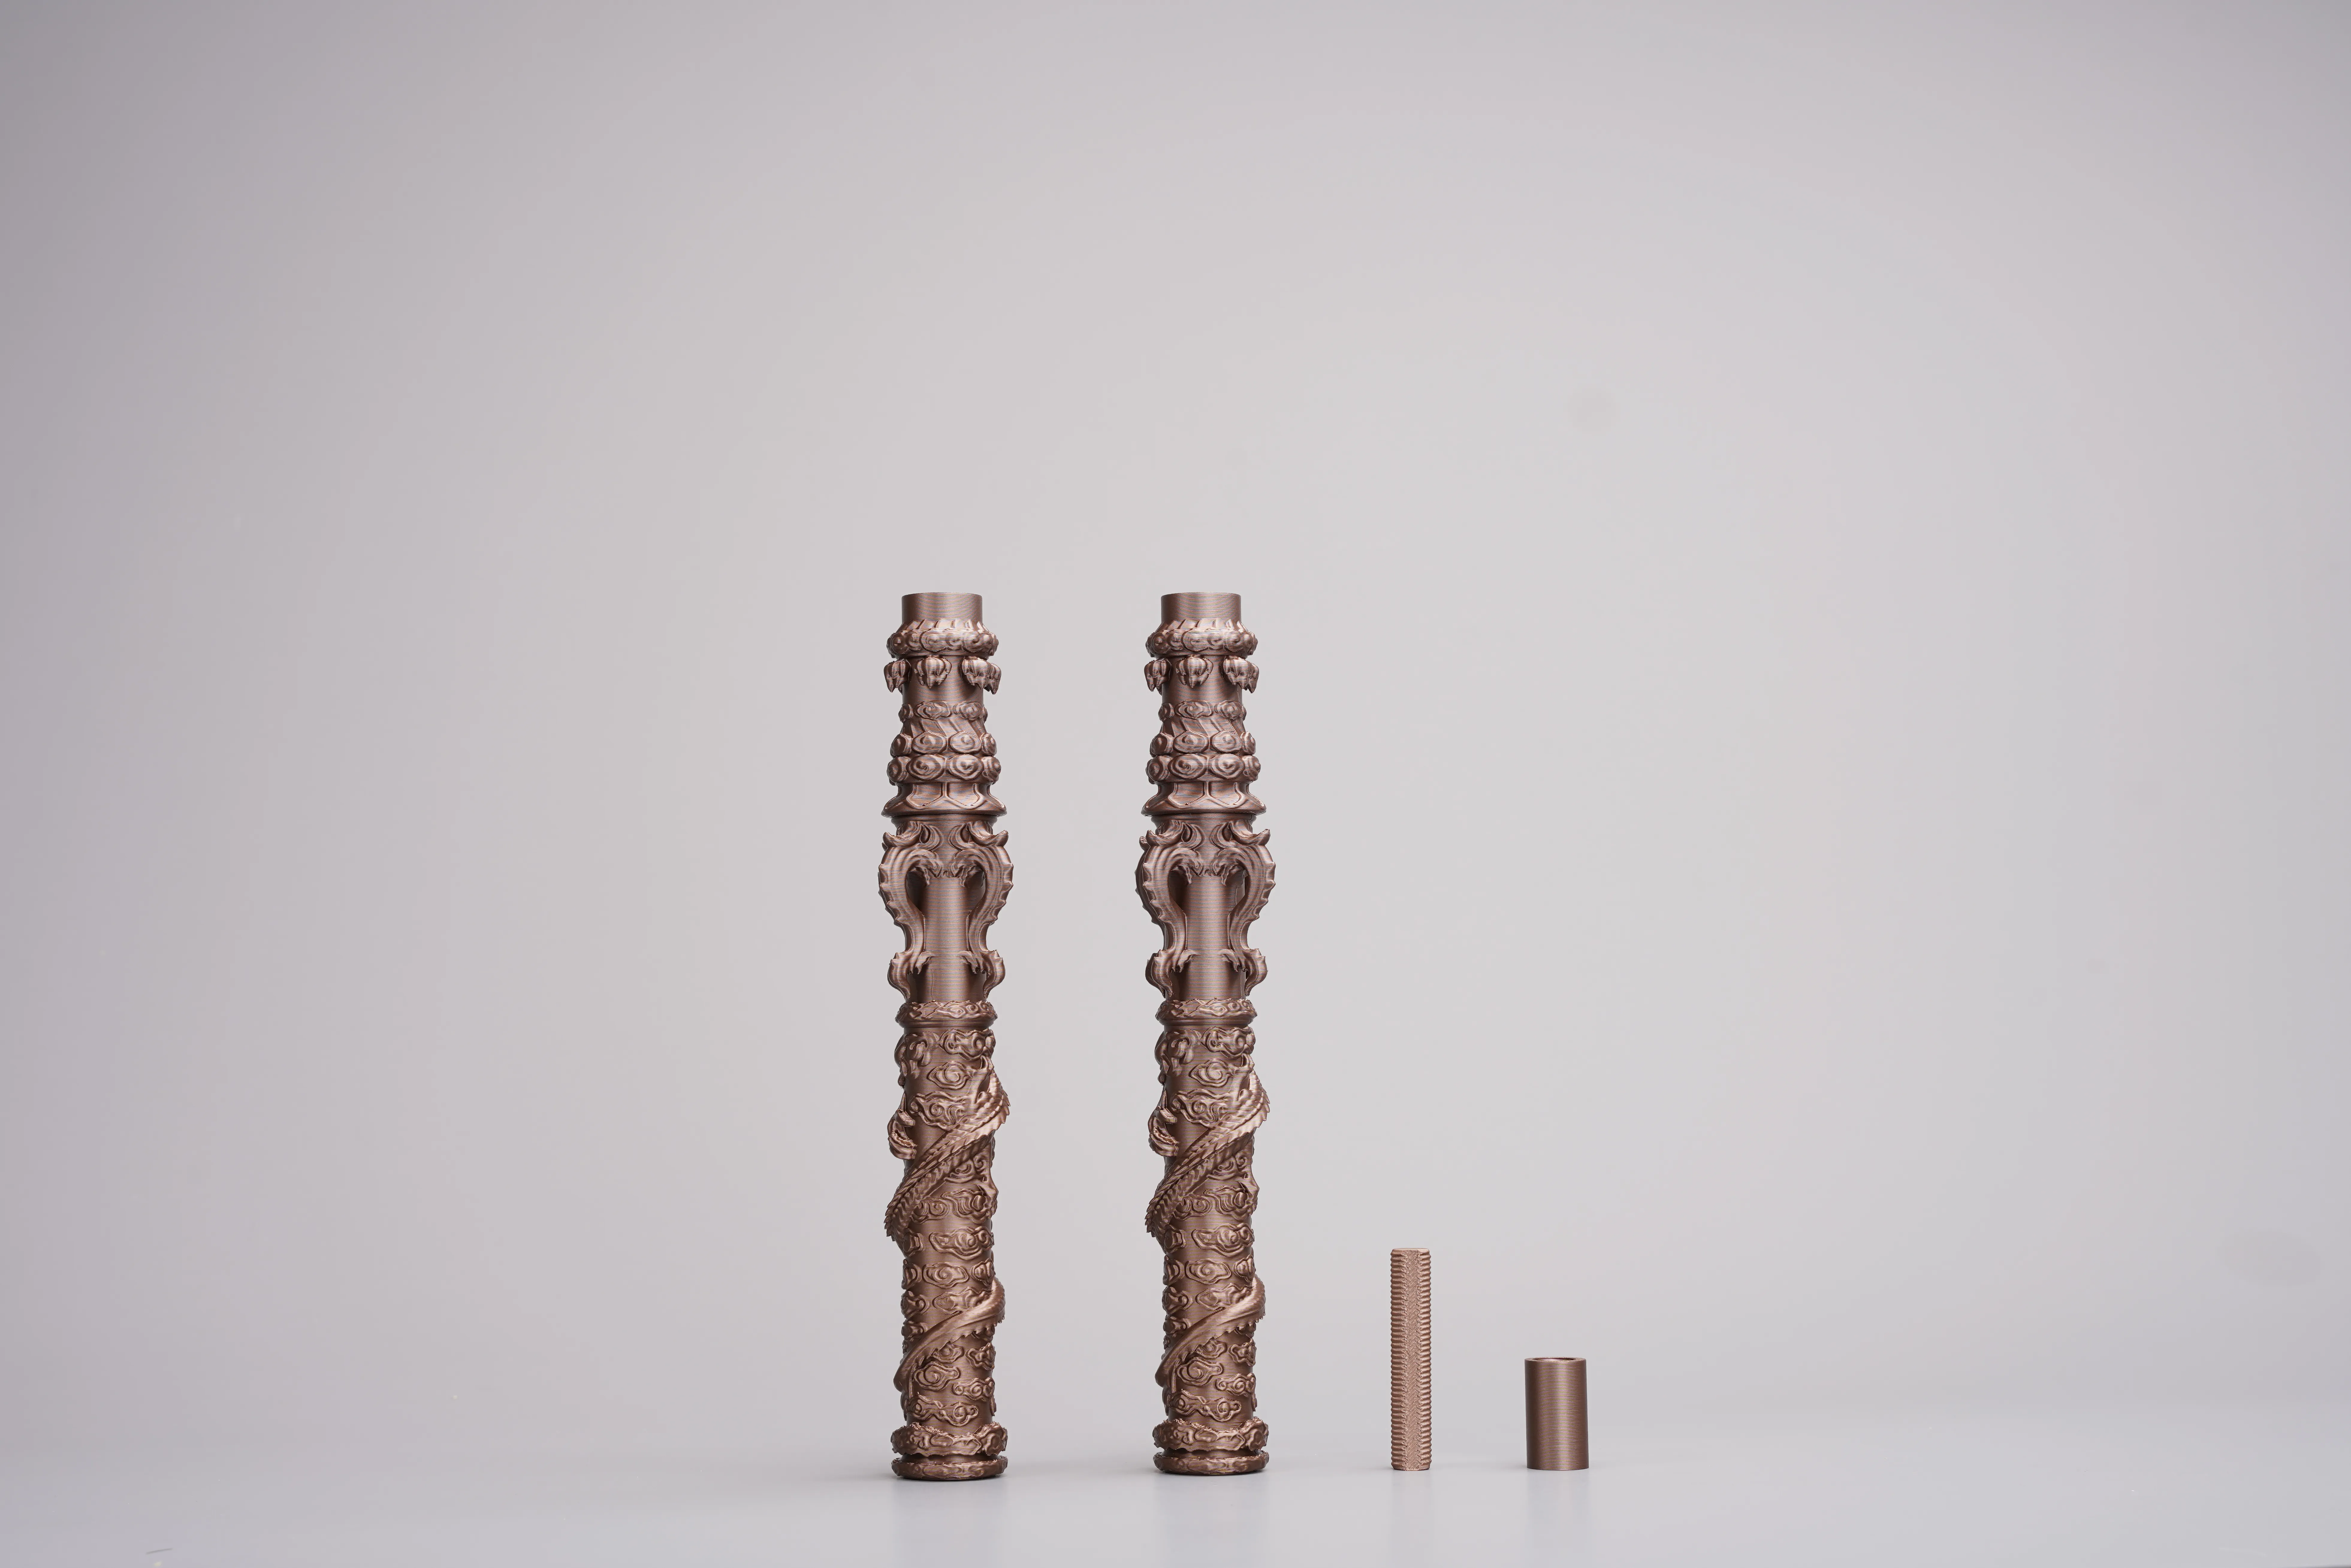
Installation Steps
- Screw the connecting screws into the rod nuts, pull out the telescopic parts from both ends of the rods, and check if the telescopic function operates smoothly.
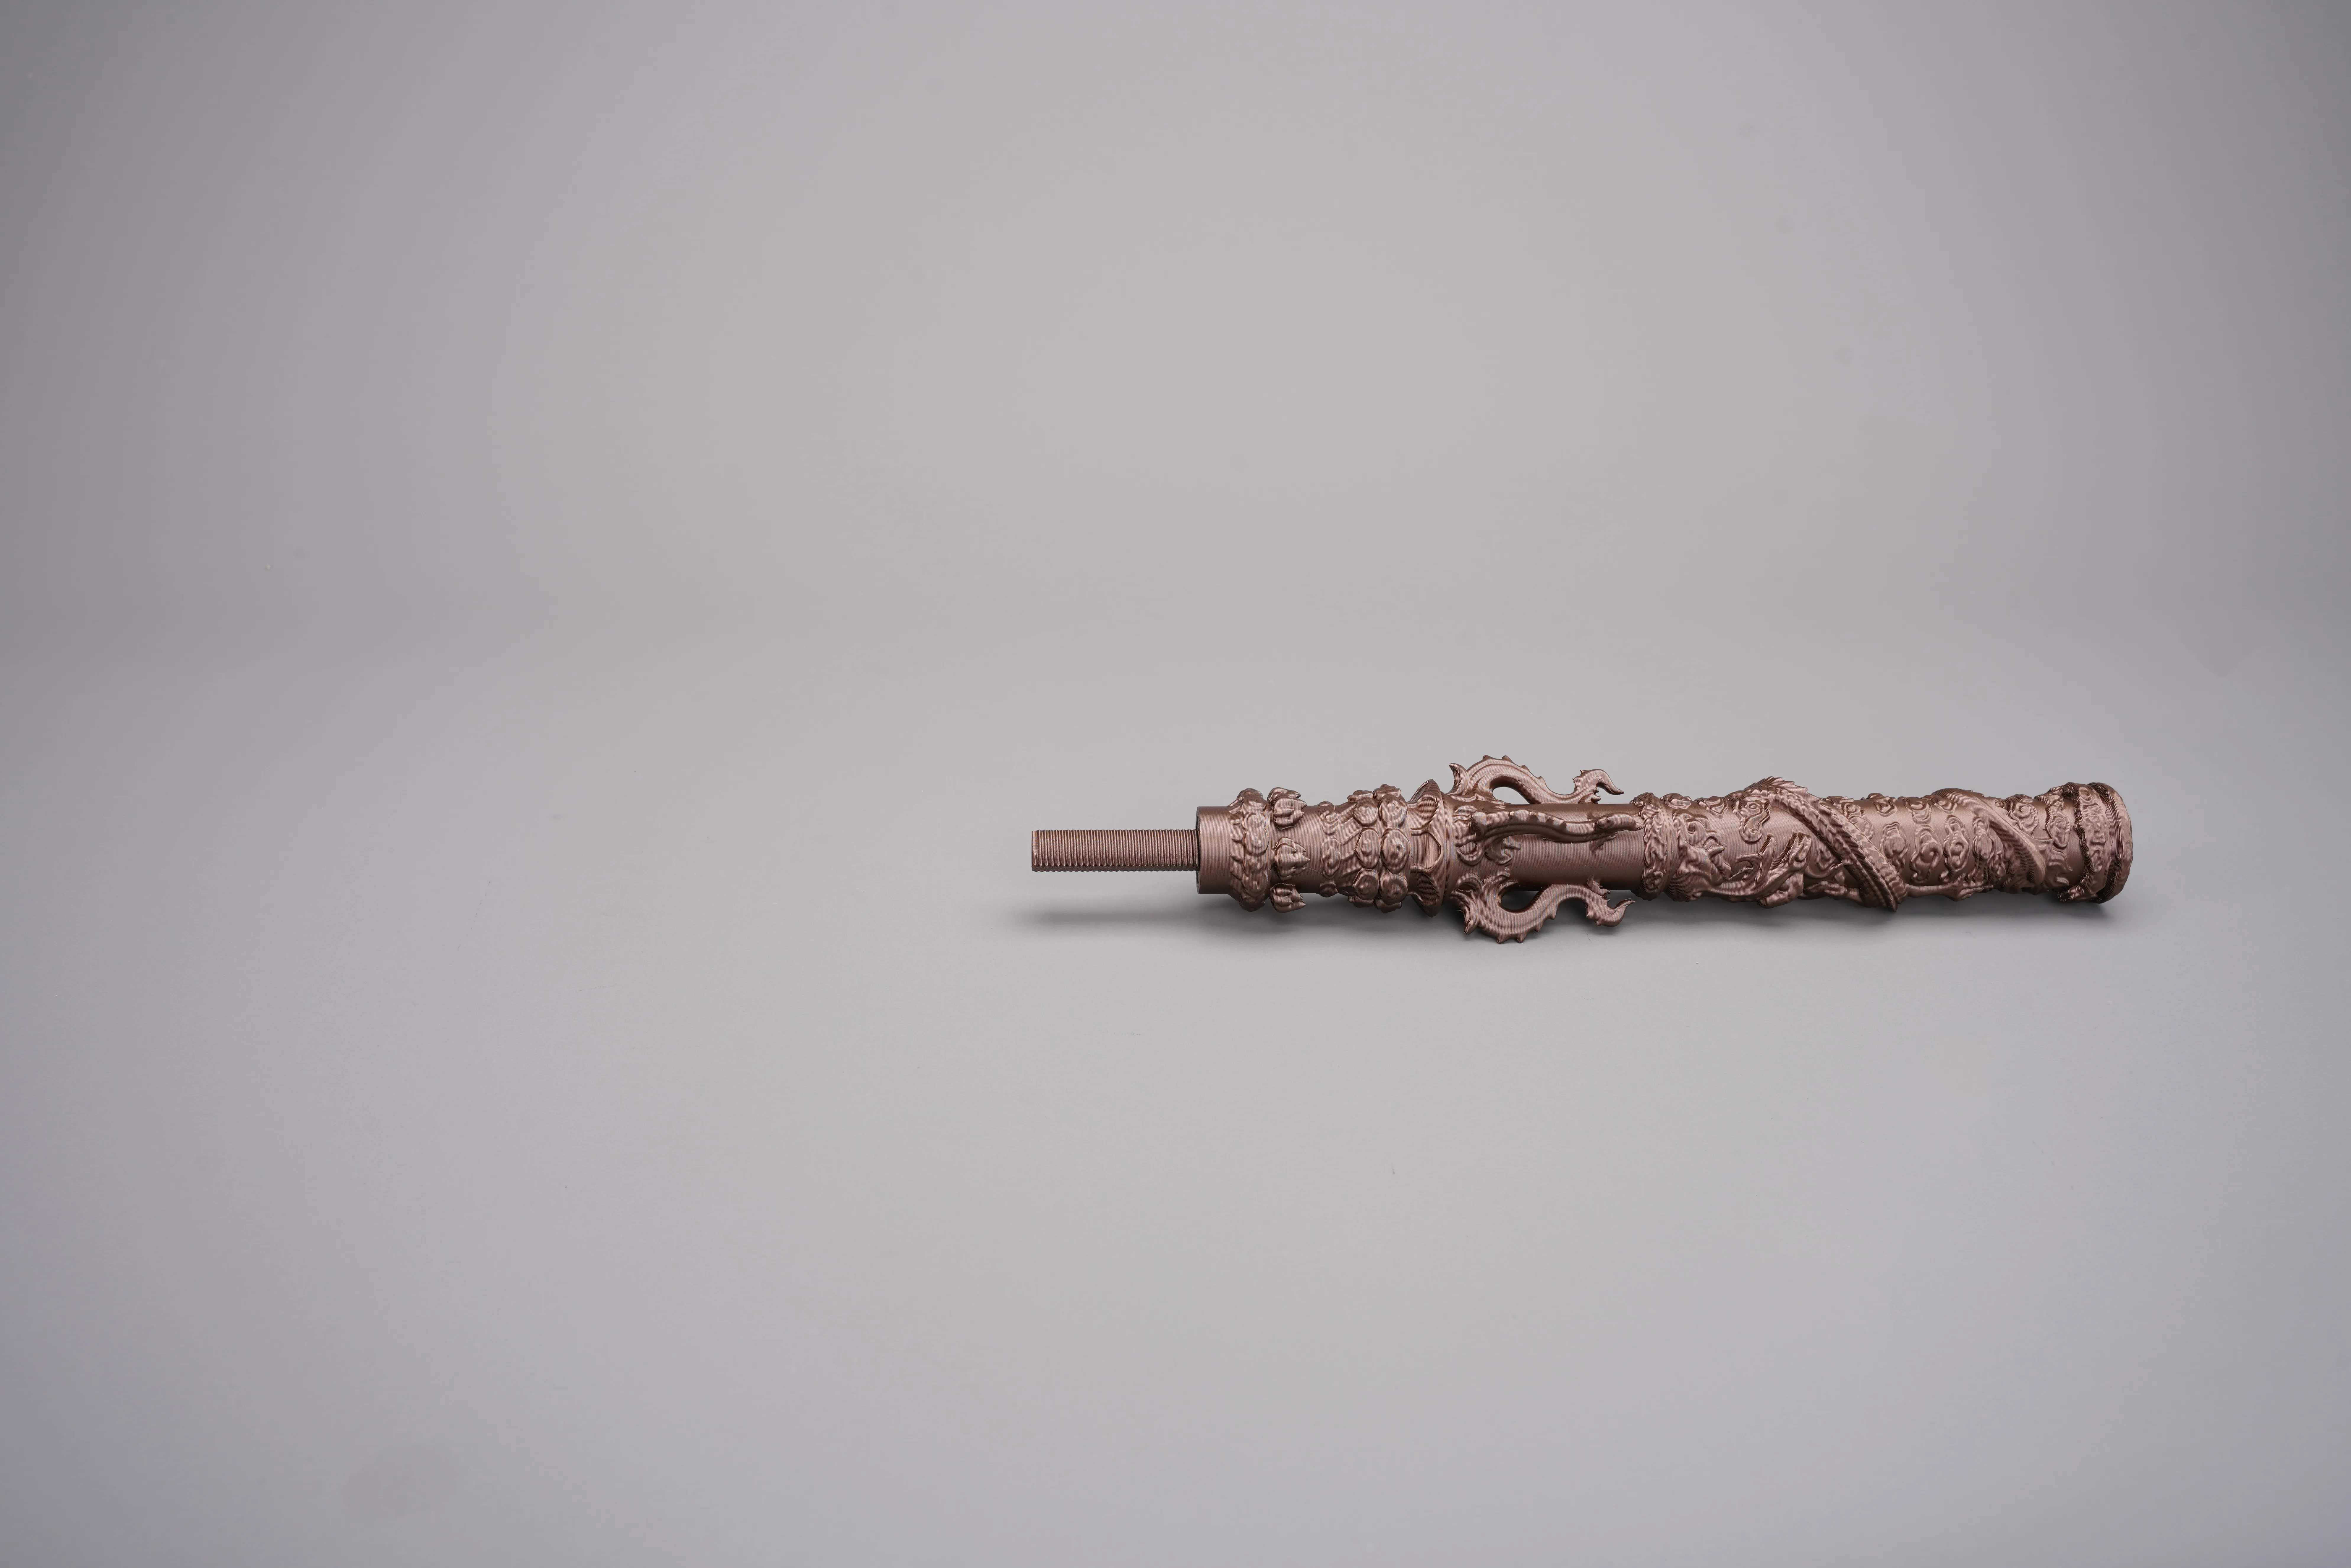
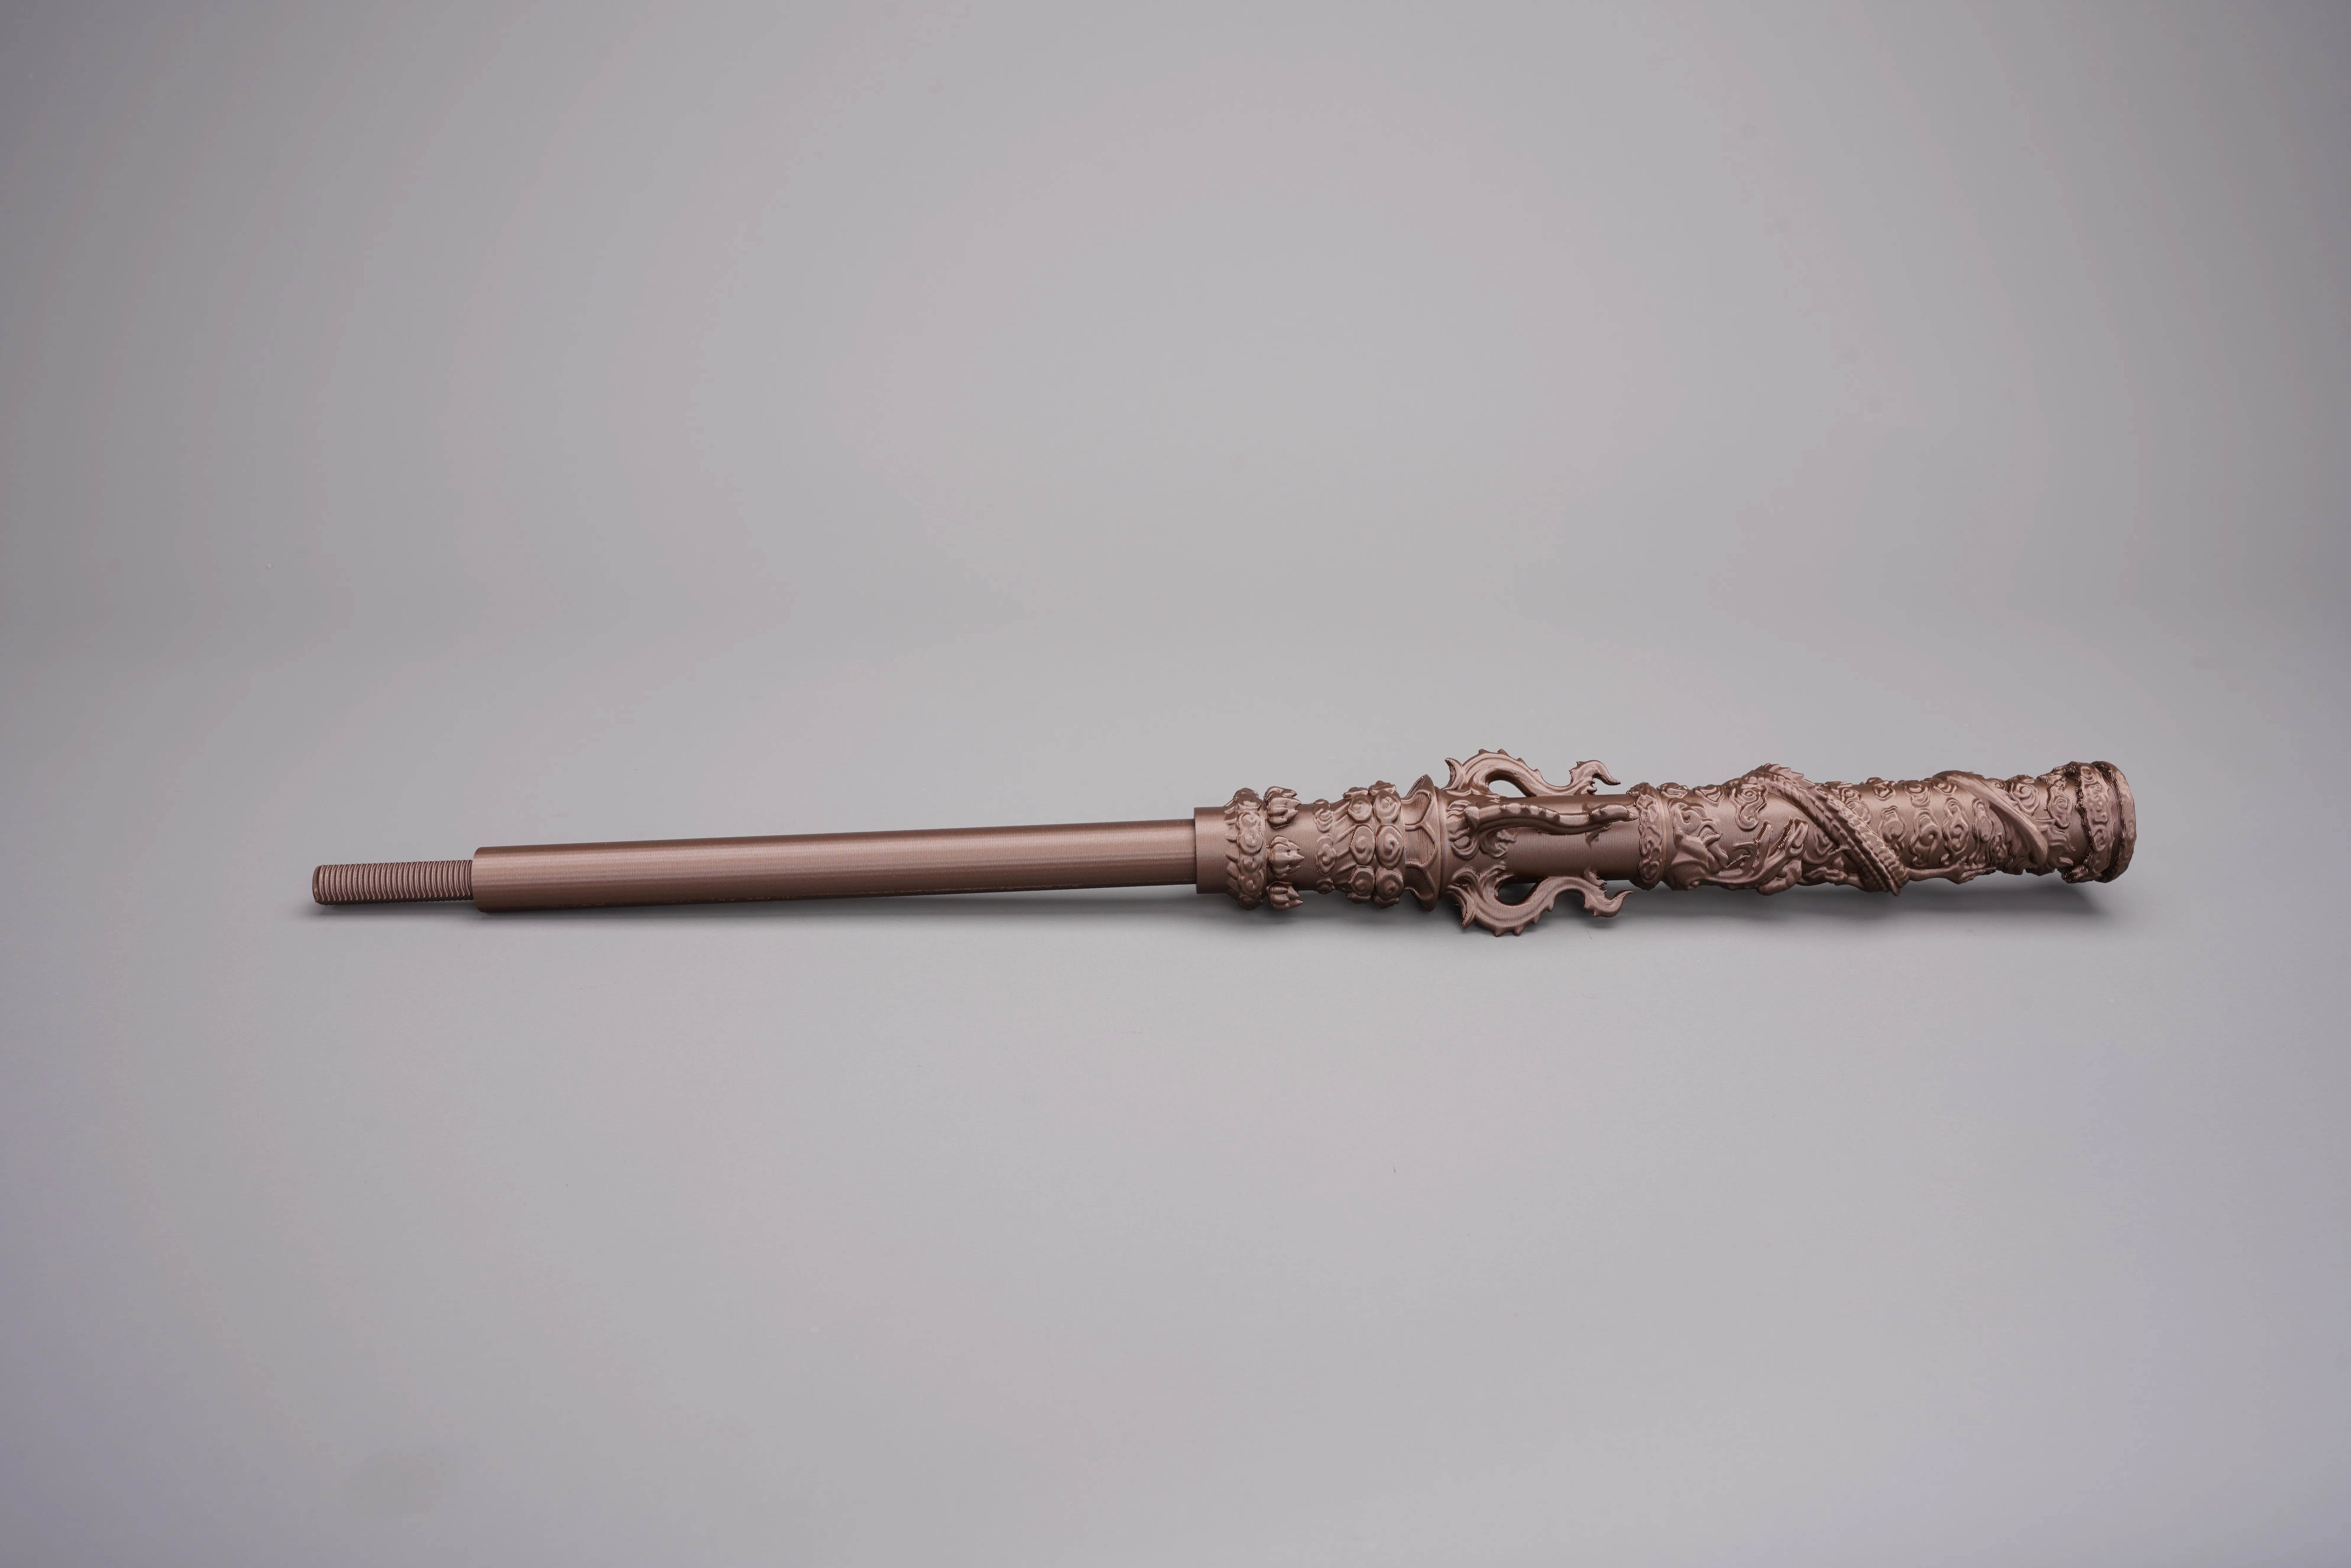
2. Screw the connecting sleeve into the center of the connecting screws.
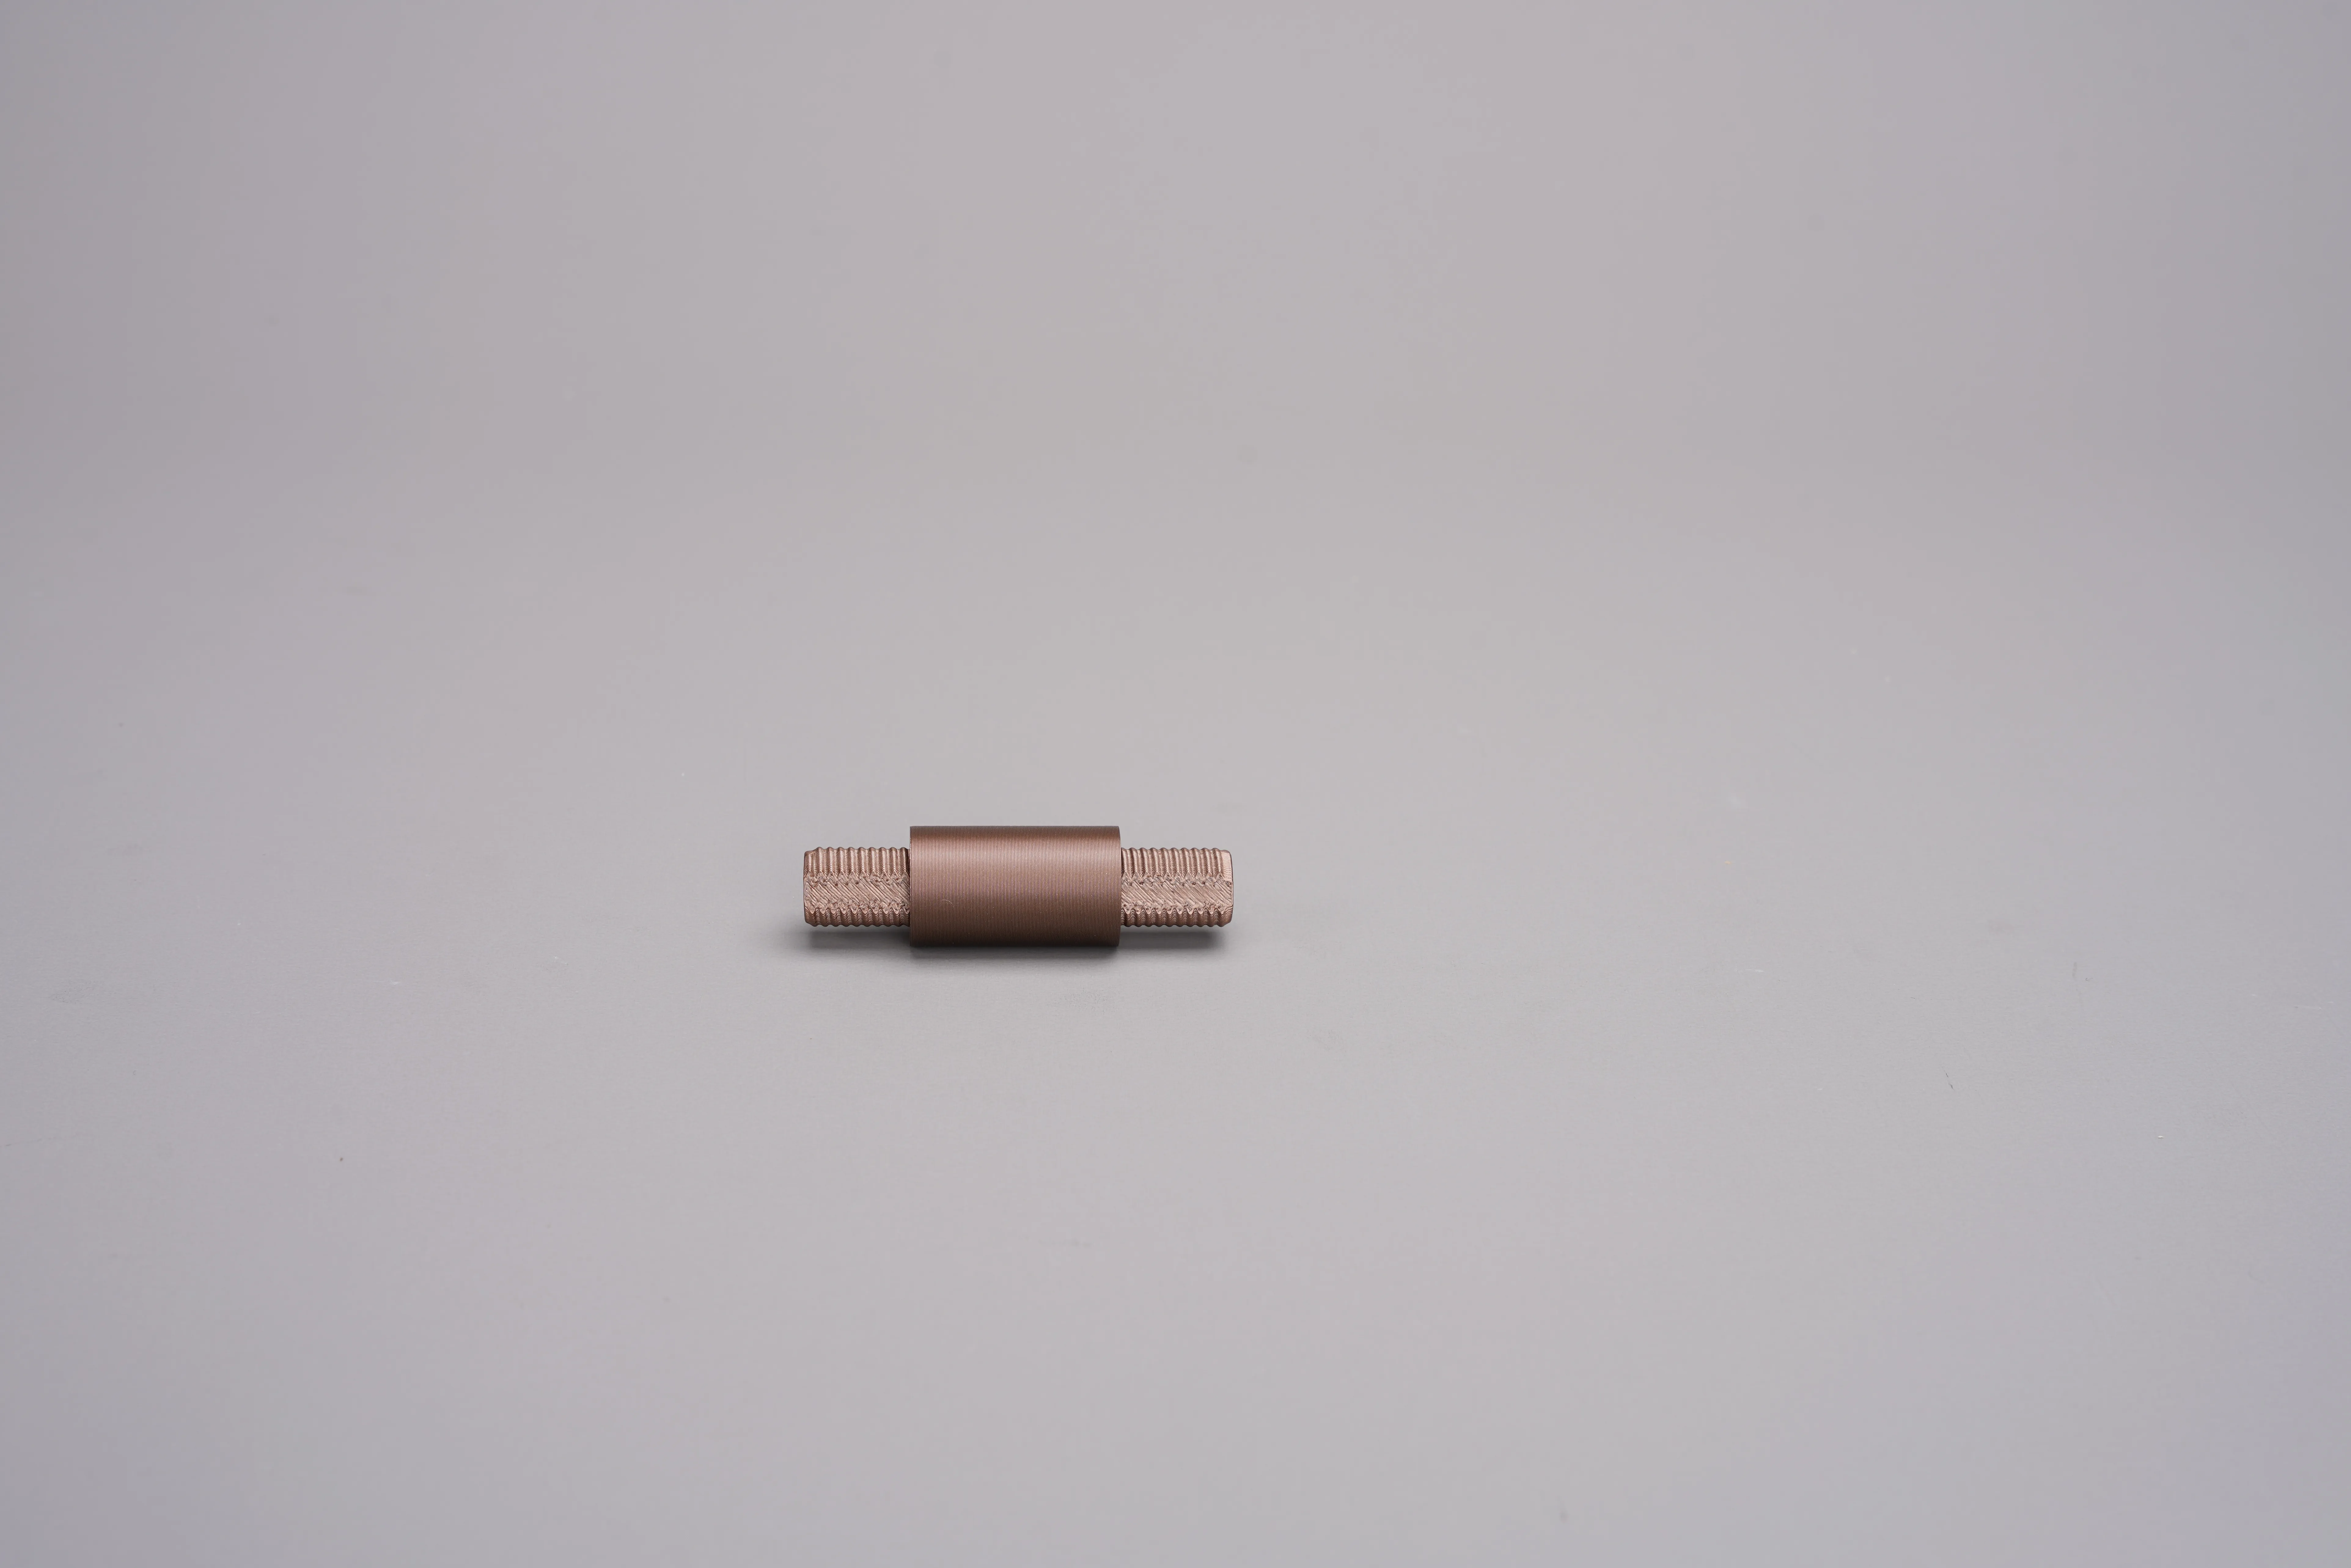
3. Screw one end of the rod into one end of the connecting screws.
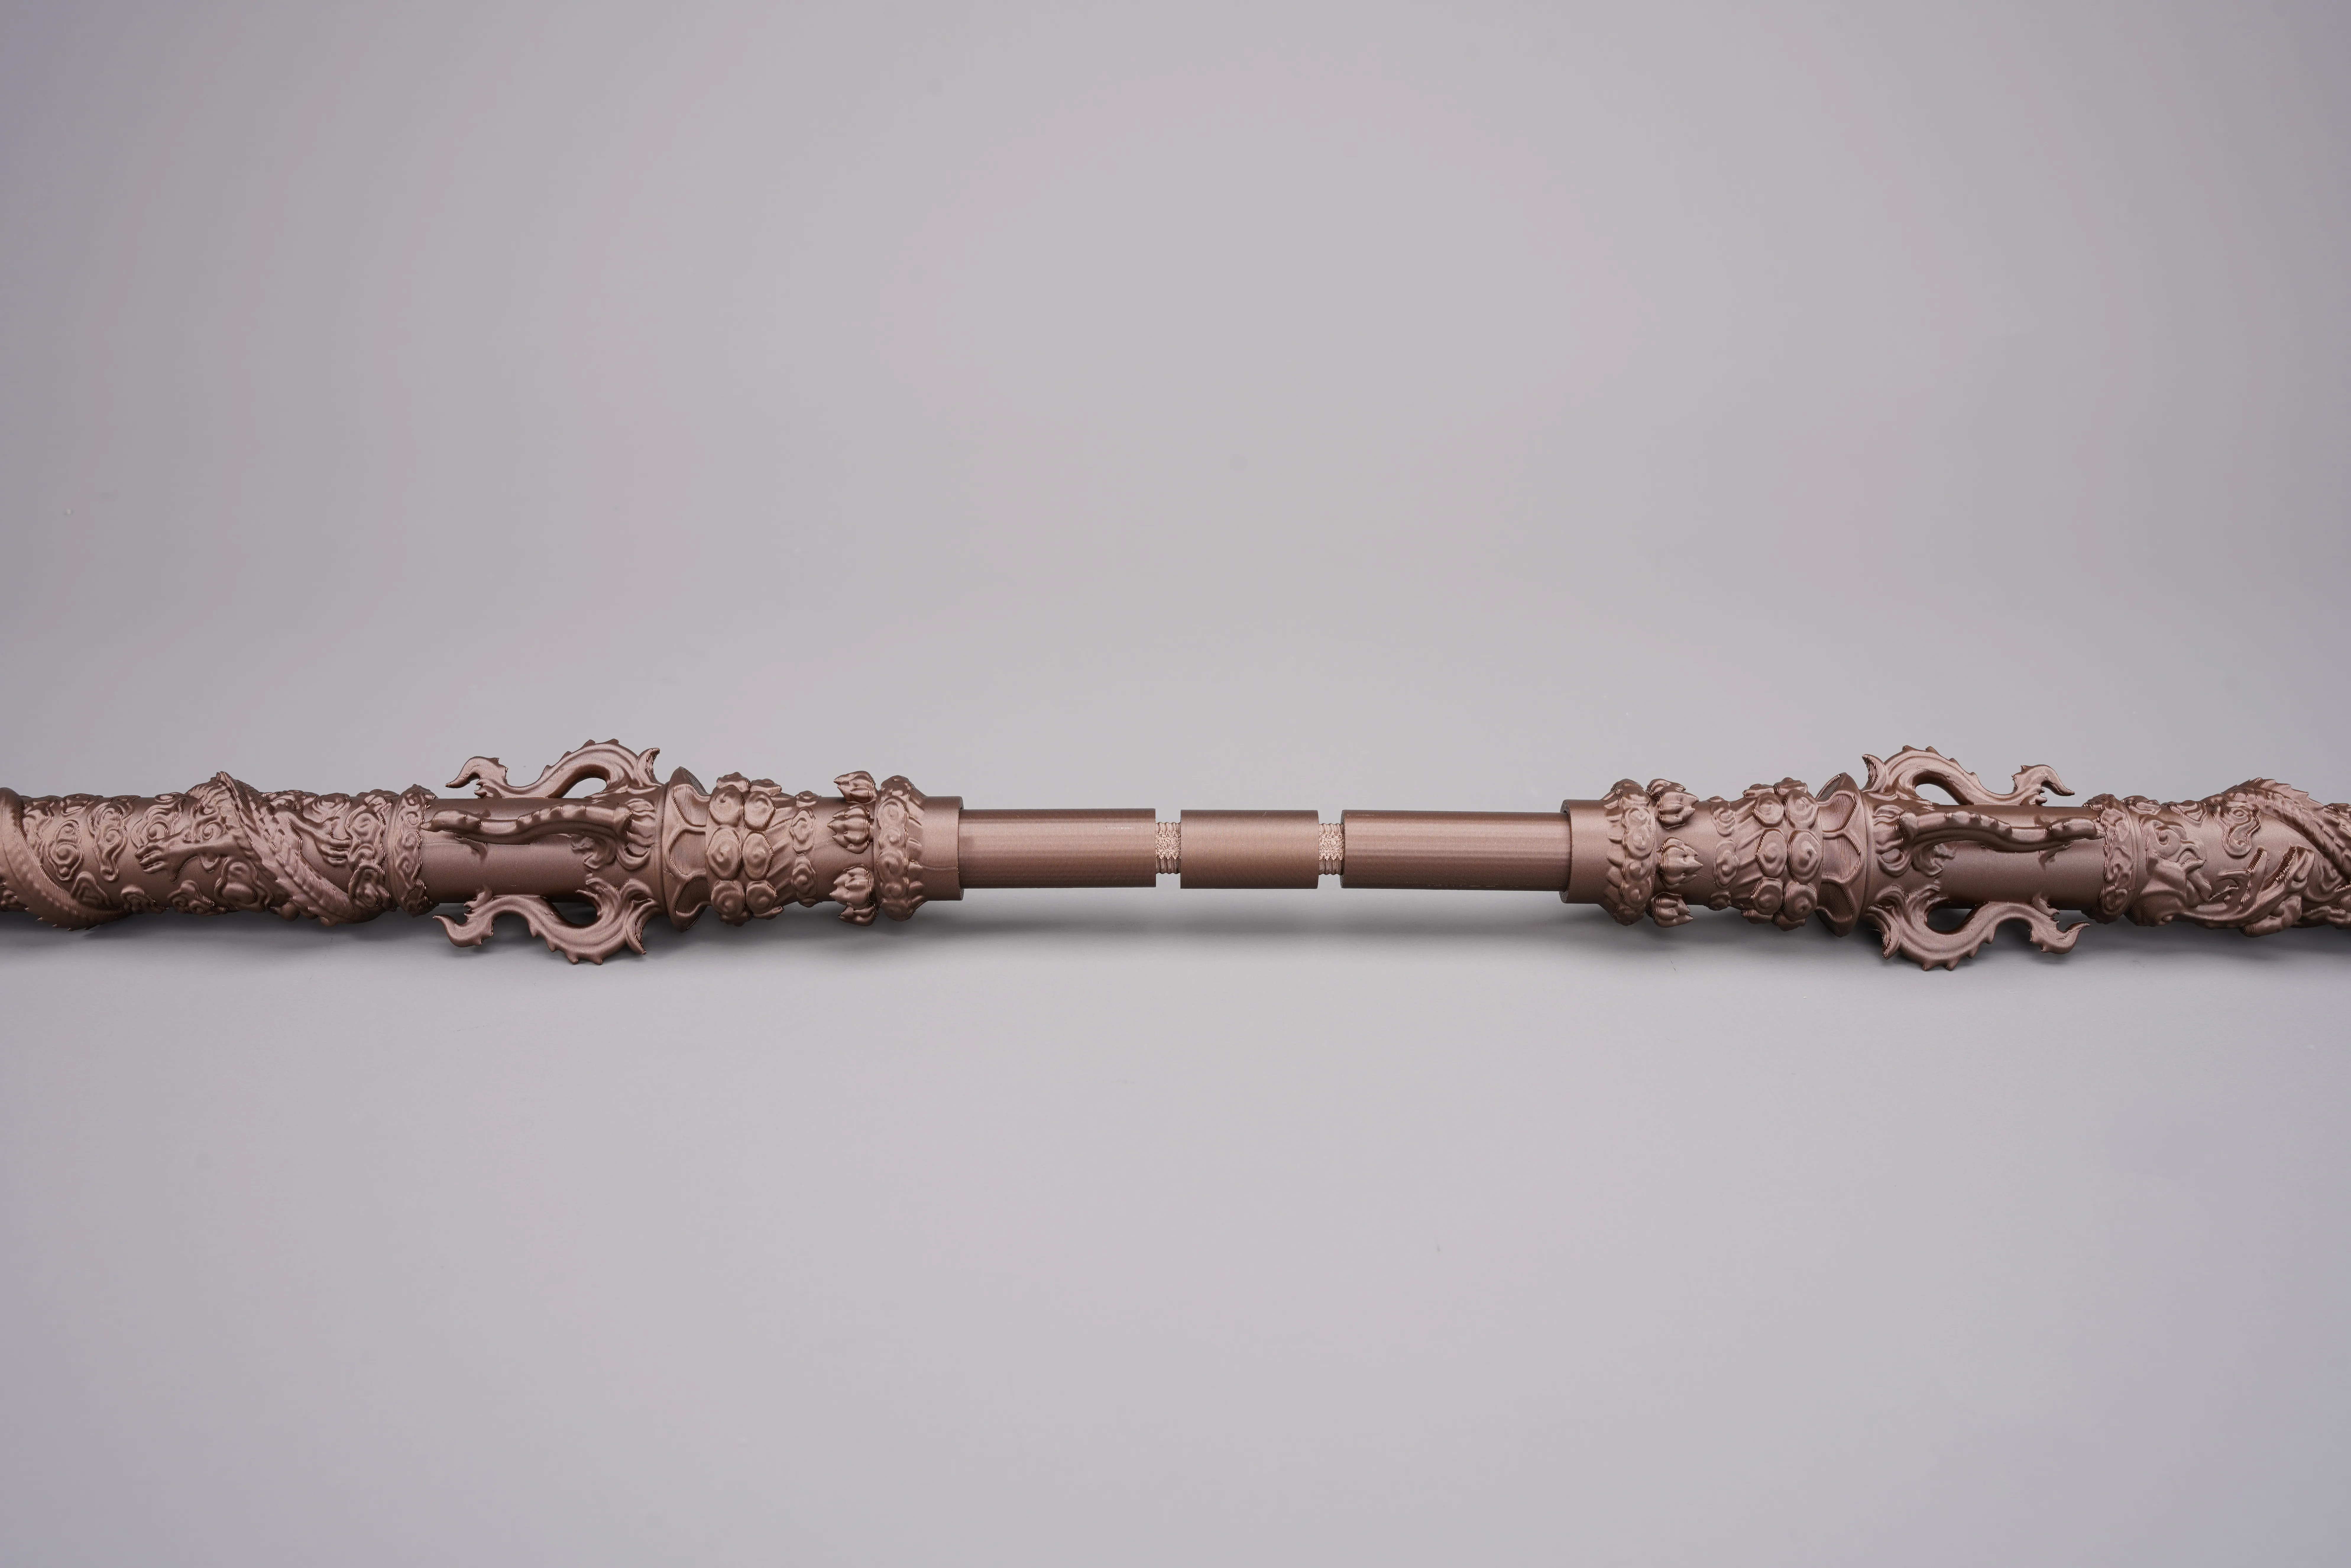
4. Similarly, screw the other end of the rod into the other end of the connecting screws.
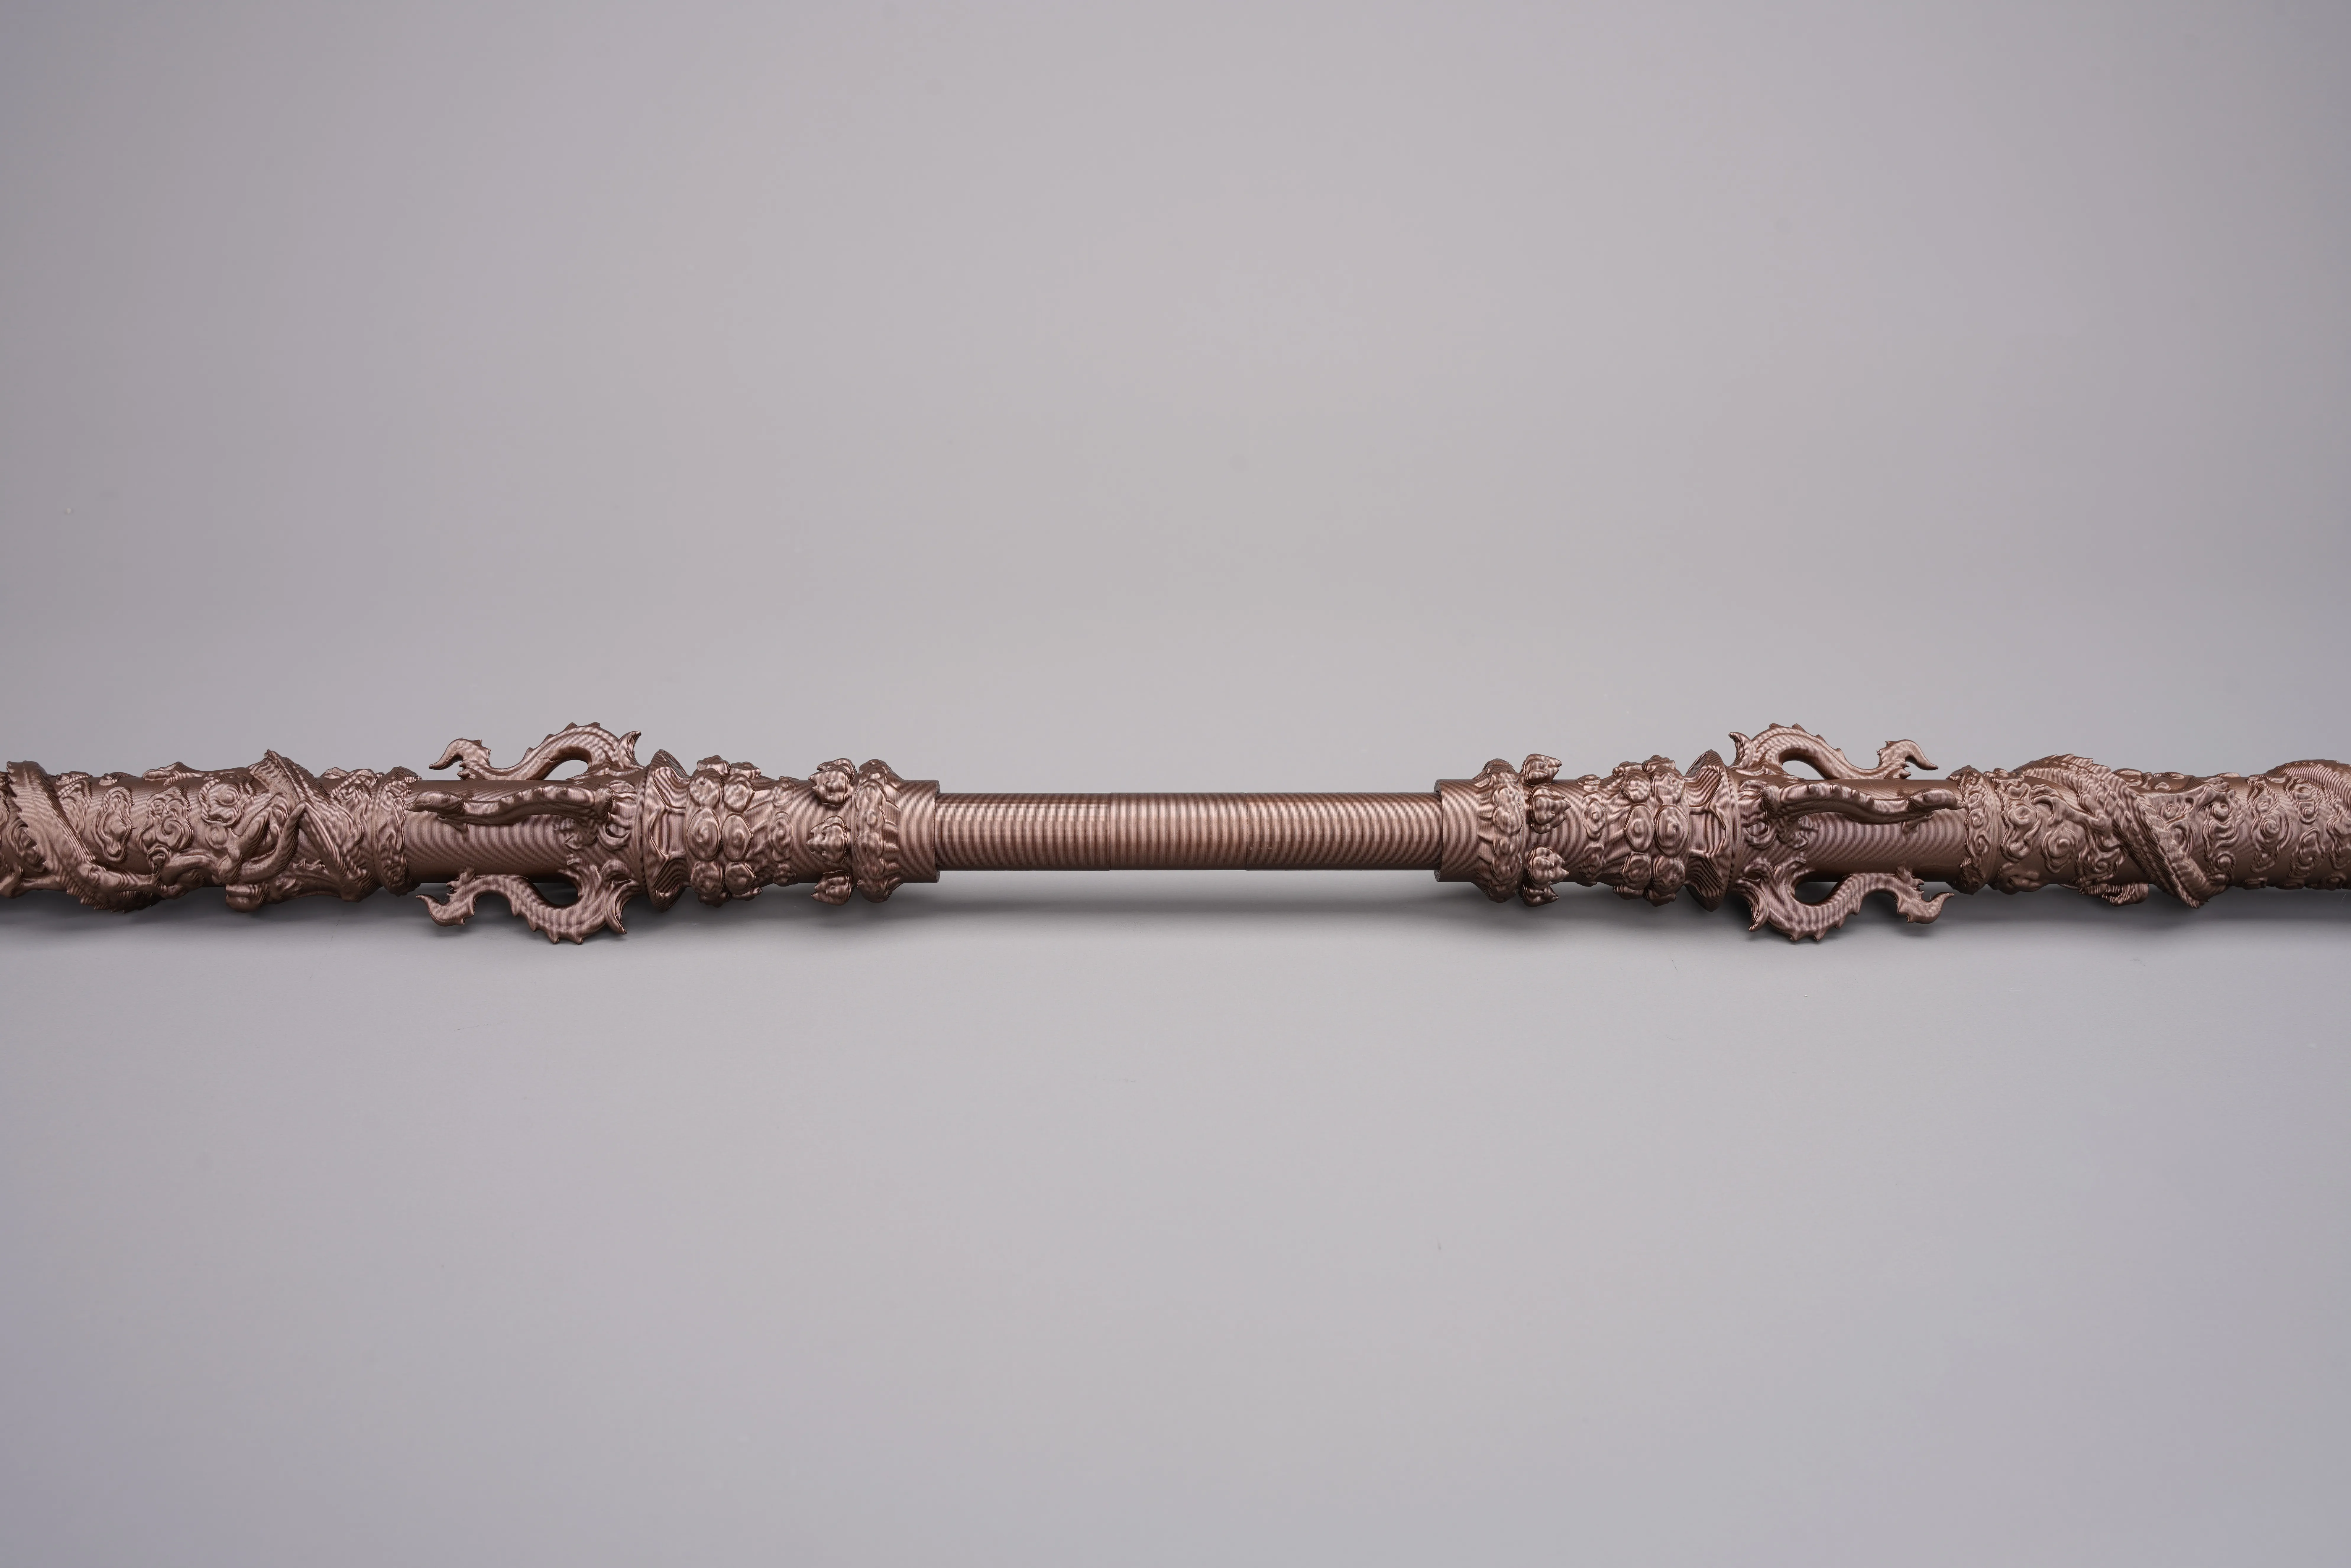
Notes:
- Ensure that all parts are properly aligned to avoid damaging the threads during installation.
- Apply even force when screwing in the screws and connecting sleeve, avoiding excessive force that could damage the components.
- Ensure the telescopic function operates smoothly without excessive friction.
License



Comment & Rating (518)