LayZSpa Filter No. 6 - Filterballs - Bestway


Print Profile(1)

Description
Boost Me (for free)
If you like my models and you want to support my work boost me to the moon :-)
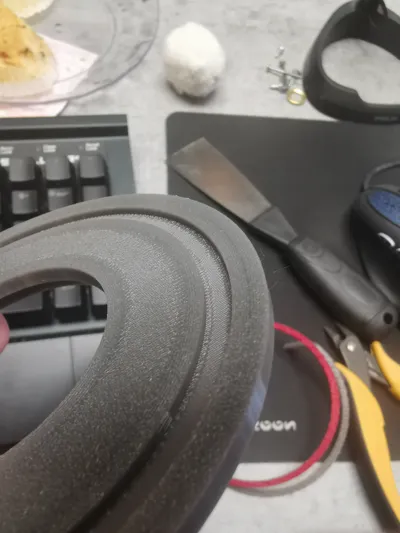
Here are my two versions for a filter adapter to use filter balls in LayZSpa whirlpools. A total of 24 filter balls fit into the basket. Optionally two seals can be printed in TPU each 1mm thick
There are two versions a V5 which only has a recess for the filter balls at the top to provide an optimal filter surface so that no gaps occur between the filter balls and the filter adapter
Version V6 has recesses at the bottom and top
I printed the groove with a PLA (red) separating layer or support structure. This can be very easily configured in Bambu-Slicer
I haven't been able to try out the filter yet therefore I would appreciate your feedback
English
Here are my two versions for a filter adapter to use filter balls in the LayZSpa whirlpools. A total of 24 filter balls fit into the basket. Optionally, two seals can be printed in TPU, each 1mm thick
There are two versions, a V5, which only has a recess for the filter balls at the top to provide an optimum filter surface so that there are no gaps between the filter balls and the filter adapter
Version V6 has cut-outs at the top and bottom
I printed the groove with a PLA (red) separating layer or support structure. This is very easy to configure in Bambu-Slicer
I haven't been able to try out the filter yet, so I would appreciate your feedback
Settings:
Settings:
Material: PETG
Layer: 0.2
Walls: 6
Infill: 25% - Gyroid
Assembly instructions:
Assembly instructions:
1. Remove the ring with the black flaps
1. Remove the ring with the black flaps


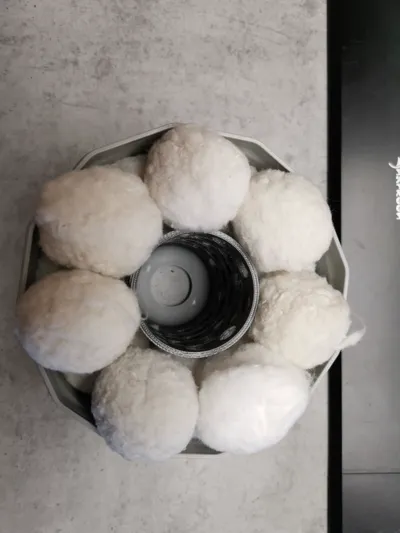
2. Insert the bottom part and fill the bottom with seven filter balls
2. Insert the bottom part and fill the bottom with seven filter balls

3. In the next layer add another seven filter balls in a staggered pattern
3. In the next layer, add another seven filter balls in staggered order
4. Now add the last layer with seven balls these must also be staggered again
4. Now add the last layer with seven balls, these must also be staggered order again

5. Now place the top lid centered on the balls
5. Now place the top lid centered on the balls


6. Now the container can be closed and screwed. The lid has an edge and is flush with the bottom part
6. Now the container can be closed and screwed on. The lid has an edge and is flush with the bottom part
Comment & Rating (26)