

Print Profile(1)

Description
Membership
Subscribe and receive the rights to print and sell my creations!

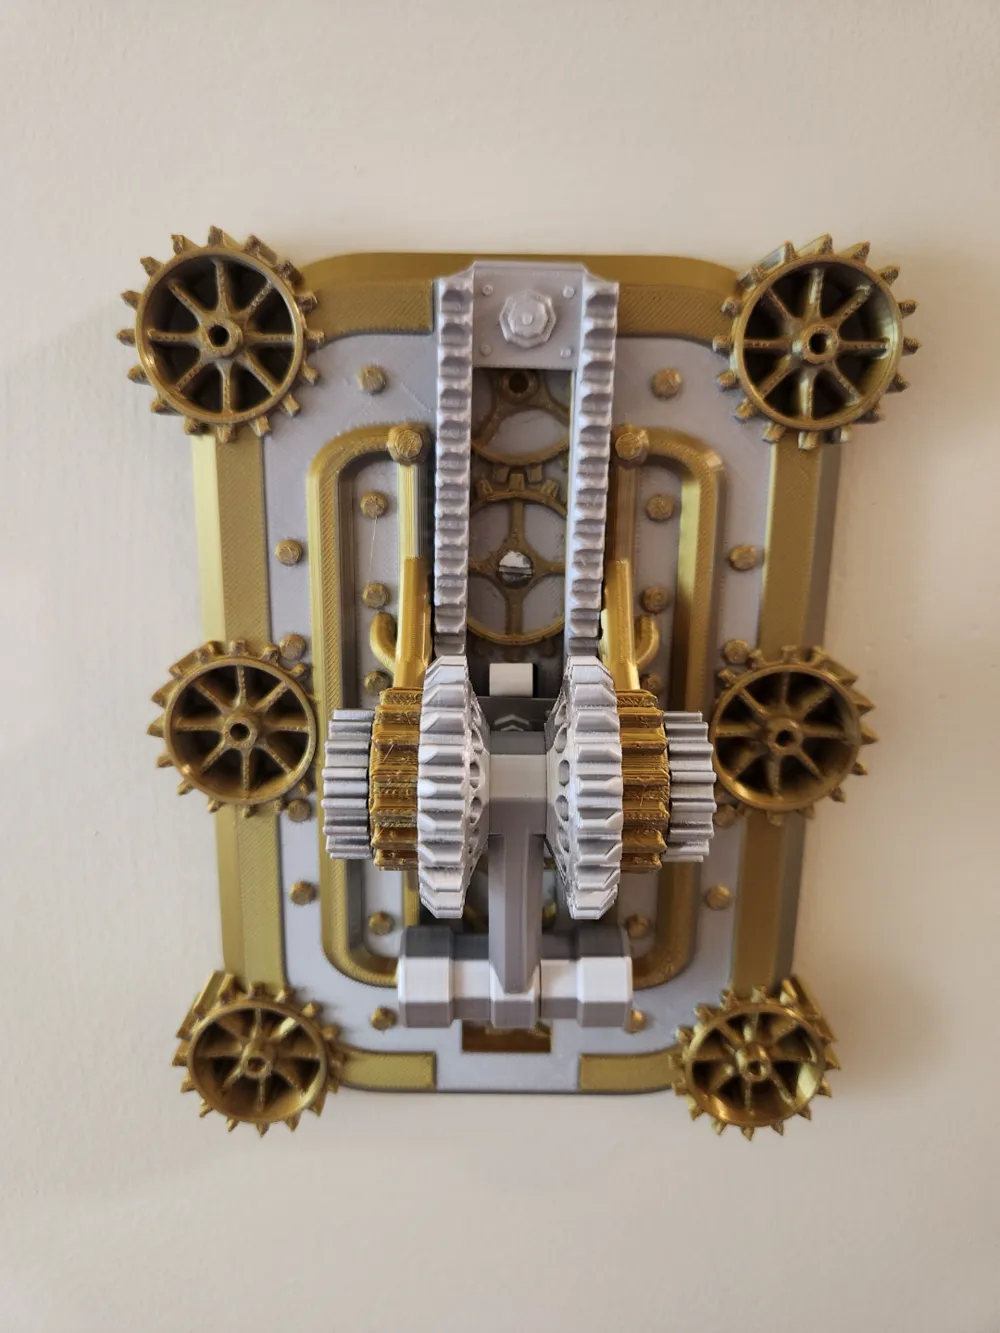
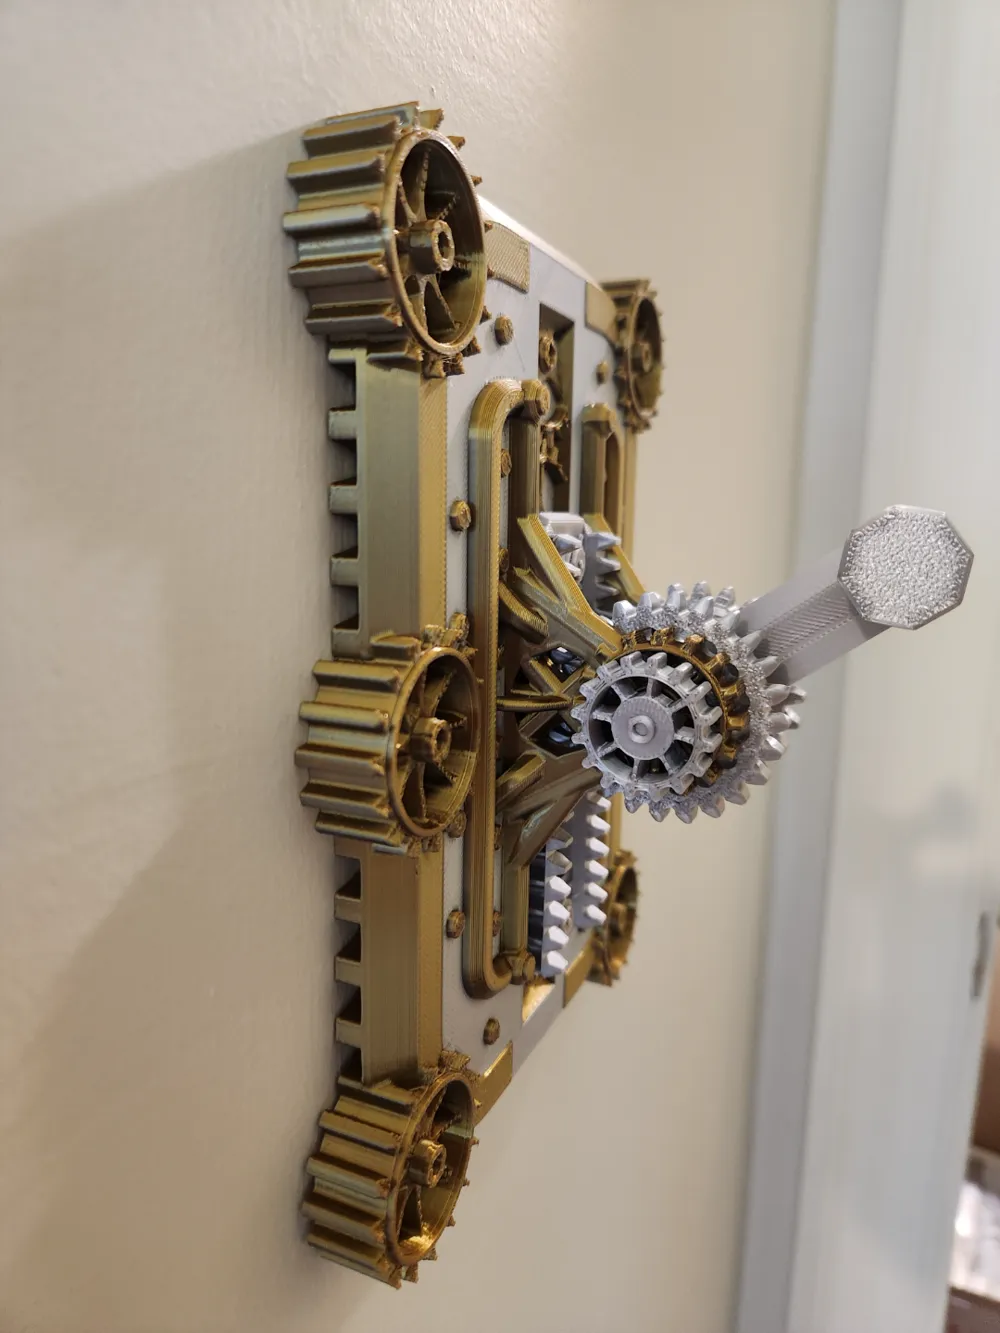

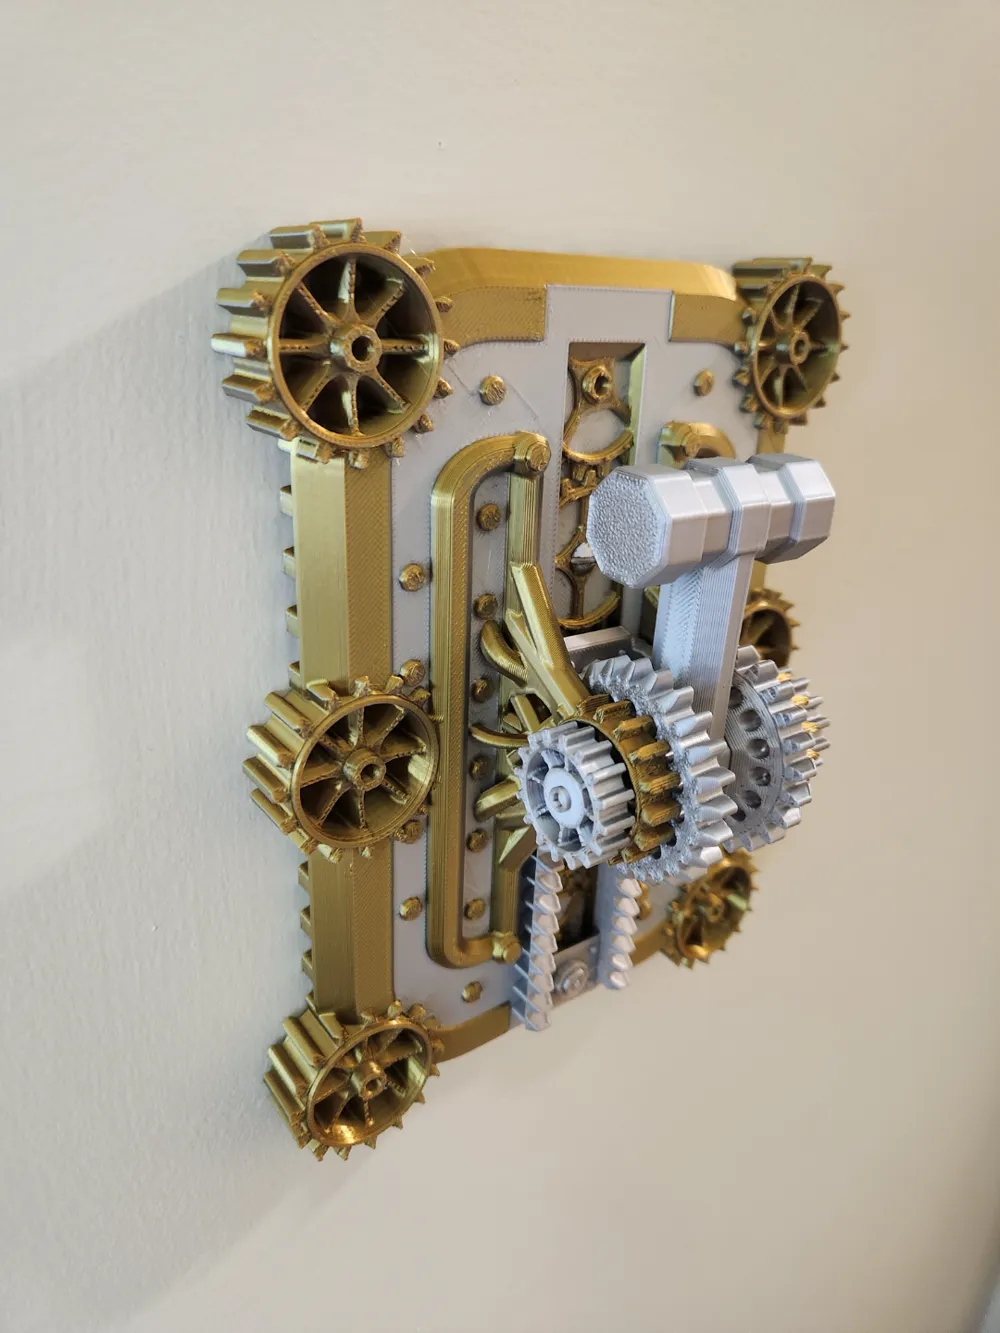
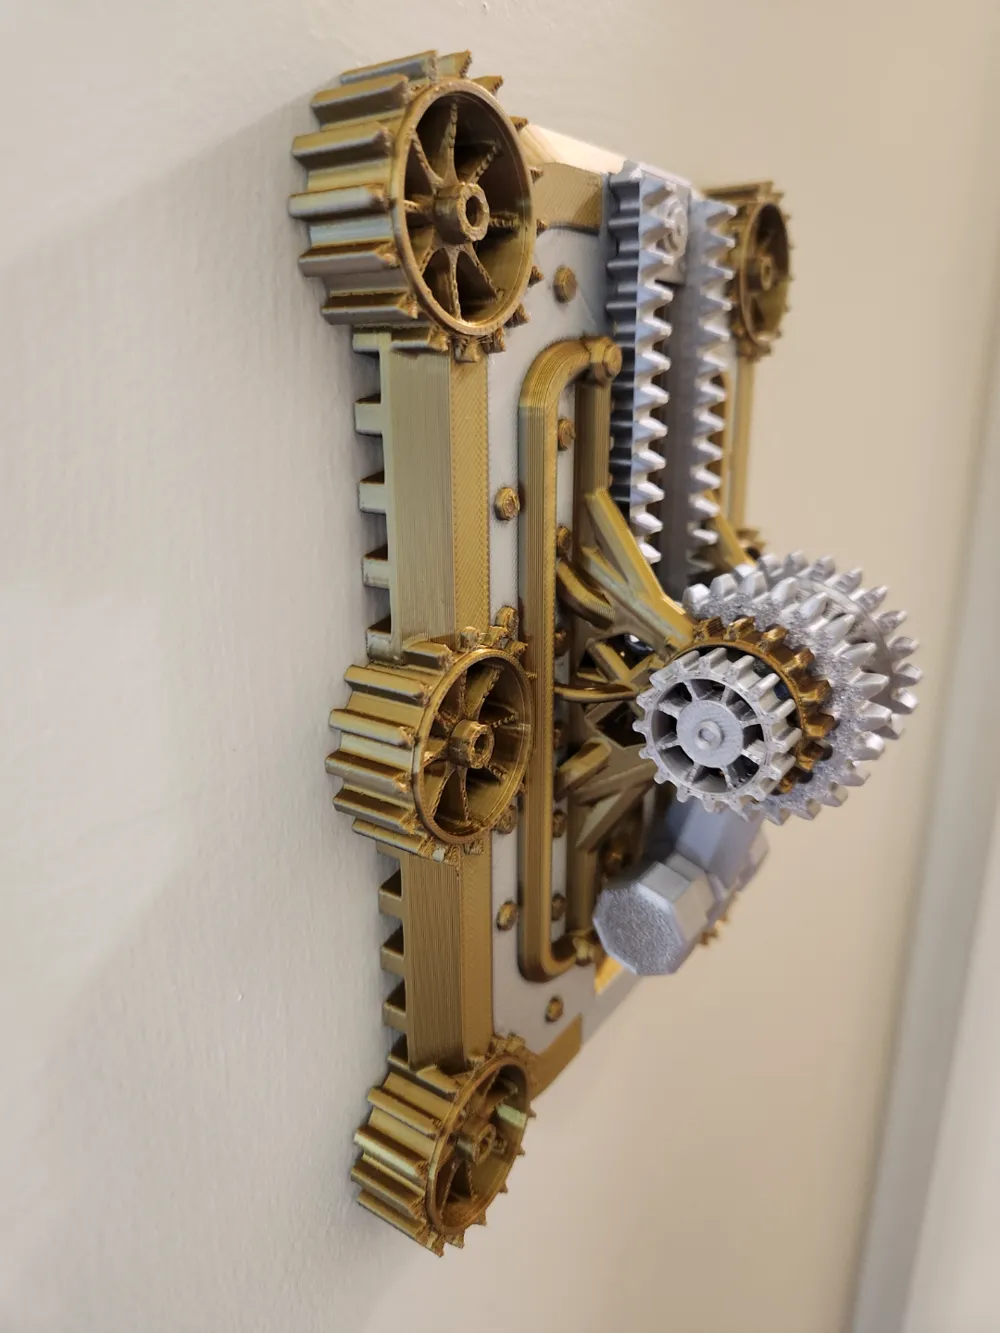
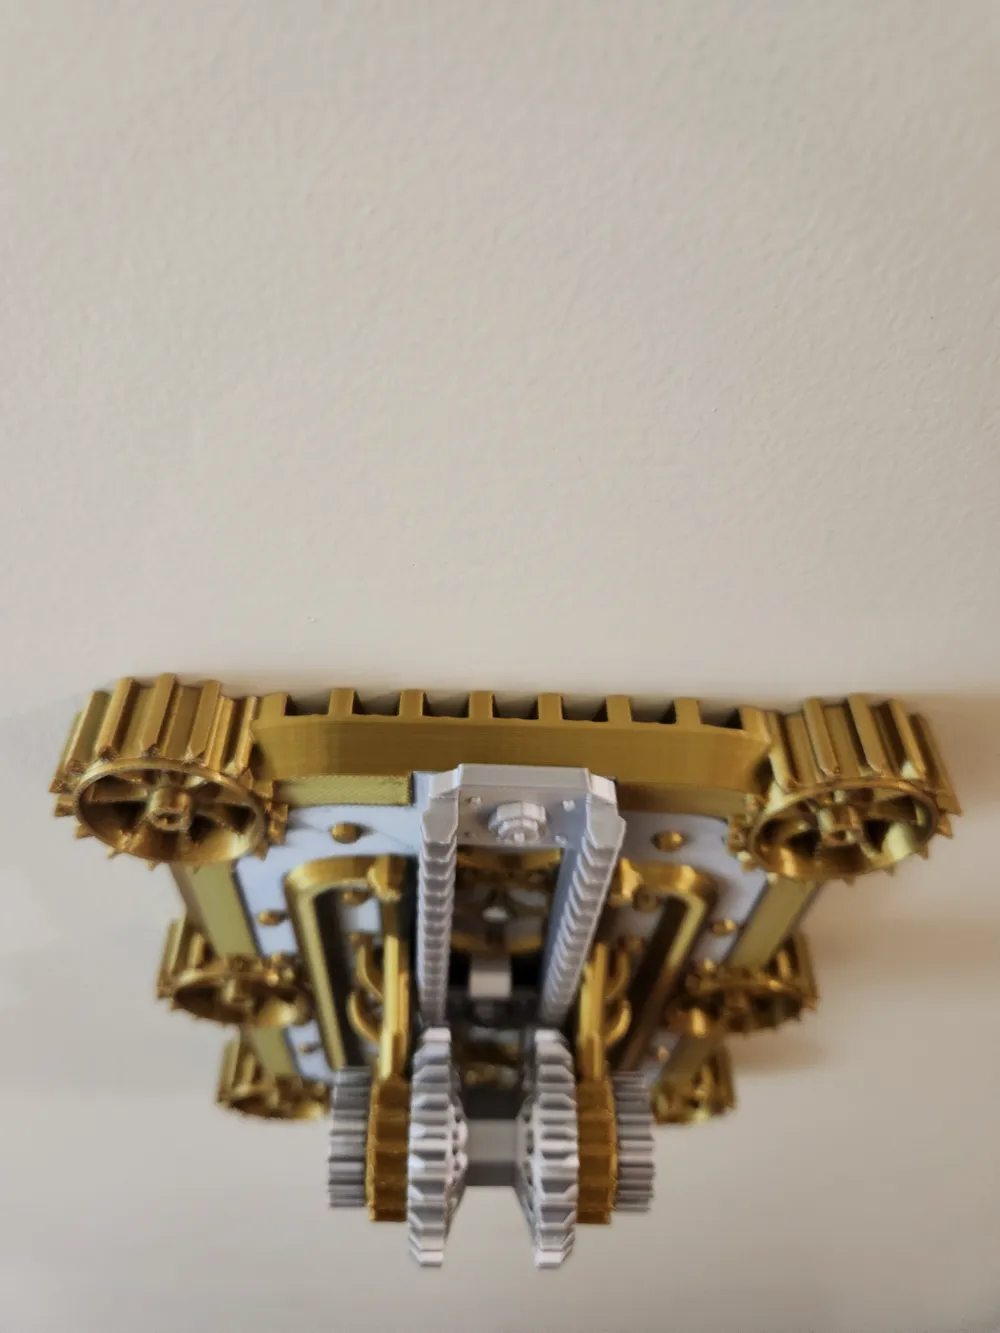
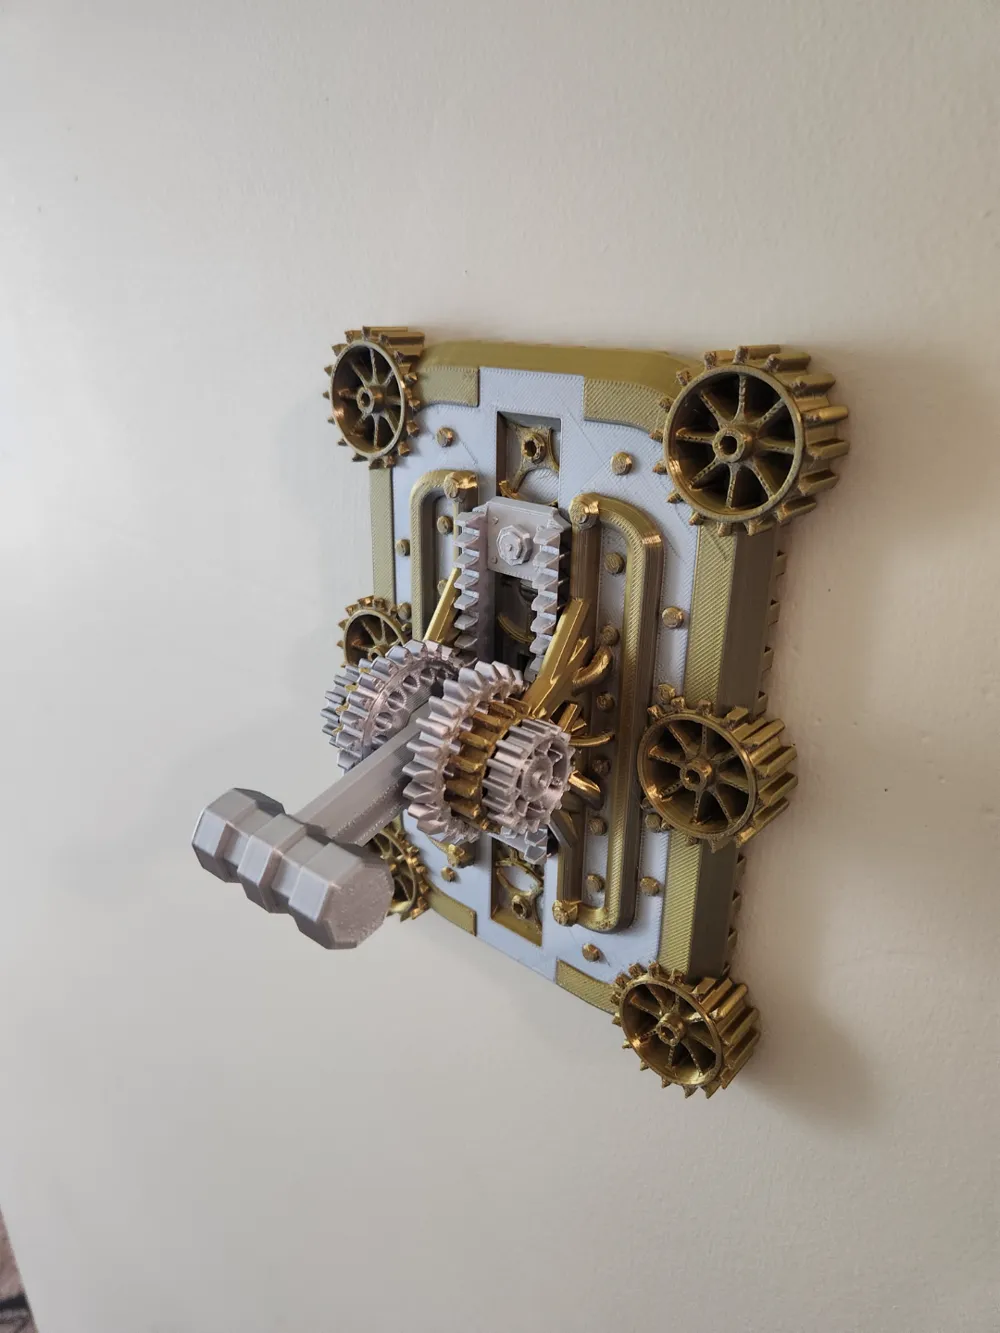
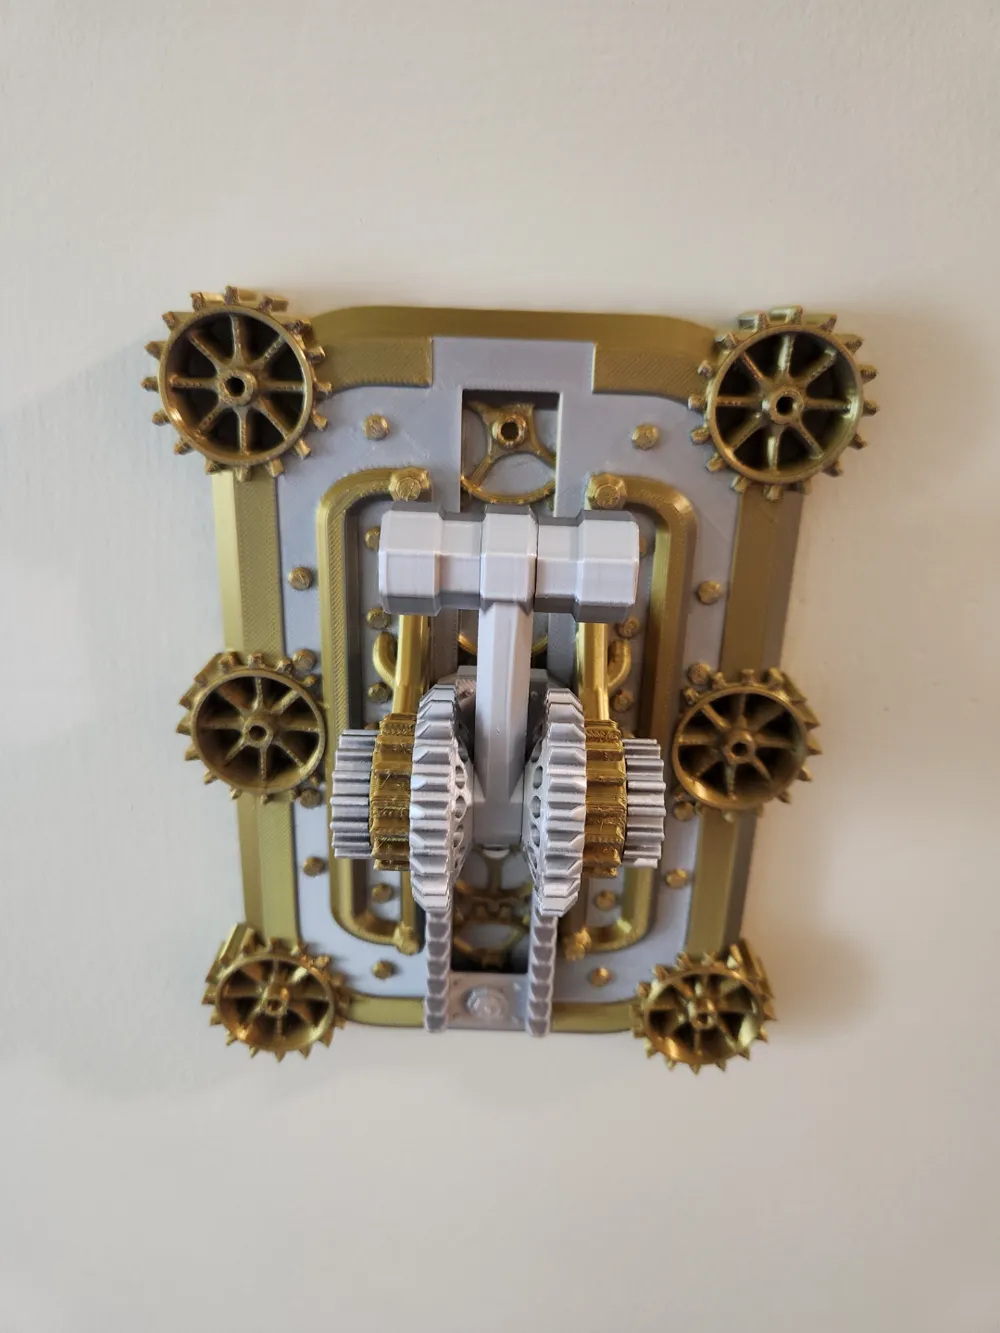
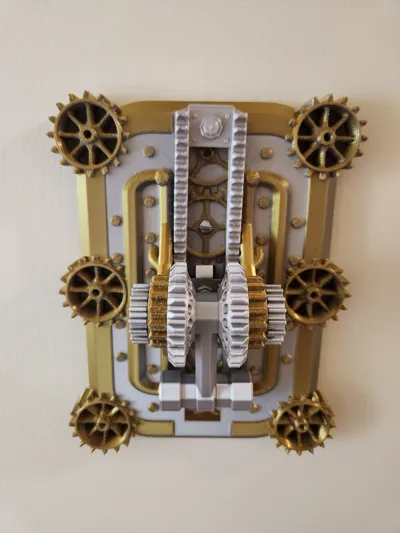
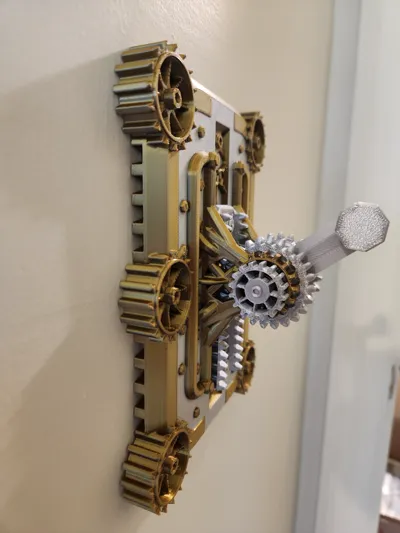
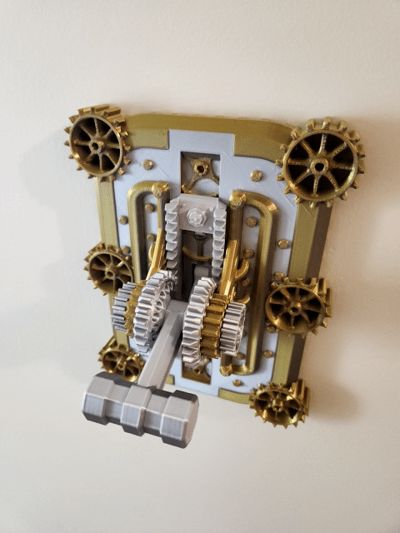
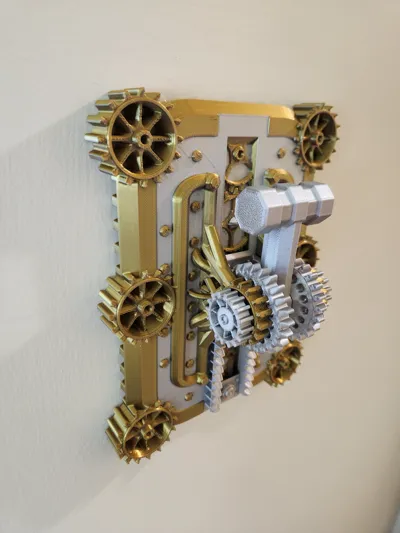
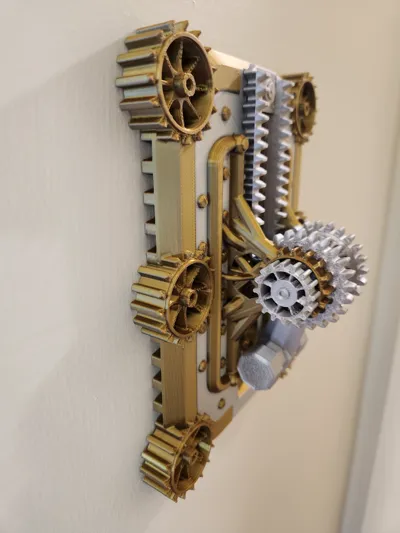
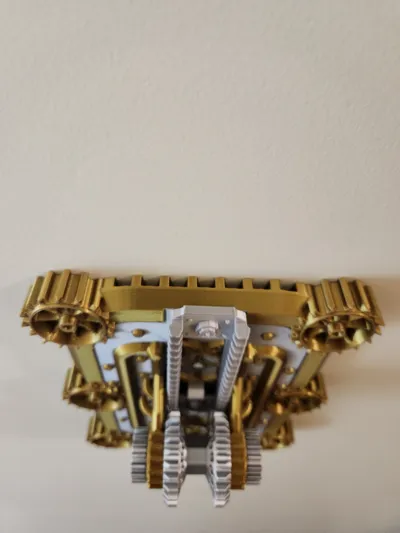
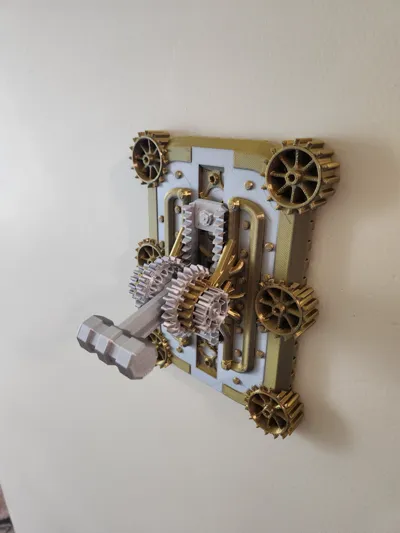
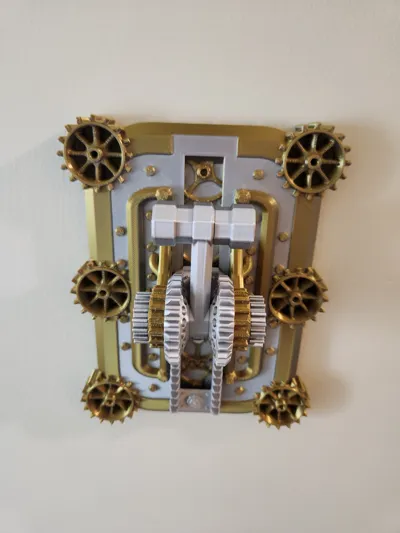
This meticulously designed Geared Light Switch Cover is a perfect addition to any room! Crafted with attention to detail, this model features a fully functional lever that makes turning the lights on and off fun!
This model makes 3D printing fun and allows you to showcase a 3D-printed functional part in your household for everyone to use and see. Amaze your friends and guests by showing them what 3D printing is capable of.
This model stands as a testament to advanced 3D printing capabilities and seamlessly integrates into creative and imaginative setups, enhancing any themed environment or collection. Its intricate design and functional features make it an ideal piece for those looking to showcase their 3D printing skills and love for detailed, functional models.
Here is an easy-to-print light switch that makes it fun to turn on and off your lights!
Easy to assemble!
Assembly Instructions
Step 1: Place Base Plate flat onto a surface and take Flat Gear and center it onto Base Plate.
Step 2: Take 2x Round Gears and insert them into the opening on the Lever. I used glue between the Round Gears to give it a tighter feel. Make sure glue does not get into the Round Gear opening.
Step 3: Take both Male and Female handles and insert them into the lever. I placed glue onto the pin of the Male handle so that the Male and Female ends do not come apart from use.
Step 4: Take the assembled Lever with Gears and Handle and place it vertical onto the centered Flat Gear.
Step 5: Take the Pin and insert it through the Base Plate and into the Round Gear until it comes through to the other end.
Step 6: Take both End Caps and install them onto the protruding Pin ends that you just installed. I used glue to ensure the End Caps do not come off due to repetitive use.
Step 7: Allow glue to dry and have fun with your Geared Light Switch!!
Disclaimer
Use this design at your own risk. The designer cannot be held liable for any injuries, damages, or failures resulting from improper installation, incorrect materials, inadequate print settings, printer failures, wear over time, or misuse of the product. Please note that materials — including 3D-printed plastics — may weaken or degrade over time.
Additional Notice
This disclaimer is not exhaustive. The designer disclaims all liability for any other risks, failures, or damages not explicitly mentioned here. Users are responsible for evaluating the safety, durability, and suitability of this design and its materials for their specific situation.
Boost Me (for free)
Send me a boost so that I can continue providing fun prints!
License

You shall not share, sub-license, sell, rent, host, transfer, or distribute in any way the digital or 3D printed versions of this object, nor any other derivative work of this object in its digital or physical format (including - but not limited to - remixes of this object, and hosting on other digital platforms). The objects may not be used without permission in any way whatsoever in which you charge money, or collect fees.


Comment & Rating (223)