Boitier raspberry pi 5 avec extention board


Print Profile(1)

Description
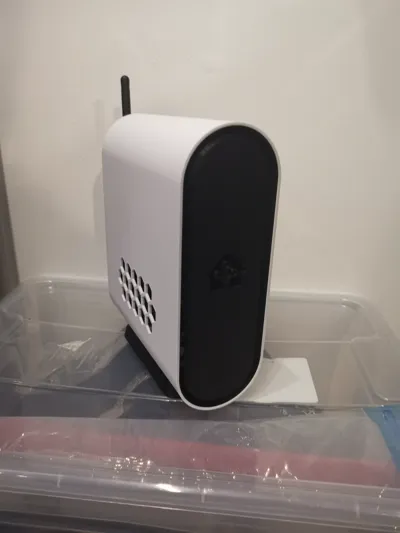
Smart Home Enclosure
I present my latest smart home enclosure; several electronic components are required to achieve the same result
- A Raspberry Pi 5b or Pi 4b
- A Raspberry Pi power and HDMI expansion board
- A hard drive plate for Raspberry Pi expansion
- A Wemos D1 mini, Arduino
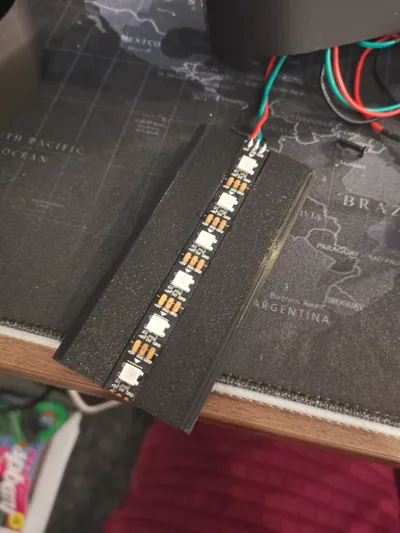
- 5V addressable LED strip
- A Sonoff Zigbee USB dongle
- M2.5 and M3 threaded inserts
- Electrical wires
You can choose between plate 1 and 2
- 1- Enclosure without the Home Assistant inscription, no support needed for printing
2- This plate offers two enclosure options
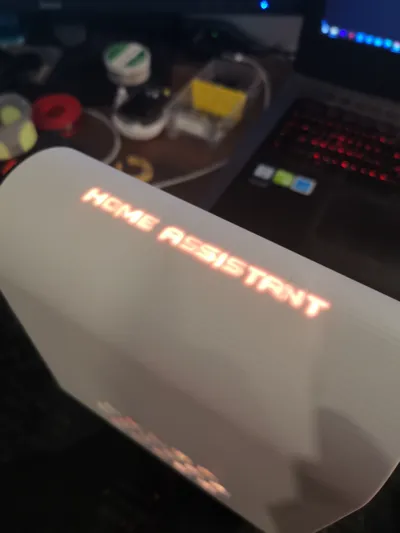
- The first is entirely white, a 3h40 print, and requires coloring the area containing the lettering to prevent light bleed-through “see photo”

- The second is significantly longer to print and uses more filament but requires no coloring
Print plate 4 only if you have printed one of the enclosures from plate 2
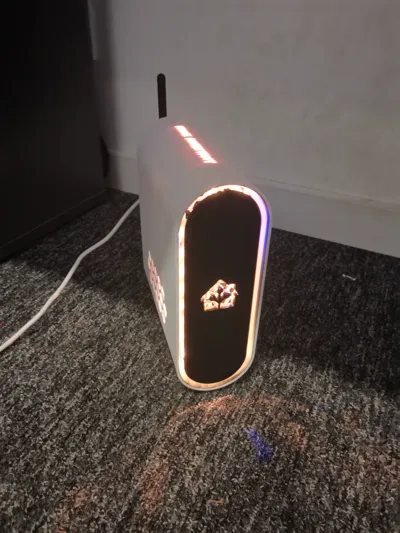
Plate 6 offers three front finish options for you to choose from
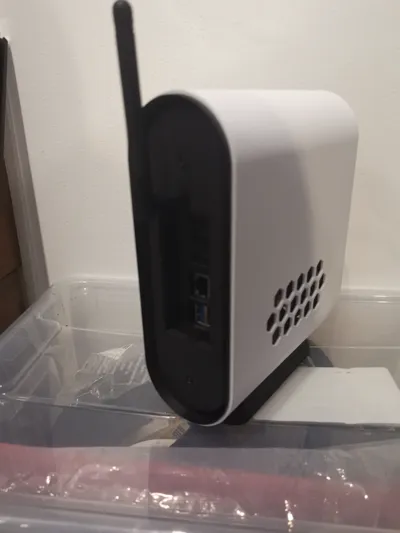
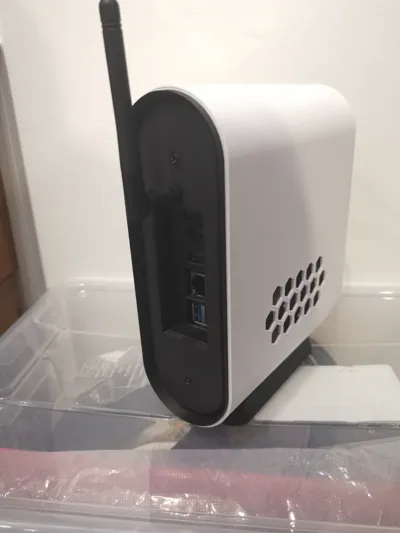
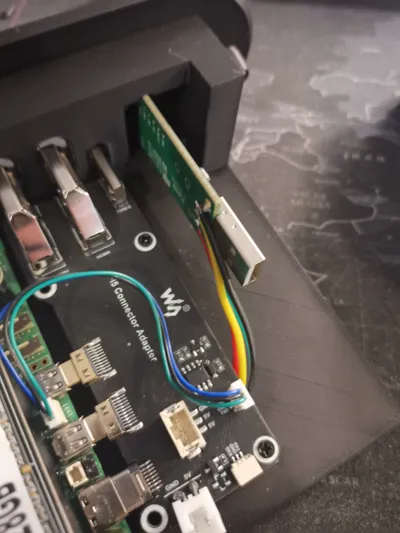
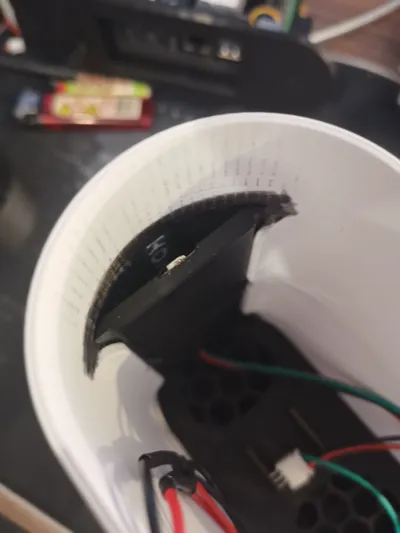
The electronics installation is straightforward; I disassembled the Zigbee dongle to remove its metallic casing
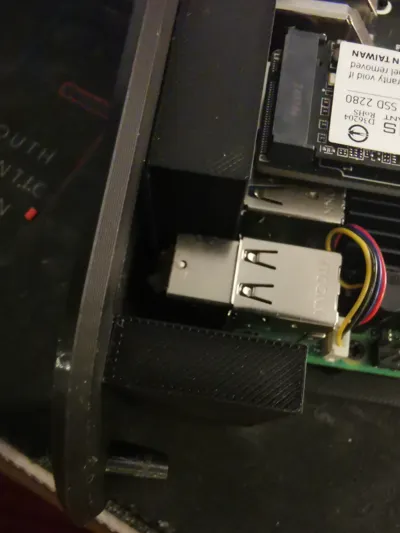
I soldered four wires to the USB port and routed them to a free USB port on the Raspberry Pi For securing the Pi and its expansion board, M2.5 threaded inserts and screws are necessary


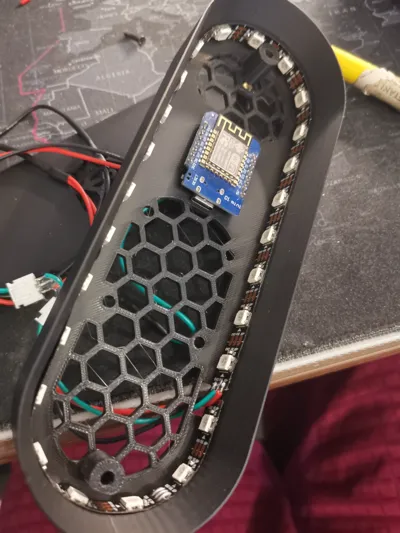
I then connected the 5V from the D1 mini to the 5V of the power expansion board For LED wiring, refer to the WLED documentation The D1 mini is positioned on the front support, just behind the front finish plate The front plate and its finish are secured with M3 inserts and screws

The D1 mini is mounted on its provided pin connectors, which fit into the designated slots
The rear finish plate and the Pi plate are fastened together using M3 threaded screws and inserts
The base and the enclosure are secured together using M3 threaded screws and inserts
All other parts are assembled via interlocking For orientation, a locating pin is present in the base mounting holes, these are the two central holes
I hope you appreciate my work, and please feel free to ask any questions
Boost Me (for free)
If you enjoy my work, please boost it; it motivates me to create even more Thank you
License
You shall not share, sub-license, sell, rent, host, transfer, or distribute in any way the digital or 3D printed versions of this object, nor any other derivative work of this object in its digital or physical format (including - but not limited to - remixes of this object, and hosting on other digital platforms). The objects may not be used without permission in any way whatsoever in which you charge money, or collect fees.
Comment & Rating (6)