


Print Profile(3)


Bill of Materials


Description
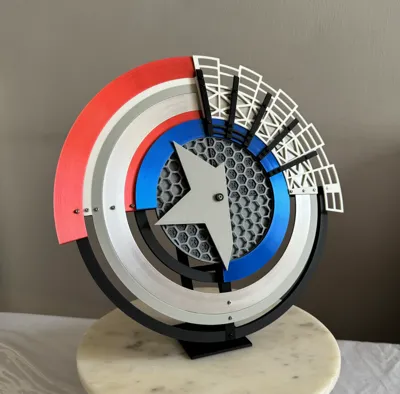
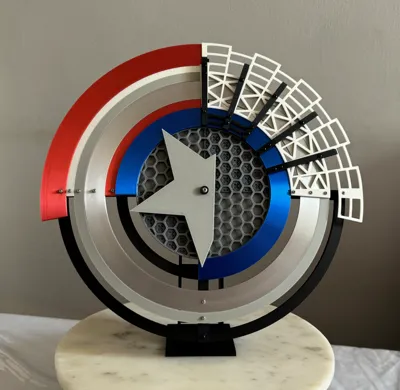
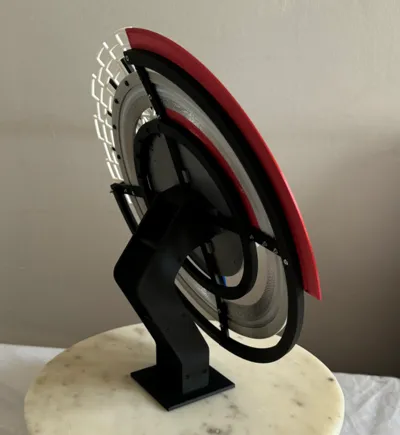
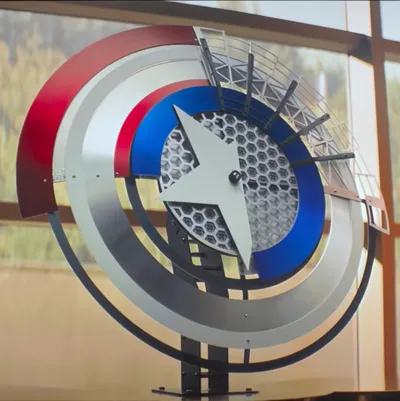
Mini version of the Captain America Shield seen in the Deadpool & Wolverine movie. The total height is around 32cm.
Video guide added below
There are two print profiles, one for silk filaments and one for normal filaments. The normal filaments print profile is faster but I recommend using silk to get a metallic effect.
Filament colours used (all PLA):
- Black - Matte/Standard
- White - Matte/Standard
- Red - Silk
- Blue. - Silk
- Silver - Silk
- Light Grey - Matte/Standard (replace this with white if you don't have light grey)
- Grey - Matte/Standard
- Dark Grey - Matte/Standard (use grey if you don't have dark grey)
You will need the following items to assemble:
Silver nut and bolts - buttonhead ideally:
- M3 30mm x 1
- M2 16mm x 3
- M2 10mm x 6
- M2 12mm x 5
Black nut and bolts - buttonhead ideally:
- M2 10mm x 1
- M2 12mm x 8
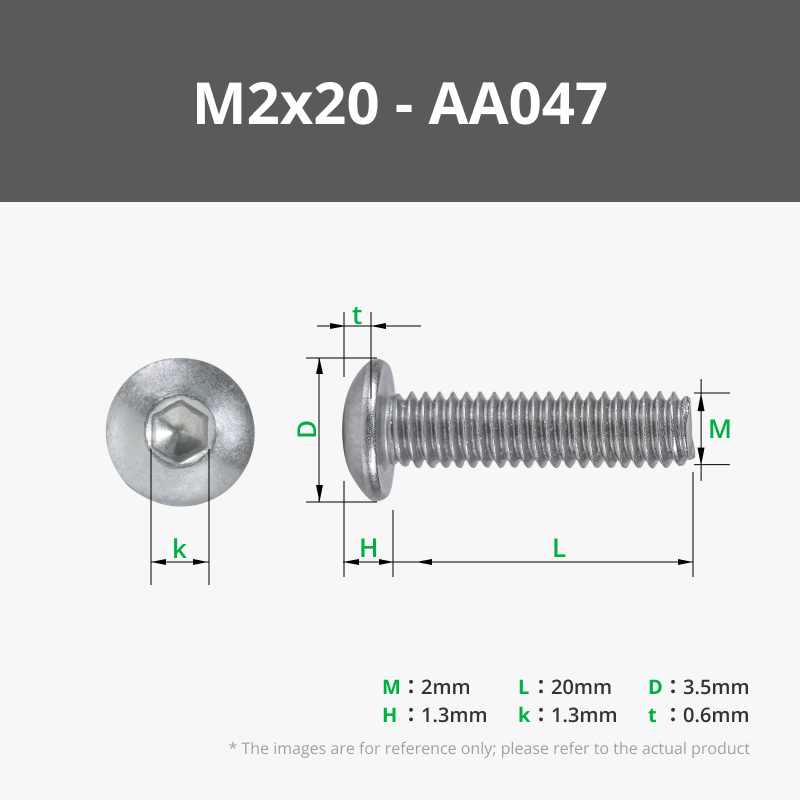
- M2 20mm x 7
Superglue (optional)
Assembly Video:
07:40 - IMPORTANT: Use M2 20mm bolts here (NOT M3). Do not over tighten these.
Assembly Text:
The assembly order is as follows, it can be quite fiddly:
Temporary bolts are just to hold the shield together till other layers are added.
Note the number of holes on each cross peice and make sure they are in the right place.
The outer circles are numbered underneath the printed part.
The middle part needs to be orientated like the photo below with the barrels horizontal and smooth sides vertical

A1 Mini Only - Assemble the silver and light grey ring. Can use some super glue if needed.

These parts don't have the tightest fit but they dont need to

The blue bit may need some glue to keep it in place but the snap fit should be alright

Update: The small black piece seen on the right has been integrated into the arm below so its not needed anymore


The stand is quite a tight fit so needs some force. I assembled it before off the shield and then disassembled to fit it onto the shield a bit easier.

Enjoy =D
License
You shall not share, sub-license, sell, rent, host, transfer, or distribute in any way the digital or 3D printed versions of this object, nor any other derivative work of this object in its digital or physical format (including - but not limited to - remixes of this object, and hosting on other digital platforms). The objects may not be used without permission in any way whatsoever in which you charge money, or collect fees.
Comment & Rating (115)