
Volvo C303
Print Profile(5)


Bill of Materials

Description
Hello everyone!
Description
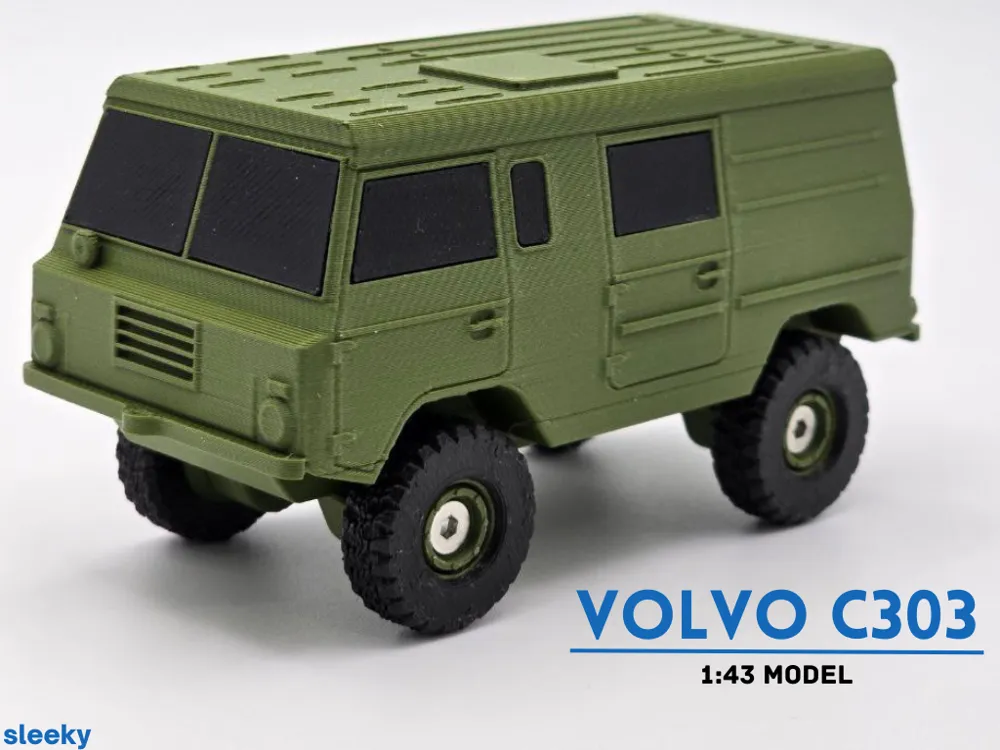
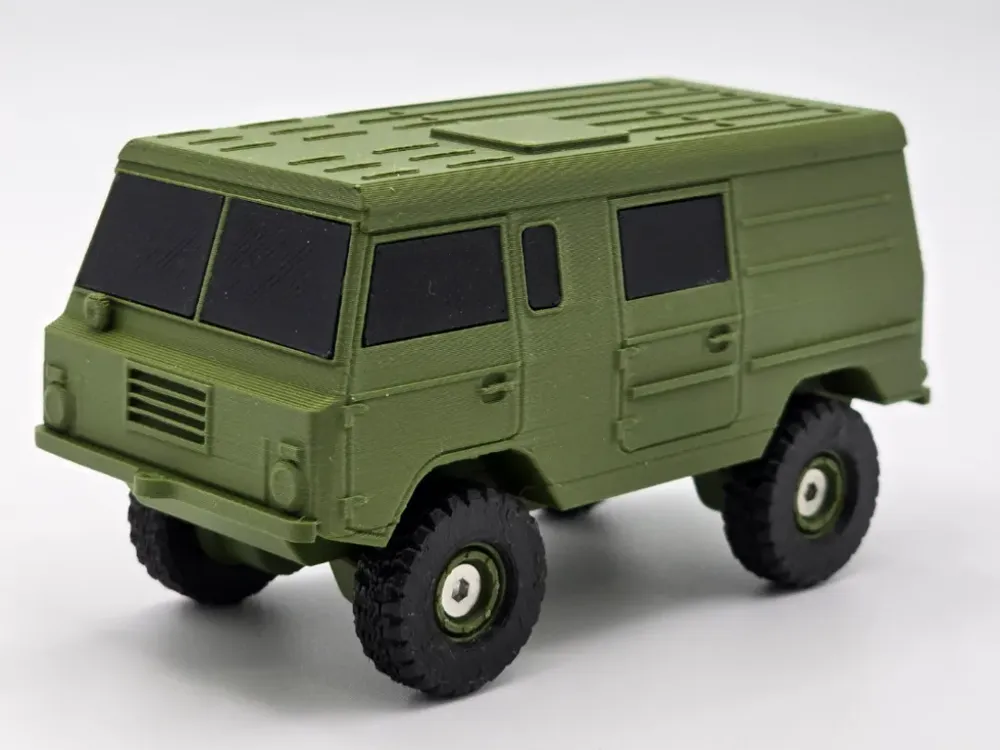
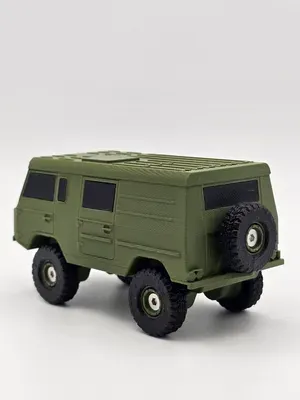
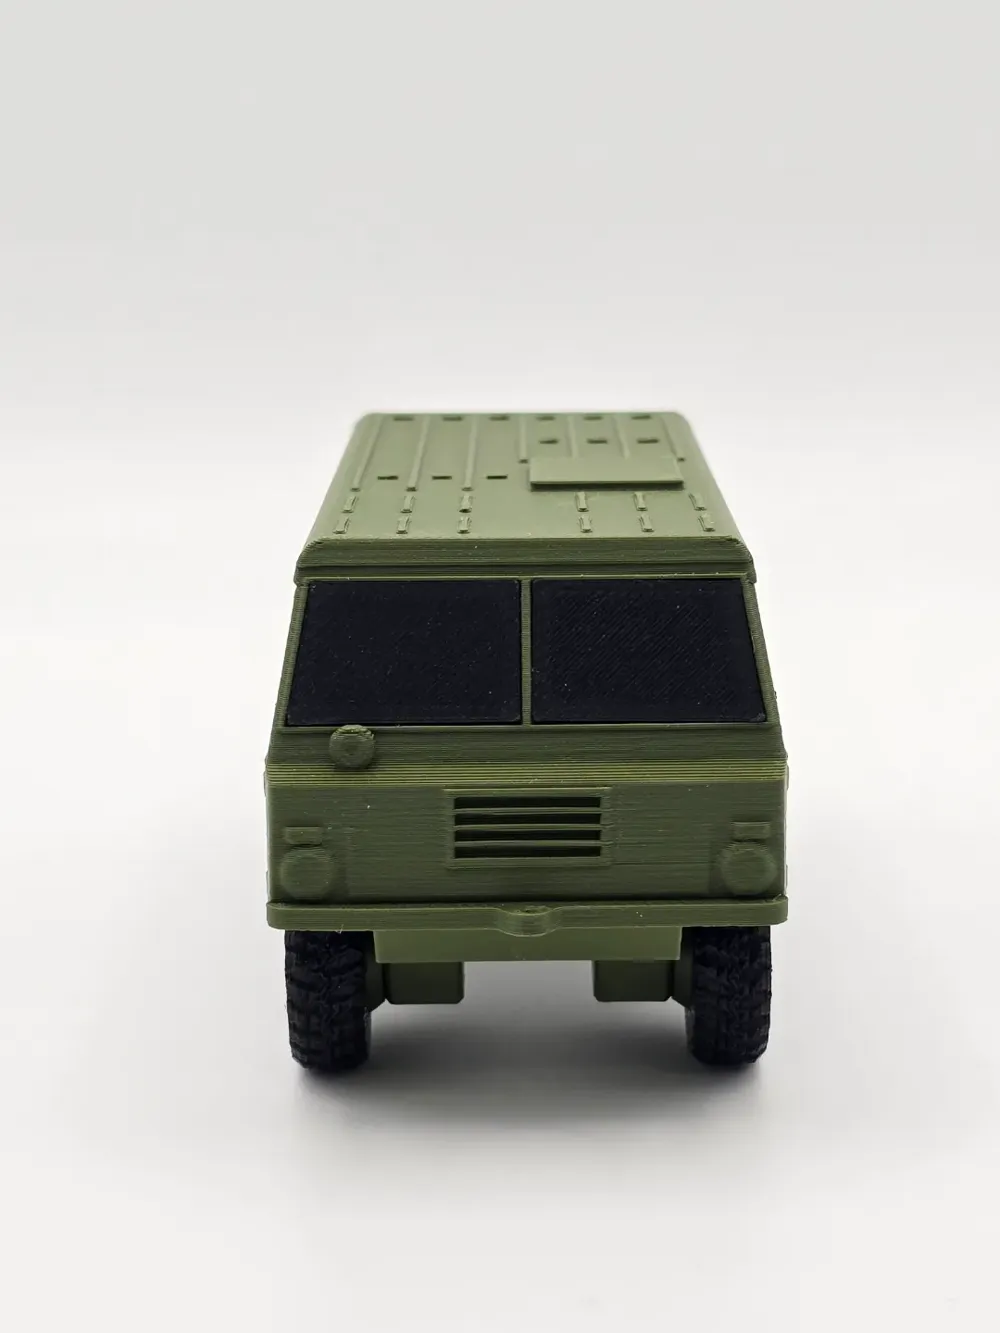
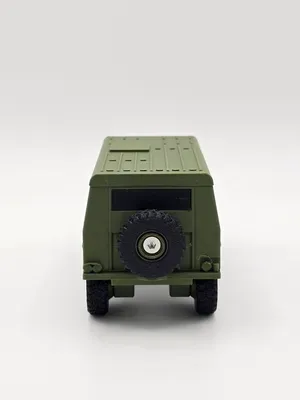
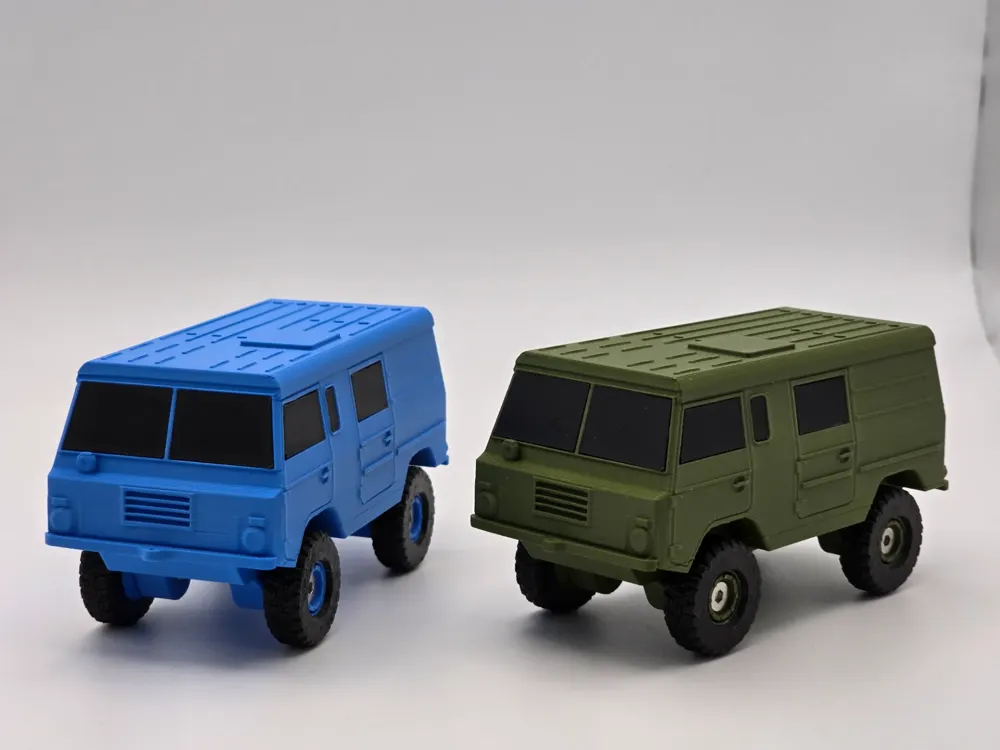
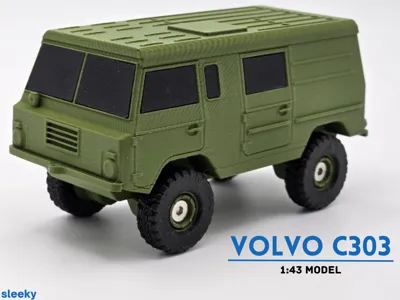
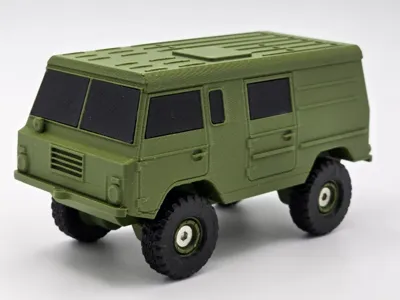
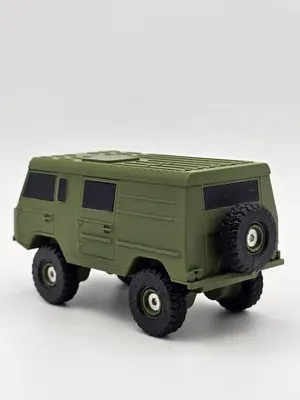
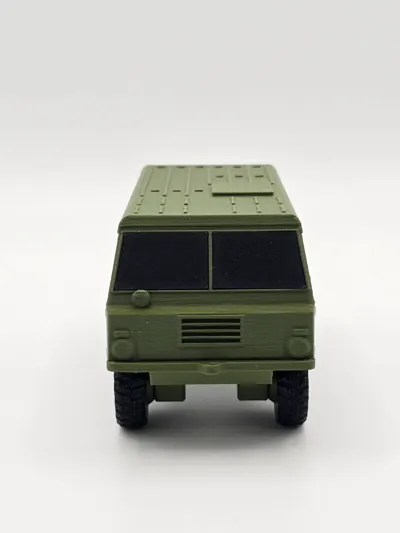
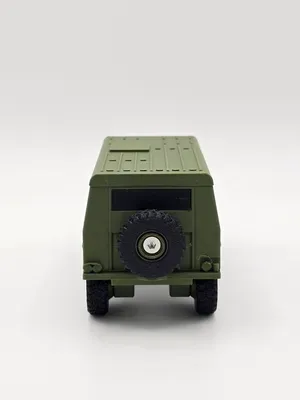
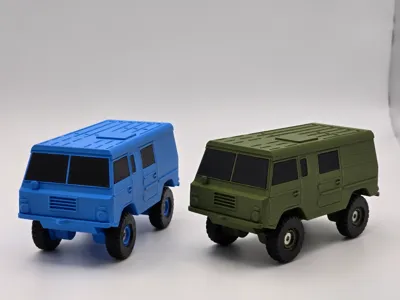
Volvo C303. One of the most iconic offroad swedish vehicles, known for the “boxy” form this vehicle has. This model has a very simple design which resembles the original vehicle. It is pretty simple to assemble and has rotating wheels.
BOM / Hardware
- CA Glue
- 7x M3x14 or M3x12 flat head screws
Print settings
I pretty much used the default settings from Bambu Studio, which turned out pretty great. I used the 0,16 mm layer height in order to have much detail without compromising the print time. You can also use the 0,12 mm layer height if you want to achieve more detail. For the tires I used the Bambu Lab's “TPU95A” profile and modified the speed and wall thickness in order to achieve squishy tires. IMPORTANT NOTICE FOR THE RIMS: You need to turn either the “arachne mode” on or use the “detect thin walls” function in order to print the outer wall on the rims.
Assembly Guide
First of all you need to glue the tires with the rims together with the help of the CA Glue (You can also play around with the scaling of the tire and make a “press fit” if you don't want to use the glue. You need to print “Tire_FL_(either PLA or TPU)” and "Tire_FR
_(either PLA or TPU)” twice and print one of your choice for the reserve on the back.
STEP 1: Turn the tire with the the chamfered inner edge UP.

STEP 2: Put 2 drops of glue on the chamfered edge.

STEP 3: Use a cotton swab to spread the glue evenly around the edge.

STEP 4: Press the rim inside the tire (Outside of the rim has to look down)

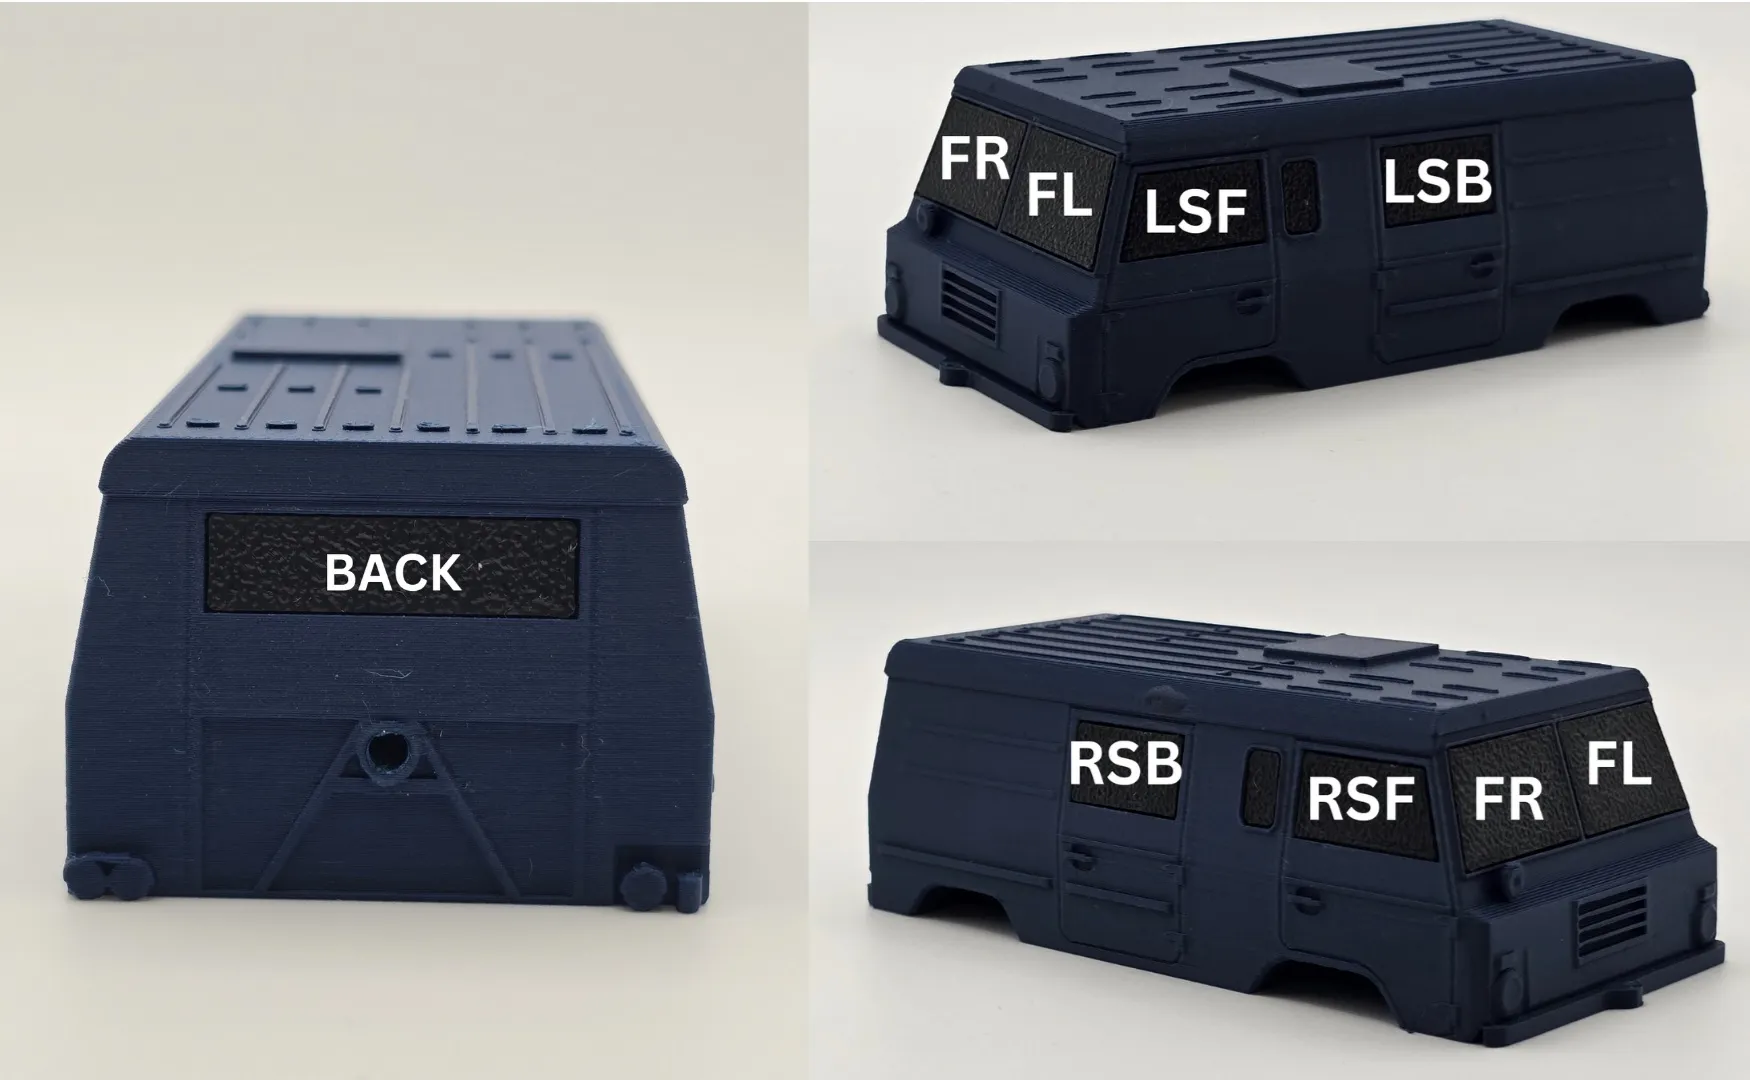
Now before we build the C303 together, you can optionally print the windows with any color you want. I used black. Every window has a name, look at the picture to see where every single window belongs. To glue them together, you can also put approx. 2 drops of glue on the chamfered edge on the body and use a cotton swab to distribute it evenly. The name has to look to the inside of the body, it shouldn't be visible from the outside.

Now to finish the vehicle, we need to follow these simple steps.
STEP 1: Put the chassis under the body and screw them together with 2 screws. Please mind the direction of the chassis.
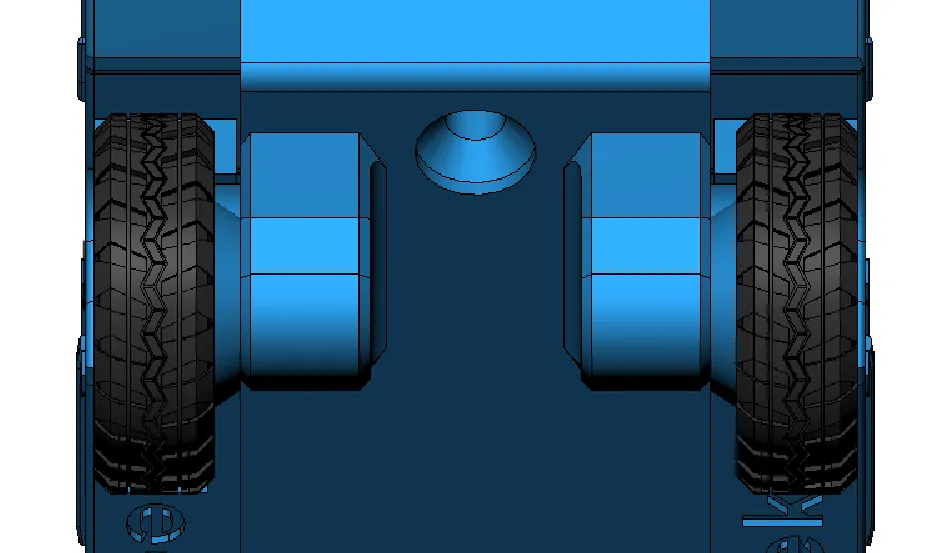
STEP 2: Screw the wheels on the chassis and the body. Notice the direction of the tire profile, as in the picture below. You should turn the screws until you feel stronger resistance. Then unscrew approx. 180° in order to ensure rotating wheels.

That's it! You now have a mini C303 in you hands! I hope you enjoyed the assembly. If you have any recommendations or experience any problems, feel free to DM me.
Boost Me (for free)
if you want to see this kind of content in the future! :)
License

You shall not share, sub-license, sell, rent, host, transfer, or distribute in any way the digital or 3D printed versions of this object, nor any other derivative work of this object in its digital or physical format (including - but not limited to - remixes of this object, and hosting on other digital platforms). The objects may not be used without permission in any way whatsoever in which you charge money, or collect fees.


Comment & Rating (29)