Prehistoric Car Lamp (for lamp kit 001)


Print Profile(1)

Bill of Materials

Description
Boost Me (for free)
Thank you for sustain my work!
Membership
Model Description
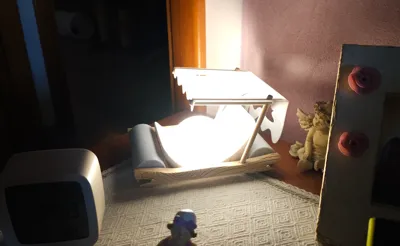
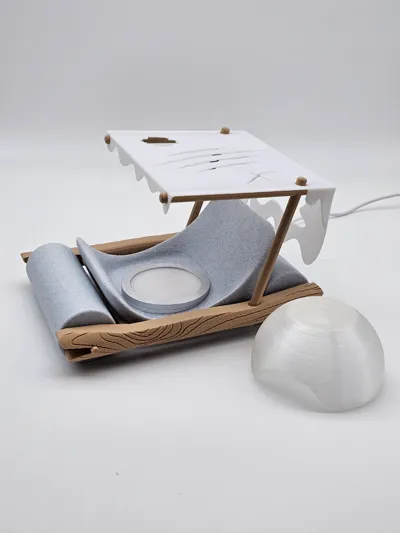
My cat had broken my wife bedside lamp so I decide to design something to replace the previous.
I saw the new contest based on vehicles… so I thought to a prehistoric car (Flintstones car like :-) ).
The car is functional so it can also played by children. There are not small pieces so I believe it is also safe.


Instruction for easy assembly:
Print all parts as my model profile.

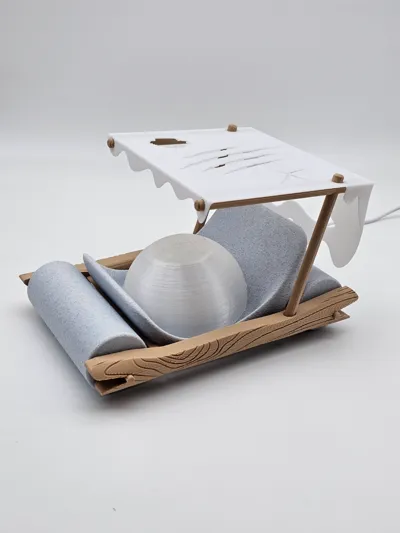
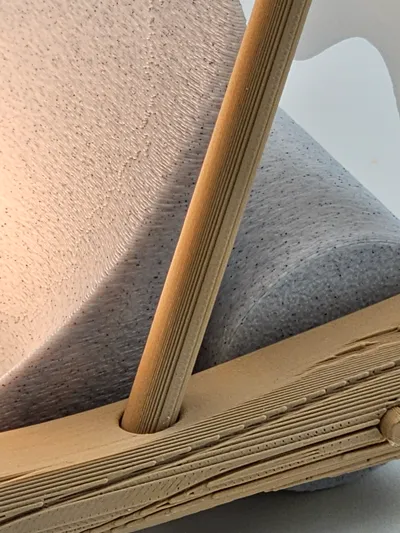
First of all assembly the two wooden logs by thw triangular rods. They will sustain the wheels, roof and the base.
Fits the triangular rods and the stone base first on the back and then on the front.

Complete the partial insertion of one wood axis, insert a stone wheel and complete the insertion of the wood axis.
Repeat for the other wheel.
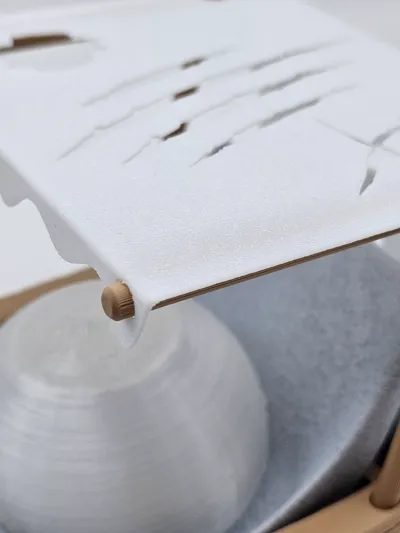
You need now to assembly the roof supports.
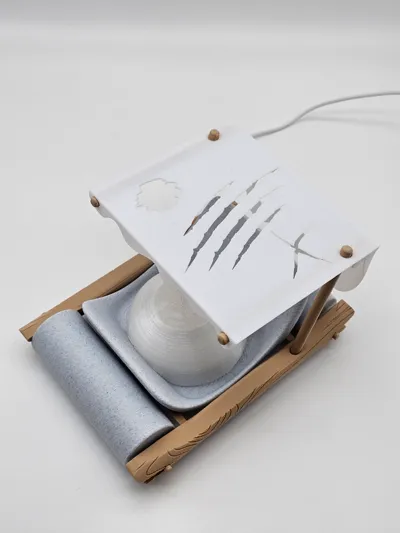
NOTE: to insert the roof, first insert the front two holes, then slightly shift back until the top holes fall on the rods (see below)

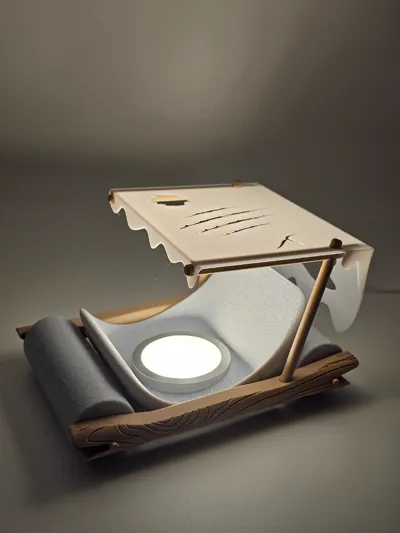
Insert the USB connector and the switch of the lamp kit001 as above illustrated. Fits the base of the lamp on the stone base.
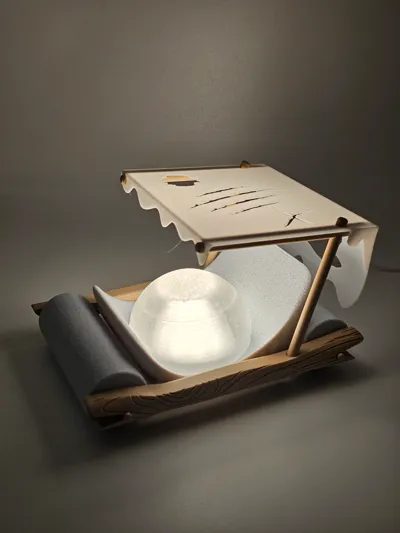
Complete with the egg shell as a opaque glass cover.

NOTE for Egg Shell printing: I have printed it with Bambulab PETG Transparent filament.
This filament is a little bit tricky to be printed. I have followed the suggestion founded on wiki: TIPS for printing Transparent PETG
The result is on the pictures and I believe is a good result even if not perfect. In any case, because the function of this part it will not necessary to remove all internal supports (you need only to partially cut/remove them).
Enjoy it!
License
You shall not share, sub-license, sell, rent, host, transfer, or distribute in any way the digital or 3D printed versions of this object, nor any other derivative work of this object in its digital or physical format (including - but not limited to - remixes of this object, and hosting on other digital platforms). The objects may not be used without permission in any way whatsoever in which you charge money, or collect fees.
Comment & Rating (5)